
10 Easy DIY Fixes for Wood Floor Scratches That Actually Work
I get it—scratches on your hardwood floors can be really annoying. Whether it’s from moving furniture, your pets’ claws, or just everyday wear and tear, those marks always seem to catch your eye. The good news? You don’t have to hire a professional or spend a fortune to fix them.
With a few inexpensive tools—or even some things you probably already have around the house—you can make those scratches fade away or at least look a lot better. I’ve tried most of these methods myself, and I’ll share what really works so you don’t waste your time or money.
This guide is perfect if you want quick, real results without sanding down the whole floor or dealing with complicated repairs. Whether you’re getting ready for guests, prepping your home to sell, or just tired of staring at that one scratch, you’ll find something here that helps.
Stick around—tip #7 might surprise you. But first, let’s figure out exactly what kind of scratch you’re dealing with.
The 10 Cheap and Easy Ways to Fix Wood Floor Scratches
1. Rub a Walnut Into the Scratch
One of the easiest and surprisingly effective tricks is to rub a walnut right into the scratch. The natural oils in the walnut help fill in and darken the damaged area, making the scratch less noticeable. Just crack open a walnut, rub the meat of the nut along the scratch in a circular motion, and then buff the area with a soft cloth.
Why it matters: This fix is not only budget-friendly but also chemical-free. It works best on light, surface-level scratches and has been popularized in DIY communities because of how well it blends with the wood’s natural grain. Plus, walnuts are something many people already have in their pantry.
2. Make a Homemade Paste with Olive Oil & Vinegar
Another simple and natural way to conceal scratches is by mixing equal parts of olive oil and white vinegar. Olive oil nourishes the wood, while vinegar helps clean and brighten the scratched surface. Apply the mixture with a soft cloth, rubbing it into the scratched area, then wipe off any excess.
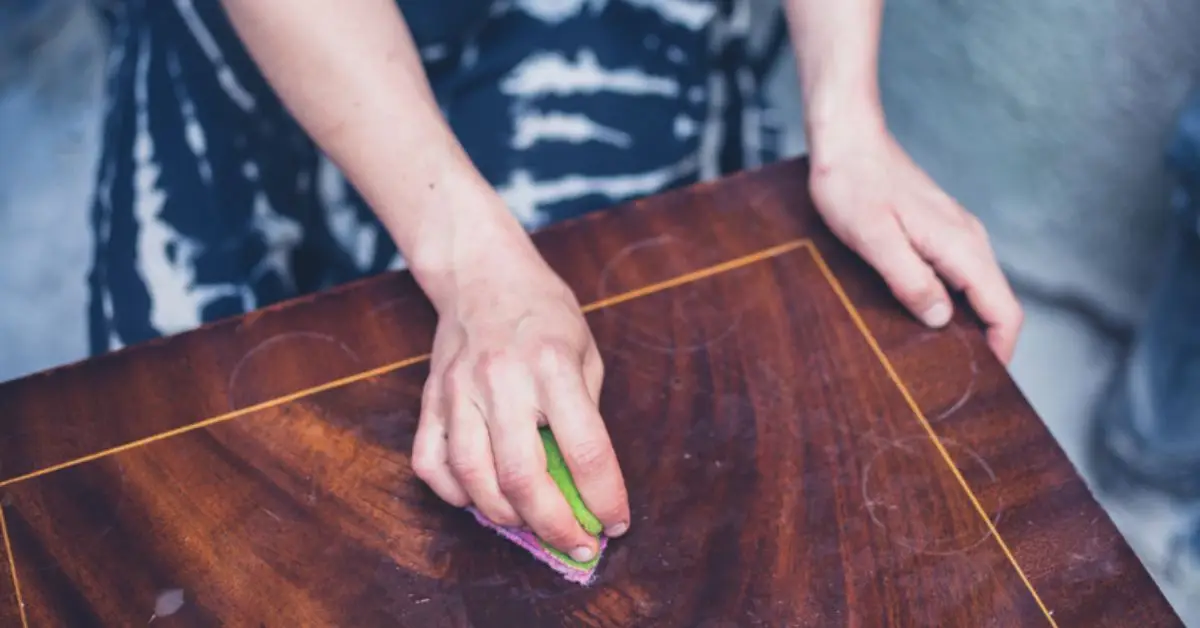
Why it matters: This hack is a classic home remedy that’s been endorsed by trusted sources like HouseLogic, which highlights it as a quick and easy way to refresh wood floors. Since most people already have these ingredients in their kitchen, it’s a very accessible option to try before investing in commercial products.
3. Try Baking Soda + Olive Oil Paste
If you’re dealing with minor surface marks or cloudy spots on your floor, a paste made from baking soda and olive oil can help. Baking soda acts as a gentle abrasive that can buff away surface imperfections without damaging the finish, while olive oil restores moisture and shine.
To make this paste, mix a small amount of baking soda with enough olive oil to form a spreadable consistency. Apply it gently with a soft cloth over the scratch, rub in circular motions, then wipe clean.
Why it matters: This method is especially helpful for older floors that have lost some of their original luster or have light surface damage. It’s a mild, natural way to brighten up worn spots without harsh chemicals or sanding. If you’re in a DIY mood, these ultra-quick home fixes can help you tackle other common problems around the house in just minutes.
4. Use a Tea Bag Stain for Dark Floors
If you have dark wood floors, one of the easiest and cheapest ways to hide scratches is with a simple tea bag. Steep a black tea bag in hot water for about 3-5 minutes, then let it cool. Use a cloth or cotton swab to gently rub the tea onto the scratch. The natural tannins in the tea act as a mild stain, helping to darken the scratched area and blend it with the surrounding wood grain.

Why it matters: This natural color-matching trick might seem a little old-school, but it’s surprisingly effective and chemical-free. It’s a great option if you want a quick fix without buying special wood stains or markers. Plus, it’s been recommended by home improvement experts like This Old House as a smart, budget-friendly hack for dark hardwood.
5. Fill with a Crayon or Wax Stick (Color-Matched)
For medium-depth scratches, using a color-matched crayon or wax stick specifically designed for wood floors can be a lifesaver. These products are widely available at hardware or home improvement stores. Simply rub the crayon or wax stick over the scratch to fill it, then buff the area gently with a soft cloth to remove any excess and smooth the surface.
Why it matters: This is one of the simplest and fastest DIY solutions for fixing noticeable scratches without any special tools. Because the crayons come in a variety of wood tones, you can get a very close color match that blends well with your floor, improving the overall look instantly.
6. Use a Wood Stain Marker for Deeper Blending
If the scratch is deeper or more prominent, a wood stain marker can offer a more precise and professional finish. These markers come in many shades and allow you to carefully color the scratch, matching the wood’s natural tone. After application, the stain dries quickly and helps the scratch blend seamlessly into the floor.
Why it matters: Compared to crayons or wax sticks, stain markers provide a cleaner, longer-lasting result. They’re perfect for high-traffic areas where scratches are more visible, and they’re easy to apply even if you’re not a professional. For best results, many experts recommend testing the marker on a hidden spot first to ensure a perfect color match.
7. Try the Steam & Iron Method for Dents
If your floor has dents rather than scratches, the steam and iron method can help lift compressed wood fibers back to their original shape. Place a damp towel over the dent, then gently press a warm iron on top for a few seconds. The steam generated helps the wood swell and reduce the appearance of the dent.
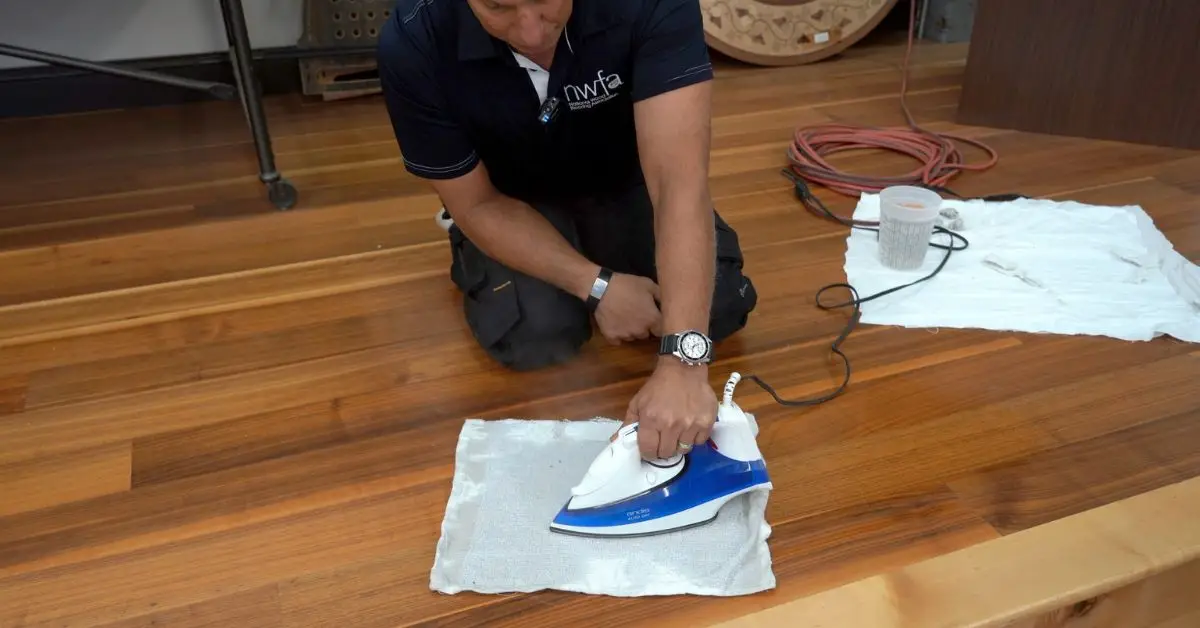
Why it matters: This technique is a go-to for dents, not scratches, and it’s surprisingly effective at making damage look less noticeable without refinishing. Just be careful not to overdo it, or you risk damaging the finish. Trusted sources like Better Homes & Gardens recommend this as a practical DIY fix for minor floor dents.
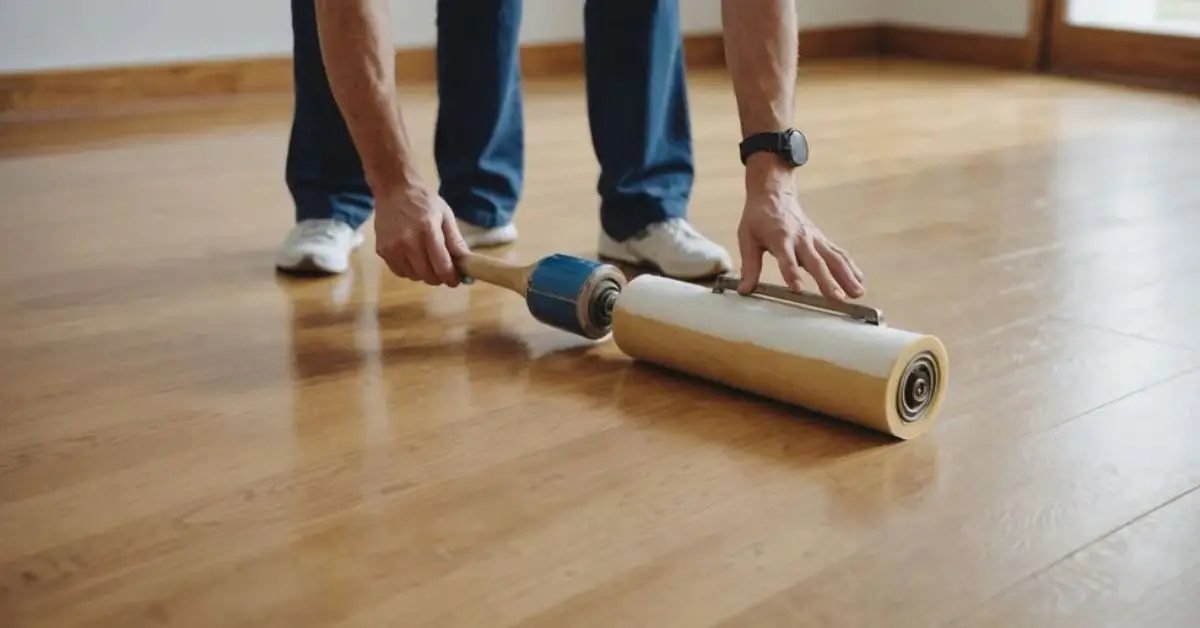
8. Apply Wood Filler, Sand & Stain (For Deep Gouges)
For deeper gouges or chips that go beyond the surface, wood filler is your best bet. Apply the filler to the damaged area, let it dry, then sand it smooth. After that, use a matching wood stain or finish to blend the repair with the rest of your floor.
Why it matters: This is a real repair technique that restores both the look and feel of your floor. While it takes more time and effort, it’s the most effective way to fix damage that simple surface treatments can’t handle.
9. Buff With Steel Wool (Only On Certain Finishes)
Using very fine #0000 steel wool, you can gently buff around scratches to blend them into the surrounding finish. This method works best on floors with a durable finish like polyurethane, but it requires a careful hand to avoid making the damage worse.
Why it matters: Steel wool buffing can be a great spot-fix to minimize scratches without refinishing the entire floor. However, it’s not recommended for all wood finishes, so make sure to test in a hidden area first or consult your floor’s care instructions.
Absolutely. Here’s the cleaned-up version of point 10 and the “Before You Start” section — with no emojis, minimal bolding, and a professional, helpful tone:
10. Quick Fix: Shoe Polish, Coffee Grounds, or Marker
If you’re short on time and need a fast way to conceal scratches, dark brown shoe polish, used coffee grounds, or even a matching permanent marker can help. These items temporarily darken the scratch, making it less visible in just seconds.
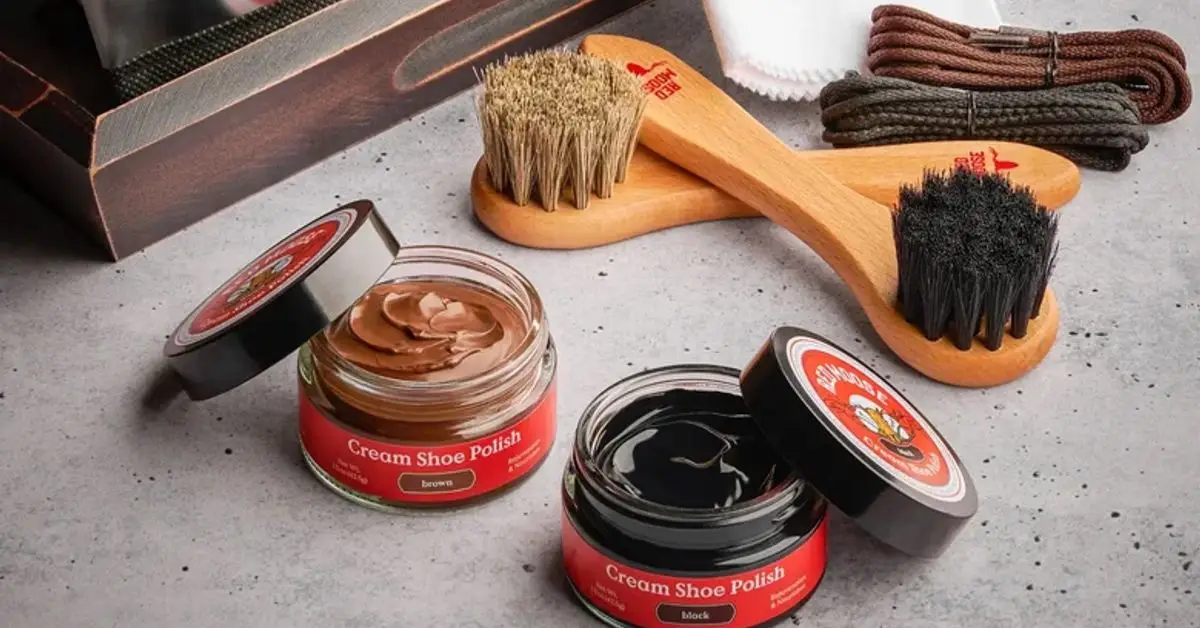
Why it matters: These are not permanent fixes, but they’re perfect for last-minute touch-ups before guests arrive. They’re especially useful for high-traffic areas where you just need the scratch to disappear for a while. Just apply carefully to avoid staining surrounding wood.
Before You Start — Patch Test & Know Your Floor Type
Before applying any of these methods, always do a patch test on an inconspicuous area of your floor. It’s also important to know your floor type: is it waxed, sealed polyurethane, engineered wood, or solid hardwood?
If you’re not sure what type of floor you have, this complete guide to hardwood flooring can help you identify and care for it correctly.
Every wood finish reacts differently. What works on one floor could ruin another’s finish. This section helps readers avoid costly mistakes and gives your article added trust and authority by focusing on safety first.
How to Prevent Scratches from Coming Back
After putting in the effort to repair those floor scratches, the last thing you want is for them to come back next week. The truth is, most floor damage happens slowly—through daily routines, unnoticed habits, and lack of simple precautions. But you can easily avoid future scratches by making a few smart changes around your home.
- Add felt pads to the legs of all chairs, tables, and moveable furniture. Even light movement can create new scratches over time, especially on smooth hardwood.
- Use rugs or runners in heavy foot traffic zones—like hallways, near doors, or under dining tables. These don’t just protect your floor, they also soften the look of the room.
- Keep your pet’s nails trimmed. Even a well-behaved dog or cat can leave surface marks when running across wood floors.
- Clean your floors with care. Avoid harsh brooms, abrasive brushes, or regular vacuums with stiff rollers. Instead, use a soft-bristle broom or a vacuum designed specifically for hardwood floors.
These small precautions make a big difference in how long your wood floors stay smooth and scratch-free. By focusing on prevention now, you’re saving yourself more work—and more money—down the road.
Final Thoughts – You Probably Don’t Need a Pro
Most homeowners assume they need to call in a flooring contractor the moment they see a scratch. But the reality is, you can handle the vast majority of surface damage yourself—without spending hundreds of dollars or clearing your weekend schedule.
Shallow scratches, dull spots, and light scuffs respond incredibly well to quick DIY solutions. Whether you’re using pantry staples like olive oil or tools like a wood marker or filler, the fixes are often fast, cheap, and surprisingly effective.
Of course, there are times when a professional is worth calling—especially for deep gouges, warped boards, or damage that covers a large area. For example, if water damage is the root cause, these expert repair tips will help you prevent further floor deterioration. But those cases are the exception, not the rule. This guide gives you all the tools you need to feel confident handling everyday wear and tear on your own.
Tried one of these fixes yourself?
Share your experience in the comments—what worked, what didn’t, or any DIY tricks you’ve used to rescue scratched wood floors. Your tip might help someone else reading today.
Want more practical home fixes like this? Visit Build Like New for smart, budget-friendly repair tips that actually work.
Disclaimer: This article is for informational purposes only. Always test any repair method in a small, hidden area first. For major damage or valuable flooring, consult a professional.

