
Before You Paint Tile Grout: 10 Tips Every Homeowner Should Follow
I’ve painted my fair share of grout lines over the years, and I’ll be honest—what seems like a simple DIY project can quickly turn into a frustrating mess if you don’t know what you’re doing. If you’re thinking about giving your tile grout a fresh coat, there are a few insider tricks that can save you hours of work and prevent mistakes most people make.
this guide, I’ll walk you through the top tips before you paint tile grout—everything from prepping the surface properly to choosing the right paint and avoiding pitfalls that even seasoned DIYers often overlook. By the time you’re done, you’ll feel confident that your grout will look clean, last longer, and actually hold up under everyday wear.
Tip 1: Decide If Painting Is Really the Right Choice
I’ll be honest with you—painting grout isn’t always the miracle fix it looks like on Instagram. For me, the first question I ask before even opening a can of paint is: Do I really need to paint this grout, or am I just trying to cover up deeper issues? Painting is purely cosmetic. It hides stains and refreshes color, but it won’t repair cracked, hollow, or crumbling grout.
Here’s how I usually decide:
- Inspect your grout carefully. Run your fingers along the lines and check for gaps, cracks, or hollow sections.
- Consider the long-term solution. If the grout is structurally failing, I go for regrouting or even tile replacement—it saves a ton of frustration later.
- Be clear on your goal. Ask yourself: do you want a quick visual fix, or are you after something that lasts?
Thinking this through first saves both time and money. I’ve seen too many people paint only to have it peel within months because they skipped this step. For more insights on whether painting grout is really worth it, I found The Spruce’s guide on painting grout really helpful.
Tip 2: Check Grout Condition Thoroughly
Here’s a mistake I made early in my DIY days: I jumped straight into painting without checking the grout condition. Big mistake. Painting over damaged grout is one of the fastest ways to see your hard work fail.
To avoid that:
- Look closely for damage. Check for cracks, gaps, holes, mold, or discoloration.
- Do a tap test. Gently tap a tool along the grout—if it sounds hollow, it probably needs repair.
- Repair minor cracks before painting. Use a grout repair compound for any small flaws.
Taking these precautions ensures your paint actually sticks and prevents peeling or flaking down the line. I often cross-reference these checks with Oops! Steam Cleaning’s tips on grout prep, which highlight the importance of mold removal and surface integrity before painting.
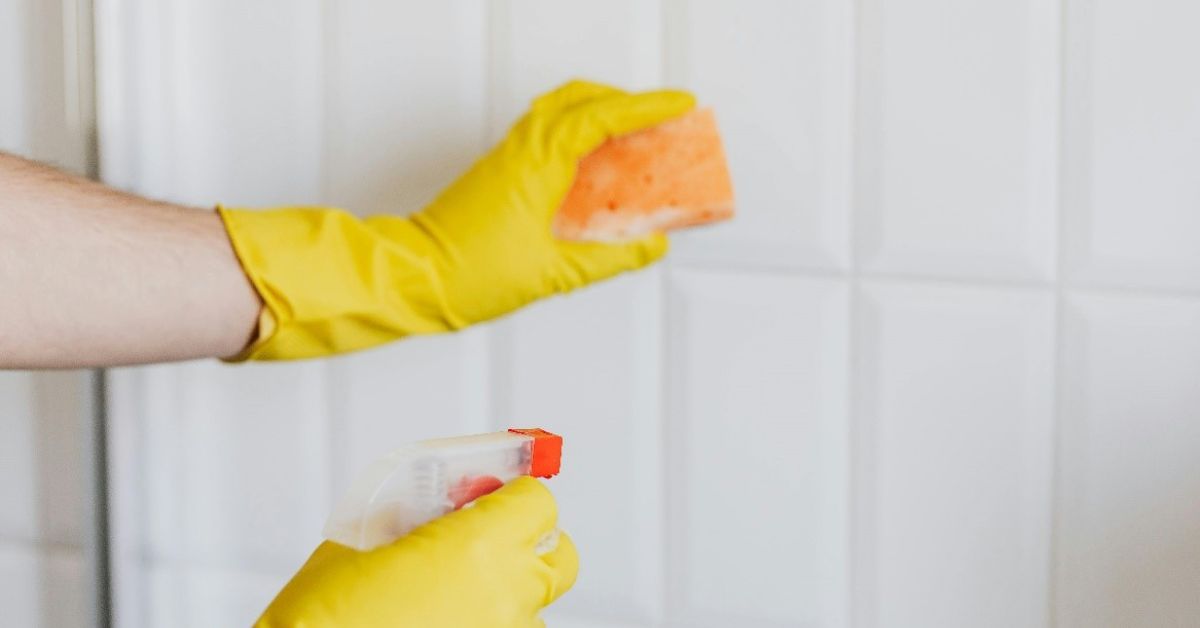
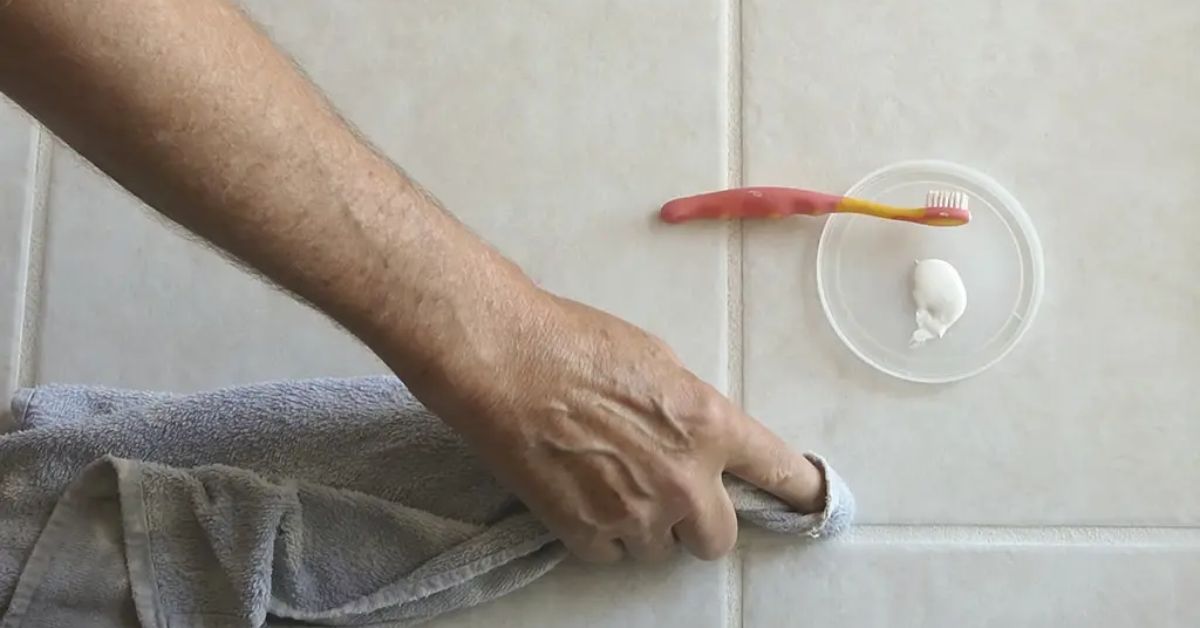
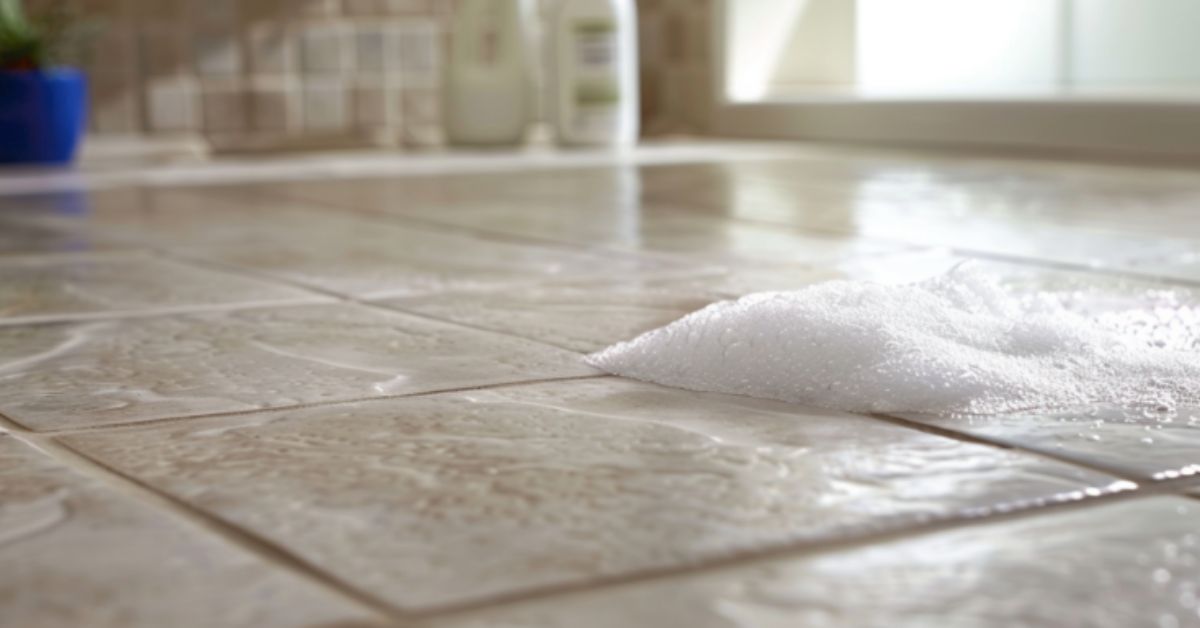
Tip 3: Deep Clean, Repair, and Dry the Grout
Prep is everything. I can’t stress this enough: even the best grout paint will fail if the surface isn’t clean and dry. Dirty grout, soap scum, or mildew will block adhesion and leave you with streaks or bubbles.
Here’s my process:
- Scrub thoroughly. I use a mixture of baking soda and vinegar or a specialized grout cleaner. Don’t rush this step—it makes a huge difference.
- Remove soap scum and mildew. For stubborn stains, a small brush works wonders.
- Repair chips and cracks. Fill any minor imperfections with grout repair compound so your paint has a smooth surface to stick to.
- Let it dry completely. I usually wait at least 24 hours before painting, sometimes longer if it’s a bathroom or humid area.
Skipping these prep steps is a rookie mistake. When I follow this routine, the paint lasts much longer and looks professional.
Tip 4: Pick the Right Paint, Primer, and Tools
Not all paints are created equal. I’ve seen people try using wall paint on grout, only to end up with peeling lines a week later. Choosing the right paint, primer, and tools is crucial.
Here’s how I approach it:
- Use grout-specific epoxy or acrylic paints. These are formulated to handle moisture and foot traffic.
- Prime if necessary. Check the manufacturer’s instructions—sometimes a thin primer layer can make all the difference in adhesion.
- Select your tools carefully. Fine brushes for edges, angled mini-rollers for larger areas, and grout pens for precision work make the job smoother and cleaner.
Having the right materials not only improves durability but also gives you a professional-looking finish, even if you’re doing this for the first time.
Tip 5: Test a Small Patch First
Checkatrade
This is a simple one that many people overlook: always start with a small test patch. I learned the hard way that painting an entire floor without testing can be a disaster.
Here’s my method:
- Choose an inconspicuous spot. A corner or under a cabinet works perfectly.
- Paint a small 2×2 inch area.
- Evaluate after drying. Check color, coverage, and adhesion. If it’s not perfect, you can adjust technique, primer, or even switch paint before committing to the whole surface.
Testing a patch prevents full-scale mistakes and wasted paint. It’s also a chance to get comfortable with the tools and application method before tackling the entire project.
Tip 6: Apply Paint Correctly (Pro Techniques)
Even with the right prep and paint, your technique can make or break the project. I’ve learned that working too fast or brushing too heavily leads to streaks, uneven coverage, and frustration.
Here’s how I do it:
- Work in small sections. This helps you control the paint and maintain wet edges.
- Apply thin, even coats. Avoid slapping on a thick layer—it will peel faster and look uneven.
- Don’t brush over already-dried paint. That’s how streaks happen.
- Clean spills immediately. A damp cloth works before the paint fully sets.
- Respect drying times. I follow the manufacturer’s instructions carefully, even if it’s tempting to rush.
Doing it right makes your grout lines look crisp and professional, and it saves time fixing mistakes later.
Tip 7: Seal the Grout After Painting
This is one step many guides skip, but sealing is the difference between a paint job that lasts a month and one that lasts years.
- Use a clear grout sealer made for painted surfaces.
- Focus on high-traffic or wet areas, like bathrooms and kitchens.
- Re-seal every 6–12 months, depending on wear and moisture.
Sealing protects your work, prevents moisture from causing peeling, and keeps the color vibrant longer.
Tip 8: Know Common Problems & How to Fix Them
Even careful painters run into issues. I like to mentally prep for the worst-case scenario before I start, so I don’t get frustrated if things go sideways.
- Peeling or flaking: Sand lightly, clean the surface, and recoat.
- Uneven color: Apply thin, multiple coats instead of one thick layer.
- Persistent stains: Sometimes, paint isn’t enough; consider grout dye as a longer-lasting solution.
Knowing how to troubleshoot keeps you in control and turns potential disasters into minor fixes.
Tip 9: Consider Alternatives to Painting
Painting isn’t always the best answer, and I’ve learned that exploring alternatives saves both time and money in the long run.
- Regrout old tiles. It’s more durable and gives a fresh, clean look.
- Use grout dye for a more permanent color change without the risk of peeling.
- Replace tiles if the surface is too damaged for any cosmetic fix.
I usually weigh these options before starting, because a little planning up front can prevent a whole redo later.
Tip 10: Design & Color Matters
Finally, don’t forget aesthetics. Grout color can completely change how your space feels, and picking the wrong shade can make your tiles look sloppy or dated.
- Dark grout hides stains, while light grout makes spaces feel bigger.
- Match grout color to your tile and room style for a cohesive look.
- Avoid trendy colors that might look outdated in a few years.
I also like checking Home Depot’s guide on tile colors and grout combinations, which has helpful visuals and professional recommendations for making your grout look intentional and polished.
Wrapping It Up
Painting tile grout can completely transform the look of your kitchen, bathroom, or any tiled space—but only if it’s done right. From deciding whether painting is even the right choice to choosing the right paint, applying it properly, and sealing it for longevity, every step matters. Following these tips will help you avoid the common pitfalls that turn what should be a satisfying DIY project into a frustrating one.
I’d love to hear from you: have you tried painting your grout before, or are you planning to give it a shot after reading this guide? Share your experiences, questions, or even your favorite grout paint tips in the comments below.
And if you want more practical, step-by-step DIY advice that actually works, check out Build Like New—we cover everything from home improvements to smart hacks that make your projects easier and longer-lasting.
Disclaimer: The tips and guidance in this article are for informational purposes only. Always follow manufacturer instructions for paints, primers, and sealers, and take appropriate safety precautions when working with tools and chemicals. Results may vary depending on grout type, surface condition, and application technique.

