
Deep‑Clean Your Pillows in 10 Easy Steps Without Spending a Dime
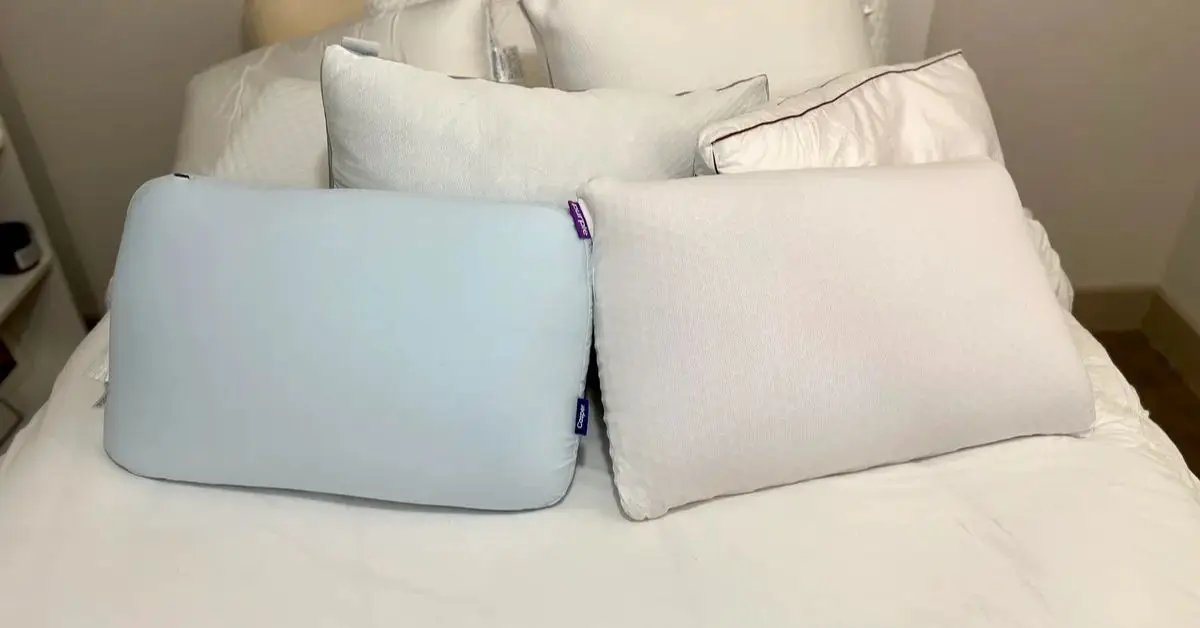
I’ve always thought of pillows as just soft accessories for a good night’s sleep—but over time, I realized they’re actually little magnets for sweat, oils, dust mites, and allergens. You might wash your sheets regularly, but if your pillow isn’t getting the same attention, all that buildup can affect both your sleep quality and your health.
In this article, I’m going to walk you through simple, practical steps to deep-clean your pillows at home—no fancy machines or expensive tools required. By the end, you’ll not only have fresher, more comfortable pillows but also a routine that keeps them clean longer, so you can actually sleep easier knowing your bed is safe and cozy.
How Often You Should Clean Your Pillows (and Why)
I know most people wash their sheets all the time, but pillows… those get ignored until they start looking yellow or smelling a little strange. The thing is, pillows need a regular reset too. If you want cleaner air, better sleep, and fewer allergens around your face every night, you should deep-clean them every few months—not once a year.
Most home-cleaning experts recommend washing pillows every 3–6 months to keep sweat, oils, and dust mites under control. If you deal with allergies, or you tend to sleep warm, staying closer to the three-month schedule makes a noticeable difference. I’ve followed this routine myself, and the freshness is something you can actually feel.
Here are a few signs your pillow is asking for attention:
- It smells even after being aired out
- It stays flat when you fold it
- You wake up congested or itchy
- You see yellowing or uneven clumps
If you’ve got guests coming over soon and want the whole space to feel fresh, I also shared a simple guide on the bed and bath essentials you shouldn’t skip when hosting that pairs well with keeping your pillows clean.
And if you go to bed with wet hair, use heavy skincare, or sweat easily, your pillow needs cleaning more often. For expert-backed guidance, Ideal Home explains why cleaning every 3–6 months is the healthiest routine in their guide on how often you should wash your pillows.
Know Your Pillow Type First
Before you toss a pillow in the washer, you need to know what it’s made of. This step gets skipped in most guides, but it’s the difference between a fresh pillow and one that falls apart after a single wash. I’ve seen people ruin memory foam pillows simply because they didn’t check the care label.
Down, Feather, and Polyester Pillows
These are usually the easiest to handle. Most of them are machine-washable, and washing two at once helps balance the drum. A mild detergent works best, and complete drying is what keeps them fluffy and odor-free.
Why it matters:
- They absorb sweat and oils quickly
- They collect dust mites easily
- A proper wash restores loft and comfort
Memory Foam and Latex Pillows
These can’t go in the washing machine at all. The agitation can tear the foam or break down the structure. What works is a simple routine: vacuuming, spot cleaning, and letting them air out.
Safe approach:
- Vacuum the surface
- Spot-clean stains with mild soap
- Air them out in sunlight for freshness
This keeps the pillow clean without hurting the support you paid for.
Special Cases (Electric, Gel, or Decorative Pillows)
These usually need light, surface-level care. No soaking and no machine cycles. A damp cloth and gentle soap work well, followed by airing them out.
They need attention when:
- You see surface stains
- The pillow holds odor
- Dust builds up on the fabric
Knowing your pillow type saves you money, extends its life, and keeps your sleep space healthier. Once you understand what you’re working with, every cleaning step becomes easier and more effective.
Step-by-Step Deep-Cleaning Process — 10 Simple Steps
When you know your pillow type, the actual cleaning becomes much simpler. I’ll walk you through the exact process I use at home—practical, affordable, and safe for almost every pillow. Follow these steps in order, and you’ll see (and smell) the difference the same day.
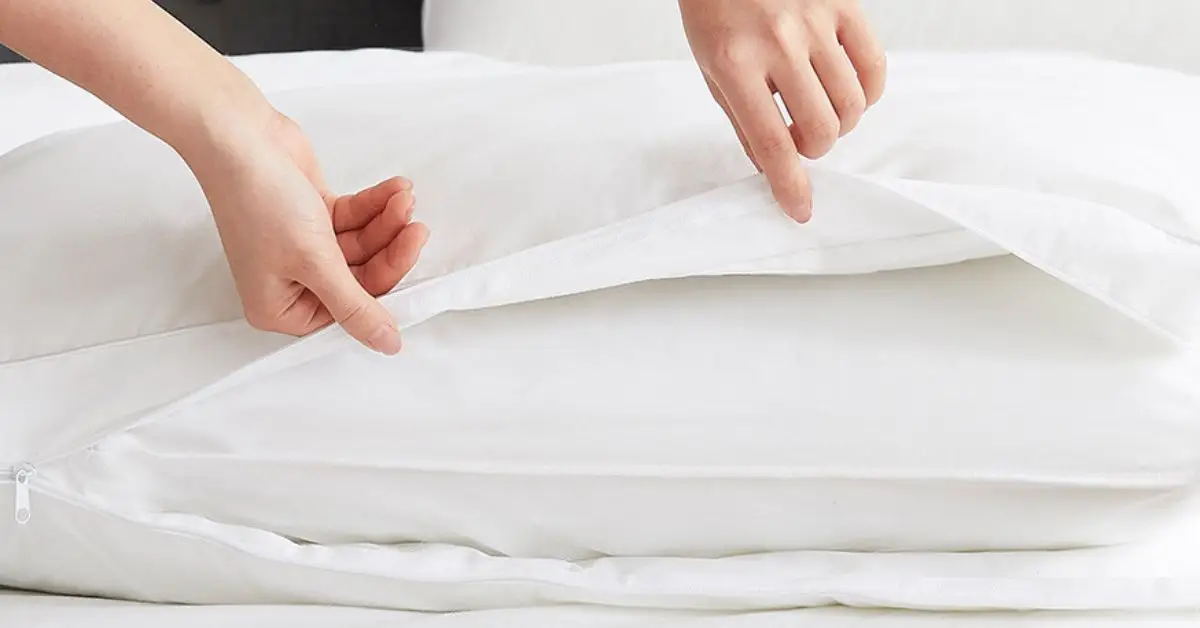
1. Remove Covers and Pillow Protectors: Start by stripping off everything—pillowcases, protectors, extra layers. This gives you direct access to the pillow’s surface and lets you wash each part properly. I always wash the covers separately so stains and oils don’t get trapped deeper.
2. Vacuum to Remove Dust and Hair: Before you wash anything, do a quick vacuum pass. It removes loose debris and hair, which helps the pillow wash more evenly.
3. Pre-Treat Stains With a Simple Paste: Mix baking soda and hydrogen peroxide into a quick paste and dab it on any yellow spots or sweat marks. Let it sit for a few minutes. This trick comes from The Spruce, and it’s one of the cheapest, most effective stain-removal methods you can use.
4. Machine-Wash (If Your Pillow Allows It): For pillows that are safe to machine wash, I always use a gentle cycle with warm water and minimal detergent. Washing two pillows at a time helps balance the load and prevents twisting. If your washer has a second rinse option, use it to clear out any leftover soap.
5. Hand Wash for Non-Machine-Safe Pillows: Some pillows—especially delicate ones—do better with hand washing. Fill a tub with lukewarm water, add a small amount of detergent, and press the pillow gently to let water move through it. Rinse until the water runs clean. It takes a little time, but it’s safer for the structure.
6. Natural Deodorizing With Baking Soda: If your pillow still feels a bit stale, sprinkle baking soda across the surface and let it sit for about 30 minutes. It absorbs odors naturally without harsh chemicals. You can do this between full washes, too.
7. Drying the Right Way: Drying is where many pillows get damaged. I prefer sun-drying when possible—it kills odor-causing bacteria and helps restore freshness. If you’re using a dryer, choose low heat and add dryer balls or clean tennis balls so the pillow stays fluffy and dries evenly.
8. Fluffing and Reshaping: Once dry, press and shake the pillow from all sides. This helps the filling spread out again. Most pillows regain their shape with a few minutes of fluffing, especially after a full wash. If you like restoring the shape of things instead of replacing them, you’ll probably enjoy my guide on how to bring flat couch cushions back to life in minutes using simple at-home methods.
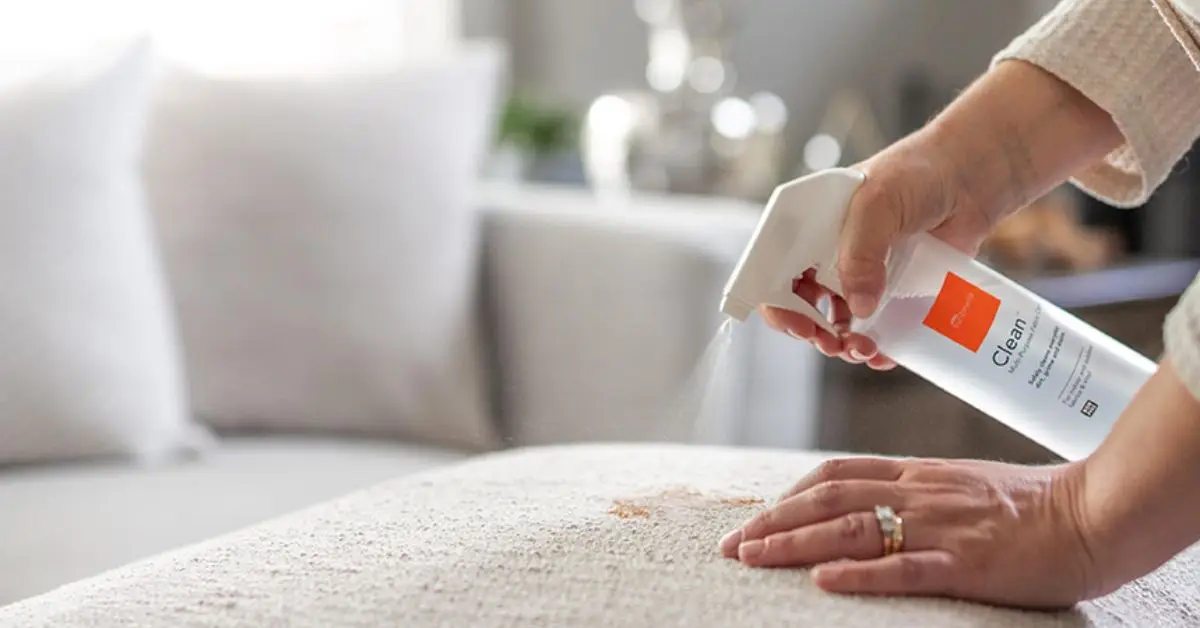
9. Spot Cleaning for Memory Foam and Latex: Since these pillows can’t go in the washer, spot cleaning is the safest method. Mix a little detergent with water, dab the stain gently, and wipe it clean. Be patient with drying—foam holds moisture longer than fabric.
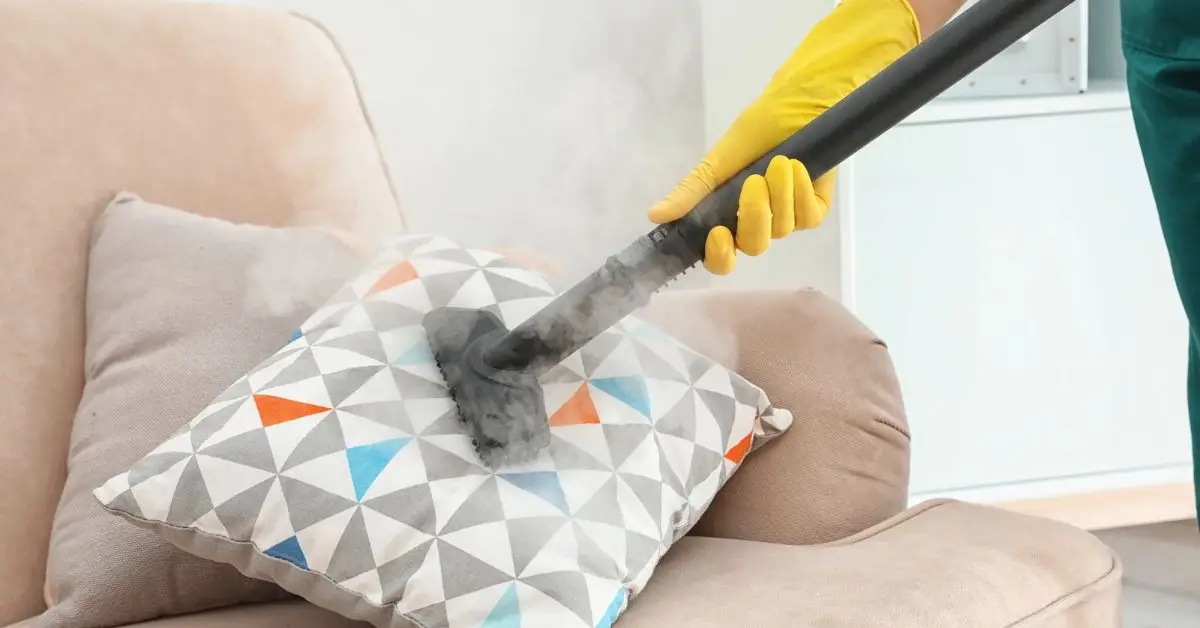
10. Sanitize Between Full Washes: For days when you don’t want to do a deep clean, you can refresh your pillows with a light fabric spray, steam, or even a few hours of sunlight. It keeps them from collecting odors and helps prolong the time between washes.
Home Hacks and Cost-Free Tools No One Tells You
I’ve noticed that most cleaning guides skip the simple hacks people actually use at home. The best tricks usually come from quick social posts, comments, or real-life experiments—not polished how-to articles. So here are a few low-cost, practical things you can start using right away.
- Vacuum + Spot Clean Routine: A lot of Instagram reels show this simple routine: vacuum the pillow surface first, then spot clean only the areas that need attention. It saves time, avoids overwashing, and keeps the pillow feeling fresh between deep cleans. I use this on my guest pillows all the time because it works without soaking anything.
- Vinegar + Detergent + Baking Soda Combo: This one pops up often on Facebook cleaning groups. When you’ve got stubborn yellow stains, a mix of vinegar, a little detergent, and baking soda foams up enough to lift discoloration without harsh chemicals. The key is to apply it only where needed and rinse thoroughly. It’s cheap, safe, and surprisingly effective.
- Sunlight as a Natural Sanitizer: If you’ve never hung a pillow out in the sun, try it once. The heat and UV light work together to deodorize and naturally sanitize the filling. It’s a classic YouTube hack because it doesn’t cost anything and works even for pillows that can’t go in the washer.
Mistakes That Ruin Your Pillow
People often write to me saying their pillow turned lumpy, flat, or musty after a wash—and most of the time, it comes down to a few avoidable mistakes.
- Machine-Washing Memory Foam: Memory foam may look tough, but the agitation in a washing machine can break it apart. The foam absorbs too much water and loses its shape. The safest way is always vacuuming, light spot cleaning, and air drying. Enchant Home breaks down why foam reacts this way in their guide on pillow care.
- Using Too Much Detergent: It’s easy to think more soap means a deeper clean, but pillows don’t work like clothes. Excess detergent gets trapped inside the filling and creates residue that can cause odor or stiffness. A little detergent goes a long way, especially with warm water.
- Not Drying Completely: If a pillow stays even slightly damp on the inside, mold can develop without you noticing. That’s why drying is the most important part of the whole process. Whether you use the sun or a dryer, the pillow has to be completely dry—all the way through—before you put it back on your bed
Cost-Free Maintenance Between Deep Cleans
Keeping pillows fresh doesn’t always require a full wash. Simple, regular habits can delay yellowing, reduce odor buildup, and extend overall pillow life.
- Use Pillow Protectors: A protector acts as the first barrier against sweat, oils, and dust. If you’re trying to keep your sleep space cleaner overall, you might also like my breakdown of 12 things you should remove from your bedroom to improve air quality and reduce dust buildup. It can be washed weekly with your sheets and keeps the pillow itself cleaner for much longer.
- Regular Fluffing: Fluffing takes seconds and helps redistribute filling so the pillow stays supportive. A quick daily squeeze-and-shake keeps air circulating and minimizes clumping.
- Weekly Baking Soda Deodorizing: A light sprinkle of baking soda across the pillow surface absorbs odor and moisture. Leave it on for 30 minutes and vacuum it off.
When It’s Time to Replace Your Pillow
Sometimes cleaning isn’t enough. A worn-out pillow affects sleep quality and can cause neck strain, so it’s useful to know the signals that it’s time to replace it.
- Pillow Doesn’t Bounce Back: If you fold your pillow in half and it stays creased instead of springing open, it’s lost its structural support.
- Persistent Odors: If smells return shortly after washing, the filling may be breaking down internally or holding bacteria.
- Loss of Support: If you’re waking up with neck discomfort, or you constantly fold or punch the pillow to find a comfortable spot, it’s likely past its lifespan.
Quick Cost Comparison — DIY vs Professional & Tools
Many readers search for ways to avoid buying expensive cleaning machines, and the truth is: you don’t need them.
| Method | Cost | Effectiveness | Notes |
|---|---|---|---|
| Baking soda + vinegar + detergent | Low | High for stains/odors | Uses common household items |
| Hand washing | Low | Very effective | Best for foam and delicate fillings |
| Sunlight drying | Free | High | Naturally sanitizes and deodorizes |
| Professional cleaning | Medium–High | High | Useful for specialized materials |
| Fabric steamers | Medium | Moderate | Good for quick sanitizing |
| Machine cleaners or specialty sprays | Medium | Moderate | Optional, not required |
Conclusion
Keeping your pillows fresh, clean, and supportive doesn’t require expensive equipment—just consistency and simple home habits. With the right care routine, your pillows can last longer, feel better, and support healthier sleep.
If you have your own cleaning tricks, questions, or routines that worked for you, share them in the comments—I’d love to hear how you maintain your pillows at home.
For more practical home care guides and budget-friendly cleaning methods, visit Build Like New for fresh tips and updates every week.
Disclaimer: This guide is for general home-care information only and isn’t a substitute for manufacturer instructions or professional cleaning advice. Always check your pillow’s care label before trying any method.

