10 Proven Ways to Protect Your Windows Before a Hurricane Hits
If you’ve ever heard the wind howl during a storm and wondered if your windows could actually hold up — you’re not alone. Every year, hurricanes cause billions in damage, and a huge chunk of that starts when windows fail. One cracked pane is all it takes to let in flying debris, pressure changes, and water damage that spirals fast.
I’ve lived through enough storms to know: it’s never “just” about broken glass. Once your windows give way, your whole home becomes vulnerable — walls, roof, everything.
The problem? Most people wait until there’s a warning on TV before they even think about prep. And by then, it’s already too late to get supplies — or worse, to install them properly.
So if you’re serious about protecting your home this year, now’s the time to act smart. In this guide, I’ll walk you through 10 practical, cost-conscious, and actually effective ways to hurricane-proof your windows — with zero fluff.
You won’t need a contractor for all of them. You will need to be honest about your risk, your budget, and how fast hurricanes form these days.
Let’s get into it — because storm prep isn’t about panic. It’s about being one step ahead.
Why Your Windows Are the First Thing You Should Protect
Most people focus on the roof or garage when a hurricane is coming. That makes sense — but it also overlooks the real entry point for damage: your windows.
Once a window breaks, the storm has a way in. Wind rushes through, pressure builds inside your home, and it looks for an escape. That pressure often pushes upward, lifting the roof from the inside. It’s one of the fastest ways a home goes from safe to destroyed — and it all starts with a single broken window.
You don’t need a Category 5 storm for that to happen. A flying branch or unsecured lawn chair can blow through regular glass in seconds.
The truth is, most windows aren’t built to handle that kind of force. And if yours are older or standard single-pane, they’re especially vulnerable. But many homeowners don’t realize that until it’s too late.
Protecting your windows isn’t optional. It’s the first and most critical step in protecting everything else — your home, your family, and your peace of mind.
When was the last time you looked at your windows and thought about what could hit them during a storm? Walk outside today and take a real look. What would you need to change?
Understand Your Options: Cost vs Protection
Let’s be honest—there’s no one-size-fits-all solution when it comes to hurricane-proofing your windows. It depends on your budget, your home, and how often you face storms. But the worst thing you can do is wait until a warning hits and then scramble to figure it out.
Here’s what you need to know about the main options—and what they really offer.
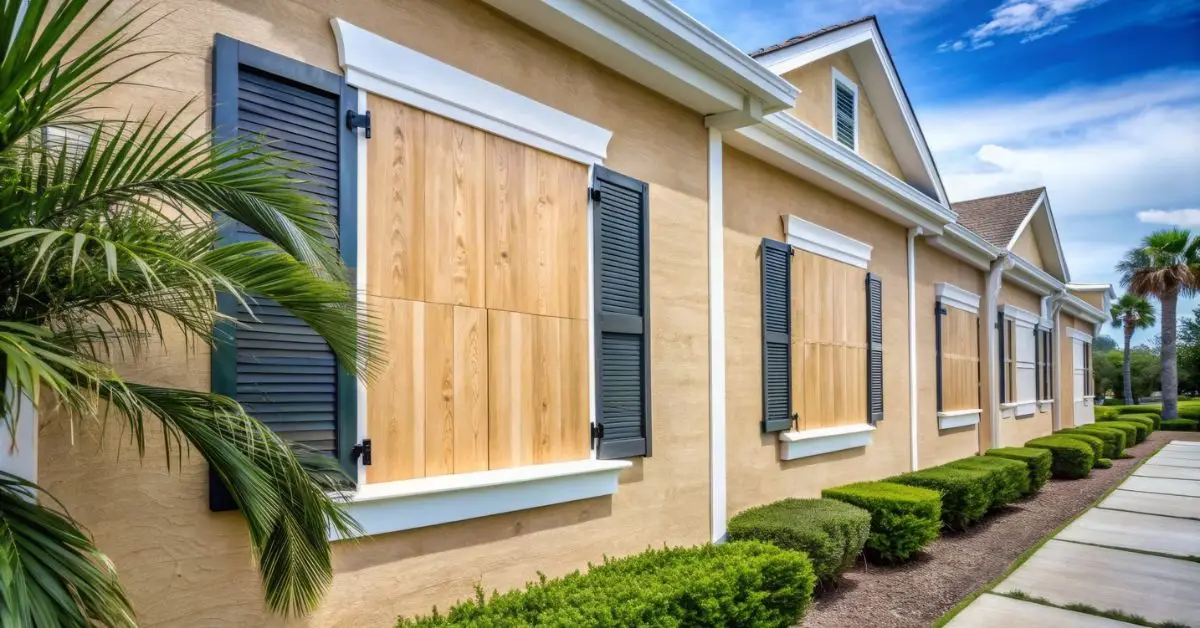
- Plywood panels are the go-to choice for many because they’re cheap and easy to find. But they’re also heavy, single-use, and if you don’t cut and label them ahead of time, they’re a nightmare to install in high winds. They also rot if stored badly and may not meet building codes in some areas.
- Hurricane shutters come in several types—accordion, colonial, roll-down. They’re more expensive upfront, but they’re fast to deploy and last for years. Some are even automatic, which makes a huge difference when time is short.
- Hurricane fabric panels are gaining popularity. They’re lightweight, reusable, and don’t require major hardware. They don’t look as tough as plywood or shutters—but they’re lab-tested to stop flying debris. If you need a faster, more flexible option, this might be worth considering.
- Impact-resistant windows are the gold standard. They’re built to withstand high-speed impacts and pressure changes. They’re also energy-efficient and can lower insurance costs. But they’re a serious investment, and you won’t be able to install them last minute.
Each option has trade-offs. Some people go for a mix—impact windows in key rooms, shutters for the rest, and plywood for last-resort areas. The key is planning now—not the day before landfall.
Which one of these would work for your home right now? Think about cost, effort, and how quickly you could set it up. If your answer is “none,” it’s time to make a plan.
Smart Way #1: Pre-Measure and Pre-Cut Plywood (Before You Think You Need It)
If you’re thinking of using plywood, here’s the biggest mistake people make: waiting until the storm is announced.
By then, stores are empty, lines are long, and you’re left grabbing whatever warped sheet is left. And even if you find it, you probably won’t have time to measure, cut, and install it safely.
Here’s what actually works: buy and cut your plywood before hurricane season starts. Use 5/8-inch exterior-grade plywood, not thinner material. Cut each piece to overlap your window frames by at least 6 inches. Drill mounting holes in advance, and label each board clearly—room name, orientation, and which side faces out.
Then store them flat and dry in your garage or shed.
This one step—done early—saves hours of panic later. And it can make the difference between a shattered living room and a sealed-up, secure home.
A lot of homeowners think they’ll just “figure it out” when the time comes. That’s wishful thinking. Prepping plywood now is simple, cheap, and probably the most underrated move you can make.
Do you already have pre-cut boards stored for each window? If not, make a list of your windows this weekend. One solid prep day now can save you from a nightmare later.
Smart Way #2: Use Proper Fasteners, Not Just Screws
Let’s clear up a dangerous myth—you can’t just screw plywood into your siding and expect it to hold during hurricane winds.
I’ve seen too many people throw up boards with drywall screws or cheap hardware, thinking it’s “good enough.” It’s not. Winds above 75 mph will rip that plywood off like it was never there—and now you’ve got flying wood in addition to broken windows.
The solution? Use heavy-duty lag screws or barrel bolts, ideally every 16–18 inches around the frame. If your home has masonry, use masonry anchors. For wood framing, install permanent fastener anchors or window clips before storm season. Some homeowners use mounting tracks that stay on the exterior year-round so they can quickly bolt panels on when needed.
Also, don’t forget to mark your fastener points when you pre-cut your boards. It’ll save you precious time when a storm is approaching and stress levels are already high.
Good prep isn’t just about covering the glass—it’s about keeping that barrier in place when things get violent.
Do you know what kind of fasteners your window coverings use? If you’re not sure, check now—because weak hardware turns good prep into a false sense of security.
Smart Way #3: Interior-Only Boarding (If You’re in an Apartment or Can’t Access the Outside)
Not everyone has the luxury of boarding up windows from the outside. If you live in a second-floor apartment, a townhouse with HOA restrictions, or a tight city lot, you need a backup plan.
You can still add serious protection — from the inside.
The key is anchoring plywood panels into the framing around your window, not just screwing them into drywall. This method takes a little more planning, but it works.
One reliable approach is the “toenail method” — where you angle screws into the wall studs at the corners of the plywood, securing it tightly across the window. You’ll need to find the studs first (use a stud finder), and you may want to pre-cut and label the panels in advance just like exterior boarding.
This isn’t perfect — it’s a compromise. But when you can’t install exterior shutters or panels, interior bracing is better than doing nothing. It helps block debris and reduce internal pressure spikes if a window gives out.
Most articles don’t even mention this, but for thousands of renters and condo owners across the U.S., this is the only realistic way to prep.
Do you know whether your windows can be accessed from the outside? If not, go check now. And if the answer is no — make a plan to board from the inside before you’re under pressure to act.
Smart Way #4: Invest in Impact-Resistant Windows
Let’s talk about the option most people wish they had once a storm hits: impact-resistant windows.
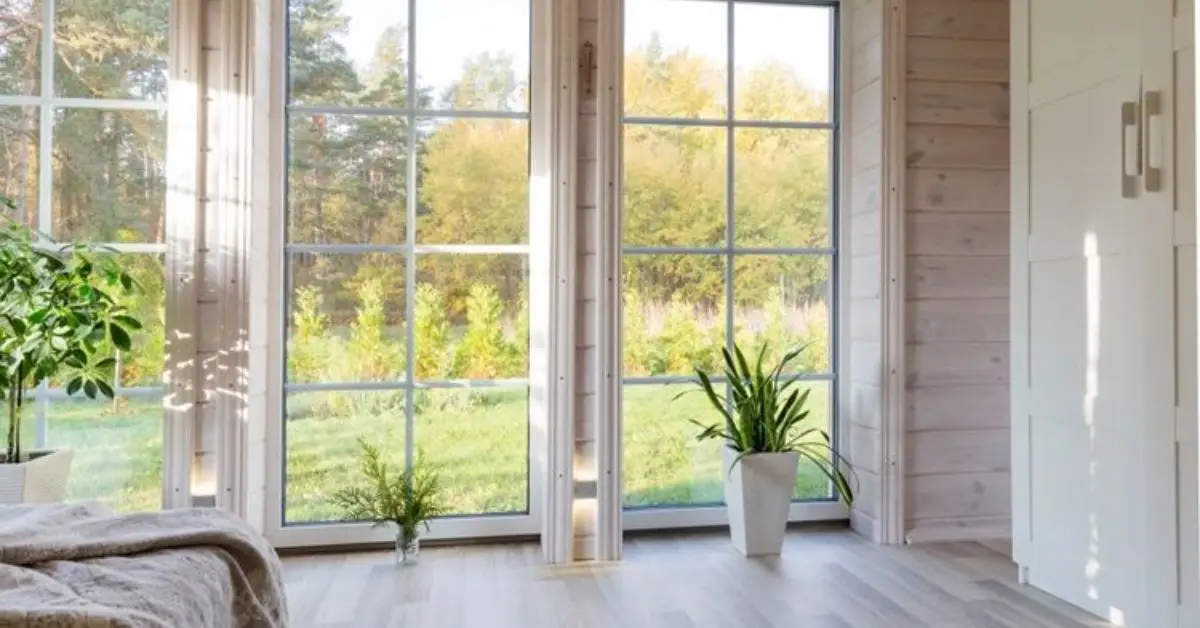
These aren’t just regular double-pane windows. They’re built with laminated glass and reinforced frames, designed to withstand flying debris, intense pressure shifts, and wind gusts over 100 mph. When installed correctly, they stay intact even when something hits them at full speed.
Yes, they’re expensive. There’s no way around that. But if you live in a hurricane-prone area—Florida, the Gulf Coast, or anywhere along the Atlantic—it’s worth running the numbers.
Here’s what most homeowners don’t realize:
- You may qualify for insurance discounts once they’re installed.
- They boost energy efficiency, lowering your monthly bills.
- They improve security year-round by resisting forced entry.
- They raise your property value if you ever sell.
The biggest benefit? Peace of mind. You don’t have to run around boarding windows or hoping tape will help. Your home is ready before the first storm warning ever hits.
If you’re planning a remodel or upgrading windows anyway, this is the moment to go impact-rated. It’s a big decision — but if you can swing it, it’s one of the smartest long-term moves you can make. If you want to explore even higher levels of protection, especially for security-conscious homeowners, learn more about bullet-resistant glass options that offer storm and intrusion defense.
Have you priced out impact-resistant windows for your home yet? Even if you’re not ready to install now, get a quote. It might cost less than you think — especially when you factor in insurance and energy savings.
Smart Way #5: Use Hurricane Fabric Panels
If you’ve never heard of hurricane fabric, you’re not alone — but it’s one of the smartest solutions more homeowners are starting to use, especially in places like Florida and the Carolinas.
These are flexible, high-strength panels made from synthetic fabric, designed to stretch across your windows and anchor into the frame or surrounding walls. They’re tested to withstand debris impacts and reduce wind pressure just like shutters — but they’re lightweight, easy to store, and way faster to install.
Why do people choose fabric over plywood or metal shutters?
- You can put them up alone, without help.
- They don’t take up much space in storage.
- They’re reusable for multiple seasons.
- They’re less likely to cause damage to your exterior walls.
They’re not the cheapest, but they’re more affordable than impact windows and easier to manage than plywood, especially for older homeowners or anyone who lives alone.
There are different brands out there (like AstroGuard and Hurricane Fabric), so do your research and check if your local building codes approve them — especially if you’re in a High-Velocity Hurricane Zone (HVHZ).
For people who want fast, effective, and repeatable protection without permanent hardware, this is one of the smartest upgrades you can make.
If you’re curious about how hurricane fabric compares to other options like screens, here’s a breakdown of how hurricane screens perform under extreme wind and flying debris.
Ever tried fabric panels for window protection? If not, look them up. You might be surprised how much protection they offer — with a fraction of the hassle.
Smart Way #6: DIY vs Professional Hurricane Shutters
Shutters are one of the most common—and effective—ways to protect your windows. But here’s where a lot of homeowners get stuck: Should you install them yourself, or hire a pro?
It depends on two things:
- Your timeline, and
- How comfortable you are with tools and ladders.
There are several types of shutters available, and each comes with its own level of complexity:
- Accordion shutters: fold out from the sides; permanently mounted, easy to close
- Roll-down shutters: operate manually or with a motor; very fast, but expensive
- Colonial shutters: look decorative, but require two hands to close and latch
- Storm panels: metal or polycarbonate panels that bolt on with tracks or fasteners
DIY installation can save you a lot of money, especially with storm panels or some accordion styles. But it’s not a weekend project for beginners. You’ll need to measure precisely, drill into concrete or masonry, and make sure everything aligns with your local building code.
Hiring a pro gives you speed and peace of mind—and may come with warranties or engineering certifications that help with insurance or resale value. But during peak hurricane season, contractors book up fast.
If you’re leaning toward shutters but haven’t committed yet, don’t wait until July or August. Get quotes, check lead times, and see if your HOA or city requires permits.
What kind of shutter setup makes sense for your house? Make a short list of what you’d be willing to DIY—and where you’d rather have a pro step in. Planning that now makes everything easier later.
Smart Way #7: Add Security Window Film (But Know Its Limits)
If you’ve seen those thick, clear films being applied to windows, you might think they’re enough to hurricane-proof your home. The truth? They help — but only in specific ways.
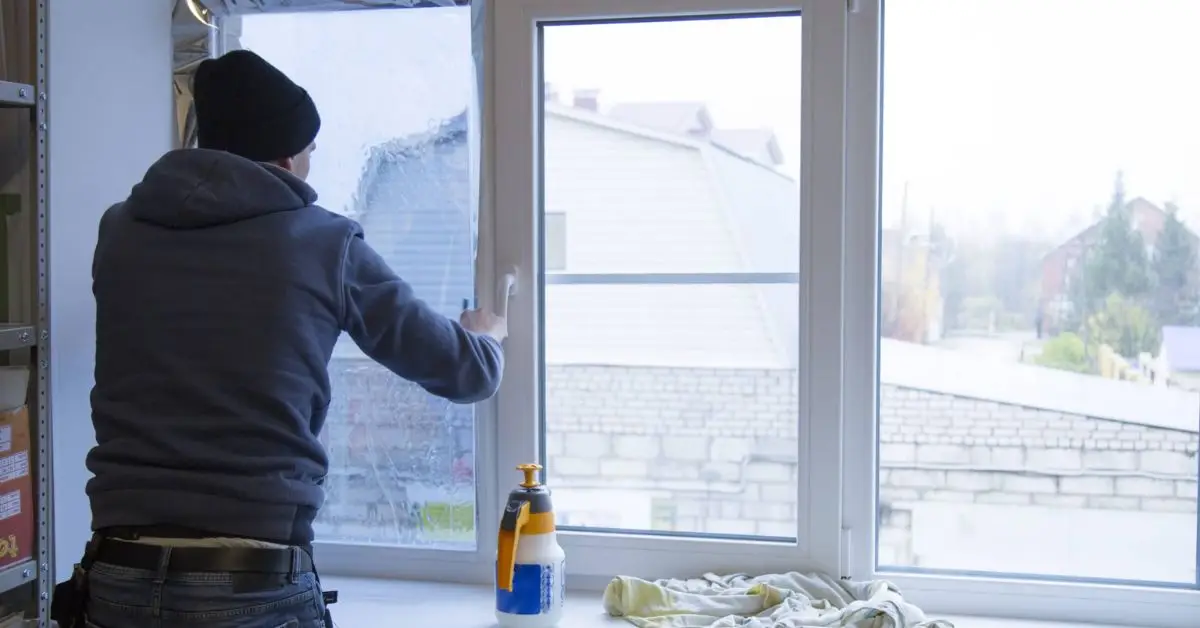
Security film is a thin, adhesive layer you apply to the inside of your windows. It’s designed to hold glass together if it shatters, reducing flying shards and minor breaches. That makes it great for added safety and can even slow down break-ins.
But here’s what most people don’t realize: film doesn’t stop the glass from breaking. If a 2×4 slams into your window during a storm, the glass will still crack — the film just helps it stay in one piece. It won’t keep wind pressure or debris from pushing through completely.
In short:
- It’s not a replacement for shutters or impact-rated windows
- It’s useful as a backup layer, especially if you’re in a lower-risk zone or in between upgrades
- It adds value for everyday security — burglar resistance, UV protection, etc.
If you want an affordable upgrade while you save for better protection, this is a solid interim step. Just make sure you’re realistic about what it can and can’t do in a major storm.
Already using window film? Don’t assume you’re fully protected. Think of it as a bonus layer—not your only defense. If you’re relying on it alone, make a plan to add something stronger.
Smart Way #8: Prep the Area Around Your Windows
Protecting your windows isn’t just about what you put on them — it’s also about what’s around them.
When storms hit, most window damage doesn’t come from the wind itself. It comes from flying debris — loose branches, garden tools, potted plants, or that patio chair you forgot to tie down.
That’s why one of the smartest things you can do is to clear the danger zone around your windows. Here’s what to focus on:
- Trim trees and overhanging branches well before storm season starts
- Bring in or tie down outdoor furniture, grills, toys, and trash bins
- Secure anything that could become airborne — even things you think are too heavy
- Clean your gutters and drains, so water doesn’t back up around window frames
- Check for weak fencing or trellises that might collapse under pressure
This is one of the easiest, most affordable parts of storm prep — but most people overlook it. It’s not flashy, it’s not expensive, but it can be the difference between an intact window and a disaster.
You can have the best plywood or shutters in the world, but if your neighbor’s umbrella crashes into the glass at 60 mph, none of it matters.
Walk around your house today. Look at every object near your windows and ask: would I want this flying at me at 90 miles an hour? If not — move it, tie it, or get rid of it.
Smart Way #9: Don’t Rely on Tape or Cardboard (Seriously)
Every time a storm is on the way, someone pulls out the duct tape or tapes big Xs across their windows. It might look like you’re doing something smart — but it doesn’t work.
Let’s be clear:
- Tape won’t stop your windows from breaking.
- It won’t reinforce the glass.
- It won’t prevent pressure from building inside your home.
At best, it might hold some of the shattered pieces together — but even that’s questionable. And cardboard? That’s just paper in disguise. It soaks up water, offers zero protection, and gives you a false sense of security.
Worse, these methods waste time — time you could’ve spent doing something that actually works, like securing plywood, installing shutters, or clearing debris.
This is one of those myths that refuses to die, no matter how many times experts warn against it. If you’ve heard it from a neighbor, a family member, or a viral Facebook post — ignore it.
When it comes to hurricane prep, “better than nothing” is not good enough.
Have you ever used tape or seen others do it before a storm? Share it — and let’s help debunk this myth for good. What actually worked for you? That’s the advice people need to hear.
Smart Way #10: Plan an Interior Safe Spot in Case a Window Fails
No matter how much you prepare, sometimes a window breaks. Maybe the wind changes direction, debris finds a weak point, or something just goes wrong.
What matters next is what you do — and whether you’ve already thought it through.
Every home should have a designated interior safe zone — a place without windows, preferably on the lowest floor, where you and your family can wait out the storm if your main living space becomes unsafe.
Here’s what makes a good safe spot:
- An interior room (bathroom, hallway, closet)
- No exterior walls or windows
- Solid door you can close and secure
- Room to bring in mattresses, pillows, blankets, and a flashlight
- Space for pets, a weather radio, chargers, and emergency snacks
If a window fails mid-storm, you don’t want to figure this out in the dark. You want to know exactly where to go, and you want your kids or anyone else in the house to know too.
This isn’t something most window-prep articles mention. But it’s one of the most human parts of storm readiness — because when glass shatters, what you need most is a safe place to breathe and wait it out.
Do you have a safe spot in your home? Not just in theory — but one that’s cleared, stocked, and ready? If not, pick a room today and start building that backup plan. It could save lives.
Bonus Tips From Real People and Experts
Sometimes the best advice doesn’t come from product manuals or contractor quotes — it comes from the people who’ve lived through the worst and know what actually works.
Here are a few smart, real-world tips worth paying attention to:
1. Reddit user (r/preppers):
“Plywood is only good for one storm… Most insurance companies give discounts for all-opening protection but won’t for plywood.”
This isn’t just a budgeting tip — it’s a reminder that short-term fixes may not get you long-term protection, or even the insurance break you expected.
2. Twitter tip from @HurricaneAware:
“Protect every opening — not just the front of the house. Wind finds the weak spots.”
It’s a simple rule many forget. Leaving one window exposed can compromise the entire structure.
3. Expert source – Time.com:
“Photograph your windows, roof, and siding before a storm — and again after. It helps when filing insurance claims.”
This kind of documentation is often skipped but can speed up claims and prove damage if you need to fight a denial.
Have a hurricane hack that worked for you? Or a mistake you wouldn’t repeat? Share it. The next person reading this might be in the exact spot you were a year ago — and your tip could make all the difference.
Quick Hurricane Window Prep Checklist
You don’t always have time to think things through when a storm’s headed your way. That’s why you need a clear, no-nonsense checklist — not just ideas, but steps you can actually follow under pressure.
Here’s a simplified prep list focused just on your windows and the area around them:
Window Protection Supplies:
- Pre-cut 5/8″ plywood panels (labeled for each window)
- Hurricane shutters (accordion, roll-down, or storm panels)
- Hurricane fabric panels (with mounting hardware)
- Security film (already applied, if using)
- Lag bolts, barrel bolts, or approved window clips
- Drill and impact driver (charged)
- Stud finder and measuring tape
- Safety gloves, goggles, and ladder
Before the Storm:
- Clear and trim trees and branches near windows
- Bring in patio furniture, grills, and loose yard items
- Clean gutters and downspouts
- Double-check all fasteners, mounts, and brackets
- Take photos of all windows for insurance documentation
- Confirm that your safe room is stocked and ready
- Share your prep plan with family or roommates
This checklist isn’t fancy — it’s what works. Keep it printed and somewhere visible during hurricane season so you’re not scrambling when it counts.
Copy this checklist, print it, and stick it to your fridge or garage wall. When the alerts start coming in, you won’t have time to figure it all out. You’ll need a list, and this one’s ready.
Wrap-Up: Timing and Mindset Matter More Than Gear
You can have the best shutters, the strongest plywood, or even top-tier impact windows — but none of it means anything if you don’t act in time.
The biggest mistake I see every year? People waiting. Waiting for a forecast, waiting for the storm to strengthen, waiting until the weekend. And then suddenly, it’s too late to get materials, install them safely, or avoid the rush.
Here’s what matters more than any one product: having a plan and starting early.
Hurricane season officially starts in June, but storms don’t wait for calendars. The moment temperatures shift and wind patterns change, you could have 72 hours — or less — to get ready.
- So don’t just prepare to react. Prepare to stay calm.
- Have your supplies now.
- Practice your install.
- Know who’s helping you, and who you’re helping.
- Photograph your windows and doors before storms — it helps with insurance if things go wrong.
And remember: being “lucky” in a storm is usually just another word for being prepared. Even with the best prep, if water still gets in, make sure you know what to do immediately after flooding to minimize long-term damage and mold.
If you’ve read this far, take five minutes right now to write down what your next prep step is. Not later — now. Then do one thing this week to move forward. Because waiting is never part of the smart plan.
Want more practical hurricane protection tips?
Visit Build Like New for expert guides, real-life prep checklists, and smart upgrades to make your home safer — without wasting money or time.
Disclaimer: This article is meant to provide general guidance and personal insight based on real-world experience and research. It’s not a substitute for licensed advice from building professionals, insurance agents, or local authorities.
Always check your local building codes, HOA rules, and state guidelines — especially if you live in a High-Velocity Hurricane Zone (HVHZ) like parts of Florida, Texas, or the Gulf Coast.
If you’re unsure whether your home meets safety standards or if a specific installation method is allowed in your area, consult a certified contractor or inspector before making changes.
Your safety depends on more than online advice — use this guide as a starting point, not the final word.