
11 Mopping Mistakes That Leave Your Floors Dirtier Than Before
You scrubbed, you mopped, and yet the floor still looks grimy. If you’ve ever muttered “why my floor looks dirty after mopping” — you’re not alone, and it’s not always your fault.
I’ve seen the same mistakes in kitchens and entryways for decades: the wrong water, the wrong cleaner, a mop that’s actually spreading gunk. In this piece I’ll show you the real reasons your floors betray you and the exact fixes that actually work.
No fluff — just practical steps you can use tonight to stop redepositing dirt, avoid streaky film, and make your floors look genuinely clean. Read on and by the end you’ll know what to stop doing and what to do instead.
1. Skipping Pre-Cleaning: Not Sweeping or Vacuuming First
If I mop without sweeping first, I’m basically dragging crumbs, dust, and pet hair across the floor and mixing it into the mop water. That dirty water doesn’t disappear — it settles right back onto the surface. That’s why you can mop and still end up with a dull, gritty finish.
You’ve probably seen this yourself: you mop, walk across the floor later, and your socks still turn gray. Daily pre-cleaning matters more than you think — check out our guide on how often you should really sweep your floors for practical tips you might be overlooking. I see people on Reddit complaining about the same thing all the time, and almost every case comes down to leftover debris.
What actually helps:
- Sweep or vacuum before every mop session
- Hit corners, under chairs, and high-traffic zones
- Use a microfiber dry mop if you have pets — it pulls in loose hair better
Once you remove the dry dirt first, your mop finally cleans instead of spreading grime.
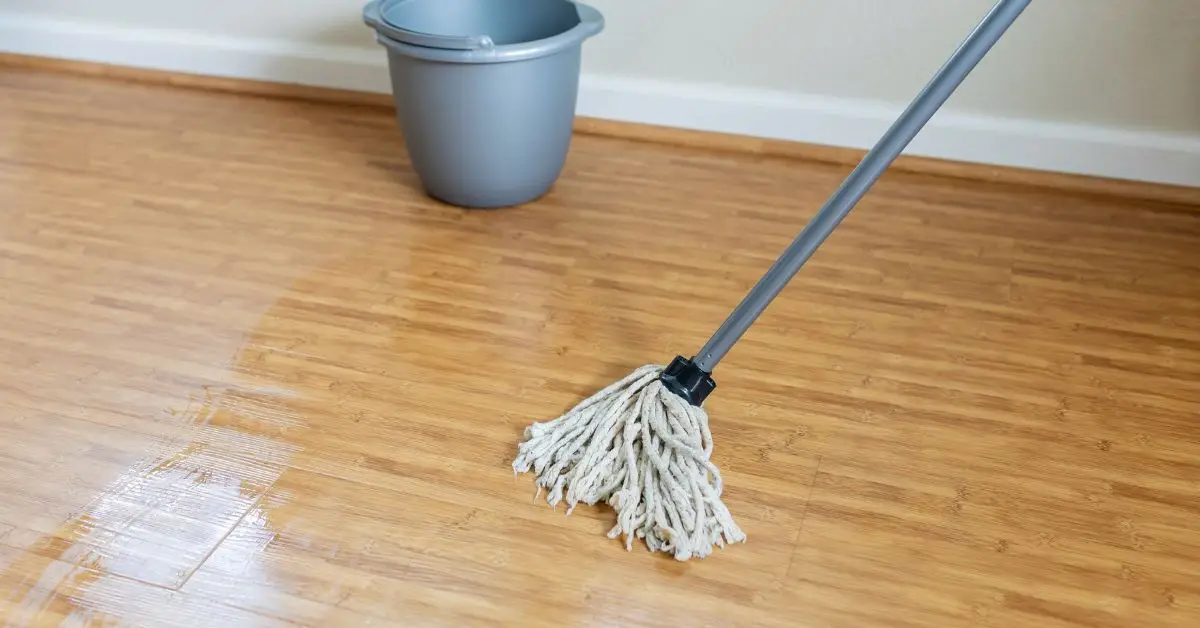
2. Using Too Much Water — Over-Saturating the Floor
More water doesn’t clean better. If anything, it guarantees streaks, residue, and a cloudy finish. Extra moisture seeps into seams, sits on the surface too long, and leaves minerals behind as it dries — especially if you have hard water.
Most people don’t realize how little water they actually need. Cleaning experts in this Martha Stewart guide explain that even 1 mm of soapy water is enough to clean effectively.
To avoid over-wetting:
- Wring your mop until it’s damp, not dripping
- Don’t allow puddles to sit — wipe as you go
- Work in sections so the floor dries faster
- Keep the water mildly warm, not hot
Once you control the moisture, the streaks and film disappear.
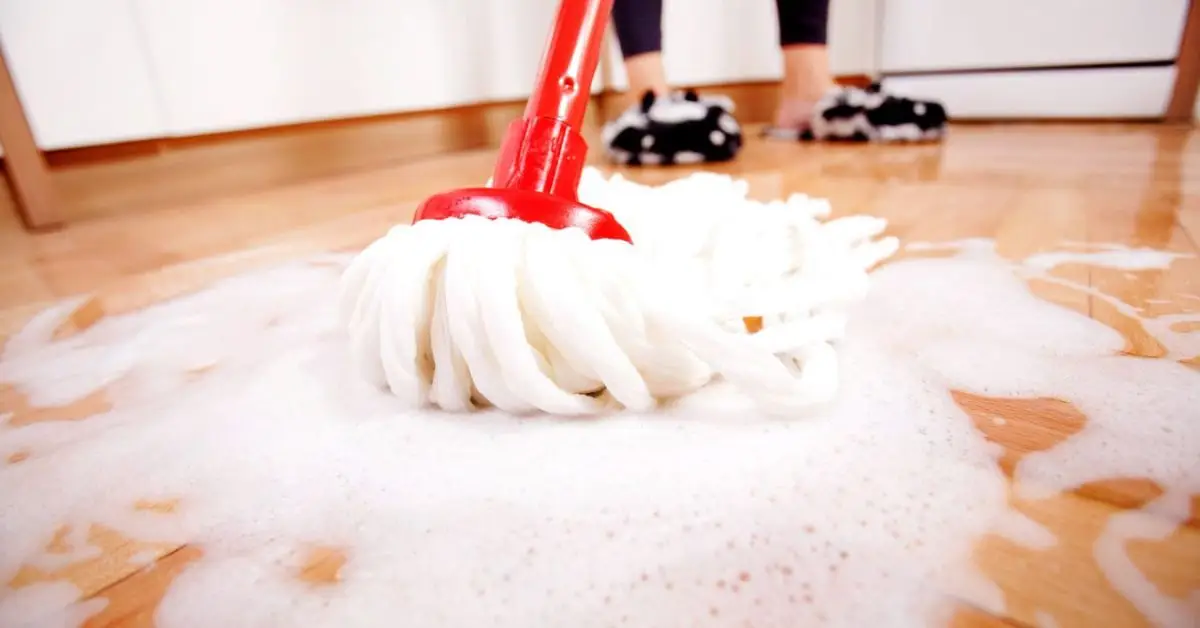
3. Overusing Cleaning Solution or Soap
I used to think more soap meant a cleaner floor, but the opposite happens. Extra detergent leaves a sticky film that grabs dust and pet hair the moment the floor dries. By the next morning, the floor looks dirty again even if no one walked on it.
Humidity also reactivates leftover soap, so the floor can feel tacky on warm days.
Here’s how to avoid that:
- Dilute exactly as the bottle says
- Never pour cleaner directly onto the floor
- Rinse with warm water if the surface feels sticky
- Watch for warning signs: streaks, a dull film, or that squeaky-sticky feel
Once you cut back to the right amount of cleaner, the floor dries cleaner and stays cleaner longer.
4. Not Rinsing After Mopping (or Doing a Final Rinse)
If I don’t do a clean-water rinse after mopping, the floor never looks fully clean. Whatever soap is left behind dries into a thin film, and that film causes streaks, dull patches, and that strange “dirty even though I just cleaned” look.
A lot of people trust no-rinse cleaners, but they’re not always as no-rinse as the label makes them sound. Some formulas still leave a slight residue, especially on tile, vinyl, or laminate.
Here’s what actually works:
- After mopping with cleaner, switch to a bucket of clean warm water
- Wring the mop well so you’re not flooding the floor
- Do a quick pass over the same area to lift leftover detergent
- Let the floor air-dry without stepping on it
That last rinse step is what gives the floor a true clean finish instead of a coated one.
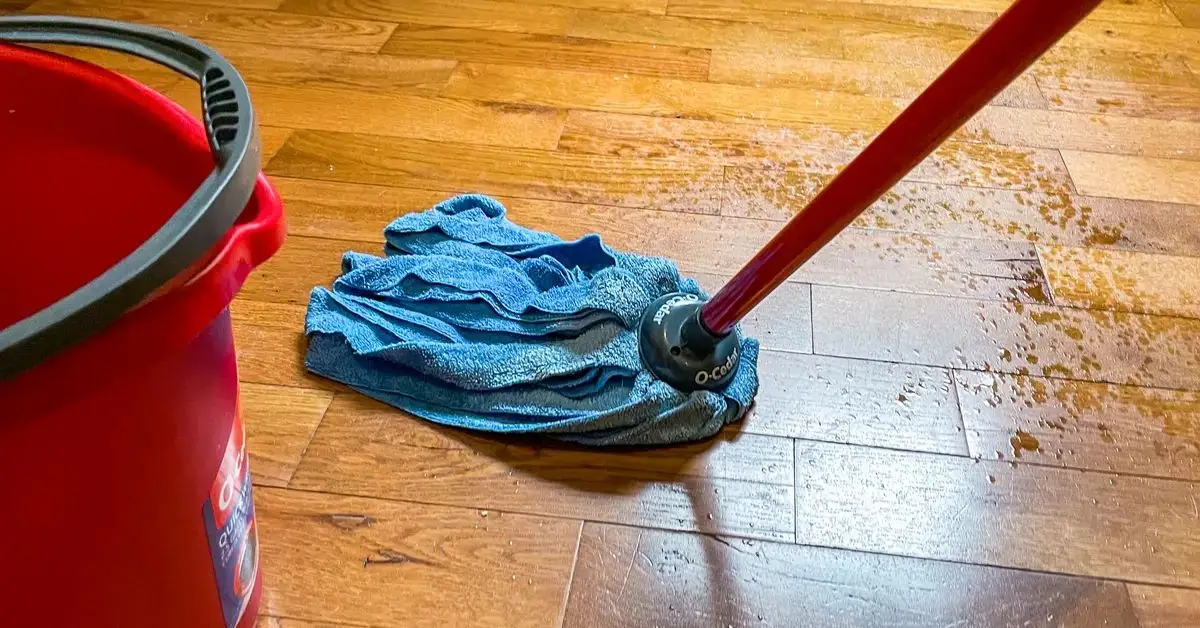
5. Using the Wrong Kind of Mop (or a Dirty Mop Head)
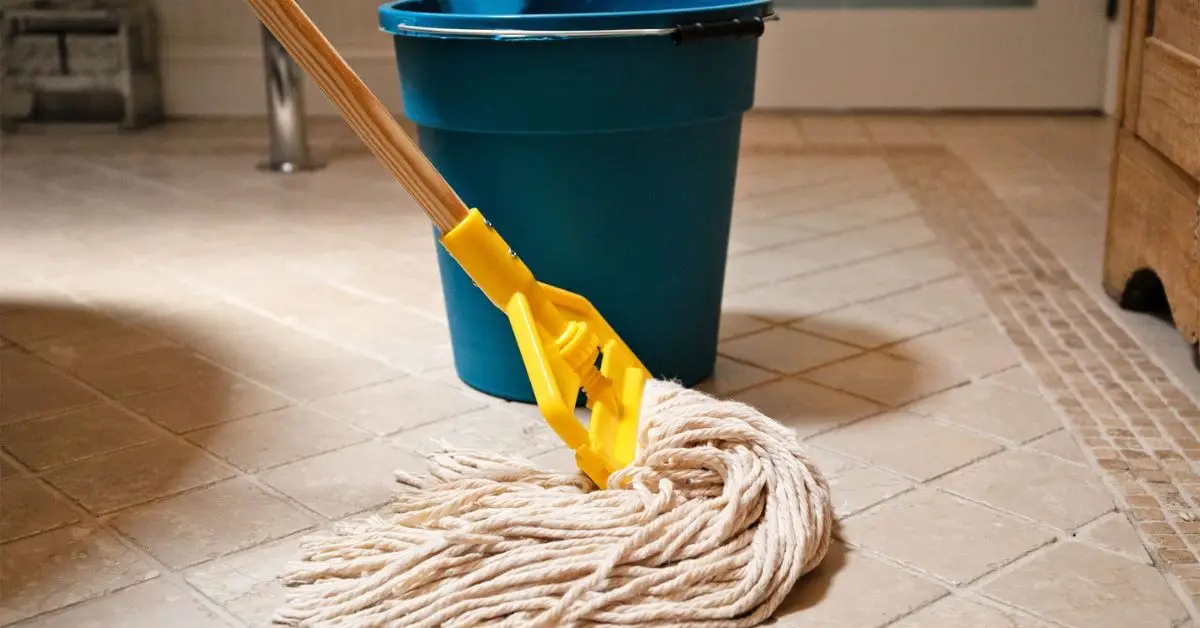
I’ve seen people clean with the same old string mop for months, and it’s no surprise their floors look worse afterward. Cotton string mops, sponges, or worn-out heads can hold onto grime, bacteria, and old residue. When you mop with them, you’re just spreading yesterday’s dirt across today’s floor.
Microfiber is in a different league. It grabs dirt instead of pushing it around, and it washes up well. If you want proof, this breakdown from AIOLITH explains exactly why microfiber stays cleaner and traps more debris.
What makes the biggest difference:
- Use a microfiber mop for better dirt pickup
- Rinse the mop head often while cleaning
- Wash mop heads regularly, especially after heavy-use days
- Replace worn or smelly mop heads — they don’t recover
Once your mop is clean and the right type for the job, the floor finally stays clean after you finish.
6. Poor Mopping Technique: Wringing, Patterns, and Direction
How you move the mop matters more than people think. If I drag a wet, heavy mop across the floor without wringing it, I’m leaving streaks and puddles everywhere. If I mop in random circles, I end up spreading dirt into clean zones.
A simple technique shift fixes most of this.
Here’s what I follow:
- Use an S-shape or figure-eight pattern so the mop is always pulling dirt forward
- Start from the farthest corner of the room and work your way back
- Wring the mop every time it starts feeling heavy
- Avoid stepping on freshly cleaned sections
Good technique doesn’t take extra time — it just stops you from undoing your own work. Once you get the pattern down, you’ll notice the floor dries smoother, cleaner, and without those streaky drag marks.
7. Letting Dirty Water Go Too Long Before Changing It
If I keep mopping with the same bucket of dirty water, I’m not cleaning anything — I’m spreading the grime right back onto the floor. The moment the water turns cloudy, it stops lifting dirt and starts re-depositing it.
What I do now:
- Change the water as soon as it turns dull or gray
- Rinse the bucket each time before refilling it
- Don’t let leftover sludge sit at the bottom — it builds up fast
Fresh water and a clean bucket instantly make your mopping more effective and help your floors dry clearer.
8. Walking on the Floor Before It Dries Properly
I’ve messed this up many times. I mop the floor, step on it too soon, and suddenly the surface dries unevenly or shows smudges. Even one footprint can interrupt the drying pattern and create streaks.
Here’s what helps:
- Keep people and pets away until the floor is fully dry
- Open windows or turn on a fan to speed up the drying
- Give the floor a few extra minutes to settle before normal use
Those few moments of patience make a huge difference in how clean the floor looks afterward.
9. Using the Wrong Cleaner for Your Floor Type
Every floor reacts differently to cleaning products. Using the wrong one can leave residue, strip the finish, create haze, or make the floor attract more dust. I’ve seen hardwood turn cloudy from soaps and laminate streak from oily cleaners — it happens fast.
A helpful resource that breaks down the causes is this guide from Angi.
Here’s what I keep in mind:
- Use neutral cleaners for most surfaces
- Avoid harsh detergents unless the manufacturer recommends them
- Skip oily polishes if you’re already dealing with buildup
- Check your specific floor brand’s instructions. Just like choosing the wrong cleaner can damage your floors, using the wrong items in other areas of your home can have unexpected consequences — see our list of 7 things you should never burn in your fireplace for a few surprising examples.
The right cleaner doesn’t just clean — it protects your floor from looking dirty again the next day.
10. Ignoring Mop and Bucket Maintenance
The tools matter more than most people think. A dirty mop head or a bucket coated with old residue can ruin the entire job. Even the best cleaner can’t fix a mop that drags bacteria and grime across the floor.
My maintenance routine:
- Wash microfiber mop heads regularly
- Replace mop heads when they stop rinsing clean or start smelling
- Rinse and dry the bucket after every use so grime doesn’t settle in the corners
Clean tools make a real difference — and your floors will finally show it.
11. Not Dealing With Residue or Build-up (Wax, Cleaner Buildup)
Sometimes the problem isn’t your mopping technique at all — it’s old buildup sitting on the surface. Wax, polish, or layers of leftover cleaner can make a floor look cloudy, sticky, or greasy even when you mop it correctly. I’ve seen this happen a lot, especially on older hardwood and laminate.
What I look for to confirm buildup:
- A sticky or tacky feel under your feet
- A cloudy or hazy layer that doesn’t go away after drying
- Streaks that repeat no matter how carefully you mop
If you spot these signs, you’ll need a deeper reset:
- Mop with clean hot water to loosen the residue
- Scrub lightly with a soft pad (don’t scratch the finish)
- Use a residue-removal cleaner if the buildup is heavy
- If wax is the issue, you may need to strip and re-coat. If you’re thinking about switching to a steam mop to solve residue or buildup issues, make sure you read our guide on why certain items should never be used with a steam mop — it might surprise you.
Once the surface is clean again, maintenance is simple: light mopping weekly, deep cleaning only when needed, and avoiding products that leave heavy films.
Bonus Tip: Use the Right Water Temperature
Water temperature makes a bigger difference than most people realize. The wrong temperature can slow down cleaning, cause streaks, or even damage sensitive flooring.
Here’s what works for me:
- Hot water helps activate certain cleaners and speeds drying
- Warm water is the safest all-purpose choice
- Cold or cool water is best for delicate floors like laminate, so the surface doesn’t warp
One thing I never do: use boiling water. It can loosen adhesives, damage finishes, and leave behind mineral marks. Adjusting the temperature even slightly can make your floors look cleaner with less effort.
Quick Daily Habits to Avoid These Mistakes
If you want your floors to stay clean long-term, daily habits matter just as much as mopping technique. I’ve noticed that when I stick to a simple routine, I don’t have to mop as often — and the floors stay brighter.
What works well:
- A quick sweep or dust-mop once a day
- Spot-clean spills right away instead of waiting for the next mop day
- Rinse your mop head after small cleanups
- Keep a realistic mopping schedule based on how much traffic your space gets
These tiny habits prevent buildup and make every mop session more effective.
When to Call in the Pros (or Deep Clean)
There are times when regular mopping won’t cut it — especially if the floor has years of wax layers, sticky residue, or deep grime trapped in the finish. I’ve had to call in pros before, and honestly, it saved time and made the floor look new again.
You might need professional help if:
- The floor stays cloudy no matter what you try
- Wax or polish buildup is too thick to remove on your own
- The finish is damaged and needs re-coating
Good pros use commercial-grade pads and cleaners, so the job is faster and more uniform. If the floor still looks dull after your best effort, calling someone in is usually cheaper than letting the problem get worse.
Summary + Action Plan
Now that you know the 11 mistakes that make floors look dirty even after mopping, here’s a simple plan you can follow every time:
1. Pre-clean first: Sweep or vacuum so your mop doesn’t drag debris around.
2. Mop the right way: Use the right cleaner, the right mop, and fresh water.
3. Maintain smart habits: Keep tools clean and handle residue before it turns into buildup.
Small tweaks in your technique make a massive difference. Once you stop doing these mistakes and follow a steady routine, your floors start looking cleaner, clearer, and more “just-mopped” for longer.
If you found this helpful, drop your questions or cleaning struggles in the comments — I’d love to hear what’s happening on your floors.
And for more smart home-care guides, check out Build Like New, where I share practical tips that actually work in real homes.
Disclaimer: The cleaning tips and recommendations in this article are based on general best practices and personal experience. Always follow your flooring manufacturer’s instructions before using any product or method, and test new cleaners in a small hidden area first.

