
Avoid These 3 Common Curtain Mistakes for a Perfect Finish
I’ve hung more curtains than I can count, and yet, I still see the same mistakes in homes again and again. You might not realize it, but a tiny misstep—like placing the rod a few inches too low or picking the wrong curtain length—can completely throw off the look of your room. It’s frustrating because everything else in the space might be perfect, yet the windows just feel… off.
In this article, I’m going to walk you through the three curtain-hanging blunders I see most often, why they matter, and exactly how you can fix them. These aren’t vague design tips—you’ll get practical, real-world guidance that actually changes how your room feels. By the end, you’ll know how to hang curtains so they make your space look taller, wider, and effortlessly polished.
Blunder #1 — Hanging the Rod Too Low or Too Narrow
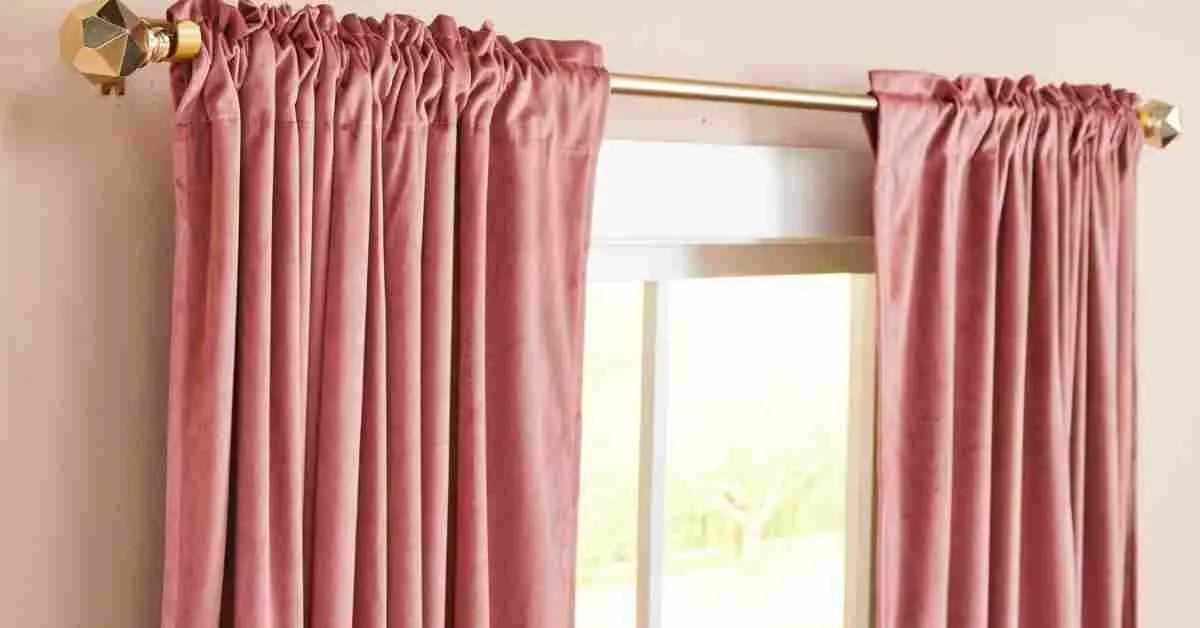
I see this mistake in almost every home I visit: the curtain rod sits just above the window frame, or the rod is barely wider than the glass. At first glance, it seems harmless, but it’s actually one of the most visually damaging errors you can make. Your windows end up looking smaller, and your ceilings feel lower. It’s subtle, but our eyes pick up on it immediately, and it can make even a well-decorated room feel… off.
What “Too Low/Too Narrow” Really Means
When designers talk about rods being “too low,” they don’t mean a few inches—they mean any placement that hugs the window frame instead of giving your room some breathing space. The result is a cramped, boxed-in look. Similarly, rods that don’t extend beyond the window edges make the glass feel narrower than it actually is.
Here’s what you’ll notice if this is happening in your space:
- Windows feel small and underwhelming.
- Ceilings seem shorter than they really are.
- Even nice curtains can look awkward and cheap because the proportion is off.
Interestingly, real people on Reddit often report that simply raising the rod a few inches instantly improves the feel of the room. It’s a small change, but the effect is huge.
The Perception Problem — Why It Makes Rooms Look Wrong
Our brains naturally follow lines, and the curtain rod is one of the first lines your eye notices in a window setup. If that line sits too low:
- Your eye is drawn horizontally rather than upward, which compresses the vertical space.
- Narrow rods crowd the window, making the glass appear smaller and reducing the natural light that spreads across your room.
Essentially, your room ends up looking shorter, narrower, and less inviting—all because of where the rod sits.
How to Fix It (Pro Formula)
Here’s what I do whenever I hang curtains, and it works every time:
- Mount the rod higher: Place it 4–6 inches above the window frame at minimum; if your ceilings are standard height, aim closer to the ceiling for maximum impact.
- Extend the rod wider: Add 6–10 inches beyond each side of the window. This opens up the window visually and lets more light in.
- Check your hardware: Use wall studs for a secure hold and make sure the rod is perfectly level to avoid sagging.
- Step back and assess: Sometimes even an extra inch or two changes the room’s feel dramatically.
If you’re worried about mounting rods and want a solution that avoids drilling into your walls, our post on how to hang curtains on a blind valance without drilling shows easy alternatives that still let you achieve perfect height and width.
Blunder #2 — Incorrect Curtain Length (High‑Water to Over‑Puddling)
Length might seem like a small detail, but if it’s off even by a couple of inches, it immediately throws off the whole window look. I’ve seen rooms with beautiful décor feel unfinished or messy purely because the curtains stopped too high or puddled too much. Too short looks cheap and awkward. Too long can collect dust, become a tripping hazard, or look like you just dropped the fabric on the floor.
If you want to keep your curtains looking their best and prevent dust or dirt from affecting their hang and length, check out our guide on 7 genius ways to clean curtains without taking them down. It’s full of practical tips that complement the curtain-length fixes we just covered. Getting this right is one of the quickest ways to make your windows look intentional and polished.
The Three Main Bad Lengths People Use
These are the mistakes I keep seeing again and again:
- High‑water: Curtains stop noticeably above the floor. It looks like something is missing.
- Mid‑floor stop: Curtains hang awkwardly between the floor and frame — neither here nor there.
- Excessive puddle: Too much fabric at the bottom creates a messy look and practical problems like dust and tripping.
The Pro Length Guide — What Works and When
Here’s how I approach curtain length in real rooms:
- Float (~½ inch above floor): This gives a clean, modern appearance without dragging fabric. Perfect for busy areas like living rooms.
- Kiss (grazing floor): Curtains gently touch the floor — intentional and tailored, great for bedrooms.
- Controlled puddle (2–4 inches): Adds a softer, formal look in dining rooms or elegant spaces, but only if it’s controlled and neat.
Your choice should depend on room use and how much visual weight you want at the floor line. Busy traffic areas will always benefit from float or kiss styles.
If you want a solid baseline for good curtain proportions, Better Homes & Gardens has a simple, practical guide on the dos and don’ts of hanging curtains — including tips on how length affects the overall look of your windows and room.
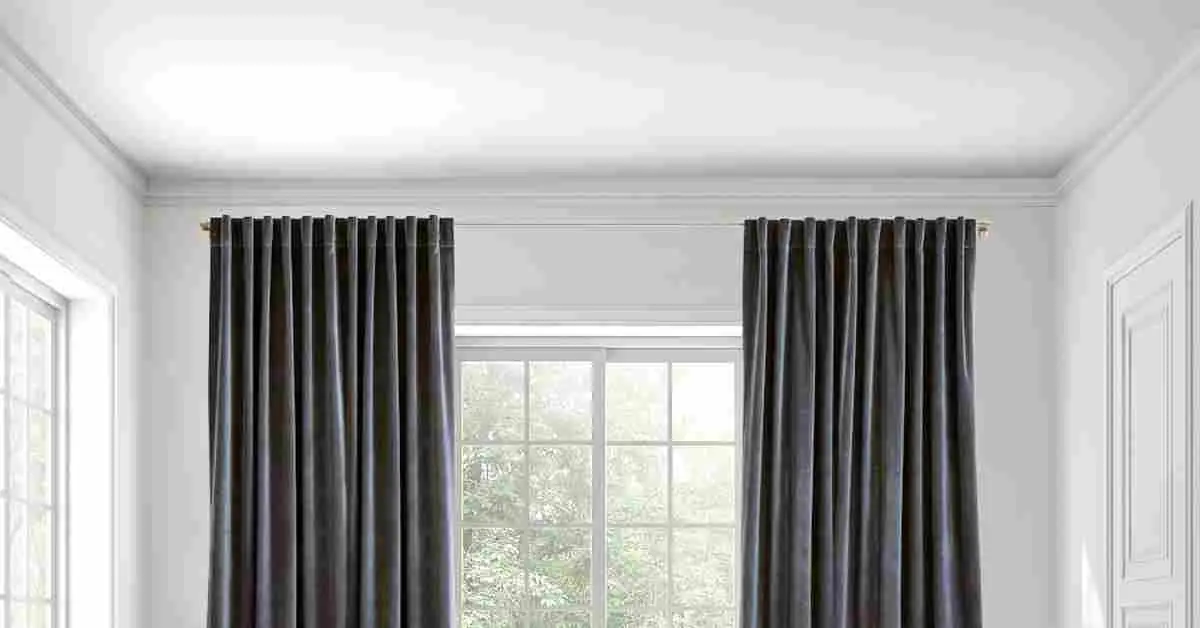
Blunder #3 — Panels Too Narrow or Improper Stackback
When you open your curtains and the window still feels closed in or flat, the problem isn’t the fabric — it’s the width and how the panels stack back. I’ve seen gorgeous curtains lose all impact because they’ve been sized or stacked incorrectly. This blunder affects both how much light you get and how balanced the window feels when the panels are open.
Why Width Matters (and What Most People Get Wrong)
Here’s what usually goes wrong:
- Panels that are too narrow: When your total curtain width barely covers the glass, the fabric looks skimpy and cheap — no matter how luxurious it actually is.
- Bad stackback: Stackback is how much space your curtains take up when opened. Too little and they crowd the window; too much and they block sightlines and light. People on Reddit often talk about this sort of “window math” — and it makes a big difference in real life. (See discussions from r/interiordecorating.)
Even stylist Emily Henderson points out how often this mistake is overlooked, and how proper panel width changes the entire feel of a room.
The Professional Rule for Fullness
I always size my panels this way:
- Total panel width = ~2 to 2.5× the actual window width.
- This gives you a full, gathered look when the curtains are drawn and neat, elegant stackback when open.
- Visually, this makes the window feel larger and more proportionate whether you want light or privacy.
Practical Fixes for Better Stackback
- Add extra panels if your existing ones are too narrow.
- Adjust how far the rod extends beyond each side of the window — this impacts how much space the panels have to “stack back” without blocking the view.
- Think about header style (grommet vs. pinch pleat vs. tab top): some headers need more width to stack neatly.
Fixing stackback isn’t glamorous, but it’s one of the biggest visual leaps in curtain styling you can make.
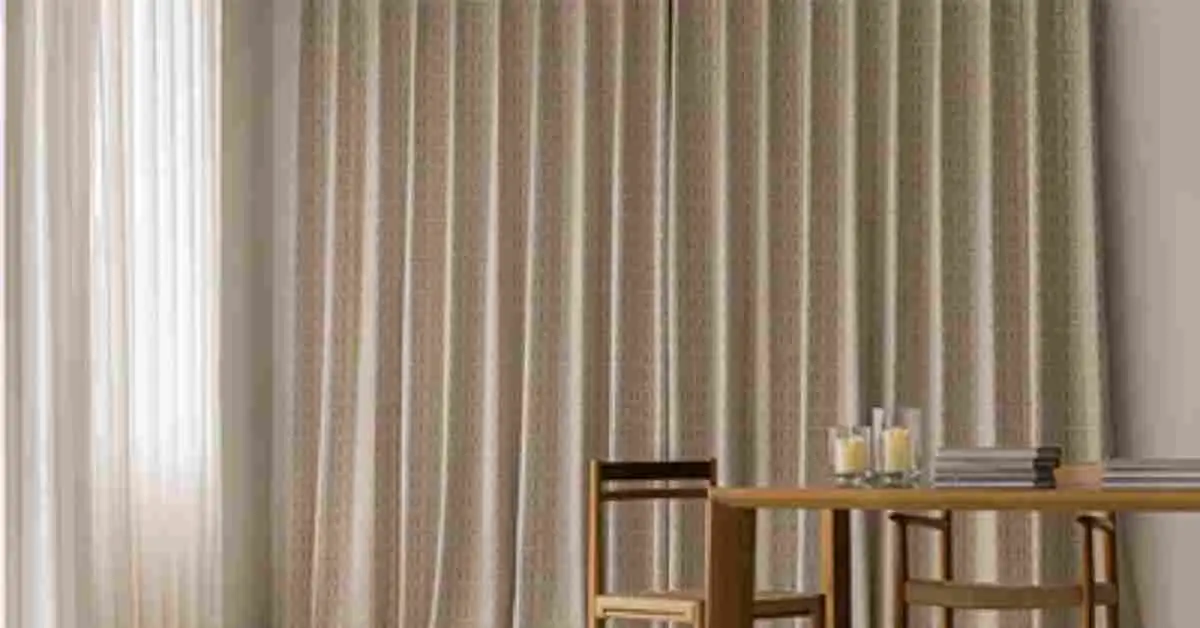
Bonus Design Tweaks That Elevate the Look
Once you’ve fixed the big mistakes, these design touches give your windows a pro‑finished feel:
- Tiebacks and holdbacks: These frame the window and show off the fabric without crowding the glass. They’re simple but impactful.
- Layering sheers + blackout panels: Sheers bring softness and light control during the day, while blackout panels add privacy and drama at night — together they give flexibility and depth. And while you’re styling your windows, don’t forget the practical side — our article on 4 old-school home cleaning hacks you forgot you still needed can help keep your curtains and home looking fresh without extra effort.
- Hardware scale and finish: Don’t ignore the rods, finials, or brackets. A heavy curtain deserves solid hardware — mismatched scale can actually make your windows look unbalanced.
These tweaks are all about intention — they let you make choices that feel purposeful, not accidental.
Quick Checklist Before You Hang
Before you pick up the drill or start measuring, it helps to have a quick self-audit. I always run through this checklist in any room — it saves a ton of time and ensures your curtains look intentional, not improvised.
- Height placement rule: Rod should be 4–6 inches above the window frame, or closer to the ceiling for taller proportions.
- Length categories: Decide if your curtains will float (~½ inch above floor), kiss (grazing floor), or puddle (2–4 inches).
- Fullness calculation: Total panel width = 2–2.5× the window width. This ensures a gathered, luxurious look without crowding the window.
- Stackback check: Panels should stack neatly without blocking too much light or view when open. Step back and see how it looks in natural daylight.
This checklist gives you a fast, visual reference so you can catch mistakes before they happen, rather than trying to fix them later.
Wrapping It Up
Hanging curtains might seem simple, but small mistakes in rod placement, length, or panel width can completely change the feel of a room. By following these rules — the right height, length, fullness, and stackback — you’ll make your windows look polished, proportionate, and intentional.
I’d love to hear from you: which curtain-hanging mistake have you run into the most? Drop a comment below, and let’s share tips! For more practical home styling advice and tutorials, check out my website Build Like New — it’s full of guides to help you make your spaces look and feel amazing.
Disclaimer: The tips and advice in this article are for general informational and design purposes. Results may vary based on your specific room, window type, and materials. Always measure carefully and follow manufacturer instructions when installing curtain hardware.

