
3 Easy Methods to Clean Mold Off Shower Caulking and Prevent Regrowth
If you’ve ever scrubbed your shower caulking until your arms hurt—only to see those black mold lines come back a few weeks later—you’re not alone. I’ve been there too, and honestly, that frustration is what pushed me to dig deeper into what actually works and what’s just surface-level cleaning.
In this article, I’ll walk you through three genuinely easy and proven ways to remove mold from shower caulking—based on real homeowner experience, trusted cleaning sources, and what professionals actually recommend. More importantly, I’ll show you how to stop the mold from coming back, so this doesn’t turn into a never-ending chore.
No complicated tools. No unrealistic promises. Just practical steps that work in real bathrooms.
Before we jump in, tell me—have you already tried vinegar or bleach and felt disappointed with the results?
Why Mold Grows on Shower Caulking
If I explain this simply, it’s this: your shower creates the perfect setup for mold, and caulking is the weakest spot.
Bathrooms stay warm and humid almost every day. After each shower, moisture doesn’t just sit on tiles—it seeps into the caulk lines and stays there longer than you think.
Here’s what’s really causing the problem:
- Constant moisture: Even after wiping, caulk holds tiny pockets of water
- Soap and body residue: Shampoo, soap, and skin oils get trapped and become food for mold
- Poor ventilation: Steam has nowhere to escape, so dampness lingers
According to Good Housekeeping, frequent showers combined with poor airflow are one of the biggest reasons bathroom mold keeps returning, no matter how often you clean.
The mistake most people make is only cleaning what they can see. Mold doesn’t just sit on the surface—it grows into the caulk. That’s why it disappears for a while and then suddenly shows up again.
Once you understand this, it becomes clear why scrubbing alone often isn’t enough.
Safety and Prep Before You Clean
Before I start cleaning mold, I always prep first—and I recommend you do the same. It’s not about being extra careful; it’s about avoiding common mistakes that can make things worse.
Here’s what you should do before applying any cleaner:
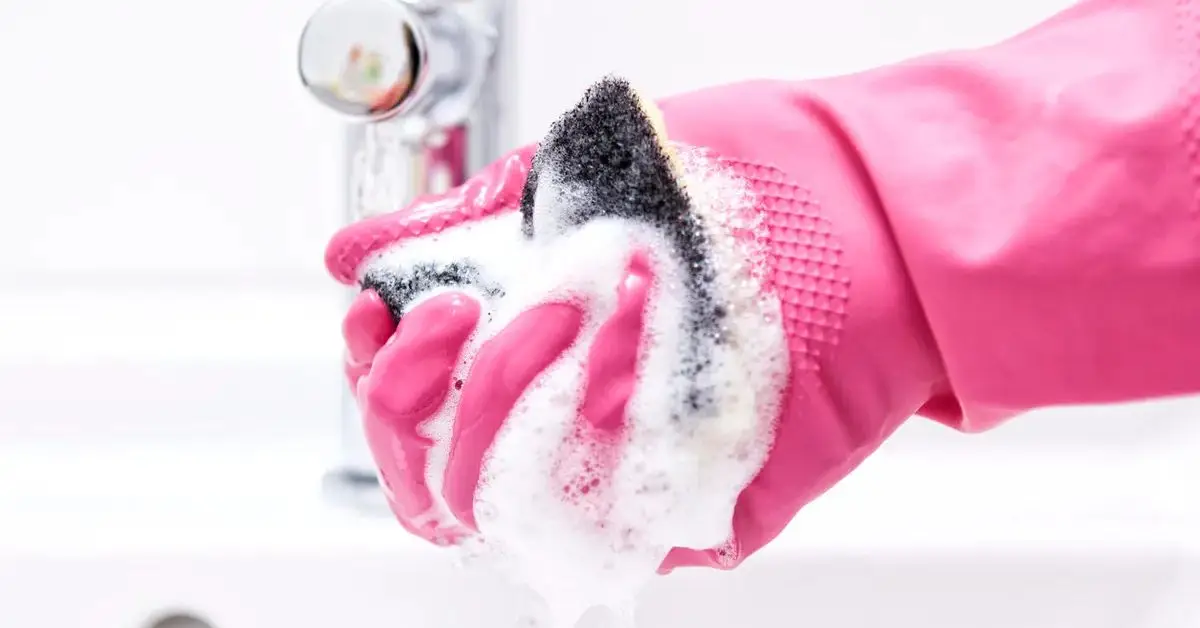
- Wear gloves to protect your skin
- Use eye protection if you’re working close to the caulk line
- Make sure the bathroom is well-ventilated—open a window or turn on the exhaust fan
- Test the cleaner on a small hidden area to make sure it won’t damage the caulk
One thing I want you to remember clearly:
- Never mix bleach and vinegar: This combination releases toxic fumes and can be harmful even with short exposure
Taking a few minutes to prep makes the cleaning safer and more effective. Once this is done, you’re ready to move on to the actual removal methods.
Quick check—are you dealing with light mold spots, or has the caulking already turned dark and stubborn?
Method 1 — Natural Cleaning With Vinegar
This is always where I tell people to start. Vinegar is simple, cheap, and already sitting in most kitchens. If the mold is still at an early stage, you don’t need anything stronger.
What You Need
You’ll notice how basic this is—no fancy tools.
- White distilled vinegar (undiluted)
- Spray bottle
- Old toothbrush or soft scrub brush
- Clean cloth or paper towels
I like this method because it doesn’t overwhelm you with chemicals and works well for regular upkeep.
Step-by-Step: How I Use Vinegar
Here’s exactly how I do it:
- Spray undiluted white vinegar directly onto the moldy caulk
- Let it sit for 30 to 60 minutes so it can break down surface mold
- Scrub gently with a toothbrush, focusing on the grout line edges
- Rinse with warm water
- Dry the area completely with a towel
According to Better Homes & Gardens, vinegar works best when it’s left undisturbed long enough to penetrate the mold instead of being wiped off too quickly.
When This Works Best
I recommend vinegar if:
- The mold is light or just starting
- You’re doing routine bathroom maintenance
- The caulk is still in good condition
This is a great prevention habit, even if you use stronger methods occasionally.
Limitations of Vinegar (Important)
Here’s the honest part most guides skip: vinegar isn’t magic.
If the mold has turned dark, keeps coming back fast, or seems embedded into the caulk, vinegar may only fade the stains—not fix the problem. In those cases, you’ll need to step up to stronger options.
Method 2 — Stronger Mold Killers (Bleach & Hydrogen Peroxide)
When vinegar stops working, I move to targeted chemical solutions. These are more powerful, but you have to use them carefully.
Bleach Cleaning (Use With Care)
Bleach kills mold fast—but only when used correctly.
Here’s what works best:
- Dilute bleach with water (never use it full-strength)
- Apply it directly to the caulk
- Let it sit for a short time—don’t rush it
- Scrub gently and rinse thoroughly
A useful trick many homeowners swear by is soaking cotton balls or paper towels in the bleach solution and pressing them along the caulk line. This keeps the bleach from dripping away and gives it time to work.
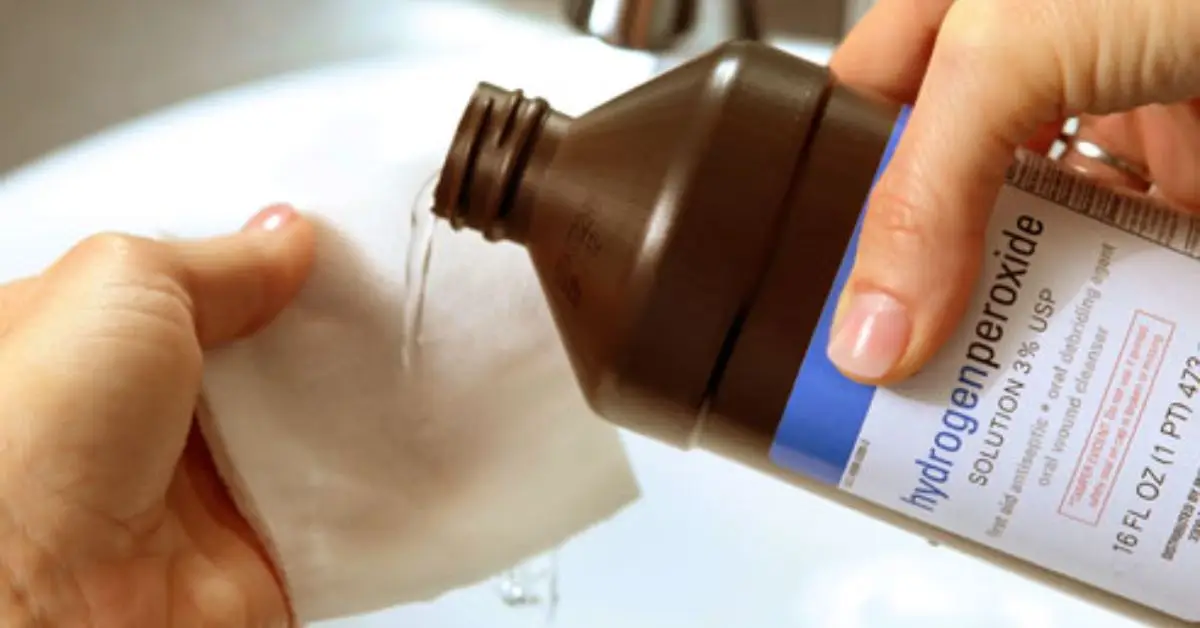
Hydrogen Peroxide Option
If you want something less harsh, hydrogen peroxide is a solid alternative.
- It penetrates deeper than bleach
- It helps kill mold spores, not just surface stains
- It doesn’t produce strong fumes
I often recommend this if you’re sensitive to bleach or working in a small bathroom.
Baking Soda Paste Booster
For stubborn spots, baking soda helps mechanically:
- Mix baking soda with a little water to form a paste
- Apply it over the mold
- Scrub gently after letting it sit
It adds abrasion and helps pull moisture out of the caulk.
Method 3 — Replace Old or Damaged Caulking
Sometimes, I’ll be blunt with you: cleaning won’t fix it.
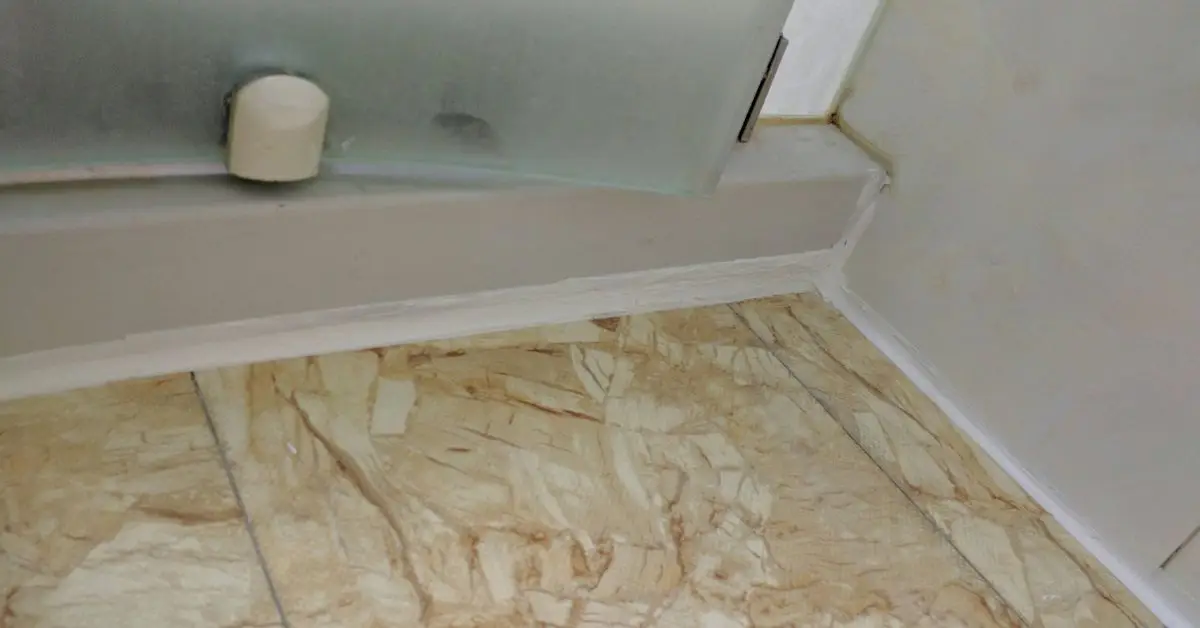
How to Know It’s Time to Replace
You’re better off replacing the caulk if:
- Mold keeps returning within weeks
- The caulk looks cracked, peeling, or rubbery
- Dark stains appear under the surface
At this point, mold is growing beneath the caulk, and no cleaner can reach it fully.
Step-by-Step: Remove and Recaulk
Here’s the straightforward process:
- Scrape out all old caulk completely
- Clean the area thoroughly
- Let it dry fully—this step matters more than people think
- Apply fresh, mold-resistant silicone caulk
Doing this once properly can save you years of repeated cleaning.
Choosing the Right Caulk
I always recommend:
- 100% silicone caulk
- Labeled mold-resistant or mildew-resistant
Cheaper caulk might save money upfront, but it often fails faster and invites mold back in.
If you’ve tried cleaning again and again, this method is usually the real fix.
Quick question for you—does your mold fade and return, or does it feel like it never truly goes away?
Prevent Mold From Returning — Long-Term Strategies
If there’s one thing I’ve learned the hard way, it’s this: removing mold is only half the job. If you don’t change a few daily habits, it will come back—no matter how well you clean today.
This part is where most articles rush or stay vague. I won’t. These are the exact habits that actually keep shower caulking clean long-term.
Daily Moisture Control (This Matters More Than You Think)
The biggest favor you can do for your bathroom is not letting water sit.
Here’s what I personally recommend:
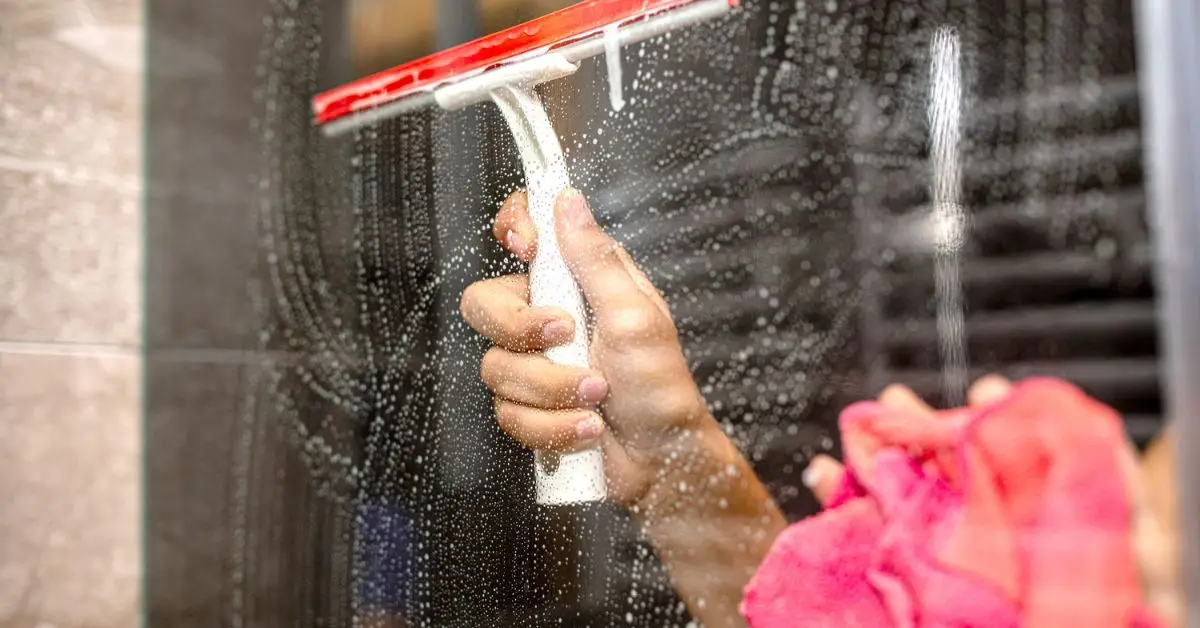
- Use a squeegee or towel to wipe shower walls and caulk after use
- Pay extra attention to corners and caulk lines
- Don’t leave puddles thinking they’ll “air dry”
According to Southern Living, regularly drying shower surfaces helps stop mold before it even gets a chance to grow.
This one habit alone can dramatically slow mold growth.
Improve Ventilation (Non-Negotiable)
If steam stays trapped, mold wins.
Make sure you:
- Run the exhaust fan during and at least 20 minutes after showering
- Open a window if your bathroom has one
- Keep the bathroom door open once you’re done
Good airflow dries caulk faster—and dry caulk doesn’t grow mold. Maintaining your bathroom fan properly is essential, and you can follow our step-by-step guide on how to clean your bathroom exhaust fan like a pro.
Also, while managing ventilation, it’s important to be aware of devices that can be dangerous if left running in a damp environment. We’ve listed the top five bathroom devices that pose risks if left on and how to handle them safely.
Good airflow dries caulk faster—and dry caulk doesn’t grow mold.
Routine Cleaning Habits
You don’t need to deep clean every day, but consistency matters.
What works well:
- Quick spray of vinegar or bathroom cleaner after showers
- Light wipe every few days instead of aggressive scrubbing later
Think of it as prevention, not cleaning. In addition to caulk, there are hidden bathroom spots that homeowners often miss, and learning how to clean them properly can make a big difference in keeping your bathroom mold-free.
Think of it as prevention, not cleaning.
Seasonal or Deep Cleaning
Even with good habits, buildup happens.
I suggest:
- Inspecting caulk lines once a month
- Cleaning early signs of discoloration right away
- Re-sealing or touching up before mold spreads
Catching it early saves you from bigger work later.
Humidity Management
If your bathroom stays humid all day, mold has an advantage.
Helpful options:
- Small bathroom dehumidifier
- Humidity monitor to spot problem levels
- Fixing leaks or slow-drying drains
Lower humidity = fewer mold problems overall.
Common Mistakes People Make (And Why Mold Keeps Coming Back)
I see these mistakes again and again—and they explain why people feel like nothing works.
Avoid these:
- Leaving caulk wet after showers and expecting it to dry fast
- Re-caulking over damp areas, which traps moisture underneath
- Relying only on surface bleach, which may fade stains but doesn’t kill mold roots
If mold keeps returning, it’s usually not because you cleaned wrong—it’s because one of these habits is still in place.
Now I’m curious—do you think your issue is more about moisture, ventilation, or old caulk that’s past saving?
When to Call a Professional
I’m a big believer in fixing things yourself—but I’m also honest about limits. If you’ve tried cleaning, prevention, and even replacing the caulk, and the mold still comes back fast, that’s usually a sign of a bigger issue.
You should seriously consider calling a professional if:
- Mold returns within weeks, even after recauling
- You notice a musty smell that doesn’t go away
- The wall or tile area feels soft, damp, or discolored
- Mold appears outside the shower area too
At this point, the problem may not be the caulk at all. Hidden moisture behind walls, slow leaks, or ventilation failures can keep feeding mold from the inside. Continuing DIY fixes in these cases can trap moisture further and make repairs more expensive later.
Final Thoughts — Fix It Once, Not Over and Over Again
If you take one thing away from this guide, let it be this: mold on shower caulking is rarely a one-step fix. Cleaning works when the problem is small. Prevention keeps it from coming back. And replacement is sometimes the smartest move.
I wrote this to help you stop guessing and start fixing the problem the right way—based on what actually works in real homes, not just what sounds good online.
If you’ve tried any of these methods, I’d genuinely like to hear from you.
What worked for you—and what didn’t? Drop your experience in the comments so others can learn from it too.
And if you want more practical, no-fluff home improvement advice like this, visit Build Like New. That’s where I share step-by-step guides to help you fix, improve, and maintain your home the smart way.
Disclaimer: The information in this article is based on general home maintenance practices and personal experience. Results may vary depending on the condition of your bathroom and materials used. Always follow product labels and safety instructions, and consult a professional if you’re unsure or dealing with severe or recurring mold issues.

