
3 Behind-the-Scenes Lessons From Installing Grasscloth—and the One Mistake That Causes Gaps
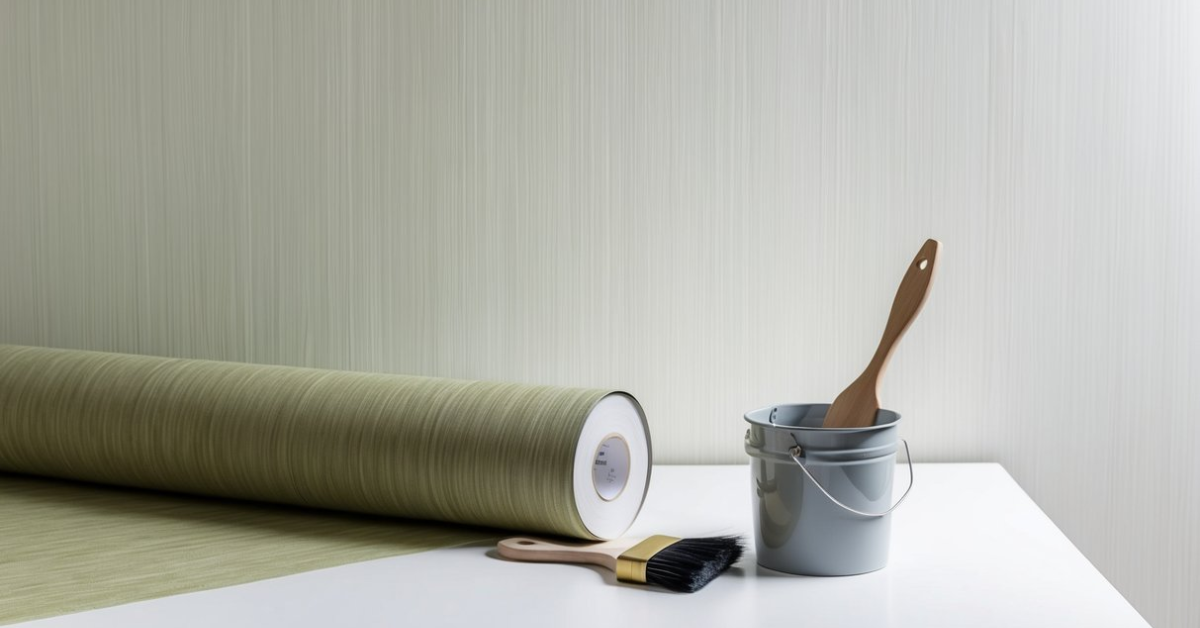
I learned pretty quickly that grasscloth wallpaper isn’t one of those projects you can wing on a Saturday morning. It looks simple in photos—clean seams, soft texture, a warm glow—but the reality hits the moment you unroll it. The fibers shift. The color changes from panel to panel. And one small mistake can show up like a spotlight on your wall.
If you’re thinking about installing grasscloth for the first time, I want to help you skip the stress most beginners go through. I’ve been on both sides of this material: the excitement of choosing it, and the frustration of realizing it behaves nothing like regular wallpaper. The good news? Almost every beginner stumbles in the same places, and once you know where the traps are, the whole process becomes a lot more manageable.
That’s why I’m breaking this down into three simple, realistic lessons—things I wish someone had told me before I ever touched a roll. And then there’s the one big mistake almost everyone makes. If you can avoid that, your installation will look cleaner, straighter, and far more professional than most first attempts.
Before we dive in, tell me this: what’s the wall you’re planning to install grasscloth on—an accent wall, a whole room, or something more complicated?
What Makes Grasscloth Different (and Harder Than Regular Wallpaper)
Natural Material, Delicate Structure
When you first handle grasscloth, you understand right away that it isn’t built like regular wallpaper. It’s made from natural fibers like jute, seagrass, and hemp. Because these fibers are hand-woven and not machine-perfect, every roll has small shifts in color and texture. That variation is part of the charm — and part of the challenge.
The downside is how fragile the material can be. Grasscloth absorbs moisture quickly, so even a little extra paste can soften the fibers, make them swell, or cause them to tear. You notice the difference the moment you try to lift a panel that’s been sitting a bit too long.
Here’s what makes grasscloth especially tricky:
- Color changes slightly from strip to strip
- Texture varies across each roll
- The fibers expand when wet and tighten as they dry
- Even gentle pressure can crush the weave
You want an even, seamless wall — but grasscloth gives you very little room to hide mistakes. Once you understand how delicate it is, the installation process starts to make more sense.
Installation Needs Special Preparation
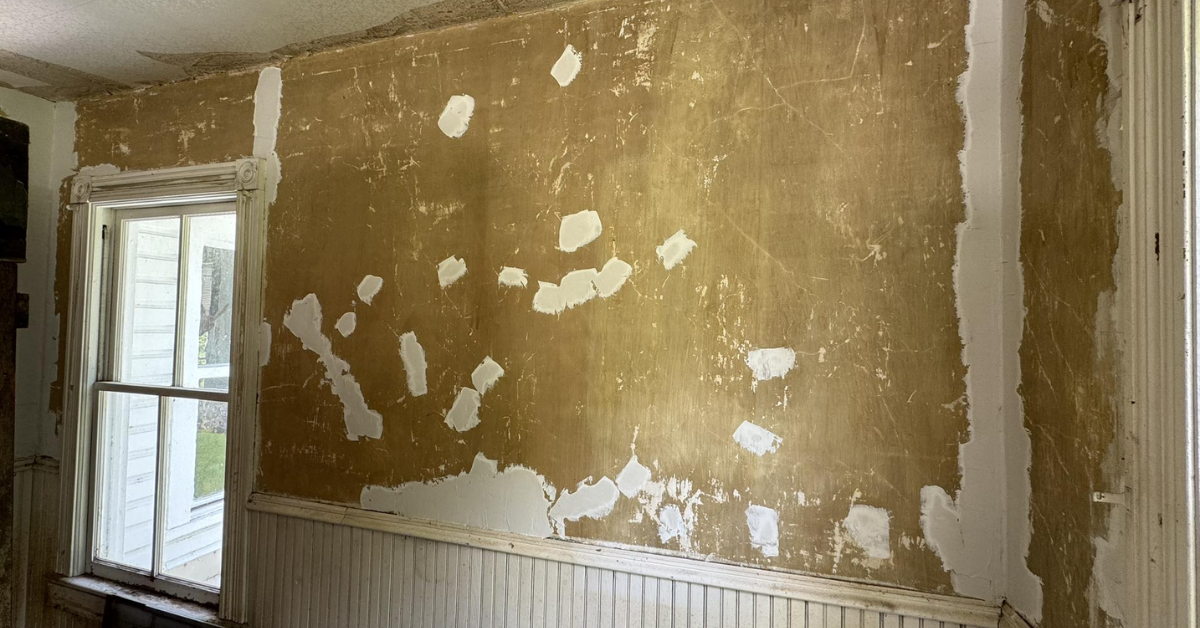
Grasscloth won’t hide anything, which is exactly why the wall behind it needs to be smooth, primed, and clean. Even tiny bumps or uneven patches can show through the fibers.
Before you start, make sure you’ve done the basics:
- Sand the wall until it feels smooth
- Apply a quality wallpaper primer (shellac-based or acrylic both work)
- Clean off dust so nothing transfers under the panel
If you have old wallpaper or residues, you can follow this step-by-step guide on steaming away old wallpaper for a clean, ready surface.
A good primer helps in two simple but important ways:
- It stops the adhesive from soaking unevenly into the wall
- It gives you a little “slip time” to adjust each strip without tearing anything
After installing a few grasscloth walls myself, I can tell you: skipping primer is one of the fastest ways to ruin a good roll.
Lesson #1 — Soak / “Book” the Paper to Allow Expansion
Let the Grasscloth Relax
One of the earliest surprises beginners run into is how much grasscloth moves once it gets moisture. That’s why installers “book” the sheets. The ROMAN Products guide explains this step clearly.
After you apply paste, you fold the sheet gently so the pasted sides touch. This gives the fibers time to expand off the wall, not on it. If you skip this, the material expands after it’s already hung — which is when you see bubbles, drifting seams, or edges that keep lifting.
Some installers also mist the back of the material lightly if the weave feels stiff. It softens the fibers and helps everything expand more evenly.
Here’s how to keep the material stable:
- Apply paste in a thin, even layer
- Fold the sheet paste-to-paste
- Let it sit a few minutes so the fibers expand
- Mist lightly if the material feels tight or uneven
It feels slow the first time you do it, but it saves you from fixing warped seams later.
Lesson #2 — Use Adhesive Correctly (and Carefully)
Paste the Wall (Not Always the Paper)
When you’re working with grasscloth, the adhesive is just as sensitive as the material itself. Many installers prefer applying paste directly to the wall instead of the back of the panel. It keeps moisture away from the front surface and lowers the risk of stains or dark spots showing through the weave.
The moment paste touches the fibers, the material can start absorbing unevenly. That’s why you want to control the adhesive as much as possible. I’ve found that using a foam roller gives you an even coat without heavy puddles, and a small brush lets you reach the edges without overloading them.
Better Homes & Gardens explains this clearly in their grasscloth guidance.
A few simple habits make a huge difference:
- Roll on a thin, even coat to avoid seepage
- Keep paste away from the front at all costs
- Brush the edges lightly so they don’t oversaturate
- Wipe tools often so accidental drips don’t land on the panel
Grasscloth is far less forgiving than vinyl. Once paste stains the surface, there’s no magic fix. If you ever need to remove existing wallpaper quickly before installing grasscloth, check out these proven ways to remove wallpaper in under an hour — knowing these tricks can save a lot of prep time and protect your new panels.
Lesson #3 — Plan Your Panels & Seams with Precision
Because Variation Is the Norm
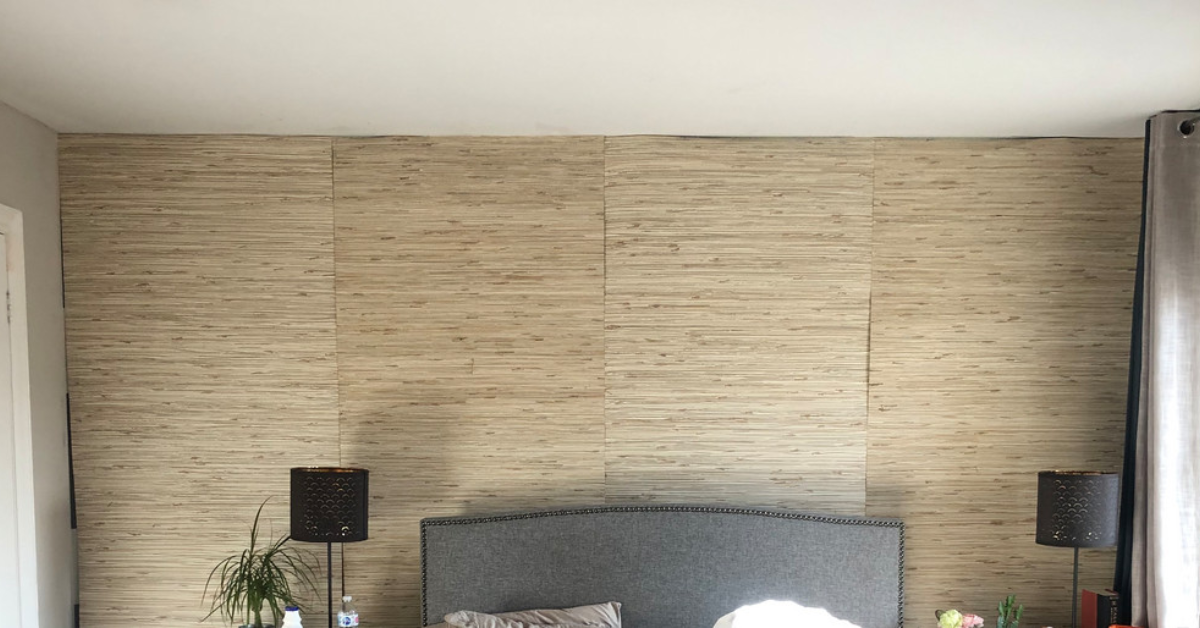
Grasscloth isn’t designed to match perfectly down the wall. Each roll comes with slight shade shifts and texture differences. That variation is part of the charm, but it’s also why planning your layout matters more here than with any other wallpaper.
Before you cut a single strip, lay out the rolls and look for differences in tone. Some may be slightly warmer, cooler, darker, or more textured. Planning your panel order from most to least visible areas. It’s a simple step, but it keeps natural variation from feeling random or messy once everything is on the wall.
A few things I always check before hanging the first strip:
- Compare every roll in natural light
- Arrange panels in the order you want to install them
- Pair similar shades together to avoid abrupt transitions
- Mark seam locations before you start cutting
Designers also like to hide seams in quieter areas — corners, behind furniture, or along natural room transitions. Grasscloth seams will always be visible, so you want them to feel intentional, not accidental.
Order Extra Material & Batch-Match
When you’re working with grasscloth, you can’t treat it like factory-perfect wallpaper. Natural fiber rolls rarely match perfectly, and even a small shade shift becomes obvious once it’s on the wall.
Manufacturers also warn you to inspect every roll before cutting. Check dye lots, compare tones in natural daylight, and make sure all your rolls came from the same production batch. If you mix batches, the seams will show it immediately.
Here’s what helps:
- Order at least one extra roll
- Match dye lot numbers across all rolls
- Compare every roll before you cut
- Use rolls from the same batch for the whole wall
The Big Mistake Beginners Always Make — Rushing the Process
Don’t Race Through Installation
Most beginners guess grasscloth will go up as quickly as vinyl. It doesn’t.
Rushing usually leads to:
- Seams wandering out of alignment
- Paste pushing through the weave
- Panels tearing during adjustments
- Moisture spots turning into stains
- Fibers fraying from overhandling
Grasscloth reacts to every move you make. If you rush, it shows.
How to Avoid This Mistake
Start by giving yourself more time than you think you’ll need. Work in small sections. After every couple of strips, step back and check alignment so you can correct issues early.
Use a soft wallpaper brush instead of a rigid smoother. A hard tool can flatten or scar the weave, and installers warn about this often. And if possible, have someone help you handle long panels — it keeps the material steady and reduces the chance of creasing.
For a solid walkthrough of what happens when installers rush or skip steps, you can look at this breakdown from Wells Interiors. It’s one of the clearer explanations of why patience matters with natural fiber wallcoverings.
Bonus Tips (Beyond the 3 Lessons)
Working with Corners and Edges
Corners are where grasscloth tests your patience. The material doesn’t bend cleanly, and if you try to force it around an angle, the fibers start to separate. Corners need slow, controlled handling, not pressure.
Sharp tools matter just as much. Grasscloth won’t cut cleanly with a dull blade, and dragging the knife can pull the weave apart. I’ve had the best results trimming after the panel is up, not before. Hang it first, then make your final cuts once the material is stable against the wall.
A few habits that keep edges clean:
- Use fresh blades for every few cuts
- Trim only after the panel is mounted
- Support the fibers with your hand while slicing
- Avoid wrapping around corners unless you absolutely have to
Environmental Considerations
Grasscloth doesn’t mix well with humidity. The fibers absorb moisture quickly, which means bathrooms, laundry rooms, or damp corners can cause swelling, staining, or edge lift over time. For guidance on maintaining a stable environment, see the ideal humidity level for a healthy and comfortable home.
The primer you choose matters too. Installers often recommend water-resistant or acrylic primers because they help create a barrier between the wall and the natural fibers.
Cleanup and Aftercare
If paste seeps through the weave, don’t rub it. Rubbing pushes moisture deeper into the fibers. The safer move is to dab with a barely-damp towel and take your time.
For long-term care, you don’t need heavy cleaning. A soft brush attachment on a vacuum or a gentle dusting cloth is usually enough. Studios that work with natural wallcoverings, like Summer Skye Studio, often remind homeowners that grasscloth ages beautifully when you leave it alone — harsh cleaning does more harm than good.
When to Call a Professional
Signs You Should Hire an Expert
Some walls look simple until you start hanging panels. With grasscloth, the cost of mistakes is higher than most people expect.
You should consider calling someone if:
- Corners or transitions feel overwhelming
- You have high ceilings or multiple inside/outside corners
- You’re unsure about booking, trimming, or seam work
- You’re working with premium grasscloth and can’t afford errors
Final Takeaways
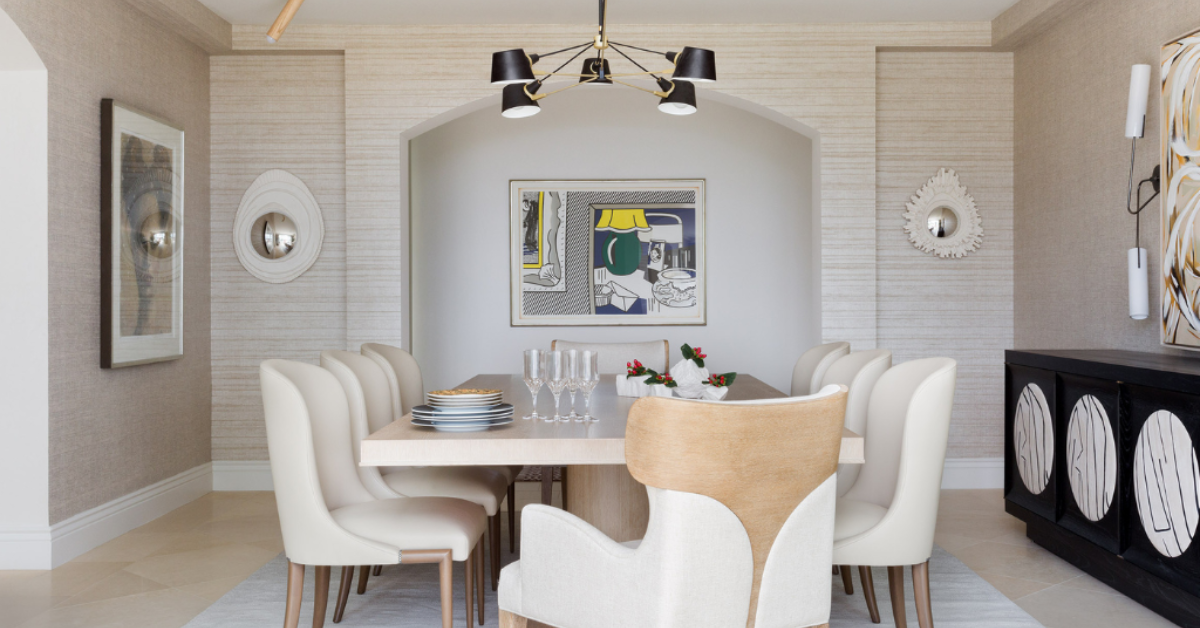
If you step back and look at everything this material demands, the formula becomes simple: treat it slowly, plan your layout before you cut, and use the right tools. The three lessons — letting the fibers expand, applying adhesive carefully, and planning every seam — work together. And avoiding the one big beginner mistake, rushing, ties everything together.
Grasscloth can make a room feel warm and refined, but it only looks that way when you give it time.
If you’re planning your own project, you can:
- Order extra rolls so shade variation doesn’t catch you off guard
- Test a small panel first to understand how the fibers react
- Call a professional if you’re unsure about your layout or wall prep
And if you want more practical guides like this, I share detailed home-improvement help over at Build Like New — feel free to leave a comment, ask a question, or tell me what you’re working on next.
Disclaimer: The information in this guide is based on personal experience and general installer recommendations. Always follow the instructions provided by your wallpaper manufacturer and consult a professional if you’re unsure about any part of the installation process.

