
4 Foolproof Ways to Remove Caulk Without Harming Surfaces
I’ve had to strip out old caulk more times than I can count, and let me tell you—it’s one of those jobs that looks simple until you’re halfway through and staring at stubborn bits stuck to the tub. If you rush it, you’ll scratch your tile or leave behind residue that ruins your new seal.
The good news? With the right approach, you can get clean results without damaging your bathroom or kitchen surfaces. I’m going to walk you through the exact steps I use, the mistakes people often make, and a few pro tips that save time and frustration.
Have you ever tried removing caulk before and found it more of a battle than a project?
4 Key Steps at a Glance
Before we dive in, let me give you the big picture. When I remove old caulk, I always break it down into four simple steps. If you know these upfront, you’ll feel more confident and won’t get lost in the middle of the job.
Here’s the quick roadmap:
- Score – Cut along the edges of the old caulk to loosen it.
- Soften – Use the right method (chemical, heat, or simple household trick) to make removal easier.
- Scrape – Gently lift the caulk without scratching tiles or countertops.
- Clean & Prep – Remove residue, disinfect, and dry so the new caulk sticks properly.
That’s it—four steps. Now let’s go through them one by one.
Step 1 – Score & Loosen the Old Caulk
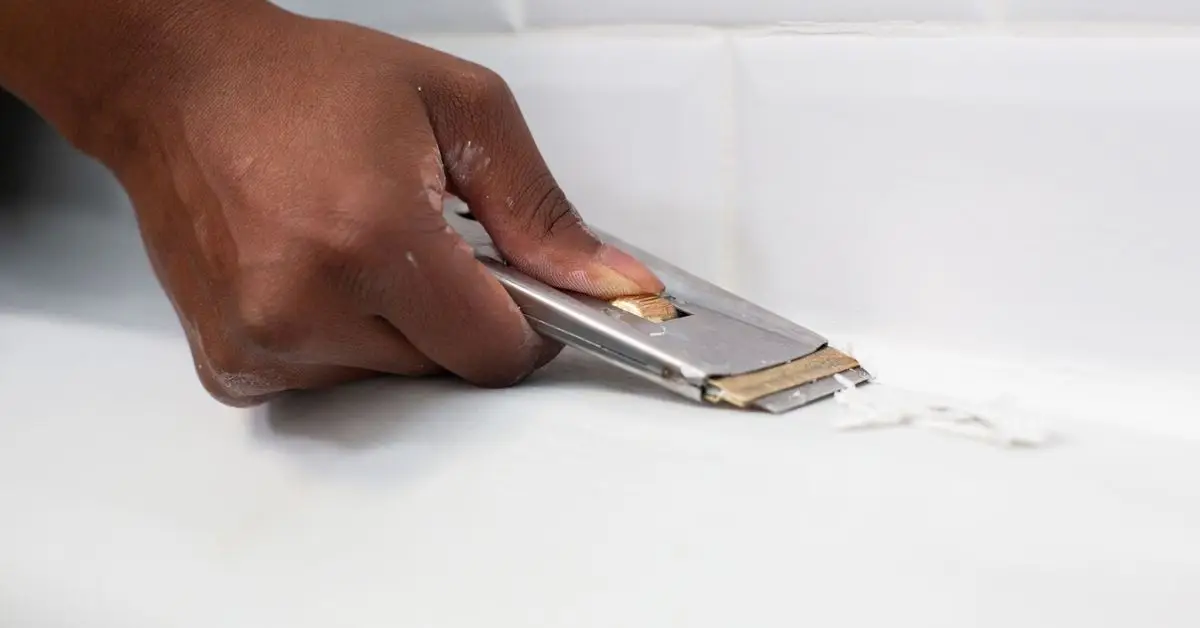
The very first thing I do is score along the edges of the caulk. I usually use a sharp utility knife or a special caulk removal tool. Start by running the blade carefully along both sides of the bead of caulk—where it meets the wall and the tub (or counter).
Why does this matter? Because once those edges are broken, the caulk starts to peel away much easier. If you skip this step, you’ll end up pulling too hard and risk chipping the surface or scratching your tile.
A quick tip:
- Hold the blade at a shallow angle, almost flat, so you don’t dig into the surface.
- Work slowly along the seam instead of rushing to cut big chunks.
This little bit of patience upfront saves a ton of frustration later.
Step 2 – Soften It – Choose the Right Method
Once the edges are cut, you’ll notice the caulk still clings stubbornly. That’s when softening comes in. You’ve got a few different options here, and the choice really depends on your surface and your comfort level.
Here are the main ones I use:
- Chemical Remover – Products like Krud Kutter can break down caulk, but they need some dwell time. I’d use this if the caulk is really old and hardened. Downside: you need to ventilate the area well.
- Heat Tool – A simple hair dryer works wonders. Just warm the caulk gently for a couple of minutes and it softens enough to scrape off cleanly. I’ve found this method super safe for most bathroom jobs.
- Soapy Warm Water or Rubbing Alcohol – For acrylic tubs or sensitive surfaces, I stick to mild options like warm soapy water or a cloth dipped in alcohol. They take longer, but they’re safer if you’re worried about damage.
If you want a solid reference, GE Sealants actually suggests using a hair dryer or heat gun for a gentle, effective softening step.
By picking the right method for your surface, you avoid unnecessary scratches and make scraping almost effortless.
Step 3 – Scrape Carefully Without Damage
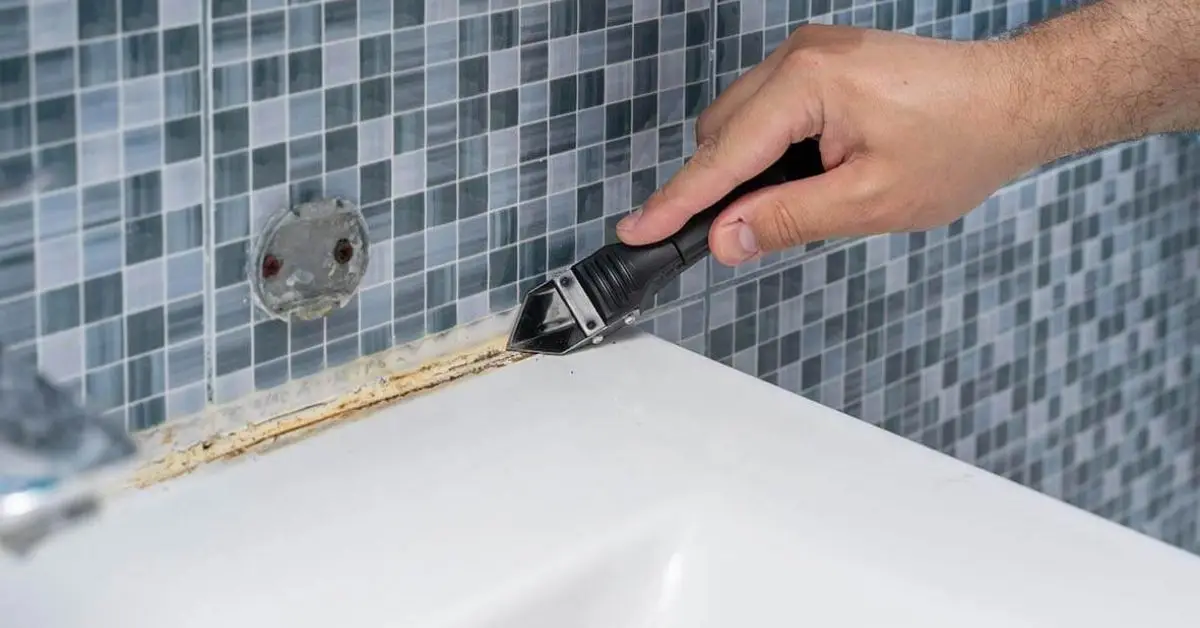
Now comes the part where most people either get frustrated or make a mistake—scraping. Once the caulk is softened, it should peel up, but you’ll still need a tool to lift it out. I always start with the gentlest option first.
Here are the tools that usually work best:
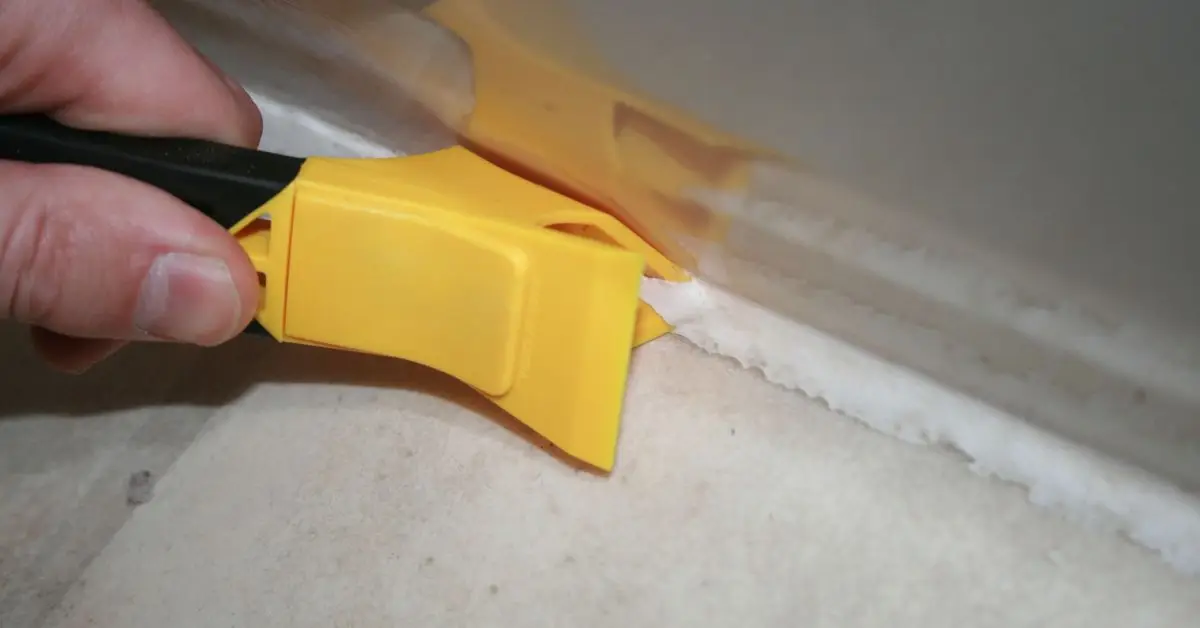
- Plastic scraper – My go-to. It’s safe on tubs, tiles, and countertops.
- Putty knife – Works if you need a little more pressure, but keep it flat so you don’t gouge the surface.
- Caulk strip tool – These are designed for this job and make the work faster if you do a lot of DIY.
- Pliers (with caution) – Sometimes I use pliers to grab long strips, but only if the caulk is already loose.
Safety matters here. Go slow, wear protective gloves, and if you’re using chemical softeners, keep a mask on for ventilation. Rushing is where people chip their tiles or leave scratches that are impossible to hide later.
Step 4 – Clean Up Residue & Prep for New Caulk
Even after you’ve scraped everything out, there’s usually a thin film of residue left behind. This step might feel boring, but it’s the difference between a fresh caulk line that lasts years and one that starts peeling in weeks.
Here’s what I do every single time:
- Wipe with a no-scratch pad to loosen remaining bits.
- Use rubbing alcohol to remove oils and soap scum that the eye can’t see.
- Disinfect with a mild bleach solution if there’s any sign of mold. For stubborn stains or soap scum, I often turn to simple vinegar and baking soda hacks—cheap, safe, and incredibly effective before you recaulk.
- Rinse and ventilate the space so everything dries completely.
One trick I picked up from a homeowner on Reddit: they ran a fan for a full 24 hours before recaulking, and said it made the job look “almost pro”. I tried it myself, and honestly—it’s a game changer.
Taking the time to clean and dry means your new caulk will actually bond properly and stay watertight. If you really want your bathroom to shine after the caulk is removed, check out these 12 professional cleaning secrets that will transform your home. They’ll help you keep every corner looking spotless once the job is done.
Common Mistakes & Pro Tips (Reader Savers)
Let me be honest: most of the horror stories I hear about caulking come down to a few avoidable mistakes. Here are the big ones:
- Rushing the job – People scrape quickly or reapply caulk before the surface is dry. That’s a recipe for mold growth and early failure.
- Using the wrong tool – A metal putty knife on a plastic tub? You’ll scratch it for life. Always match the tool to the surface.
- Mixing chemical and heat methods – If you apply a remover and then blast it with a heat gun, you risk damaging both the caulk and the surface.
Pro tip: patience is your best tool here. Take breaks if you need to, but never cut corners on cleaning and drying. That’s what separates a DIY hack job from something you’ll be proud of when you walk into your bathroom every day.
Fast-Track Comparison Chart: Best Method for Your Surface
By this point, you’ve seen the different ways to loosen and remove caulk. But if you’re wondering “Which one should I use for my bathroom or kitchen?”—here’s a quick cheat sheet I’ve built from experience:
| Surface Type | Tool / Method | Best Time to Use | Risk Notes |
|---|---|---|---|
| Porcelain / Tile | Plastic scraper + heat (hair dryer) | When caulk is hardened but surface is durable | Too much heat can crack grout lines |
| Acrylic Tub / Plastic | Soapy warm water or rubbing alcohol | When surface is sensitive and prone to scratches | Avoid sharp metal tools |
| Stone / Granite | Putty knife + chemical remover | When caulk is old and strongly bonded | Chemicals can discolor natural stone |
| Fiberglass Shower | Caulk strip tool + mild heat | For quick removal on curved surfaces | Excess pressure can dent fiberglass |
| General DIY Jobs | Combination (score + scrape) | Everyday bathroom/kitchen recaulking | Patience required—don’t rush |
This chart is your shortcut. Instead of second-guessing, just match your surface and pick the safest method.
Final Value Nugget – Ventilation & Prevention Tips
Here’s something most people forget: ventilation and prevention are just as important as removal. If you don’t dry and protect the area properly, all your hard work will go to waste.
Why ventilation matters:
- Keeps the area dry, which prevents mold from coming back.
- Speeds up drying time so your new caulk bonds better.
- Makes working with any removers or cleaners much safer. I also recommend investing in a few smart cleaning devices that’ll keep your home spotless with zero effort, especially in bathrooms and kitchens where moisture can cause recurring mess.
How often should you re-caulk?
From what I’ve seen, and what homeowners often share on forums like Reddit, most bathrooms need new caulk every five years or so—sometimes sooner if it’s a high-moisture area.
A couple of pro tips I always share:
- Choose a mold-resistant silicone caulk so you don’t have to redo the job quickly.
- Use painter’s tape on both sides of the joint before applying caulk. It gives you clean, straight lines with almost no effort.
- Keep a small fan running during and after the job—it makes a bigger difference than you’d think.
For a clear step-by-step on sealing neatly, Better Homes & Gardens has a helpful guide.
When you combine good ventilation with the right products, you’ll save yourself years of rework—and a lot of headaches.
Ready to Re-Caulk Like a Pro?
Stripping out old caulk isn’t just about making your bathroom or kitchen look neat—it’s about protecting the surfaces you rely on every single day. When you take the time to score, soften, scrape, and clean the right way, you’re not only saving yourself from frustration but also giving your home the kind of finish that lasts. I’ve seen too many rushed jobs fall apart within months, but with a little patience, the results can feel as solid as something done by a professional.
What about you? Have you ever had a caulking job go wrong, or maybe found a trick that made it surprisingly easy? Share your story in the comments—I’d love to hear it. And if you want more practical, hands-on tips to keep your home looking and feeling brand new, visit Build Like New for more guides and step-by-step advice.
Disclaimer: The information shared here is based on personal experience and general DIY practices. Always follow product instructions, use proper safety gear, and test on a small area first. Build Like New is not responsible for any damage or injury resulting from applying these methods.

