
5 Best Mosquito Trap Ideas for Your Backyard and Balcony
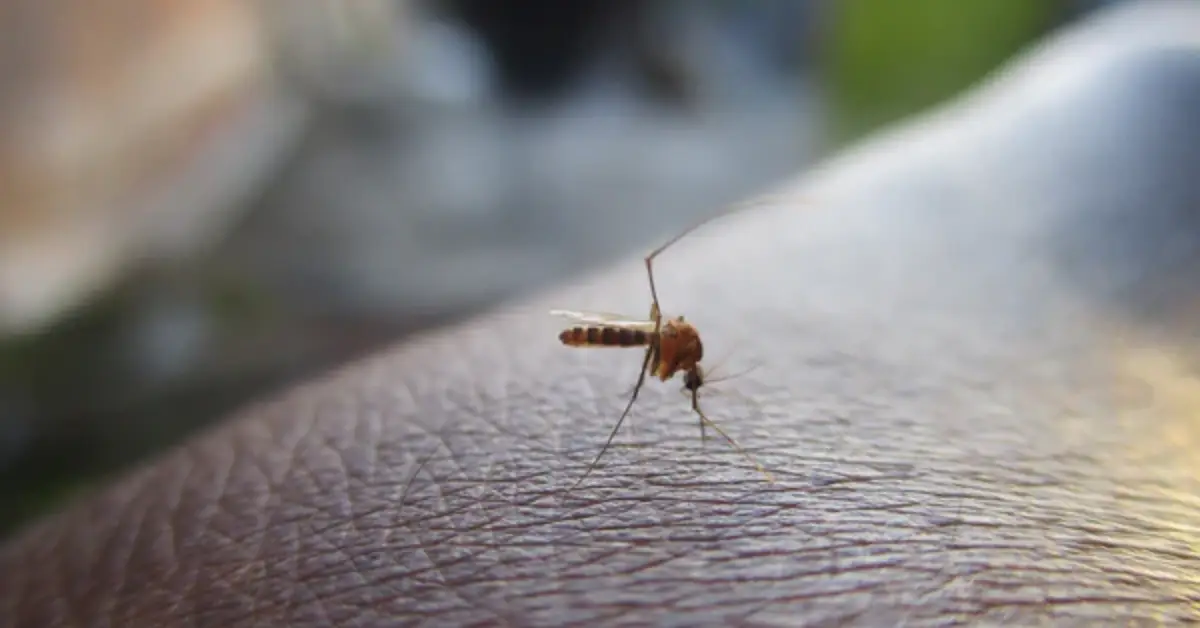
Last summer, I couldn’t step onto my balcony without being eaten alive. It didn’t matter if it was sunrise or sunset — the mosquitoes were always waiting. I tried sprays, coils, even those fancy plug-ins that promised “24-hour protection.” None of it worked for long, and honestly, it started feeling like I was burning money instead of keeping bugs away.
That’s when I decided to experiment with DIY mosquito traps. I wasn’t looking for a miracle — just something cheap, safe, and simple enough to make in my kitchen. Within a few days, I realized the science behind these traps is smarter than most people think. Mosquitoes are drawn to carbon dioxide, moisture, and even color contrasts — all things we can easily recreate at home.
The best part? You don’t need to be an expert or spend much to make these work. Most of the traps in this guide use things you already have lying around — bottles, vinegar, soap, sugar, and a little patience. I’ll show you how to build five of them, each tested, quick to assemble, and safe for kids and pets when used properly.
Here’s what you’ll get out of this:
- Fast results — traps you can set up in under 10 minutes.
- Budget hacks — each one costs less than a cup of coffee.
- Real science — how and why they work, not just “try this” guesses.
- Maintenance tips — so your traps keep working, not breeding more bugs.
If you’ve been losing sleep to that high-pitched buzzing near your ear, you’re not alone — and you don’t have to put up with it anymore.
Tell me, have you ever tried making a homemade mosquito trap before? What worked best for you — or what went completely wrong?
Scientific Basics | Mosquito Behavior & Attractants
Before we start pouring sugar and yeast into bottles, let’s talk about what actually draws mosquitoes in. I’ve learned that once you understand how these insects think, you can build smarter traps — ones that actually work, not just look clever on Pinterest.
Understanding How Mosquito Attraction Works
When you and I breathe out, we release carbon dioxide (CO₂) — that’s the signal mosquitoes hunt for. They can detect CO₂ from nearly 30 feet away. That’s why most effective DIY traps try to mimic our breath. Studies have shown that mosquitoes are far more likely to fly toward anything releasing steady CO₂.
One of the easiest ways to recreate that at home is through fermentation. When sugar mixes with yeast, it creates CO₂ naturally — the same process used in baking bread or brewing beer. I’ve tested it myself, and it really works: within hours, you’ll see mosquitoes hovering around the trap, mistaking it for a human nearby. According to research summarized by The Spruce, this simple yeast-and-sugar setup has been proven effective in multiple field experiments.
But smell isn’t the only thing that guides them. Mosquitoes also respond to visual cues — especially dark surfaces, contrasting colors, and dim lights. That’s why you’ll notice they prefer dark corners, under tables, or near black buckets. Some DIY enthusiasts even use UV or LED light in their traps, which helps attract night-active species.
Then there’s warmth and humidity — their favorite comfort zone. If you place a trap near damp plants, drains, or warm air vents, expect higher catch rates. The small differences in temperature can make a big impact.
To sum it up, mosquitoes follow a pattern:
- They smell carbon dioxide first.
- They see color and shape next.
- They feel warmth and moisture to confirm it’s a living host.
If your DIY trap checks these three boxes, you’re halfway to success.
Risk / Challenge: Traps Becoming Breeding Sites Themselves
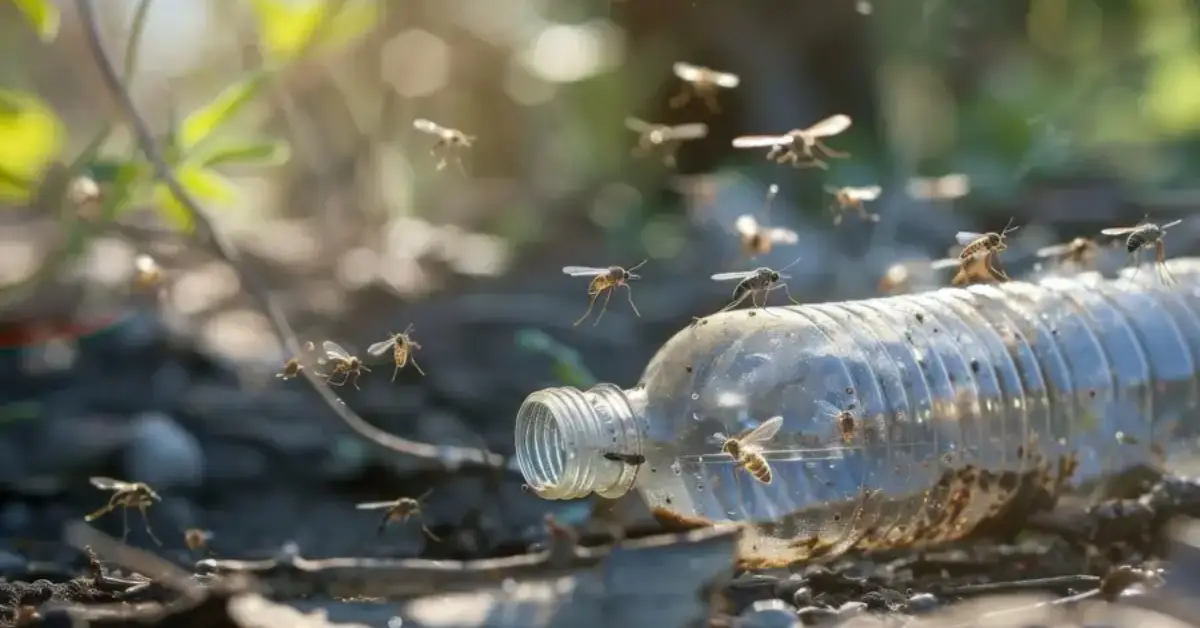
Here’s the part most people (and even some blogs) don’t talk about — poorly maintained traps can turn into breeding grounds. If you leave stagnant water sitting for a week or two, female mosquitoes might start laying eggs right inside your “solution.” That’s like setting up a free daycare for the pests you’re trying to eliminate.
I’ve seen this happen with bottle traps that weren’t emptied regularly — they caught a few adults but ended up producing larvae later. It’s frustrating but avoidable.
A few simple habits can save you the trouble:
- Empty traps weekly, especially after rain.
- Add a drop of dish soap to break the surface tension — mosquitoes drown faster, and larvae can’t survive.
- Keep traps shaded but not fully hidden, so they stay effective but don’t stagnate.
Lastly, be aware that not all traps tell the full story. Some “egg traps” only catch eggs or larvae, not adult mosquitoes, which can mislead you into thinking your mosquito count is dropping when it’s just shifting stages. That’s why I always recommend tracking both — adult captures and visible larvae.
Understanding these basics keeps your traps effective, safe, and truly eco-friendly — not accidental breeding spots.
The 5 DIY Traps You Can Make Step-by-Step
Now that you know what attracts mosquitoes, let’s move on to the real work — building traps that use those same principles to your advantage. I’ve personally tried most of these, and while none are “magic,” the right setup can cut down your mosquito count noticeably within a few days. Each one costs almost nothing, uses everyday items, and can be customized for your space.
Trap #1: Sugar + Yeast Bottle Trap
Step-by-step: materials, mixing, and setup
You’ll need:
- 1 empty 2-liter plastic bottle
- 1 cup warm water
- ¼ cup brown sugar (white sugar works too)
- 1 teaspoon active yeast
Cut the bottle in half. Mix sugar and warm water, then add yeast — no stirring needed. Flip the top half upside down like a funnel and place it back on. The yeast will start producing carbon dioxide within minutes, mimicking human breath.
Variation: black paper wrap, height, placement tips
Wrap the lower half in dark paper or paint it black — mosquitoes prefer dark surfaces. Keep it about 20–50 cm off the ground, in a shaded spot where air is still. Indoors, set it near plant corners or balcony doors.
Pros, cons, and expected yield
Pros: Cheap, effective, easy to monitor.
Cons: Needs refilling every 5–7 days. Works best in calm air, not windy areas.
With two bottles set outdoors, I’ve seen dozens trapped overnight during peak season.
Trap #2: Baking Soda + Vinegar Trap
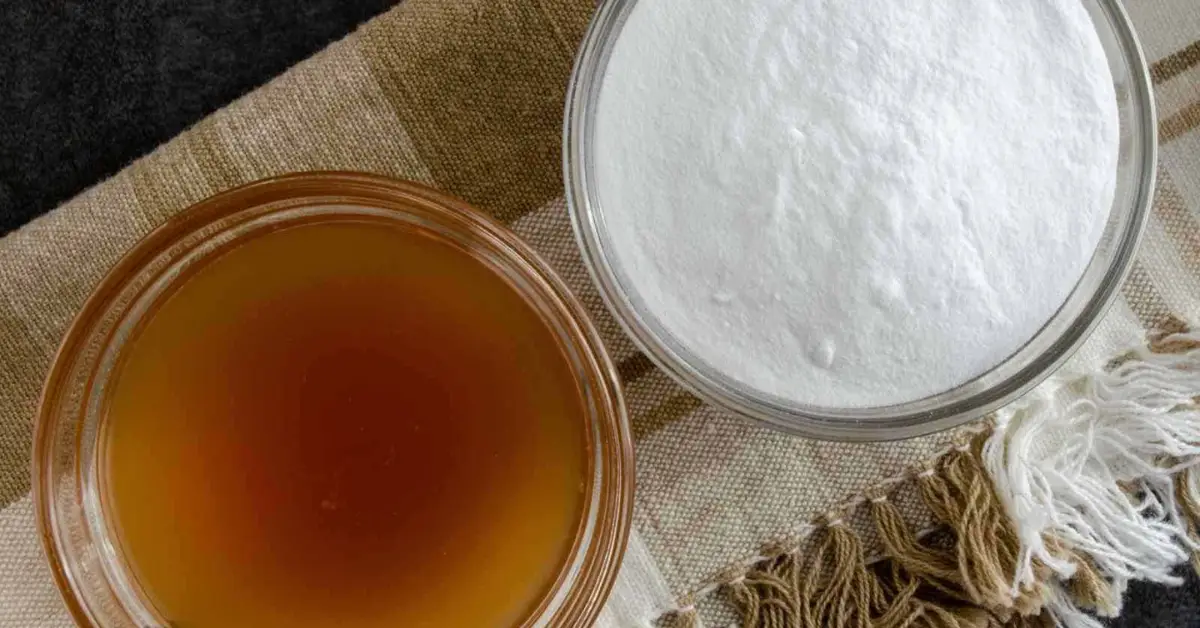
How it works: When vinegar meets baking soda, it releases CO₂, the same gas mosquitoes chase. Add a little dish soap, and they drown instantly instead of escaping.
Recipe and precautions:
- ½ cup vinegar
- 2 teaspoons baking soda
- A few drops of dish soap
Use a bowl or wide-mouth glass. Add vinegar first, then baking soda slowly to control foaming.
Best situations: Ideal for indoor corners or small spaces like bathrooms or bedrooms where mosquitoes sneak in. It’s also good for travelers — quick, no yeast smell, and no need for electricity.
Trap #3: Bucket Trap with Yeast + Straw
Bigger-volume design: If your garden or backyard swarms after dark, scale up with a 5-gallon bucket. Mix 2 litres water, 1 cup sugar, and 2 teaspoons yeast. Add a handful of dry grass or straw — it increases fermentation and CO₂ output.
Safety and placement: Cover half the opening with mesh so pets and kids can’t reach inside. Elevate it slightly to keep ants away.
Maintenance: Empty and rinse weekly. Refill bait every 10 days. You can even drop a mosquito dunk tablet if infestation is heavy.
Trap #4: Lethal Ovitrap
The concept: Female mosquitoes lay eggs in dark, moist containers. The lethal ovitrap turns that instinct against them.
How to make it: Use a dark plastic cup or jar, fill it with water and a few blades of grass to attract females. Line the inside with a small strip of fabric sprayed with a mild larvicide or coat it with cooking oil to trap larvae.
Where to use it: Place near gutters, drains, or potted plants — anywhere mosquitoes normally breed. It’s especially effective against Aedes aegypti (the dengue carrier).
Trap #5: Light + Sticky Trap Hybrid
Materials: A small UV or LED light, a shallow box, and sticky paper or tape.
Setup: Mount the light just above the sticky sheet inside a simple cardboard or plastic frame. Place in a dark corner, near doors, or attics.
Pros
- Works without water
- Catches night-active species
- Cleaner for indoor spaces
This one’s my go-to when I don’t want any smell or mess around food areas.
Bonus Trap #6: CO₂ Pouch Trap
Idea and design: If you’re into experimentation, this one’s fascinating. Mix citric acid and baking soda in a small sealed pouch — it slowly releases CO₂ through a pinhole. The idea comes from low-resource prototypes described by Lippincott Journals.
Where to use it: Set near windows, vents, or doorways, especially where mosquitoes sneak in at night.
Why try it: It’s compact, mess-free, and great for those who don’t want visible bottles around the house.
These traps work because they blend science with simplicity — carbon dioxide, light, and smell are all powerful signals for mosquitoes. Use one or mix a few types, track your results, and you’ll soon find which combination fits your home best.
Optimization & Placement Strategy
Most people build mosquito traps, set them anywhere, and hope for results — but where and how you place them can make or break their success. After testing these traps across multiple setups, I’ve learned that placement strategy is half the battle. Here’s how to get it right.
Best Positioning & Timing for Traps
Distance from human activity: Keep traps at least 5–10 meters away from where you usually sit, sleep, or eat. The goal is to lure mosquitoes away from you, not toward you. I’ve seen people make the mistake of placing traps right beside their porch chairs — that’s just an open invitation for bites.
Height matters: Mosquitoes tend to fly close to the ground, so aim for 20–50 cm above the surface. I often hang bottle traps from low hooks or place them on stools. This small adjustment increases capture rates significantly, especially outdoors.
Shaded vs sunny placement: Avoid direct sunlight — heat dries out the bait faster and kills the fermentation process. Instead, choose shaded, humid corners like under plants, near drains, or around outdoor storage areas. According to Florida IFAS Extension, shaded spots with minimal airflow attract the highest mosquito activity, which makes them ideal trap zones.
Trap density and distribution: One big trap won’t solve a backyard problem. Multiple small traps spread out are far more effective. Place one near vegetation, one near stagnant-water zones, and another near entrances. Think of it as creating a net — each trap covers a different flight path.
And if you’re dealing with mosquitoes sneaking indoors even after outdoor traps, check out our quick guide on beating mosquitoes indoors with three proven methods — it walks you through simple indoor tweaks that keep your home completely bite-free.
Maintenance & Refresh Schedule
Frequency of cleaning and bait replacement: Traps aren’t “set it and forget it” tools. Empty, rinse, and refill your bait solution every 5–7 days. If you see mold, discard the liquid immediately. Regular cleaning prevents your trap from turning into a breeding site.
Watch out for spoilage: Over time, fermentation slows, and your bait starts smelling more like sour vinegar than yeast. That means the CO₂ output has dropped. A quick fix? Add a spoon of fresh sugar and half a teaspoon of yeast to reactivate it.
Seasonal adjustments
- Rainy season: Cover traps slightly to prevent overflow.
- Windy days: Move them to corners shielded from air currents.
- Cool weather: Shift traps closer to warm surfaces like walls or vents.
Mosquito activity changes with the weather — adjusting your placement keeps the traps effective all year round.
Getting your trap placement right is what separates short-term relief from long-term control. A well-positioned, well-maintained trap doesn’t just catch mosquitoes — it disrupts their entire breeding cycle.
Common Mistakes to Avoid
Even the best DIY mosquito trap won’t help much if it’s not used correctly. I’ve made a few of these mistakes myself, and learning from them can save you time, effort, and frustration. Here’s what to avoid if you want consistent results.
Using Too Dilute Bait: If your sugar-and-yeast mixture is too watery, it won’t produce enough carbon dioxide to attract mosquitoes. Stick to the ratios — roughly one part sugar to four parts water, with a small spoon of yeast. You should see bubbles forming within minutes; if not, your bait is too weak.
Placing Traps Too Close to Humans or in Windy Areas: Keep traps away from your seating areas or open windows. Mosquitoes will follow the CO₂ trail straight to you if traps are nearby. Also, avoid windy spots — strong air currents disperse the scent and make it harder for mosquitoes to find the trap.
Forgetting to Clean and Refresh: Dirty traps don’t just stop working — they can actually become mosquito breeding zones. Mold, old bait, and stagnant water are perfect egg-laying conditions. Empty and clean traps weekly, and if you see larvae or slime, replace the solution immediately.
The same logic works for other household pests — if you prefer natural solutions, try these DIY methods for a roach-free home without using harsh chemicals. It’s a safe, eco-friendly approach that pairs well with your mosquito control setup.
Using Traps in Rain Without Protection: Rain can dilute your mixture, overflow containers, or wash away bait completely. During the monsoon or humid months, cover traps with a light lid or plastic sheet that keeps rain out but allows airflow. A small adjustment like this keeps your trap effective longer.
Getting these basics right makes all the difference. Once you fine-tune your traps, you’ll notice a clear drop in buzzing and bites — especially at night.
What to Expect and Next Action
Start simple: set up two or three traps, monitor them for a few days, and adjust placement based on where you catch the most mosquitoes. I always tell readers — treat it like an experiment, not a one-time setup.
Here’s how to build consistency:
- Start small, refine your setup as you observe results.
- Track catches every few days and note which locations work best.
- Combine methods: Use traps plus eliminate standing water, trim vegetation, and apply safe repellents.
- Be patient: Results improve over time as you disrupt mosquito breeding patterns.
And while you’re securing your backyard, take a moment to learn the 10 warning signs you’re at risk of a wasp invasion — and how to prevent nesting. Staying ahead of wasps now can save you from painful surprises later.
A few small habits can protect your home all season long.
Have you tried making any of these DIY traps yet? Share your results or your own creative versions in the comments — I’d love to see what’s worked for you!
For more smart, practical home improvement ideas like this, visit Build Like New — your go-to source for clever home fixes that actually work.
Disclaimer: These DIY mosquito traps are intended for household use only and should not replace professional pest control in severe infestations. Always keep traps away from children and pets, handle ingredients safely, and dispose of used bait responsibly. Results may vary depending on environmental conditions.

