
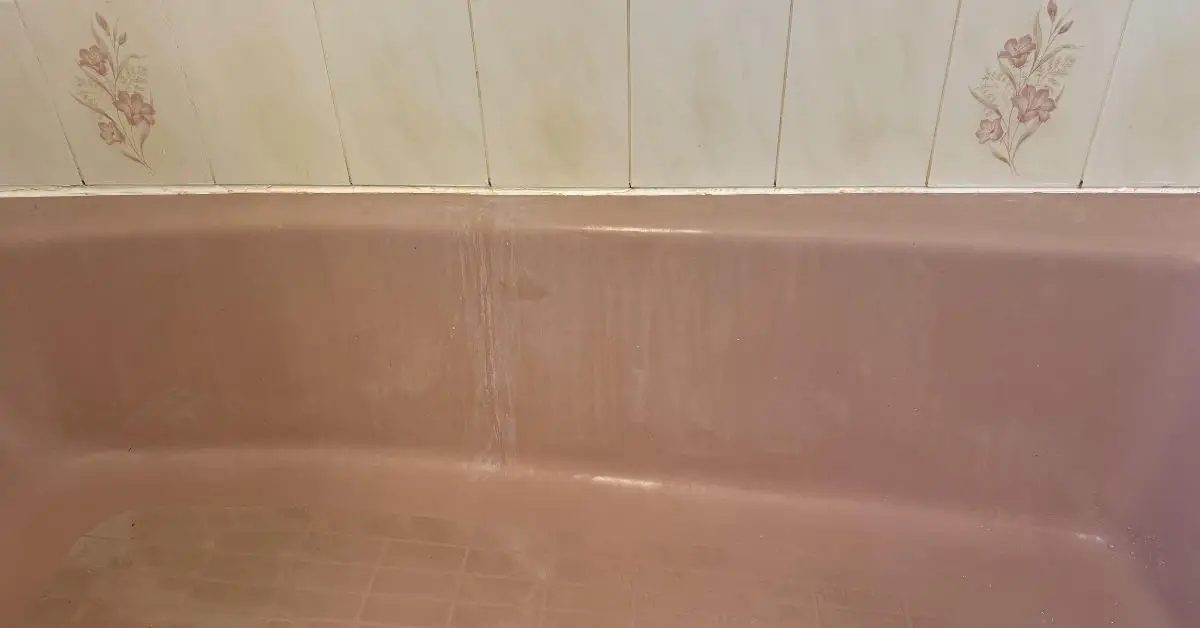
5 Simple Tricks to Remove Bathtub Soap Scum Without Heavy Scrubbing
If you’ve ever stood in your bathroom staring at that dull white film on your tub, you already know how frustrating soap scum can be. I’ve been there too—scrubbing harder, switching cleaners, and wondering why it keeps coming back no matter how much effort I put in. The worst part? It makes a clean bathroom look dirty in minutes.
Here’s the truth most cleaning articles don’t tell you: soap scum isn’t a “you’re not scrubbing enough” problem. It’s a chemistry problem. When soap mixes with hard water minerals and body oils, it bonds to your tub’s surface. That’s why hours of scrubbing often feel useless—and why people burn out on cleaning altogether.
In this guide, I’m going to show you how to get rid of bathtub soap scum without scrubbing for hours. These are simple, realistic methods I trust and recommend—using time, smart ingredients, and the right habits instead of brute force. If you’re tired of wasting weekends fighting your bathtub, you’re in the right place.
Before we get into the fixes, let me ask you something: what have you already tried that should have worked—but didn’t?
What Is Bathtub Soap Scum (Quick Primer)
Let me clear this up first, because once you understand what soap scum actually is, everything else starts to make sense.
Soap scum isn’t dirt. It’s a stubborn film formed when soap mixes with hard water minerals and body oils. Every time you shower, tiny residues are left behind. Over time, they dry, harden, and bond to your bathtub surface.
In plain language, soap scum is basically:
- leftover soap
- mixed with minerals from hard water
- glued together by skin oils
That’s why it looks cloudy, chalky, or slightly greasy—and why it doesn’t rinse away with water.
Now, why does it stick so badly?
Soap scum bonds at a chemical level, especially on tubs made of acrylic, fiberglass, or porcelain. According to America’s Preferred Home Warranty, hard water minerals react with soap and create an insoluble residue that clings to surfaces instead of dissolving in water.
And this is where most people get stuck.
Typical scrubbing doesn’t work because:
- Water alone can’t break mineral bonds
- Abrasive scrubbing spreads residue instead of lifting it
- Rough scrubbing can damage the tub, making future buildup worse
So if you’ve been scrubbing harder and getting nowhere, it’s not your effort—it’s the chemistry working against you.
How Soap Scum Forms (And Why It Keeps Coming Back)
Here’s the part most cleaning guides barely touch—and it’s the reason soap scum feels endless.
Soap scum forms every single time you bathe, not just when your tub looks dirty.
Here’s what’s happening behind the scenes:
Hard water minerals are the main trigger
If your home has hard water, it contains minerals like calcium and magnesium. When these minerals meet soap, they don’t rinse away cleanly. Instead, they leave behind residue that sticks to your tub after the water evaporates.
Bar soap makes it worse
Bar soaps contain fats that react more aggressively with hard water.
- They leave thicker residue
- They bond faster to surfaces
- They build up layers quicker than liquid body wash
Liquid soaps aren’t perfect, but they generally leave behind less solid residue. Bar soaps tend to leave heavier residue, which is why many people eventually switch once they realize how much buildup it causes—especially after learning about other surprising ways bar soap is used around the house, like in these unexpected household uses for Irish Spring soap.
Everyday habits speed up buildup
Most people don’t realize how quickly small habits add up:
- Letting water air-dry on tub walls
- Not rinsing soap fully after bathing
- Skipping quick wipe-downs because “it looks fine”
That’s why soap scum often comes back days after a deep clean. You didn’t do anything wrong—it just rebuilt itself.
Once you understand this cycle, prevention and low-effort cleaning finally start to work.
Method 1: Vinegar Soak (No Scrub Required)
If you want the easiest, lowest-effort way to get rid of bathtub soap scum, this is where I always start.
Vinegar works because it’s acidic. Instead of scraping soap scum off the surface, it breaks down the mineral bonds holding it in place. Time does the work for you.
Here’s exactly how I recommend doing it:
What you’ll need
- White vinegar
- Warm water
- Spray bottle
- Microfiber cloth or soft sponge
How to use it
- Mix equal parts warm water and white vinegar in a spray bottle
- Spray generously over soap scum areas
- Let it sit for 15–30 minutes (this part matters)
- Gently wipe with a microfiber cloth
That’s it. No heavy pressure. No back-breaking scrubbing.
This method is ideal if:
- Your soap scum is light to moderate
- You want a cheap, household solution
- You’re tired of scrubbing with no results
If you’ve tried vinegar before and thought it “didn’t work,” chances are you didn’t give it enough time. Vinegar isn’t instant—it’s chemical.
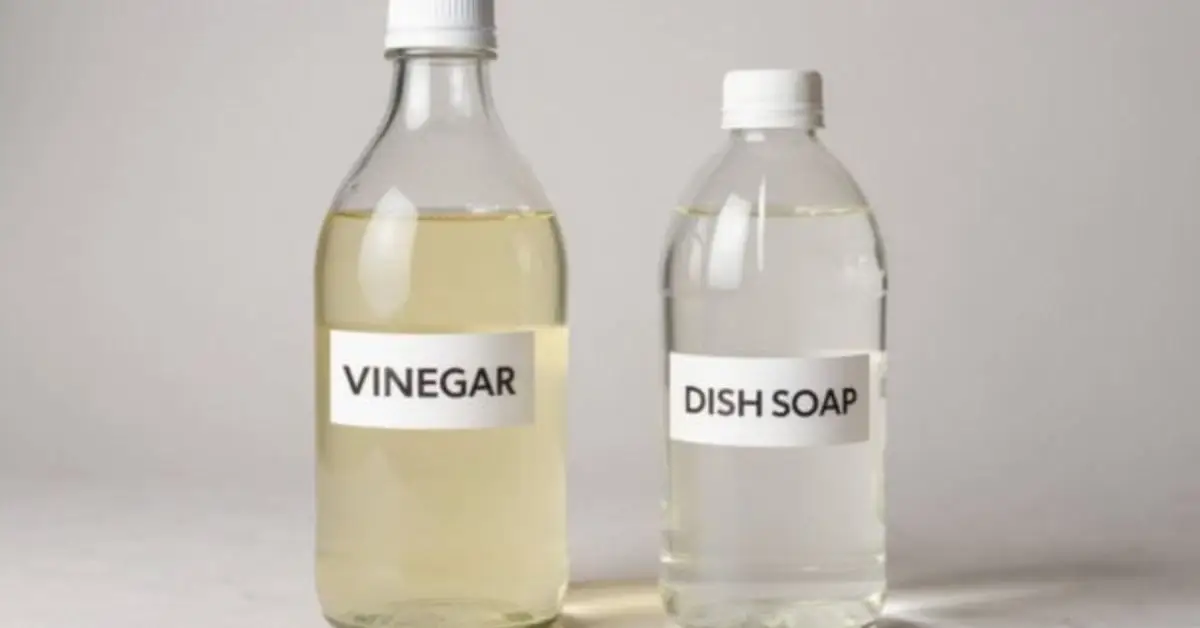
Method 2: Dish Soap + Vinegar Combo (Breaks Up Residue Fast)
This is one of those methods I didn’t believe in at first—until I saw how consistently it works for people who hate scrubbing as much as you and I do.
The reason this combo is so effective is simple:
- Dish soap cuts through body oils and greasy residue
- Vinegar breaks down hard water minerals
Together, they loosen soap scum so it wipes away instead of fighting back. Dish soap is powerful, but only when it’s used correctly—many people unknowingly overuse it or mix it the wrong way, which can cause buildup elsewhere, something I break down in detail in this guide on common dish soap cleaning mistakes that can actually damage your home.
How to use it
- Mix equal parts white vinegar, water, and liquid dish soap
- Spray it directly on soap scum
- Let it sit for 10–15 minutes
- Wipe gently with a soft sponge or microfiber cloth
No hard scrubbing. No fancy products.
This method is perfect if:
- Vinegar alone didn’t fully work
- Your tub has a greasy, cloudy film
- You want fast results with basic supplies
If you want real-world proof, many users in Reddit’s cleaning threads talk about how this combo removes soap scum with surprisingly little effort.
Method 3: Baking Soda Paste (Spot Treatment That Works Without Scrubbing Hard)
When soap scum has been sitting for a long time, you sometimes need a little extra help—but that doesn’t mean you need to scrub like crazy.
This is where baking soda paste works best.
Baking soda isn’t about force. It works because it:
- Gently reacts with residue
- Helps lift grime from the surface
- Adds just enough texture to loosen buildup without damage
The key is using it only where needed, not all over the tub.
How to use it
- Mix baking soda with a small amount of water to form a thick paste
- Apply directly to stubborn spots
- Let it sit for 15–20 minutes
- Wipe off with a damp cloth
Here’s what most people get wrong: they start scrubbing immediately.
Don’t do that.
Let the paste sit. Time does the work. When you wipe, you’re removing loosened buildup—not grinding it off the surface.
This method is best for:
- Old, stuck-on soap scum
- Corners, ledges, and textured areas
- Spot cleaning instead of full-tub scrubbing
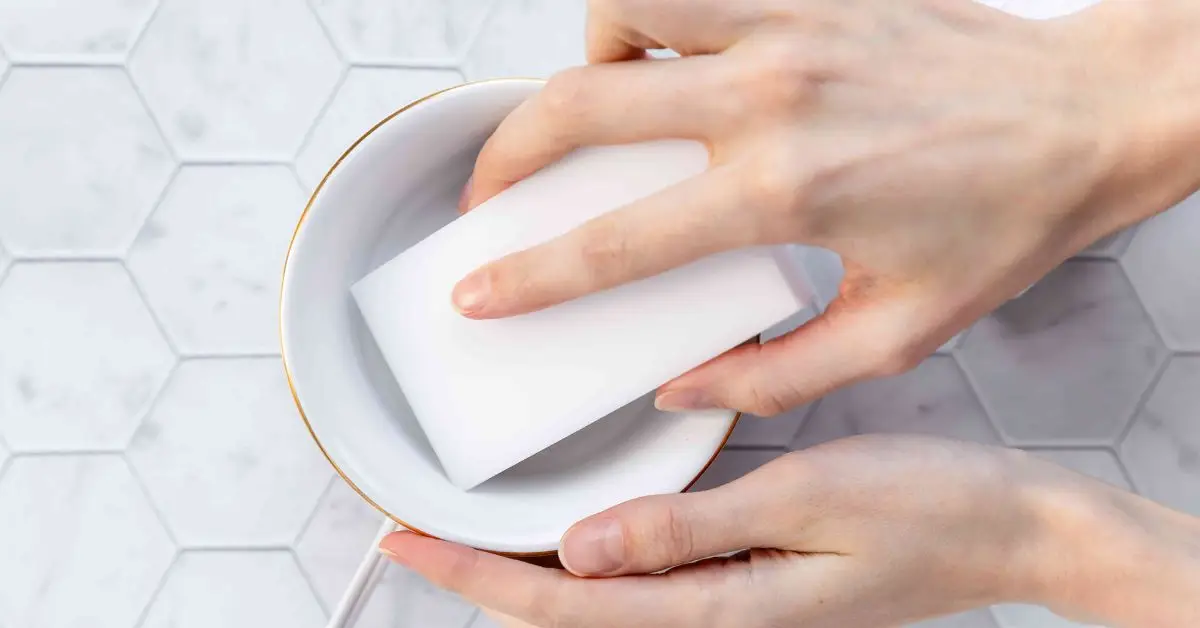
Method 4: Magic Eraser or Microfiber (Smarter Tools, Less Effort)
Sometimes the problem isn’t the cleaner—it’s the tool.
I’ve seen people scrub for 30 minutes with the wrong sponge, then remove soap scum in five minutes just by switching tools.
Here’s why that happens.
Magic erasers (melamine foam) work by lifting residue at a microscopic level. They don’t rely on pressure, which means:
- Less physical effort
- Better results on soap film
- Reduced strain on your hands and arms
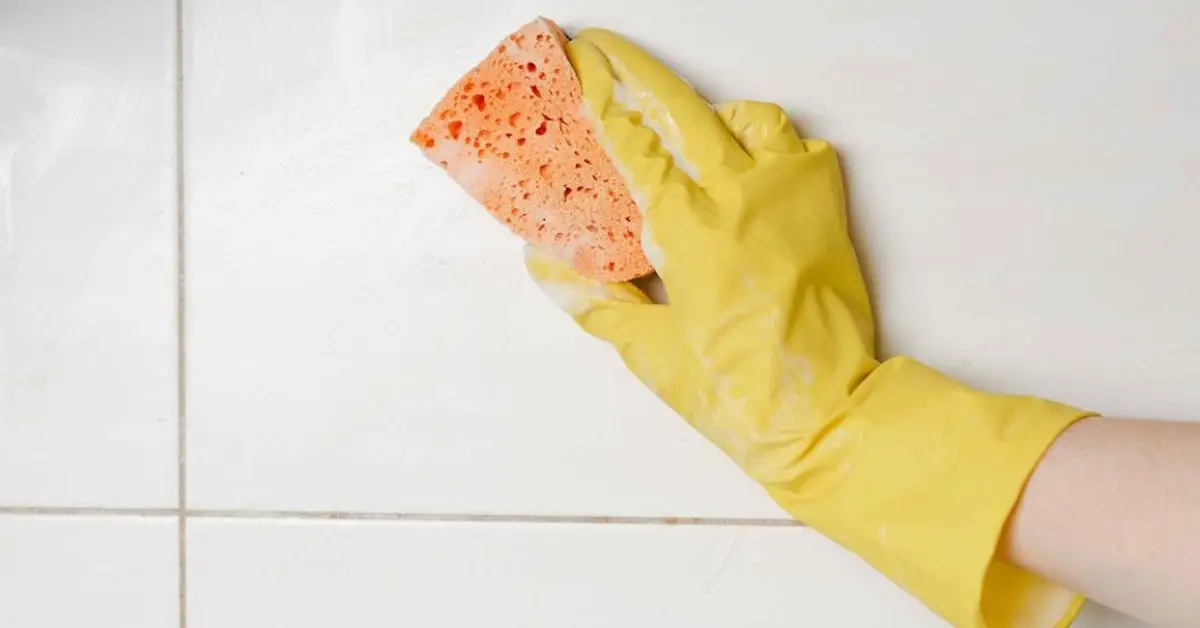
If you’re worried about surface safety, a damp microfiber cloth is a great alternative. It grips residue better than regular sponges and spreads pressure evenly.
How to use safely
- Always wet the eraser or cloth first
- Use light pressure—let the material do the work
- Avoid aggressive scrubbing, especially on acrylic tubs
Many users share that switching to a magic eraser was the moment soap scum finally stopped being a battle—because they weren’t fighting the surface anymore.
Before you move on to stronger cleaners, try a smarter tool first.
Quick question for you before the next method: Which part of your tub always seems to collect soap scum no matter what you try—the walls, the bottom, or the corners?
Method 5: Steaming / Heat Assist (Chemical-Free, Low Effort)
If you don’t like the idea of using cleaners at all, this method is for you. I recommend it especially if you have a sensitive tub surface or just want the least effort possible.
Steam works because heat weakens the bond between soap scum and your bathtub. Soap scum hardens when it cools and dries. When you reintroduce heat, it softens again—almost like loosening glue.
That’s why steaming feels so easy.
Here’s what’s happening:
- Heat softens dried soap and mineral residue
- Moisture prevents it from re-bonding
- Residue lifts instead of resisting
You don’t need a fancy setup.
What makes this easy
- A handheld steam cleaner works best
- Even hot shower steam helps on lighter buildup
- Follow with a microfiber wipe while the surface is still warm
This method is great if:
- You want zero chemicals
- Your soap scum isn’t extremely thick
- You prefer wiping over scrubbing
The key is timing. Always wipe while the surface is warm, not after it cools down.
Bonus Hacks That Prevent Soap Scum Before It Starts
Here’s where most articles drop the ball.
Removing soap scum is helpful—but preventing it is what saves you time long-term. I always tell people this: a few seconds after each shower beats an hour of cleaning later.
These are small habits that actually work.
Switch bar soap to liquid or gel: Bar soaps react more with hard water and leave thicker residue. Liquid body washes rinse cleaner and reduce buildup over time.
Do a quick squeegee wipe: It takes less than 30 seconds.
- Wipe walls after showering
- Remove water before it dries
- Fewer minerals = less soap scum
Use a simple daily spray: You don’t need anything complicated.
- Vinegar + water + a drop of dish soap
- Light spray after shower
- No wiping needed every time
Clean lightly while you shower: This isn’t lazy—it’s smart. Many people clean small areas during shower time, which prevents buildup from ever getting serious. Even lifestyle brands like Good Housekeeping have highlighted how this habit keeps showers clean with almost no extra effort.
If you do even one or two of these consistently, soap scum stops feeling like a recurring problem—and starts feeling manageable.
Quick check for you: Which habit do you think you could realistically stick to every day?
What Not to Do (Avoid Damaging Your Tub)
Before you try another cleaning hack, I want to stop you for a second—because some “popular” remedies actually make soap scum worse over time.
I’ve seen tubs get permanently dull or scratched not from neglect, but from over-cleaning the wrong way.
Here’s what you should avoid:
- Don’t use harsh abrasives on acrylic or fiberglass tubs: Scouring pads, rough scrubbers, or gritty powders may remove soap scum once—but they scratch the surface. Those tiny scratches become the perfect place for soap scum to stick even faster next time.
- Be careful using vinegar on natural stone: Vinegar works great on most tubs, but it can etch natural stone surfaces like marble or travertine. If your tub or surround is stone, skip acids and stick to mild, surface-safe methods.
- Never mix cleaning chemicals: This is non-negotiable.
- Never mix ammonia and bleach
- Don’t combine different cleaners in one spray bottle
Mixing chemicals can release dangerous fumes and isn’t worth the risk. Cleaning smarter should never mean cleaning unsafely.
If a method requires force, harsh tools, or risky combinations—it’s not the right method.
A Realistic 10-Minute Weekly Tub Cleaning Routine
This is the routine I recommend when people tell me, “I don’t have time to clean my tub.”
You don’t need more time—you need a lighter system.
Daily (3–5 minutes total)
- Light spray after showering
- Quick rinse or leave to air dry
- No scrubbing
Weekly (5 minutes)
- Vinegar-based wipe-down
- Focus on walls and corners
- Microfiber cloth only
If you already use dish soap as part of your weekly cleaning routine, the same gentle approach works well beyond the bathroom too—especially when you apply it correctly, like in these simple steps to clean windows without streaks using dish soap.
Monthly (5–10 minutes)
- Spot treat any stubborn areas
- Use baking soda paste or steam
- Reset before buildup gets heavy
When you follow this rhythm, soap scum never gets a chance to harden. Cleaning stops feeling like a chore—and starts feeling automatic.
Choosing the Right Method for Your Situation
Not all soap scum is the same. Use this quick guide to decide what actually makes sense for your tub.
| Situation | Best Method | Effort Level |
|---|---|---|
| Light buildup | Vinegar soak | Very low |
| Medium buildup | Dish soap + vinegar | Low |
| Rough film | Baking soda paste | Moderate |
| Sensitive surfaces | Steam | Low |
| Hard water areas | Routine + squeegee | Preventive |
If one method didn’t work for you before, it usually means the method didn’t match the problem—not that you did anything wrong.
Simple Results Without Scrubbing for Hours
If there’s one thing I want you to take away, it’s this: you don’t need to fight your bathtub.
Soap scum isn’t about effort—it’s about using the right approach at the right time. When you let chemistry, heat, and habits do the work, cleaning becomes faster and far less frustrating.
Try one or two methods that fit your situation and stick with a simple routine. You’ll see the difference quickly.
Now I want to hear from you:
Which method are you going to try first—or what’s been the hardest part of keeping your tub clean?
Drop a comment below and share your experience.
And if you want more practical, no-nonsense home improvement and cleaning guides, explore more tips on Build Like New—everything there is designed to help your home look better without burning you out.
Disclaimer: The methods shared in this article are for general household cleaning purposes only. Always test any solution on a small, hidden area first, follow product and surface manufacturer guidelines, and use proper ventilation. Results may vary depending on tub material, water type, and buildup level.

