
5 Must-Try DIY Window Cleaning Steps Using Dish Soap for Sparkling Results
Cleaning your windows can feel like a chore, especially when streaks are left behind no matter how hard you try. But I’ve got a trick up my sleeve that will change your approach forever—dish soap. That’s right, the same dish soap you use for your dishes can also give you crystal-clear windows, streak-free.
If you’re tired of wasting time and money on fancy window cleaners that never seem to work, this guide is for you. I’ve broken down the process into five simple steps that anyone can follow, no matter how much or little cleaning experience you have. Trust me, by the end of this, your windows will be spotless, and you’ll wonder why you hadn’t tried this method sooner. So, let’s dive in!
Why Dish Soap is the Secret to Streak-Free Windows
Cleaning your windows with dish soap might sound unconventional, but it’s one of the most effective and affordable ways to get a streak-free shine. Let’s break down exactly why dish soap works so well and why it might just be the solution you’ve been searching for.
How Dish Soap Works for Windows
Dish soap contains mild surfactants, which are ingredients designed to break down oils and grease. When you apply dish soap to your windows, these surfactants cut through the grime, dirt, and grease that typically accumulate on your glass. The best part? Unlike harsher cleaners, dish soap doesn’t leave behind the sticky, streaky residue that many commercial window cleaners do.
The key is that dish soap is gentle, making it ideal for a surface like glass, which can easily show streaks from cleaners that are too harsh. This is why so many cleaning experts swear by it for a streak-free finish. For a more detailed look at how this works, check out this guide from The Spruce on cleaning windows without streaks using dish soap.
Why It’s Better Than Other Products
You might be wondering, “Why not just use a store-bought window cleaner?” Well, many popular window cleaners contain ammonia or alcohol, which can leave a residue that attracts dirt quickly, making your windows dirty again sooner. Additionally, these chemicals can often cause streaks if not used properly, leaving you with windows that look worse than before.
In contrast, dish soap is not only a milder, residue-free solution, but it’s also inexpensive and readily available. And because it’s already formulated to cut through grease, it does a better job of removing oily residues that often cause streaks.
By using dish soap, you’re getting a solution that’s both gentle on your windows and powerful enough to handle tough stains without the harsh chemicals found in many commercial cleaners.
Step 1: Gather Your Supplies for Streak-Free Cleaning
Before you start, you’ll want to gather all the right tools for the job. Don’t worry, this doesn’t require any fancy equipment—just a few essentials that will make the process a lot easier.
Essential Items
Here’s what you’ll need for streak-free cleaning:
- Dish Soap: The star of the show, of course! Choose a mild dish soap—nothing too strong or too concentrated.
- Water: Tap water works perfectly fine.
- Microfiber Cloth: This is crucial. Unlike paper towels or rags, microfiber cloths don’t leave behind lint or streaks. Their dense fibers trap dirt and moisture without spreading it around. For more on why microfiber is the best choice, check out Homes & Gardens’s guide on using dish soap for streak-free windows.
- Squeegee: If you want to get that perfectly smooth finish, a squeegee is a game-changer. It’s the secret to avoiding streaks when drying the windows.
- Bucket: A simple bucket for mixing your cleaning solution. For additional protection after cleaning, consider bug-proofing your windows. Here are 10 Easy Ways to Bug-Proof Your Windows This Summer to make your windows more efficient.
What You Need to Avoid
Now, there are a few things that might seem tempting but should be avoided:
- Paper Towels: While they’re handy for other tasks, paper towels can leave behind streaks or lint, especially when used on glass.
- Regular Rags: Using old, worn-out rags might spread grime or leave fibers behind on your windows. Stick to the microfiber cloth for best results.
With these tools and tips in hand, you’re already on the right path to cleaner, streak-free windows!
Step 2: Prepare Your Cleaning Solution
Now that you have your supplies, it’s time to mix up the perfect cleaning solution. This is where the magic happens, so let’s get the proportions just right.
Mixing the Perfect Solution
To start, fill your bucket with water—about half a gallon should do the trick for an average-sized window. Then, add about one teaspoon of dish soap. You don’t need much! Too much soap can leave a residue, so stick to this small amount. Stir the solution gently to mix the soap and water without creating too many bubbles.
And, if you’re thinking ahead to prepare your windows for upcoming weather conditions, check out 10 Smart Ways to Prepare Your Windows for Hurricane Season for tips on securing your windows during storms.
Pro Tips for Adjusting the Solution
If you have large windows or if they’re particularly grimy, you may need to adjust the ratio. For tougher stains or bigger windows, try adding a little more soap—maybe a teaspoon and a half. The key is to find the right balance between effective cleaning power and avoiding excess soap residue.
For stubborn spots or fingerprints, you can also try using a soft sponge or a microfiber cloth to apply a bit more pressure on those areas during cleaning.
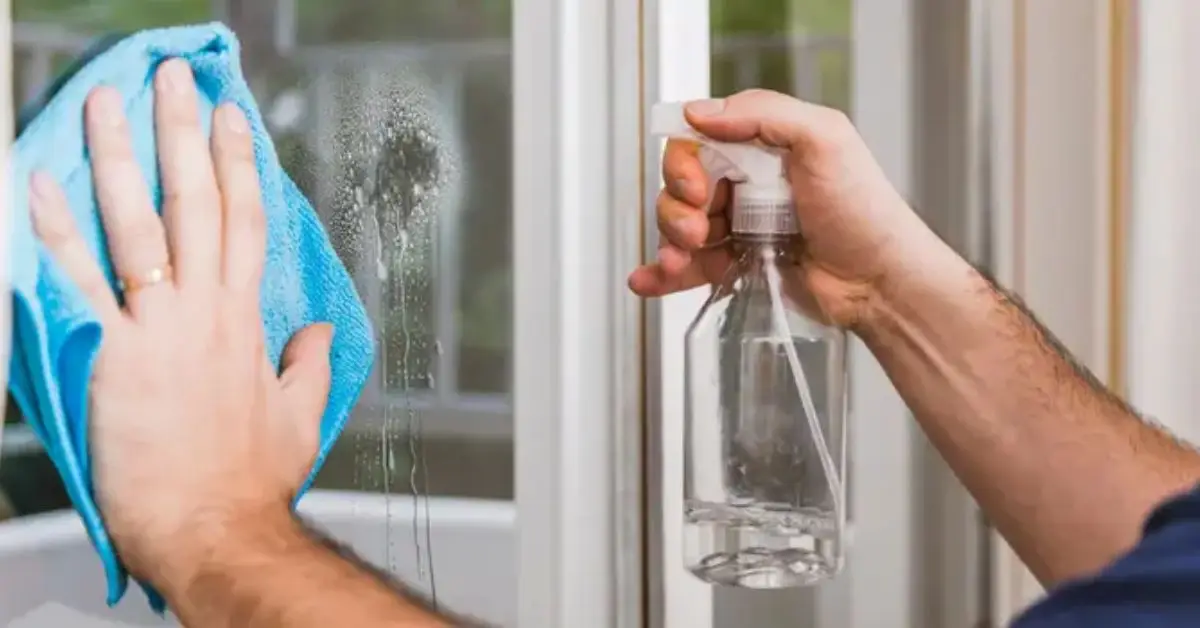
Step 3: Wash the Windows – Technique is Key
When it comes to window cleaning, technique matters just as much as the tools. If you’re not using the right method, all the effort can be wasted with streaks and smudges. Here’s how to get it right.
Start from the Top
Always begin cleaning from the top of the window. Why? Gravity is your friend here! Starting at the top allows the cleaning solution to drip down, making the process smoother and preventing streaks from forming as you work your way down. Also, if you’re focused on securing your windows and adding another layer of protection, learn more about window sensors to monitor your windows for potential issues. If you start at the bottom, the water can easily drip back down onto the already cleaned areas, leading to messy results.
This simple strategy helps ensure an even cleaning process and saves you from redoing areas that might have gotten splashed on.
Use Circular Motions
When you start scrubbing, don’t just wipe back and forth. Instead, use circular motions. Why? Because this motion helps break up stubborn dirt and grime more effectively, allowing your cleaning solution to lift away the debris. It also helps ensure even pressure across the surface, which minimizes the risk of streaks.
This technique is not just a random tip—it’s backed by expert recommendations for effective cleaning. A circular motion prevents streaks by allowing the cleaning fluid to lift off evenly across the entire surface. For expert home cleaning advice, take a look at Pella’s guide on how to clean windows.
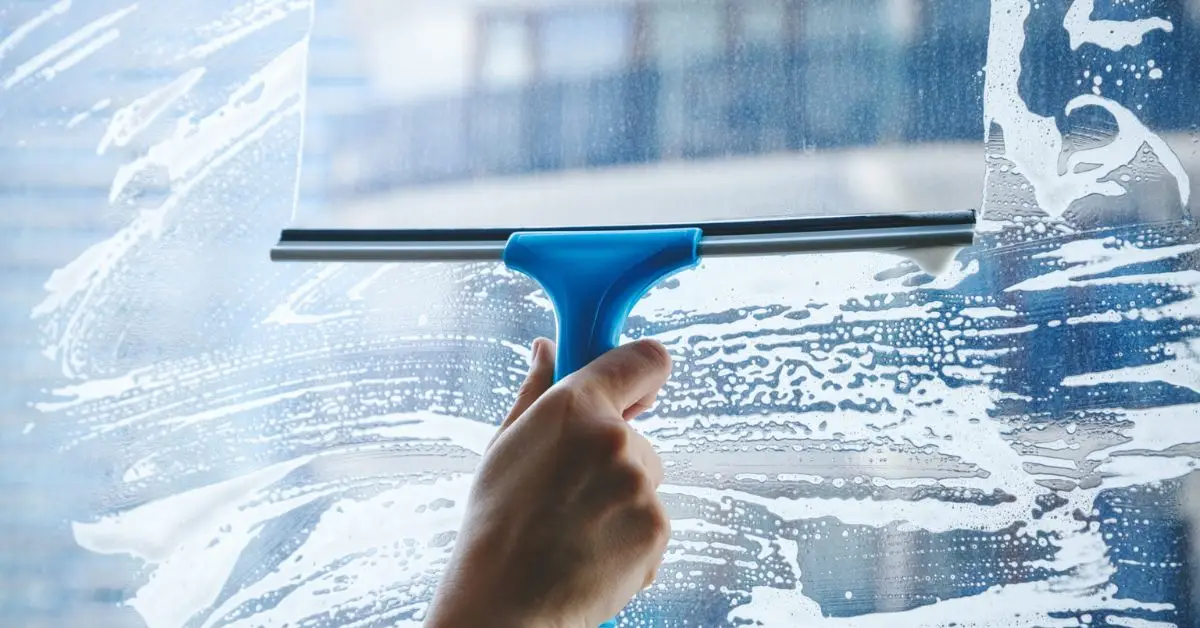
Step 4: Drying – The Crucial Final Touch
Drying your windows correctly is just as important as the washing process itself. If you don’t dry properly, you’ll end up with streaks that undo all your hard work. Let’s break down the best drying methods.
Microfiber Cloth vs. Squeegee: Which One is Best and Why?
When it comes to drying, the two best options are a microfiber cloth and a squeegee. But which one should you use?
- Microfiber Cloth: If you’re going for a more thorough, detail-oriented drying, microfiber cloths are perfect. They don’t leave lint behind and are gentle on the glass, ensuring a smooth finish without streaks. Use a dry cloth for final polishing to catch any remaining moisture.
- Squeegee: For larger windows, the squeegee is your best friend. After wiping down the surface, use the squeegee to remove the remaining water. Start at the top and pull straight down. The key is to wipe the blade clean with each pass to avoid streaks.
Both tools can be effective, but the best choice depends on the size of your windows and how much effort you want to put in.
How to Dry Without Leaving Streaks
To avoid streaks, timing and technique are crucial. After washing, be sure to dry the window quickly before the cleaning solution has a chance to evaporate and leave streaks behind. If you’re using a microfiber cloth, fold it into quarters to ensure you always have a clean, dry surface to work with.
Also, don’t over-wet the window while drying. Too much water left on the surface will inevitably leave marks. Keep your drying motion smooth and controlled, and avoid using old, worn-out cloths or paper towels.
Step 5: Enjoy Your Streak-Free Windows
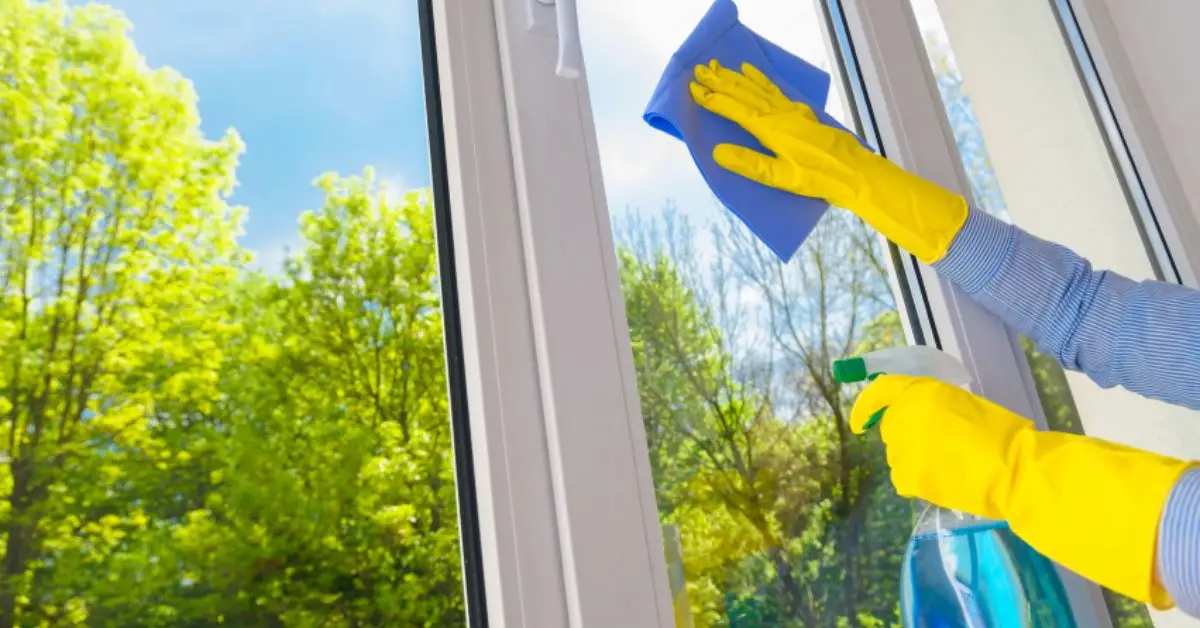
After all that hard work, there’s nothing more satisfying than stepping back and seeing those clean, streak-free windows. You’ve earned it!
Why You’ll See a Clear Difference
If you followed these steps, you should notice an immediate improvement. Your windows will shine with clarity, and you won’t see any of the annoying streaks or smudges that typically ruin a cleaning job. This method gives you a truly professional result without the hassle or the price tag of professional cleaning services.
Expert Tips for Maintaining Clean Windows Longer
To keep your windows looking pristine for weeks, try to avoid cleaning them on days when it’s too hot or too cold. Extreme temperatures can cause the cleaning solution to evaporate too quickly, leaving streaks. Also, make sure to clean your windows regularly to prevent dirt buildup that can be harder to remove over time.
By maintaining a regular cleaning routine, you’ll enjoy sparkling windows without the need for frequent deep cleans. These small, consistent steps will help your windows stay streak-free and clear longer.
Final Tips & Pro Recommendations
You’re almost there—your windows are sparkling clean, but there are a few extra tips that can help you maintain that flawless shine and make your cleaning process even more efficient.
1. Clean on a Cloudy Day
While it might seem like a bright, sunny day is ideal for window cleaning, the truth is, cleaning in direct sunlight can actually leave streaks. The sun dries the cleaning solution too quickly, before you have a chance to wipe it away properly. Instead, try cleaning your windows on a cloudy or overcast day. This gives you more time to clean and dry the windows before they dry out.
2. Use a Vinegar Solution for Tough Stains
If you find yourself dealing with stubborn spots or heavy grime, you can mix up a vinegar and water solution (about 1:1 ratio) to tackle those areas. Vinegar acts as a natural degreaser and can help lift off tough stains, especially on the exterior of your windows.
3. Regular Maintenance is Key
To prevent dirt buildup, clean your windows at least every two to three months. This will keep them looking great year-round, and it’ll be much easier to clean smaller amounts of dirt than wait for layers of buildup.
4. Don’t Forget the Window Tracks
When cleaning windows, many people forget the tracks where dust and dirt can accumulate. Use a small brush or a vacuum with a narrow attachment to clear out the tracks. A clean window track can significantly improve the look of your windows and make the entire cleaning process more efficient.
5. Invest in a Quality Squeegee
If you don’t already have one, consider investing in a high-quality squeegee. It’s one of the best tools for ensuring a streak-free finish and will save you a lot of time and effort in the long run. A good squeegee should have a rubber blade that is easy to clean and leaves behind a smooth, clear surface.
Conclusion
There you have it—five simple steps to cleaning your windows without streaks, all using the humble dish soap. By following these steps, you’ll not only get sparkling clean windows but also enjoy a more effective and affordable cleaning solution. Remember, the key to streak-free windows is all in the technique, from the right tools to the perfect drying method.
Now that you know how easy it is to achieve streak-free windows, it’s time to put your knowledge into action! Go ahead and try these steps on your own windows, and feel the satisfaction of a job well done.
What do you think? Have you tried this method before, or do you have any other tips to share? Drop a comment below and let us know how your window cleaning went!
For more home improvement tips and expert advice, visit Build Like New—your go-to source for everything home-related.
Disclaimer: The information provided in this article is for general cleaning guidance. Results may vary based on window type, cleaning conditions, and the specific products used. Always test a small area first to ensure compatibility with your surfaces.

