
5 No-Scrub Floor Grout Cleaning Tricks Every Homeowner Needs
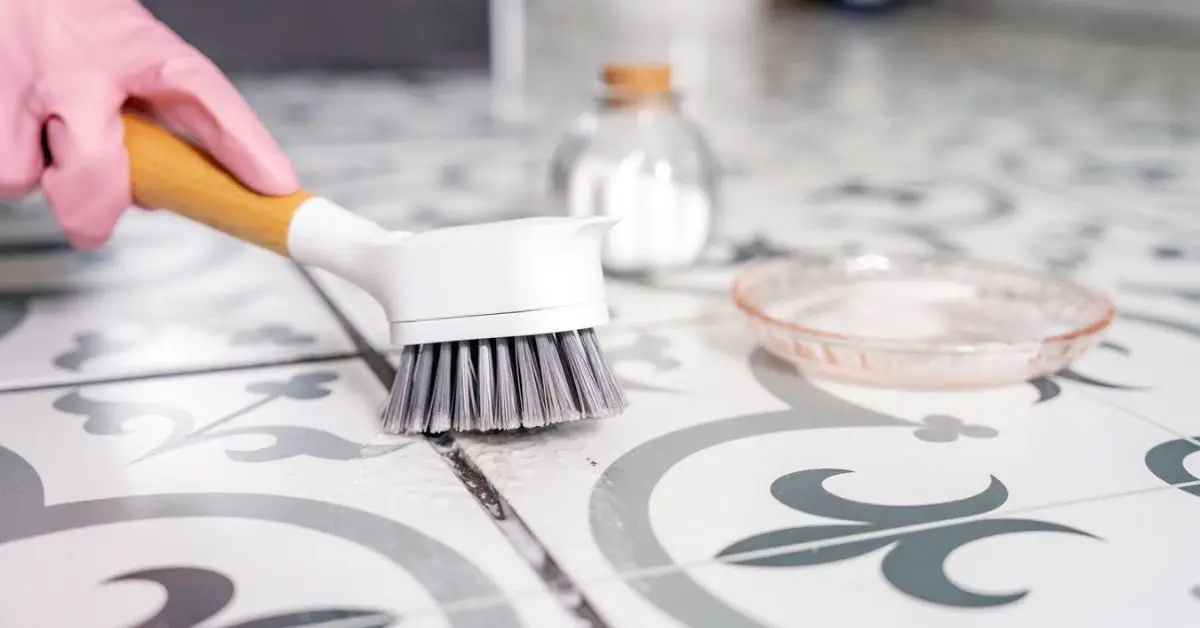
I’ve cleaned more tile grout than I’d like to admit, and here’s the honest truth most articles won’t say upfront: scrubbing is usually a sign you’re doing it the hard way, not the right way.
If you’re here, chances are you’ve already tried a brush, maybe even got on your knees, and still ended up with grout that looks tired, gray, or stained. I get it. Grout is porous, it traps dirt fast, and once it’s dirty, it feels permanent. That’s exactly why people assume scrubbing is unavoidable. It isn’t.
What actually works is letting heat, time, and chemistry do the heavy lifting for you. That’s the part many guides gloss over. They list methods, but they don’t explain why those methods mean you don’t have to scrub—or how to use them correctly so you’re not wasting time.
In this guide, I’m not giving you cleaning theory or “maybe this helps” tricks. I’m sharing five simple, proven ways to clean tile grout without ever scrubbing, based on what professionals use, what homeowners consistently report working, and what holds up across real bathrooms and kitchens—not lab tests.
If your goal is less effort, less frustration, and grout that actually looks clean when you’re done, you’re in the right place.
Before we get into the methods, let me ask you one thing: Where is your grout the worst right now—bathroom, kitchen, or entryway?
1. Steam Power — Let Heat Do the Dirty Work
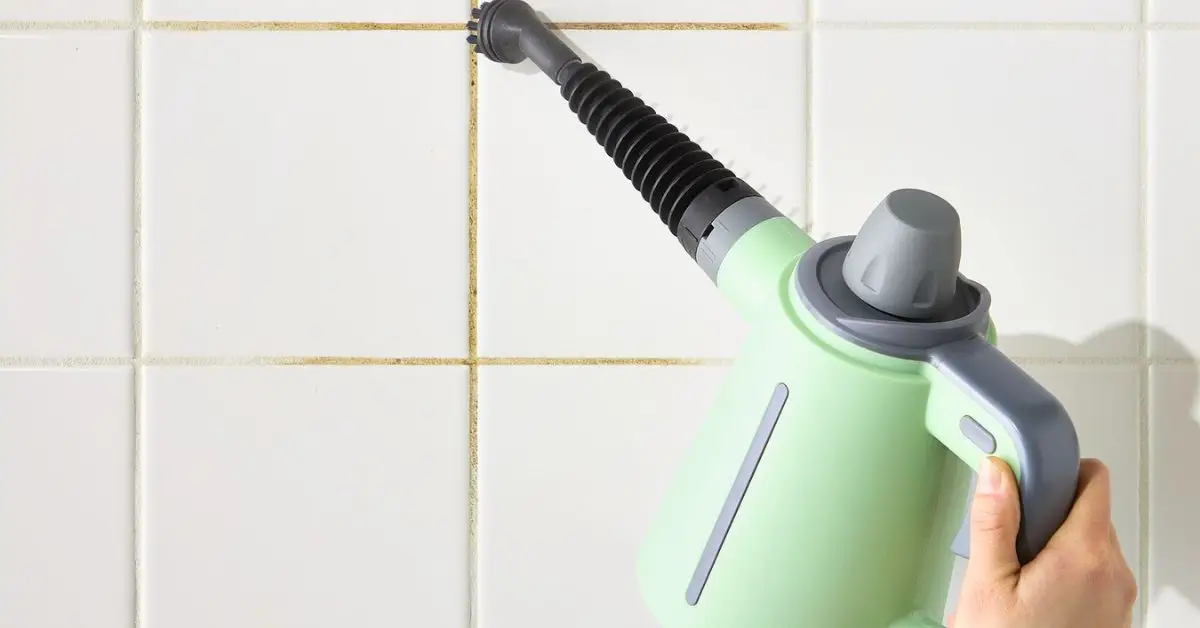
Use Steam to Clean Tile Grout Without Scrubbing
I usually start here because steam is the closest thing to a “set it and relax” solution. If scrubbing hurts your knees, back, or patience, this method feels like a relief.
Most grout doesn’t need force. It needs the right condition to let go of dirt. Steam creates that condition without you pushing or scraping anything.
How Steam Loosens Grime on Its Own
Here’s what steam does that a brush never can:
- Heat softens hardened grease and soap residue
- Moisture opens grout pores temporarily
- Pressure lifts dirt upward instead of pushing it deeper
- Mold and bacteria break down from heat alone
That’s why scrubbing becomes unnecessary. You’re not fighting the stain. You’re changing its structure so it releases on its own.
Home cleaning experts at The Spruce also point out that steam is one of the most effective ways to clean grout without scrubbing, especially when grout is sealed and regularly exposed to moisture.
Simple At-Home Steam Method (Step-by-Step)
You don’t need a professional cleaner. I’ve done this successfully with basic tools.
What you need:
- Steam mop or handheld steamer
- Microfiber cloth
- Vacuum or dry mop
How you do it:
- Vacuum first so loose dirt doesn’t smear
- Move the steamer slowly along grout lines
- Let the steam sit for a few seconds
- Wipe while the grout is still warm
No pressure. No brushing. If you rush, you’ll miss the benefit. Slow passes matter more than multiple passes.
Best Places Where Steam Works Instantly
From experience, steam gives visible results fastest in:
- Bathroom floors with soap buildup
- Shower grout with light mold or discoloration
- Kitchen tiles where grease settles into grout
If grout looks gray or dull rather than deeply stained, steam alone often brings it back. If your grout is already cracked, loose, or falling apart, cleaning alone won’t help much — in that case, you may need to look into how to remove tile grout without damaging your floors before doing any deep cleaning.
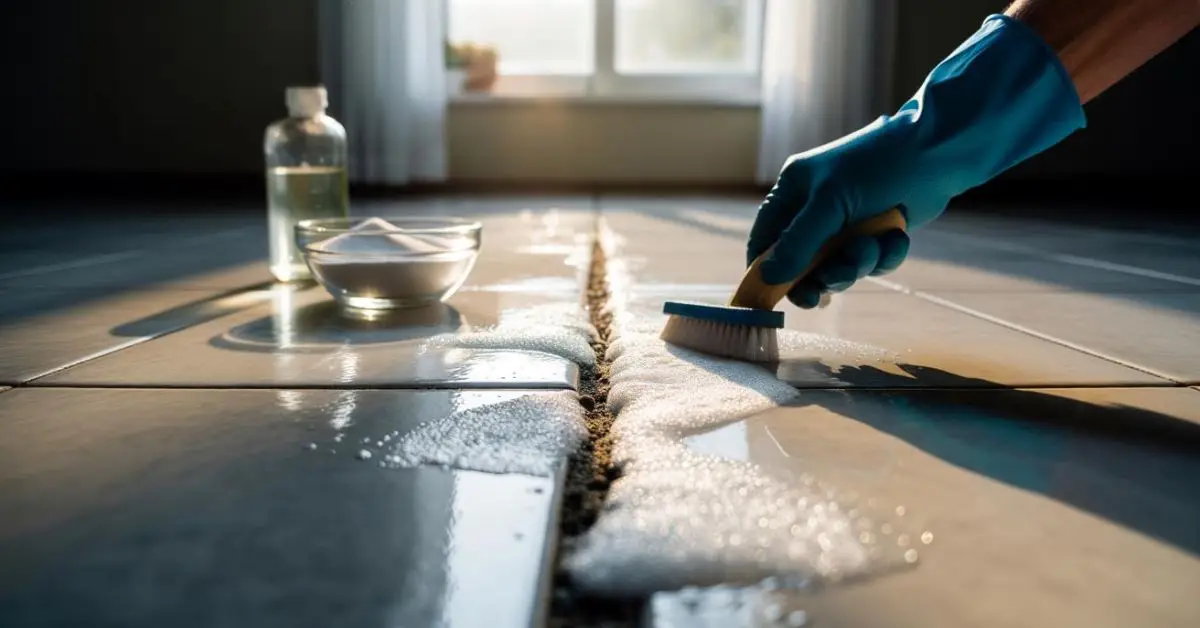
2. Baking Soda + Hydrogen Peroxide — No Brush, No Effort
If steam is about heat, this method is about chemistry. I use it when grout stains look “set in,” especially on lighter grout.
This combo works because it doesn’t clean from the surface. It reacts inside the grout.
Why This Combo Works Without Scrubbing
When baking soda meets hydrogen peroxide, a bubbling reaction starts. That reaction:
- Pushes grime upward out of porous grout
- Breaks down greasy and organic stains
- Lifts discoloration instead of spreading it
You’re not scrubbing dirt away. You’re letting it rise so it can be wiped off.
Exact Ratio + Waiting Time (This Is Where People Mess Up)
Most failures happen because people rush.
What actually works:
- Mix baking soda with hydrogen peroxide to make a thick paste
- Spread it directly over grout lines
- Let it sit for 15–30 minutes
- Wipe with a damp microfiber cloth
If you wipe too early, nothing happens. Time does the cleaning here, not effort.
What Type of Grout This Works Best On
This method shines on:
- White or light-colored grout
- Kitchen grout with grease stains
- Bathroom grout with yellowing
For dark grout, it still cleans, but results won’t look dramatic — which is normal, not failure.
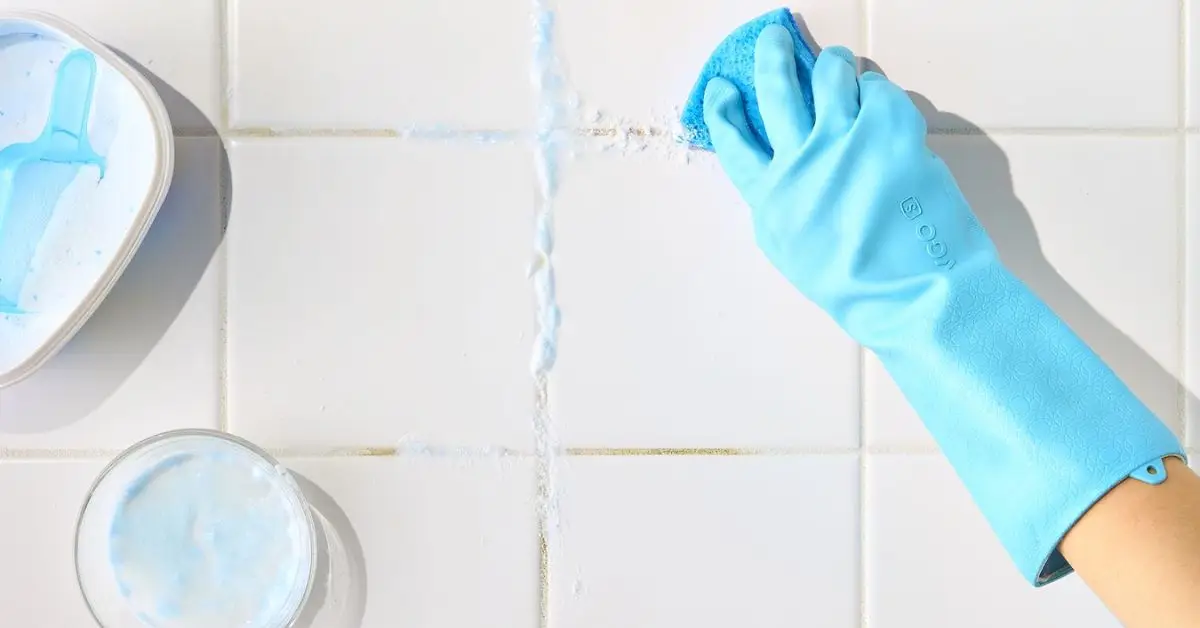
3. Vinegar Soak — Set It and Forget It
MenuThaiFleet
Vinegar Method for Light to Medium Grout Dirt
I use vinegar when grout isn’t “ruined,” just neglected. This is the method for daily life mess — foot traffic, soap residue, light kitchen grease. Not dramatic stains, not mold that’s been sitting for years.
Vinegar works best when you treat it like a maintenance reset, not a deep repair. A lot of grout gets dirty not because it’s never cleaned, but because it’s cleaned the wrong way — especially through bad mopping habits that slowly push dirty water into grout lines, which I’ve explained in detail in these worst mopping mistakes that are making floors filthy.
When Vinegar Is Enough (And When It’s Not)
This is where most guides mislead readers, so let me be direct.
Vinegar is enough when:
- Grout looks dull or slightly gray
- Dirt has built up slowly over time
- Bathroom floors have soap residue
- Kitchen grout has light grease
Vinegar is NOT enough when:
- You see dark mold spots
- Grout smells musty
- Stains look deep or uneven
- Grout hasn’t been cleaned in years
If the problem is deep, vinegar won’t fix it — and that’s okay. Using the wrong method is what wastes time, not vinegar itself.
How Long to Let Vinegar Sit for Zero Scrubbing
Time replaces effort here. If you rush this step, you’ll think vinegar “doesn’t work.”
What I do:
- Mix equal parts white vinegar and warm water
- Apply directly to grout lines
- Let it sit for 10–15 minutes
- Wipe with a microfiber cloth
- Rinse with clean water
No brushing. No pressure.
If you feel tempted to scrub, wait a few more minutes instead.
Tile Types Where Vinegar Should Be Avoided
This part is non-negotiable.
Never use vinegar on:
- Marble
- Granite
- Travertine
- Limestone
- Any natural stone tile
Acid slowly eats away stone and grout sealers. The damage doesn’t show immediately, which is why people think it’s “safe” — until the tile starts looking dull months later.
If you’re unsure what tile you have, skip vinegar. It’s safe only on ceramic and porcelain tile.
4. Oxygen Bleach Soak — Deep Clean Without Muscle
Oxygen Bleach: The No-Scrub Deep Cleaning Hack
This is the method I move to when grout looks old, stained, and tired — but not damaged. Oxygen bleach doesn’t clean fast, it cleans deep.
And no, it’s not the same as regular bleach. That difference is why it works without scrubbing.
Oxygen Bleach vs Regular Bleach (Quick Clarity)
Here’s the simple truth.
Oxygen bleach works because:
- It releases oxygen when mixed with water
- Oxygen penetrates porous grout
- Stains lift from inside, not just the surface
Hydrogen peroxide plays a key role here. It’s known for breaking down organic stains and bacteria by releasing oxygen, which is why it’s widely used in cleaning and disinfecting applications. Healthline explains this mechanism clearly.
Regular chlorine bleach:
- Whitens grout temporarily
- Weakens grout over time
- Leaves dirt underneath
If you want grout that stays clean, oxygen bleach is the smarter choice.
Soak-and-Rinse Method (No Brushing Needed)
This is where patience pays off.
How I do it:
- Mix oxygen bleach powder with warm water
- Pour it over grout lines
- Let it sit for 20–30 minutes
- Rinse thoroughly with clean water
That’s it.
No scrubbing. No tools. The soak does the work.
How Often You Actually Need This Method
More is not better here.
- Most homes: once every 2–3 months
- High-traffic areas: about once a month
If you need this weekly, the issue isn’t cleaning — it’s missing maintenance or unsealed grout.
5. Grout Sealing — Clean Once, Avoid Scrubbing Forever
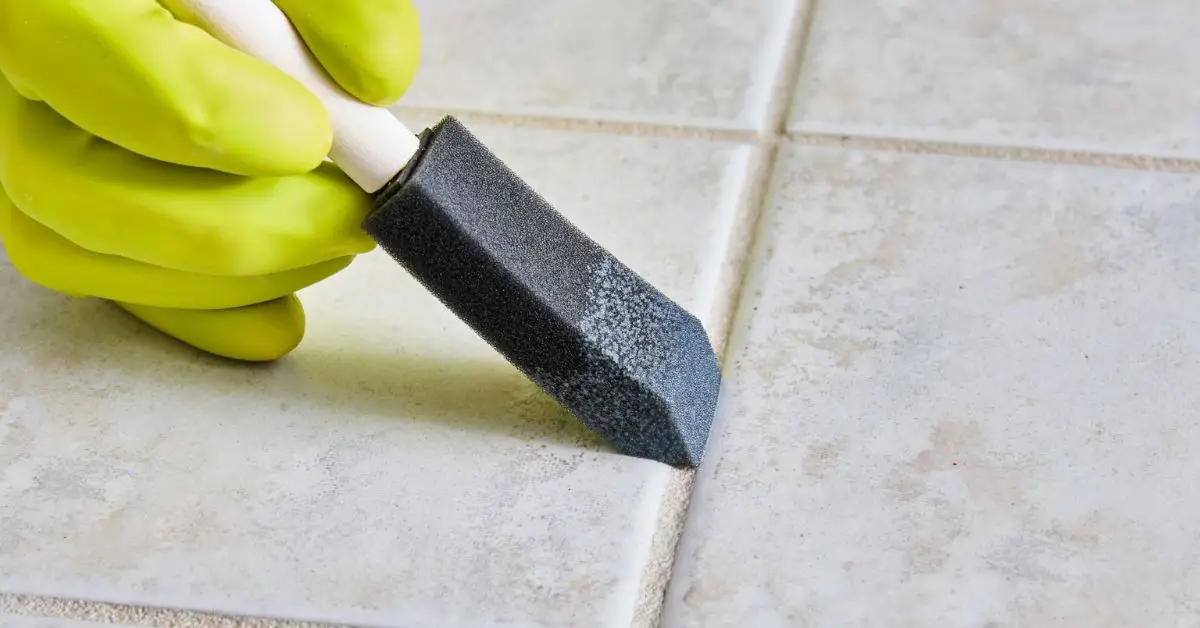
Seal Your Grout So Dirt Never Sticks Again
Let me be straight with you — if grout isn’t sealed, cleaning it will always feel temporary. You can use the best no-scrub method in the world, but open grout will keep pulling dirt right back in.
This is the part most people skip, and it’s why grout cleaning turns into a repeat problem instead of a one-time fix. The same long-term protection mindset applies beyond tile too — homeowners are seeing better results by protecting surfaces instead of aggressively cleaning them, including how people are restoring hardwood floors without sanding or damage.
How Sealing Prevents Future Scrubbing
Grout is naturally porous. That one fact explains almost every grout problem people face.
Unsealed grout:
- Soaks up moisture, grease, and soap
- Traps dirt below the surface
- Needs frequent deep cleaning
- Darkens faster over time
Sealed grout:
- Creates a protective barrier
- Stops dirt from sinking in
- Keeps stains on the surface
- Makes future cleaning quick and easy
Professional cleaners often point out that sealing is what allows you to clean grout without scrubbing long-term, because once the pores are protected, dirt simply doesn’t grip the surface anymore.
When to Seal (After Which Method)
Timing decides whether sealing helps or hurts.
Here’s the rule I always follow:
- Deep clean first (steam or oxygen bleach works best)
- Let grout dry completely — usually 24 hours
- Seal only when grout looks clean and even
Sealing dirty or damp grout locks stains in permanently. That’s not a mistake you want to make twice.
How Long Sealer Actually Lasts
Forget “lifetime” claims. Real homes don’t work that way.
What you should expect:
- Around 6–12 months of protection
- Faster wear in bathrooms and kitchens
- Resealing needed sooner in high-traffic areas
A simple test tells you everything. Drop water on the grout. If it beads up, the seal is still working. If it darkens the grout, it’s time to reseal.
Which No-Scrub Method Should You Use Today?
By now, you don’t need more options — you need a clear decision. So let me simplify this the way I do for friends who just want results, not another cleaning experiment.
Use the method that matches your grout’s problem, not someone else’s.
Here’s the easiest way to choose:
- Grease or soap residue → Steam
- Yellow or light stains → Baking soda + hydrogen peroxide
- Mild, everyday dirt → Vinegar soak
- Old, set-in buildup → Oxygen bleach soak
- Want to avoid scrubbing forever → Grout sealing
If you pick the right method the first time, grout cleaning stops being frustrating. You clean once, and you move on.
Now I want to hear from you.
Which problem are you dealing with right now — grease, stains, or old buildup? Drop it in the comments and I’ll tell you exactly which method fits best.
And if you want more practical, no-BS home care guides like this — the kind that actually work in real houses — visit Build Like New. That’s where I break down home fixes in a simple, realistic way so your place stays clean without turning into a weekend project.
Disclaimer: Always test any cleaning method on a small, hidden area first. Tile, grout, and sealers can react differently based on age and material. This guide is for general home use and doesn’t replace manufacturer instructions or professional advice.

