
Top 6 DIY Moisture Fighters Every Homeowner Must Try
The first time I noticed damp creeping into my home, it wasn’t the obvious kind of damage. It started with a faint musty smell in the hallway and a patch of paint that kept peeling no matter how many times I touched it up. If you’ve ever lived with high humidity, you know how quickly those small signs turn into real problems—mold on the walls, warped furniture, even that constant sticky feeling in the air.
Most guides on “how to make a dehumidifier at home” will throw a list of hacks at you—rock salt, baking soda, silica gel packets. But what they rarely explain is which method actually works for your space, how long it lasts before you need to refresh it, or whether it’s even safe around kids and pets. That’s the gap I want to close here.
In this guide, I’ll share six simple DIY dehumidifiers you can build today, show you what each one does best, and give you the real-world tips most websites skip—like maintenance, cost comparisons, and when it makes more sense to just buy a small unit. My goal is to help you breathe easier, save money, and protect your home without wasting time on ideas that sound good but don’t hold up.
Have you ever tried making your own dehumidifier before? Did it work, or did it just leave you with a damp mess?
Why Humidity Control Matters in Homes?
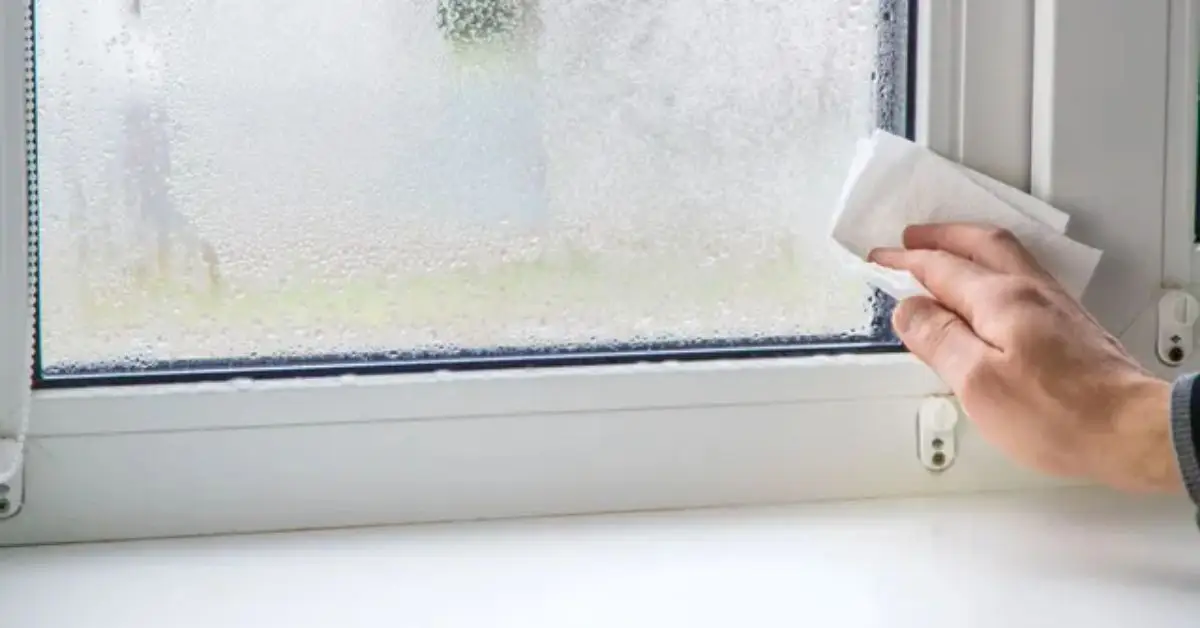
I didn’t really understand the impact of humidity until I watched a wooden bookshelf in my living room slowly warp and my seasonal allergies flare up worse than ever. The truth is, high humidity sneaks up on you. It doesn’t just make the air feel sticky—it actively damages your home and your health.
What high humidity can do:
- Creates the perfect breeding ground for mold and mildew, which can trigger asthma and allergies.
- Weakens wooden furniture and floors, causing warping and cracks over time.
- Makes fabrics smell musty, and even rusts electronics if the dampness lingers long enough.
Excess moisture is one of the main reasons mold grows on furniture and walls, and once it sets in, it’s tough to get rid of. If you’re already dealing with this, check out our guide on mold on wood: 6 DIY cleaning tricks every homeowner must know for safe and effective fixes.
You don’t need to be a scientist to check if your home’s humidity is off balance. The ideal indoor humidity level is 30–50%, and a simple hygrometer (cheap, handheld device) can tell you exactly where you stand. I keep one near my bedroom window, and it’s been the easiest way to spot problems before they spread.
Here’s why ignoring it can cost you more than just discomfort:
- Medical bills go up if allergies or asthma are triggered.
- Repair costs for mold removal or wood damage can easily run into hundreds or even thousands.
- Meanwhile, most DIY dehumidifiers can be set up for less than $10–20 worth of materials.
When you weigh those numbers, a homemade solution suddenly looks a lot smarter than waiting until damage forces you into expensive fixes.
Which DIY Dehumidifier Method Suits You?
Now, here’s the part most guides skip: not every DIY dehumidifier is right for every home. I’ve wasted time trying setups that worked in one room but failed miserably in another. Before you jump in, let’s talk about what makes sense for your space.
Key criteria to consider:
- Room size: A small bedroom won’t need the same setup as a damp basement.
- Humidity level: Slightly musty vs. dripping condensation on windows—both need different approaches.
- Budget: Some methods cost pennies, others need a small investment.
- Materials available: Do you have rock salt, baking soda, or silica gel lying around?
- Climate: If you live somewhere naturally damp, like near the coast, some quick fixes won’t last long.
Pros and cons of common methods:
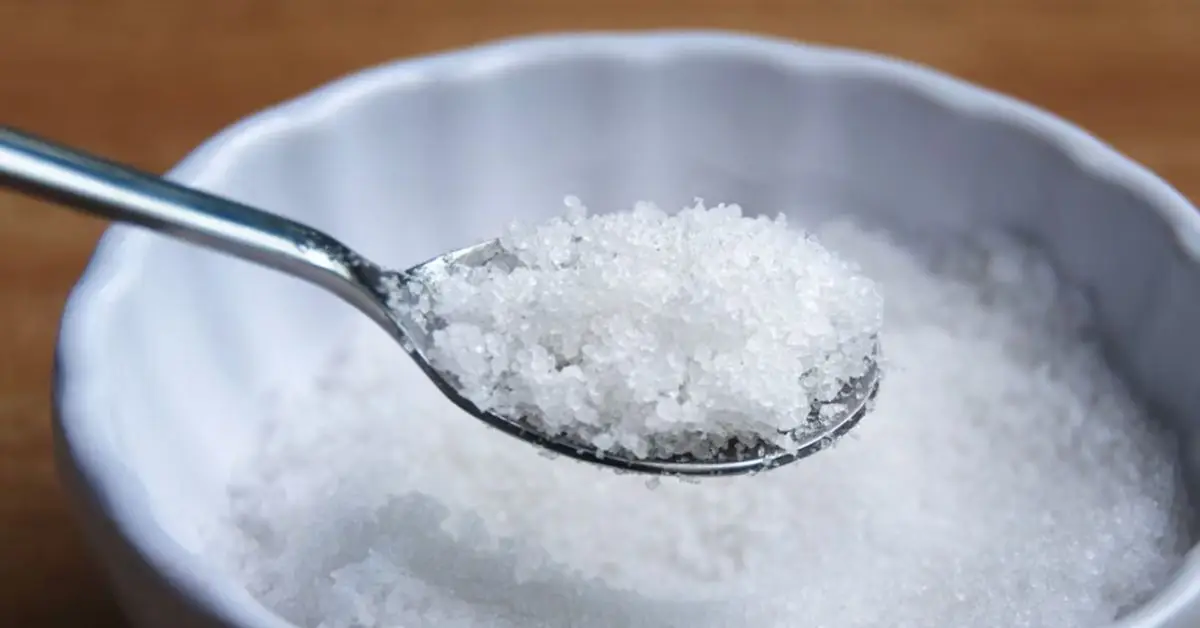
- Rock salt: Cheap and easy, but needs frequent replacement.
- Calcium chloride: Very effective but can get messy if not handled carefully.
- Charcoal or baking soda: Safe and pet-friendly, though less powerful.
- Silica gel packets: Reusable but only good for small, enclosed spaces like cupboards.
- Thermoelectric builds: Fun project, effective for tiny areas, but not practical for larger rooms.
Safety and practical constraints:
- Make sure containers don’t leak; spillage can cause more harm than good.
- Replace materials regularly, or you’ll end up with a mold trap.
- Keep chemicals like calcium chloride away from kids and pets.
If you’re wondering how to balance safety and effectiveness, resources like Healthline explain why managing humidity isn’t just about comfort—it’s about preventing real health issues. That’s why picking the right DIY method matters as much as building it in the first place.
So, before you grab a bag of salt or an old bucket, think: what does my space actually need? Because the right choice will save you time, money, and a lot of frustration.
6 Best DIY Dehumidifier For Your Home
I’ve tried a lot of different tricks over the years, and some work better than others depending on the space. Below are six builds you can actually pull off at home. Each comes with a quick checklist of what you need, how long it takes, and when it works best.
1. Rock Salt & Dual-Bucket Trap
- Materials: 2 plastic buckets, drill, rock salt.
- Estimated cost/time: Under $10, 15 minutes setup.
- Steps:
- Drill small holes in the bottom of one bucket.
- Place that bucket inside a second, solid one.
- Fill the top bucket with rock salt.
- Over time, water collects in the bottom bucket as the salt pulls moisture from the air.
- Best for: Basements, garages, or laundry rooms where excess moisture lingers.
2. Calcium Chloride Moisture Absorber
- Materials: Old sock or cloth bag, calcium chloride pellets (often sold as ice melt).
- Estimated cost/time: Around $15, 10 minutes setup.
- Steps:
- Pour pellets into the sock or bag.
- Tie it off securely.
- Hang it above a container so water can drip out.
- Best for: Spaces with very high humidity levels, like storage sheds or damp basements.
- Note: Keep away from pets and children since calcium chloride is corrosive.
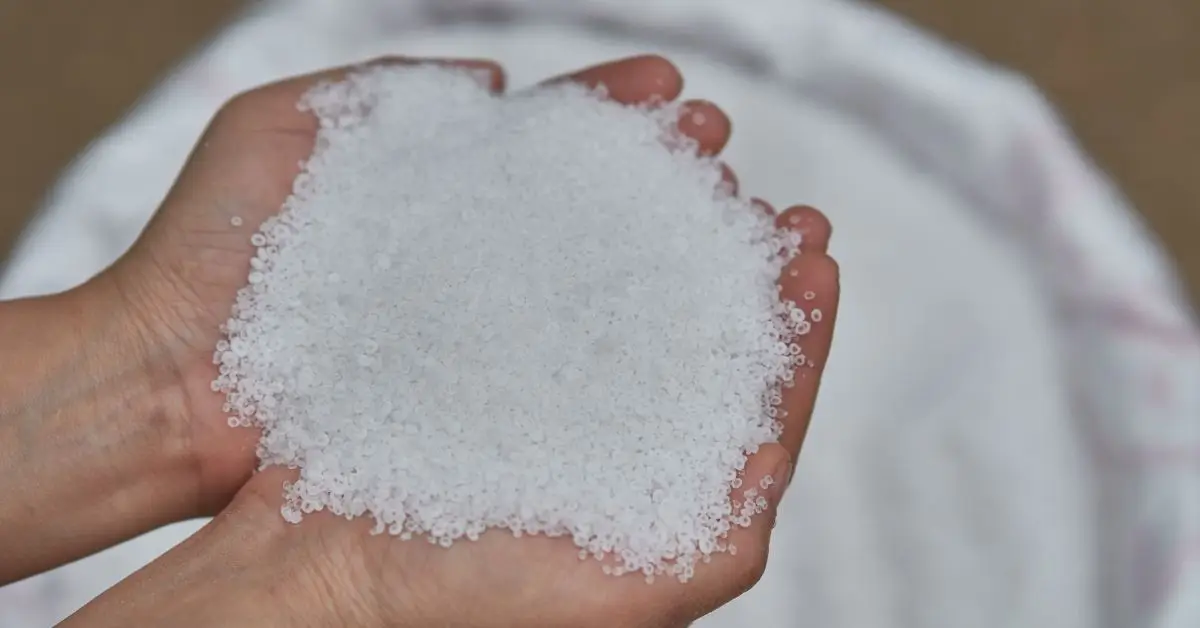
3. Silica Gel Packet Bank
- Materials: Airtight container, dozens of silica gel packets (from shoe boxes or online).
- Estimated cost/time: Free if you’ve saved packets, 5 minutes.
- Steps:
- Gather packets into a breathable pouch or small box.
- Place inside drawers, closets, or boxes with valuables.
- Recharge packets by baking them in the oven on low heat once they’re saturated.
- Best for: Small enclosed areas like wardrobes, cupboards, or storage bins.
4. Charcoal in a Breathable Bag
- Materials: Cloth bag, lump charcoal (not the briquettes with chemicals).
- Estimated cost/time: $5–$8, 5 minutes setup.
- Steps:
- Fill the cloth bag with clean lump charcoal.
- Tie the bag and place it in the damp area.
- Replace charcoal every few weeks.
- Best for: Neutralizing odors while reducing dampness in bathrooms or closets.
5. Baking Soda or Non-Dairy Creamer Mix
- Materials: Small bowl, baking soda (or creamer powder), cling film with holes.
- Estimated cost/time: $2, 3 minutes setup.
- Steps:
- Fill a bowl with baking soda.
- Cover loosely with cling film and poke small holes on top.
- Leave it in place to absorb moisture and odors.
- Best for: Small rooms or cupboards, especially kitchens.
6. Thermoelectric / Peltier Chip Dehumidifier
- Materials: Peltier cooling chip, small fan, power supply, container for condensation.
- Estimated cost/time: $30–$50, 1–2 hours build.
- Steps:
- Mount the chip with a fan to cool one side and heat the other.
- As the cool side collects condensation, direct it into a container.
- Connect the power supply and let it run.
- Best for: Hobby projects, small rooms, or when you want an eco-friendly electric solution.
If you’re curious about how effective DIY setups can really be compared to store-bought units, guides like Air Conditioner Lab break down performance and show that while homemade versions aren’t as powerful, they’re still handy for targeted problem areas.
Out of these six, which one feels most doable for you? Would you try the quick fixes first, or go straight for the more advanced Peltier project?
Maintenance & Lifespan of DIY Setups
One thing I’ve learned: it’s not enough to just set up a DIY dehumidifier and forget about it. These setups do their job for a while, but every material has a limit. If you don’t maintain them, they quickly become useless—or worse, turn into little mold factories.
How to know when materials are “spent”:
- Rock salt: Once it clumps together and looks like wet slush, it’s time to replace.
- Calcium chloride: When the sock or container is heavy with liquid and crystals dissolve, swap it out.
- Charcoal: If the bag starts smelling musty instead of fresh, the charcoal’s done its job.
- Silica gel packets: They usually have color indicators; when beads turn pink or green, recharge or replace them.
- Baking soda: Once it forms a hard crust on top, it’s saturated.
Cleaning & hygiene tips:
- Empty collected water weekly to prevent mold and bacteria.
- Wipe down containers with vinegar solution before refilling.
- Always dry thoroughly before adding fresh material.
It’s also worth remembering that too much water during cleaning can silently damage surfaces in your home. You can avoid those hidden mistakes by reading 5 things you’re destroying every time you clean with water.
Best placement & drainage:
- Keep setups slightly elevated so airflow circulates around them.
- Place drip-collecting methods (like calcium chloride) on trays to catch overflow.
- Never put them directly on wood floors—use plastic mats to avoid damage.
Safety Tips & Common Mistakes
DIY methods save money, but they can also backfire if you don’t use them safely.
Handling chemicals like calcium chloride:
- Always wear gloves when filling or replacing.
- Use a sturdy container that won’t tip easily.
- Keep away from children and pets—it can burn skin or irritate eyes.
Avoiding over-drying your home:
- Believe it or not, pulling too much moisture can cause dry skin, nosebleeds, and cracked wood.
- Ideal indoor humidity is 30–50%—don’t aim for “bone dry.”
- A simple hygrometer can help you keep it balanced.
Stability and spill prevention:
- Place all DIY units on flat, steady surfaces.
- Avoid placing them where kids or pets can knock them over.
- For liquid-collecting types, check often to prevent messy leaks.
If you want a deeper dive into health-related risks of poor humidity control, the Environmental Protection Agency (EPA) has clear guidance on moisture and mold issues.
Cost Comparison: DIY vs Store-Bought
Whenever I put together a DIY dehumidifier, I always ask myself—am I really saving money, or just buying time? Let’s break it down honestly.
Material cost + time vs store-bought price:
- DIY materials: Rock salt, baking soda, or charcoal setups usually cost between $5–$20, and you can set them up in under 20 minutes.
- Small electric dehumidifiers: You can find mini units online starting at $40–$60, while mid-sized models for basements cost $150–$300.
- Time investment: DIY requires periodic refills and replacements, while a store-bought unit just needs you to empty the water tank.
Operational costs:
- DIY: Mostly free once built, except for replacing consumables (salt, charcoal, etc.).
- Electric models: Use about 200–400 watts per hour depending on size. If you run it constantly, expect a noticeable bump in your monthly bill.
When buying makes more sense:
- If your entire home feels damp, one small DIY setup won’t cut it.
- If you’re dealing with serious health issues like asthma triggered by mold, a reliable appliance is safer.
- If you don’t want to babysit a setup—emptying water, refilling salt—then a plug-in unit might be worth the upfront cost.
DIY shines in targeted problem areas (closets, laundry rooms, or bathrooms), but for a whole apartment or basement, it’s often smarter to invest in an appliance.
Quick Hacks to Reduce Indoor Humidity Right Now
Not every solution has to involve buckets or chemicals. Sometimes small daily tweaks make the biggest difference.
Ventilation tactics:
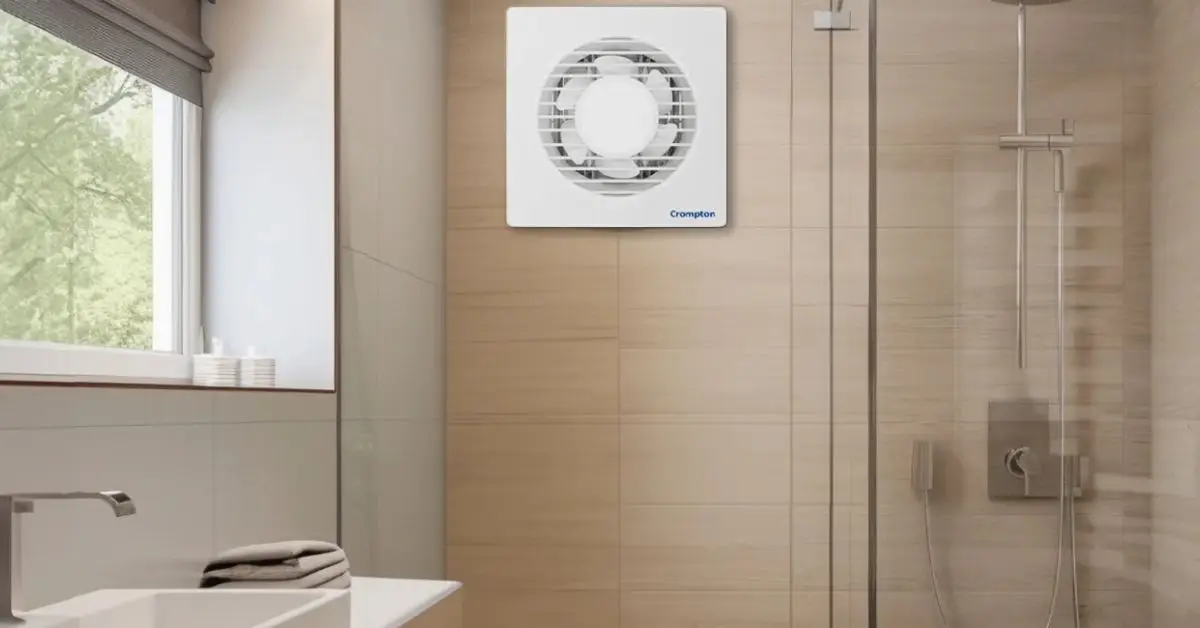
- Run exhaust fans in the bathroom or kitchen after showers or cooking.
- Keep windows open on dry days to let moisture escape.
- Use a simple box fan to keep air circulating in stuffy rooms.
Lifestyle tweaks:
- Dry clothes outdoors or in a well-ventilated area, not on radiators inside.
- Cover pots when cooking to keep steam from filling your kitchen.
- Fix small leaks under sinks or around windows quickly—they add up.
Humidity often makes dust settle faster, leaving surfaces grimy even after cleaning. To tackle this problem alongside your dehumidifier setup, try these 5 proven steps to fix dust in your home.
Houseplants that help (modestly):
- Plants like peace lilies, English ivy, or Boston ferns absorb small amounts of moisture through their leaves.
- Keep in mind: plants help with air quality, but they’re not a substitute for dehumidifiers.
These hacks won’t solve major damp problems, but they can take the edge off and make your home feel noticeably fresher without any cost.
What to Do Next: Make Your Plan
By now, you’ve seen that not every DIY dehumidifier works the same way. The trick is to match the right solution to your home instead of trying everything blindly. Here’s how I’d suggest you move forward:
Assess your space:
- Is the dampness limited to a closet, a single room, or the whole basement?
- Use a hygrometer to check if your humidity levels are above 50%.
- Think about where the problem starts—kitchen steam, poor ventilation, or leaks.
Choose one DIY build or method:
- Small space? Try baking soda or silica gel packets.
- Large, damp area? Go with rock salt or calcium chloride.
- Into tinkering? The Peltier chip build might be a fun weekend project.
Gather materials & schedule maintenance:
- Make a checklist before starting—bucket, salt, container, gloves.
- Mark a reminder to refresh or clean your setup every 1–2 weeks.
- Don’t forget safety: keep chemical-based setups out of kids’ and pets’ reach.
The point is, you don’t need to overthink this. A single afternoon can set you up with a low-cost solution that protects your home and makes the air easier to breathe.
Now I’d love to hear from you: Which DIY dehumidifier would you try first in your home? Drop your thoughts in the comments below—I’m curious what works best for different spaces.
Want more practical home fixes like this? Visit Build Like New for guides that actually help you protect, repair, and improve your home the smart way.
Disclaimer: The DIY methods shared here are for general informational purposes only. Always handle materials like calcium chloride with care, follow safety instructions, and keep setups away from children and pets. For severe damp or mold problems, consult a professional.

