
6 Huge Window Treatment Mistakes That Cost You Style & Functionality
I’ve seen it happen more times than I can count: someone gets excited about new window treatments, picks the prettiest curtains or blinds online, and a few weeks later… regret sets in. Maybe the fabric doesn’t block enough light, the rod looks tiny on the wall, or the style just doesn’t fit once everything is hung. You’re not alone—these “window treatment regrets” are surprisingly common, and most of them could have been avoided with a little planning.
In this article, I’m going to walk you through the six biggest mistakes homeowners make with their window coverings and, more importantly, how you can fix them—or avoid them entirely. We’ll cover everything from measurements to material choices, and I’ll share real-life examples and practical tips you can actually use. By the time you’re done reading, you’ll feel confident choosing treatments that look great, work well, and don’t end up on the “I wish I hadn’t bought this” list.
Mistake #1 — Choosing Treatments That Look Good Online But Fail in Real Life

I get it—you scroll through Pinterest or Instagram, see a gorgeous set of curtains, and immediately imagine them in your space. But here’s the truth: what looks perfect online doesn’t always translate to your home. I’ve seen homeowners install rod pocket or tab top curtains only to realize they look flimsy and cheap once hung. Similarly, unlined bamboo shades can leave privacy gaps at night, turning a “stylish choice” into a frustrating problem.
Here’s what I’ve learned helps avoid this trap:
- Test samples before committing: Even a small swatch can reveal color, texture, and light-blocking ability.
- Choose lined options for privacy and longevity: Lining gives fabric weight, keeps it hanging beautifully, and blocks more light.
- Focus on quality materials over trendy looks: Cheap fabrics often fade or sag quickly.
If you want to read more expert insights on common mistakes homeowners regret with their window treatments, The Spruce’s guide on window treatment regrets is a solid resource to check.
Mistake #2 — Ignoring Function (Light, Privacy, Energy) for Style
One of the most overlooked mistakes is prioritizing style over how the treatment actually works in your home. I’ve met homeowners who picked the trendiest sheer curtains for a bedroom, only to find the morning sun flooding the room and waking everyone up. Treatments aren’t just about looking good—they have to perform.
Here’s what “function” really means in each room:
- Bedrooms: Blackout or layered shades for better sleep and privacy.
- Living rooms: UV-filtering fabrics protect furniture and reduce glare.
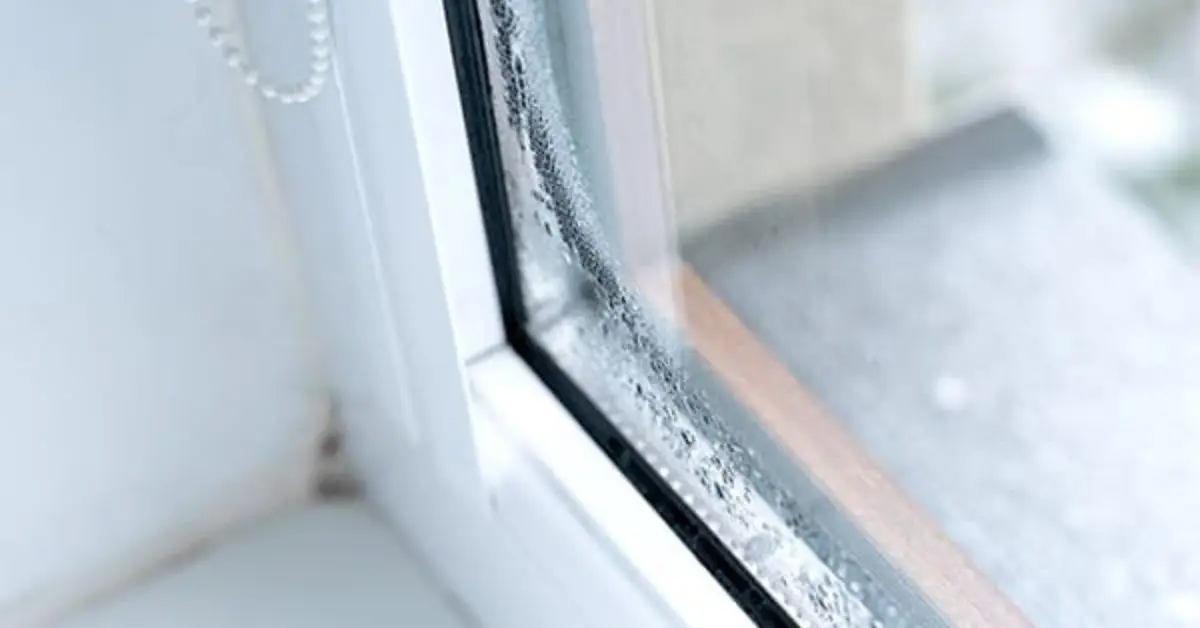
- Kitchens & bathrooms: Moisture-resistant options prevent warping and mildew.
Ignoring function comes with real consequences:
- Too bright rooms that disrupt daily life.
- Lack of privacy that makes you feel exposed.
- Higher energy bills due to heat or cold escaping through windows. If you’re worried about drafts or energy efficiency, you can also explore simple solutions like plastic window wraps that really work to keep heat in and cold out.
If you want more practical tips on selecting window treatments that actually work, East End Blinds has an excellent guide on common mistakes homeowners make.
Mistake #3 — Measurement & Mounting Errors That Ruin the Look
I can’t stress this enough: even a small miscalculation can make a big difference. You measure once, install, and suddenly your curtains look too short, or your blinds feel cramped in the frame. I’ve seen rooms where the rod was just a few inches off, and the space instantly felt smaller and awkward.
Common pitfalls I’ve seen homeowners make include:
- DIY measuring errors: Measuring too close to the window frame or not accounting for rod brackets. If you’ve ever struggled with a painted-over window that won’t open, there are easy ways to unstick it without causing damage, which can make measurements and installation much easier.
- Wrong rod placement: Rods too low or narrow shrink the perception of your walls.
To avoid this, either get a professional measurement or follow a clear self-measurement checklist. Even a small extra step here prevents months of regret.
Mistake #4 — Wrong Hardware or Poor Installation
Even the best curtains or blinds can fail if the hardware or installation is off. I’ve seen rods bend, brackets snap, or blinds that just won’t operate smoothly—all because someone tried to DIY without understanding the weight and size requirements.
Here’s how to get it right:
- Choose the right hardware for the weight and style: Heavy drapes need sturdy rods; some blinds require brackets that can handle repeated movement.
- Decide between DIY and professional installation: If you’re not confident, getting it installed properly ensures longevity and prevents frustration.
Mistake #5 — Not Thinking Room‑by‑Room Needs
I can’t tell you how often homeowners make the mistake of picking a single style for the whole house. What works in your living room won’t necessarily suit your bedroom, and your kitchen might have entirely different challenges. Ignoring room-specific needs is a quick way to end up with regrets.
Here’s how I think about it:
- Bedrooms: Focus on privacy and light control. Blackout or layered shades help you sleep better and keep your space feeling cozy.
- Living Areas: Balance light and decor. You want treatments that let in natural light while complementing furniture and color schemes.
- Kitchens & Bathrooms: Prioritize humidity and durability. Moisture-resistant fabrics prevent warping, mold, or mildew from forming. For basement windows, where safety and security are a concern, you can find genius ways to make them burglar-proof while still adding stylish window treatments.
Fix it: Take a simple “room + treatment” approach—assess what each room actually needs before buying anything. It keeps decisions practical and tailored.
When you consider the unique needs of each room, you avoid one-size-fits-all mistakes and end up with a home that’s both functional and beautiful.
Mistake #6 — Forgetting Maintenance, Longevity & Safety

Even if your window treatments look amazing the day you install them, neglecting maintenance and safety can turn that pride into frustration. I’ve seen blinds fade in a few months, cords break, or families struggle with child/pet safety issues. These problems often hit when people focus only on appearance.
Here’s what I recommend:
- Choose materials that last: Durable fabrics, solid rods, and quality mechanisms pay off in the long run.
- Consider safety: Cordless or motorized options protect kids and pets, while keeping operation easy.
- Maintenance tips: Regular cleaning, lubrication for moving parts, and checking brackets prevent premature wear.
If you want a great guide on selecting treatments that are built to last while keeping your family safe, Love is Blinds MI has a helpful resource on window treatment safety and durability.
Thinking beyond the first look ensures your investment lasts, keeps your home safe, and saves money on replacements down the line.
Smart Window Treatment Checklist Before You Buy
Before you make any purchase, I always tell people to run through a quick checklist. It may sound simple, but it prevents so many of the mistakes we’ve talked about. Here’s my go-to process:
- Room needs: Identify what each room actually requires—privacy, light control, humidity resistance, or insulation.
- Measurement run-through: Double-check your measurements. Even a small error can ruin the final look.
- Material & safety check: Choose fabrics and hardware that last and keep your family safe—cordless or motorized options are ideal if kids or pets are around.
- Function + style combo: Make sure your treatment looks great and performs its intended role.
This checklist simplifies decision-making and saves both time and money. It turns a stressful buying process into something manageable and intentional.
Real Costs of Fixing Common Mistakes
Sometimes the regret isn’t just about looks—it’s about money. I’ve seen homeowners spend hundreds—or even thousands—replacing treatments that didn’t fit, didn’t function, or didn’t last. Here’s what you should consider:
- Replacement costs: A single room redo can run $100–$500 depending on style and size.
- Pro install vs DIY redo: Professional installation might seem pricey upfront, but it often saves money compared to repeated DIY fixes that don’t work.
Knowing the financial impact of these mistakes helps you make smarter, longer-lasting choices. Hard data like this gives you confidence to plan ahead rather than react later.
Quick Summary — What to Avoid Next Time
Here’s what I want you to remember:
- Don’t pick treatments based solely on looks—consider function and performance.
- Measure carefully and choose the right hardware.
- Match treatments to each room’s unique needs.
- Think long-term: maintenance, durability, and safety are just as important as style.
Following these principles keeps you off the “I wish I hadn’t bought this” list and turns your home into a space you actually enjoy living in.
Let’s Hear From You!
I’d love to know what your biggest window treatment challenges are. Have you ever regretted a purchase, or found a solution that worked perfectly? Drop a comment below—I read every single one.
And if you want more tips, practical guides, and expert insights on making your home feel fresh and functional, check out Build Like New. We’re all about helping you make smart, confident choices for your home.
Disclaimer: The information in this article is for general guidance and educational purposes only. Results may vary based on individual homes, materials, and installation. Always consult professionals when needed.

