
How to Clean Wood Cabinets Safely in 7 Simple Steps
I still remember the first time I decided to deep-clean my kitchen. I grabbed a bottle of multipurpose spray — the kind that promises to “cut through grease” — and went to town on my wooden cabinets. They looked spotless at first. But a week later, the finish had gone dull, the corners felt sticky, and that rich honey tone I loved had started fading.
That’s when it hit me: not every cleaner that works on your countertop belongs on your cabinets. Wood is different — it breathes, absorbs, and reacts to what you use on it. And once the surface gets damaged, there’s no easy way to reverse it.
If you’ve ever stood in front of your cabinets wondering how to get rid of that greasy film without ruining the shine, you’re not alone. Most of us clean them the wrong way for years because no one ever tells us what’s safe for wood.
In this guide, I’ll walk you through seven easy, tried-and-tested methods that keep your cabinets clean, smooth, and protected — no harsh chemicals, no guesswork. These are real solutions that work long-term, not quick fixes that strip the finish.
Before we dive in, tell me — what’s your biggest cabinet-cleaning struggle: greasy buildup, dullness, or sticky corners that just won’t go away?
Why Safe Cleaning Matters for Wood Cabinets
When I first realised my cabinets were losing their shine, I blamed the wood. I thought maybe it was age or sunlight. But the truth was simpler — and more painful. The cleaners I’d been using for years were slowly eating away at the finish.
Wood might look sturdy, but it’s surprisingly sensitive. Strong degreasers, bleach sprays, and even vinegar used too often can strip away the protective coating that keeps your cabinets looking warm and rich. Once that top layer wears off, moisture sneaks in, the surface dries out, and over time, the wood begins to dull and crack.
Even the IKEA Cleaning & Care Guide stresses one golden rule: always use a mild, pH-neutral soap with soft cloths and never let moisture sit for long. It’s not about being delicate; it’s about being smart. Every time you wipe with the wrong product, you shorten your cabinet’s life a little.
So before you reach for the nearest “kitchen cleaner,” pause and think — are you cleaning the dirt, or the finish itself?
Here’s what to keep in mind every time you clean:
- Avoid anything labeled “heavy-duty” or “multi-surface degreaser.”
- Skip abrasive sponges or steel wool.
- Always dry immediately after wiping — moisture is wood’s quiet enemy.
- Stick to pH-balanced, wood-safe solutions instead of acidic mixes.
Your cabinets aren’t just storage; they’re part of your home’s personality. Treat them gently, and they’ll last decades without losing that warmth you fell in love with.
Know Your Wood Type Before You Clean

Before you mix a single drop of cleaner, take a moment to understand what kind of wood you’re dealing with. Not all cabinets are created equal, and knowing your type can save you from irreversible damage.
Here’s a quick way to tell:
- Sealed or Lacquered Wood: Smooth and slightly glossy. These can handle mild soapy water but hate anything acidic.
- Painted Cabinets: Protected by paint, but still sensitive to water and harsh chemicals — especially around edges and handles.
- Natural or Unfinished Wood: Absorbs everything. Even a bit of moisture can cause swelling or stains, so these need the gentlest touch.
Most people skip this step and go straight to cleaning — that’s where mistakes happen. Once you know your cabinet type, you can pick the right method confidently.
Here’s a quick comparison you can keep handy:
| Wood Type | Safe Ingredients | Avoid These |
|---|---|---|
| Sealed/Lacquered | Mild dish soap, diluted vinegar (1:1 water), microfiber cloth | Bleach, ammonia, alcohol-based sprays |
| Painted | Warm soapy water, gentle microfiber cloth | Vinegar, baking soda paste, abrasive tools |
| Natural/Unfinished | Dry dusting, small amount of Castile soap, beeswax polish | Any liquid cleaner, vinegar, harsh degreasers |
Knowing your surface means you’re not guessing — you’re protecting. And once you clean with the right match, you’ll notice the difference immediately: shine stays longer, color stays deeper, and your kitchen starts feeling new again. And if you’re planning to take that fresh look even further, explore these kitchen cabinet hardware ideas that can completely transform your kitchen’s style without replacing a single cabinet.
The 7 Safe Wood Cabinet Cleaning Solutions
Let’s get to the heart of it — the actual cleaning. Over the years, I’ve tested dozens of tricks that promised spotless cabinets but ended up dulling the finish or leaving sticky residue. What I learned is simple: wood responds best to gentle, balanced care.
Here are seven safe, effective cleaning methods that actually protect your cabinets instead of punishing them.
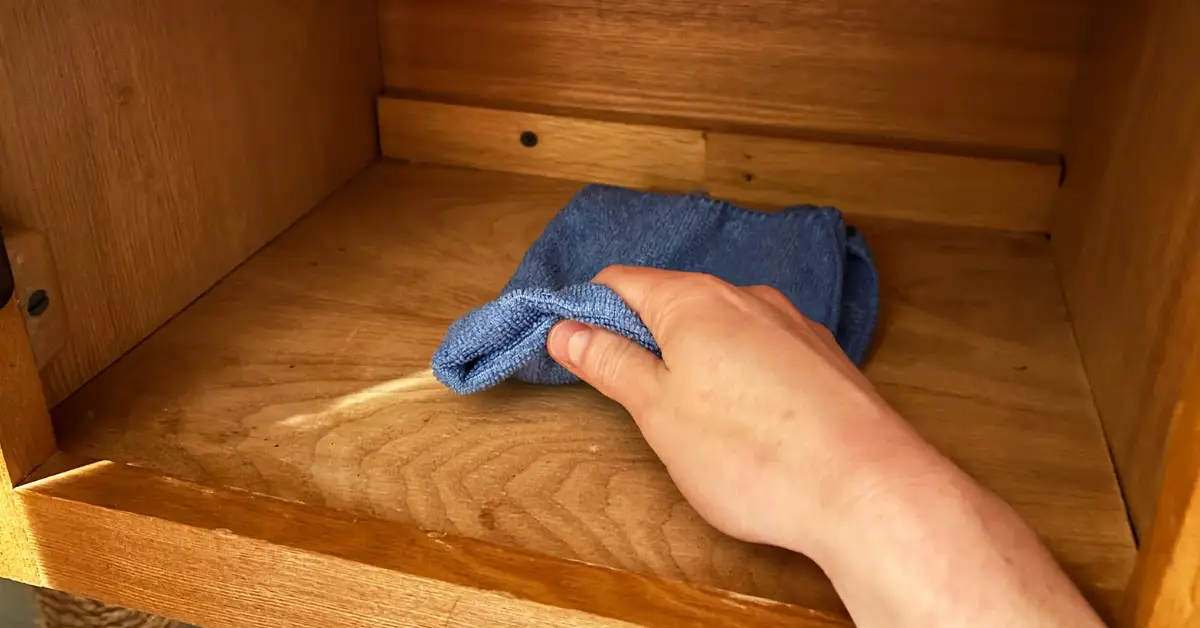
1. Warm Water and Mild Dish Soap — The Everyday Hero
If your cabinets just need a quick refresh, you can’t go wrong with this classic mix. Add two drops of mild dish soap to one cup of warm water, dip a microfiber cloth, and wipe gently in the direction of the wood grain.
pH-neutral soaps are your best friend — they lift grease without breaking down the finish. Avoid sponges or anything rough; microfiber traps dirt without scratching.
Pro Tip: Always rinse with a clean, damp cloth and dry immediately. Even a few drops of leftover moisture can leave cloudy spots.
2. Vinegar — But Only When Diluted Correctly
Vinegar can work wonders, but only when used right. Mix equal parts of vinegar and water (1:1 ratio) for light degreasing. Never use it on painted or unfinished cabinets — its acidity can eat through the top layer.
If you’re worried about the smell or sensitivity, try lemon water instead — it’s gentler, smells amazing, and still cuts grease well.
Pro Tip: Always test on a small hidden spot first. What works for one finish might dull another.
3. Olive Oil and Lemon for a Natural Shine
When your wood looks tired or dry, a little conditioning goes a long way. Mix two parts olive oil with one part lemon juice, shake it well, and apply it sparingly using a soft cloth. Buff it right away to bring out that warm, natural glow.
This blend not only cleans but also nourishes the wood, helping prevent cracking and dullness over time. And if you love the golden warmth of oak tones, you can easily modernize a kitchen with honey oak cabinets using these same conditioning methods to bring out their natural depth and glow.
Pro Tip: Use this once every few weeks, not daily — too much oil can make surfaces tacky.
4. Baking Soda Paste for Stubborn Grease
For spots that refuse to budge, skip the chemical degreasers and make a simple paste of baking soda and warm water. Apply it gently with a microfiber cloth, let it sit for a few minutes, and then wipe clean.
Baking soda’s mild abrasiveness breaks down grease without scratching the finish, unlike harsh scrubbing powders.
Pro Tip: Always follow up with a damp cloth and a dry wipe — you don’t want powder residue settling into the grain.
5. Castile Soap Solution for Deep Cleaning
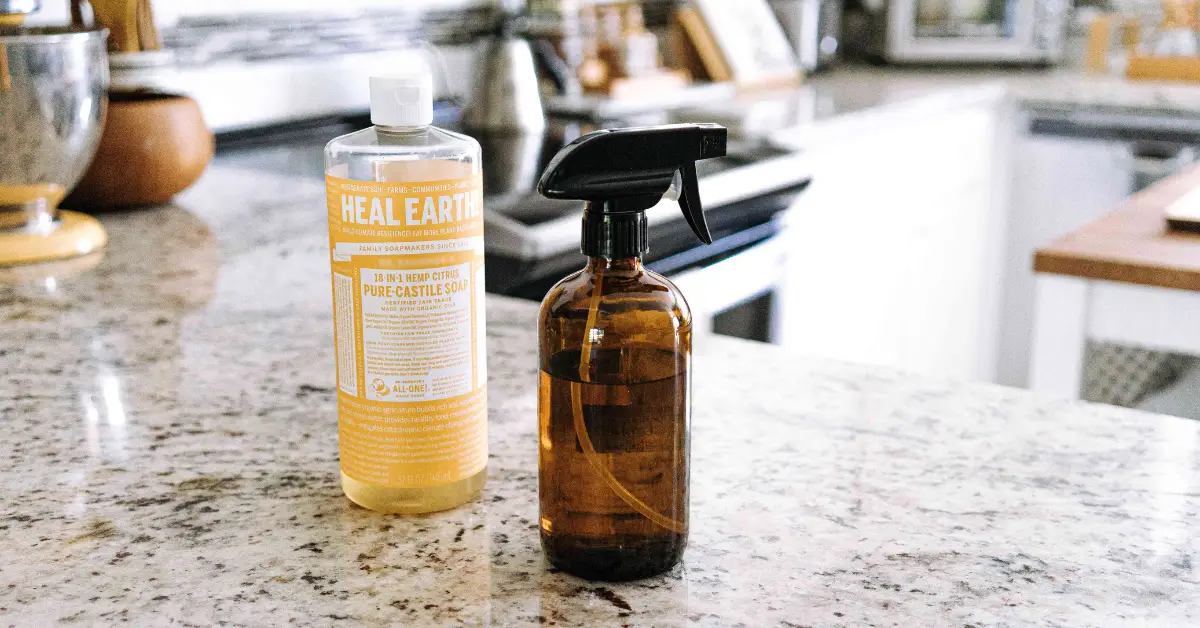
If your kitchen sees a lot of cooking, monthly deep cleaning is key. Castile soap — like Dr. Bronner’s — is plant-based, biodegradable, and leaves no film behind. Mix one teaspoon in a cup of warm water, dampen a soft cloth, and wipe away grime gently.
It’s strong enough for dirt, yet safe enough for every finish — even the sensitive ones.
Pro Tip: This is also one of the best eco-safe options trending on cleaning forums like Reddit. Use it monthly to maintain a fresh, residue-free shine.
6. Mineral Oil or Beeswax Polish for Post-Clean Protection
Once your cabinets are clean, they deserve protection. A thin coat of mineral oil or beeswax polish locks in moisture and forms a subtle shield against humidity.
Gently rub it in with a soft cloth, following the grain, and buff to a natural shine. Even IKEA’s aftercare recommendations mention using mild oils to preserve wood tone and texture.
Pro Tip: Do this once every few months — think of it as conditioning your wood, just like skincare for your cabinets.
7. Steam-Free Zone — Avoid Excess Moisture at All Costs
No cleaner works if your environment works against you. Steam, humidity, and standing moisture are the quiet killers of wood. Over time, they cause warping, bubbling, and peeling, especially near stovetops or dishwashers.
Keep the space well-ventilated, use your exhaust fan during cooking, and always wipe dry immediately after cleaning.
Pro Tip: If your kitchen tends to trap moisture, a small dehumidifier near your cooking area can make a world of difference.
Each of these seven methods does more than clean — they extend your cabinet’s life, preserve its finish, and make your kitchen look polished without harsh chemicals. Choose the one that fits your routine best and watch your wood thank you in shine.
Mistakes That Damage Cabinets (and How to Avoid Them)
Let’s be honest — most cabinet damage doesn’t come from accidents; it comes from our cleaning habits. I learned this the hard way after years of doing what everyone online seemed to recommend — vinegar sprays, all-purpose cleaners, and quick wipe-downs. It took one dull cabinet door to realise I’d been making all the classic mistakes.
If your cabinets look cloudy, feel sticky, or just don’t shine like they used to, chances are you’re unknowingly doing one (or more) of these things. Let’s fix that before it costs you a refinishing bill.
1. Overusing Vinegar
Vinegar can be a great natural cleaner, but too much of it acts like sandpaper for your finish. Its acidity slowly breaks down the top coating, leaving your wood dull and patchy. You only need a mild 1:1 dilution once in a while — not every cleaning session.
Even experts at Branch Basics warn that frequent use of undiluted vinegar or strong cleaners can weaken cabinet coatings over time. The key is moderation — vinegar helps, but only when used sparingly.
Pro Tip: Save vinegar for the occasional deep-clean, not as a daily go-to. Overdoing it can cause more harm than grease ever could.
2. Skipping the Drying Step
If there’s one thing wood hates, it’s water left behind. Even a little moisture trapped along the edges can cause swelling, bubbling, or warped corners. After every wipe, follow up with a clean, dry cloth.
It takes less than a minute but can save you years of wear — especially around the sink or stove where splashes are constant.
Pro Tip: Keep a separate towel just for drying cabinets so you never forget this step.
3. Spraying Directly Instead of Wiping
This one’s sneaky but serious. Spraying cleaner directly onto cabinets can force liquid into cracks, seams, or around hinges, slowly damaging the joints and finish.
Always spray onto your cloth first, then wipe. You’ll still get the cleaning power, minus the moisture buildup.
Pro Tip: If you use commercial sprays, mist lightly — never drench. It’s cleaning, not soaking.
4. Ignoring Handle Areas (Oil Buildup)
Those small corners around handles collect the most grime — fingerprints, cooking oil, and soap residue. Over time, this layer turns sticky and can attract dust that hardens into a dull film.
Once a week, give handles and edges a gentle scrub with warm soapy water using a soft toothbrush or cloth. It’s the easiest way to keep your cabinets from feeling tacky.
Pro Tip: A little maintenance here prevents permanent discoloration later — especially on lighter woods.
Every mistake above has one thing in common: good intentions, bad technique. The goal isn’t just to make cabinets look clean for a day — it’s to help them stay beautiful for years. A few small adjustments can protect your finish, preserve your investment, and make cleaning feel less like a chore.
Before you pick up another bottle, ask yourself: am I cleaning my cabinets — or slowly wearing them down?
Pro Cleaning Routine – Weekly, Monthly, Yearly
The secret to cabinets that always look new isn’t about expensive products — it’s about consistency. Once you’ve deep-cleaned and protected the wood, keeping it that way only takes a few minutes a week.
Here’s a simple, no-fuss routine that keeps your cabinets in top shape all year round.
Weekly: Quick Wipe-Down with Dish Soap Mix
Once a week, mix two drops of mild dish soap in a cup of warm water and wipe your cabinets with a soft microfiber cloth. It takes five minutes, tops.
This removes cooking oil, fingerprints, and dust before they start to build up. Just remember to dry immediately after wiping — never let moisture linger.
Pro Tip: Focus on handles, corners, and the area above your stove. Those spots collect grease faster than you think.
Monthly: Deep Refresh with Castile Soap or Olive Oil
Every month, give your cabinets a gentle reset. If you prefer an all-natural approach, Castile soap works beautifully — it’s plant-based, non-toxic, and leaves no sticky film.
Alternatively, mix two parts olive oil with one part lemon juice for a natural conditioner that restores the wood’s glow. Apply lightly and buff it dry.
Yearly: Seal and Protect with Beeswax or Mineral Oil
Once a year, give your cabinets the full spa treatment. A light coat of beeswax or food-grade mineral oil protects against drying and fading, sealing in moisture while keeping out humidity.
Use a clean cloth to apply a thin layer, rub it along the grain, and buff gently until the surface feels smooth and rich again.
Pro Tip: Spring or early summer is a great time for this — low humidity helps the oil absorb evenly without streaking.
Building these small habits into your regular cleaning routine keeps your kitchen looking cared for without turning it into a weekend project. For even better kitchen organization, check out these expert-approved kitchen cabinet tricks for clutter-free living — they’ll help you maintain not just clean cabinets, but a smarter, tidier kitchen. It’s not about doing more — it’s about doing it smarter.
Eco-Safe Product Recommendations
If you’re looking for reliable, wood-safe products that align with eco-friendly cleaning, here are a few worth keeping in your toolkit. They’re gentle, effective, and rated for long-term cabinet care.
| Product | Type | Certification / Benefit |
|---|---|---|
| Branch Basics Concentrate | All-purpose, non-toxic cleaner (dilutable) | EPA Safer Choice Certified |
| Dr. Bronner’s Castile Soap | Plant-based deep cleaner | USDA Organic Certified |
| Howard Feed-N-Wax Wood Polish & Conditioner | Blend of beeswax and orange oil | Protects finish and enhances shine |
Each of these products is designed to clean without stripping the finish, unlike harsh degreasers or alcohol-based sprays. They’re also verified under safety standards like the EPA Safer Choice program, ensuring they’re better for your wood, your home, and the environment.
Pro Tip: Always test any new product on a small hidden section first — even natural solutions can react differently depending on your cabinet’s finish.
Quick Summary Before You Clean
Before you grab that spray bottle or cloth, take a minute to double-check your routine. These small reminders can make the difference between cabinets that look new for years and ones that lose their glow too soon.
Here’s your quick “Clean Smart, Not Hard” checklist:
- Identify your wood type – Know if your cabinets are sealed, painted, or unfinished before using any cleaner. Each surface reacts differently.
- Use a pH-neutral cleaner – Stick to mild dish soap, Castile soap, or diluted vinegar (1:1 ratio) instead of harsh degreasers or bleach.
- Wipe, rinse, dry, and polish – Follow this sequence every time. Wiping removes dirt, rinsing clears residue, drying prevents swelling, and polishing protects the finish.
- Avoid steam and harsh sprays – Steam, humidity, and heavy cleaners can warp the wood and dull the surface over time. Always clean gently and ventilate well.
Bonus: Once a month, condition your cabinets with olive oil or beeswax polish to lock in that natural glow.
Keeping your cabinets spotless doesn’t have to be complicated — just consistent. Follow this checklist, and you’ll never have to worry about dull wood or sticky corners again.
What about you? Which of these steps do you already do — and which one surprised you most? Share your thoughts in the comments below — I’d love to hear your go-to tricks and cleaning habits.
For more practical home improvement guides and cleaning tips like this, visit Build Like New — where simple routines make your home look brand-new every day.
Disclaimer: The cleaning methods and product suggestions shared in this article are based on general household experience and expert-recommended practices. Always test any solution on a small, hidden area first to ensure compatibility with your cabinet’s finish. Build Like New is not responsible for any damage resulting from improper use or product reactions.

