
7 Garbage Disposal Mistakes You’re Probably Making Every Day
The first time my garbage disposal jammed, it wasn’t dramatic—it was a slow grind, a sour smell, and then a $200 plumber visit I could’ve avoided. I thought the unit could “eat anything.” It can’t. And most people damage theirs long before it breaks.
I’ve read the top guides, and they all repeat the same warnings: don’t put grease, eggshells, or coffee grounds down the drain. True—but that’s only half the story. The real killers are your daily habits: running the unit without enough cold water, dumping starches that glue up later, overloading big chunks, or “cleaning” with harsh chemicals that ruin parts.
This piece is about the mistakes damaging your garbage disposal that no one explains well—and the easy fixes that actually work. I’ll show you what to stop doing, what to start doing, and a simple care routine that keeps the motor happy, the blades clear, and your sink stink-free.
Before we dive in, tell me this: what’s the one thing you’ve always put down the disposal that you’re now unsure about? Drop it in the comments—I’ll let you know if it’s safe or a fast track to a clog.
The Most Common Mistakes Everyone Repeats
I’ll admit—I’ve been guilty of these, and most homeowners are too. These are the mistakes that show up again and again because they’re so common, yet so damaging if you keep repeating them.
Putting Fibrous Foods (Celery, Corn Husks, Onion Skins)
Fibrous scraps are like string inside your disposal. They tangle around the blades and jam the motor. You won’t notice right away, but eventually the unit slows down and you’re stuck pulling slimy strands out by hand.
Fix it:
- Compost fibrous scraps instead.
- Or toss them in the trash before they choke up your sink.
Pouring Grease, Oil, or Fat Down the Drain
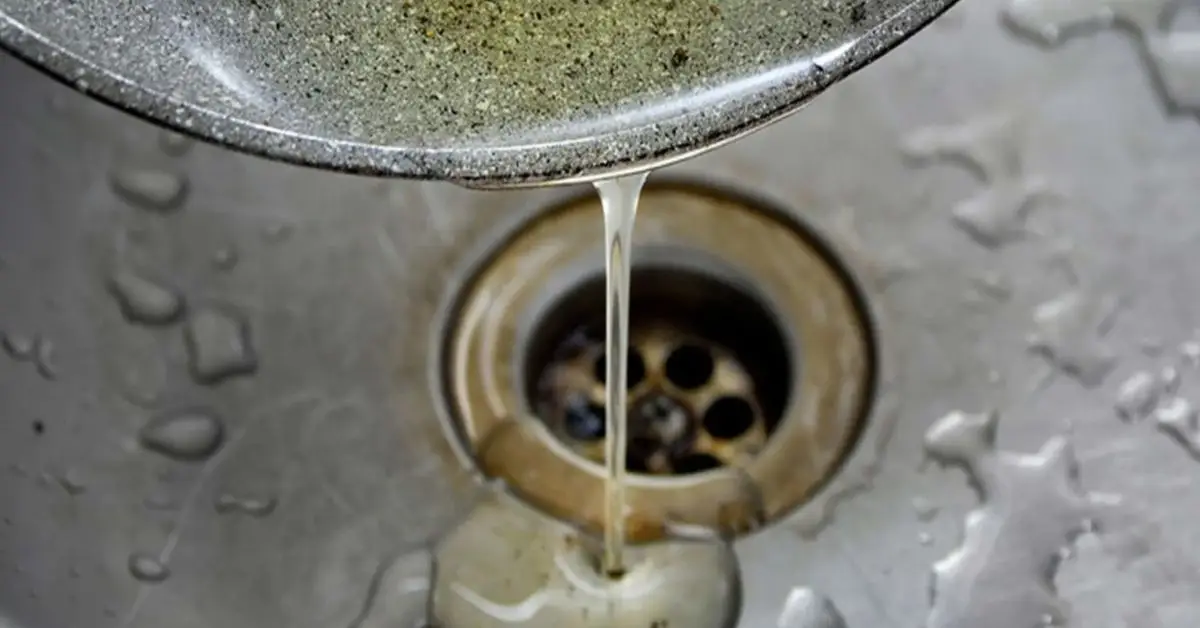
It feels harmless when grease is hot and liquid, but the moment it cools, it hardens. That sticky buildup clogs pipes and traps other food, turning into a thick mess that needs a plumber to clear.
Better habit:
- Keep an old jar or tin by the stove. Pour grease in there and throw it away when full.
- Saves your disposal, your pipes, and a lot of money.
Grinding Coffee Grounds or Eggshells
Coffee grounds look small, but together they form a dense sludge that lines your drain. Eggshells break into gritty sand while their thin membrane sticks to blades. Both cause clogs you won’t see until it’s too late.
Smarter uses:
- Coffee grounds → sprinkle in soil as fertilizer.
- Eggshells → crush and add to compost for calcium.
What Experts Say People Miss (The Hidden Mistakes)
Most guides stop at “don’t put this food in,” but the truth is, the bigger danger lies in how you use the disposal. These overlooked habits do more damage than one wrong food ever could.
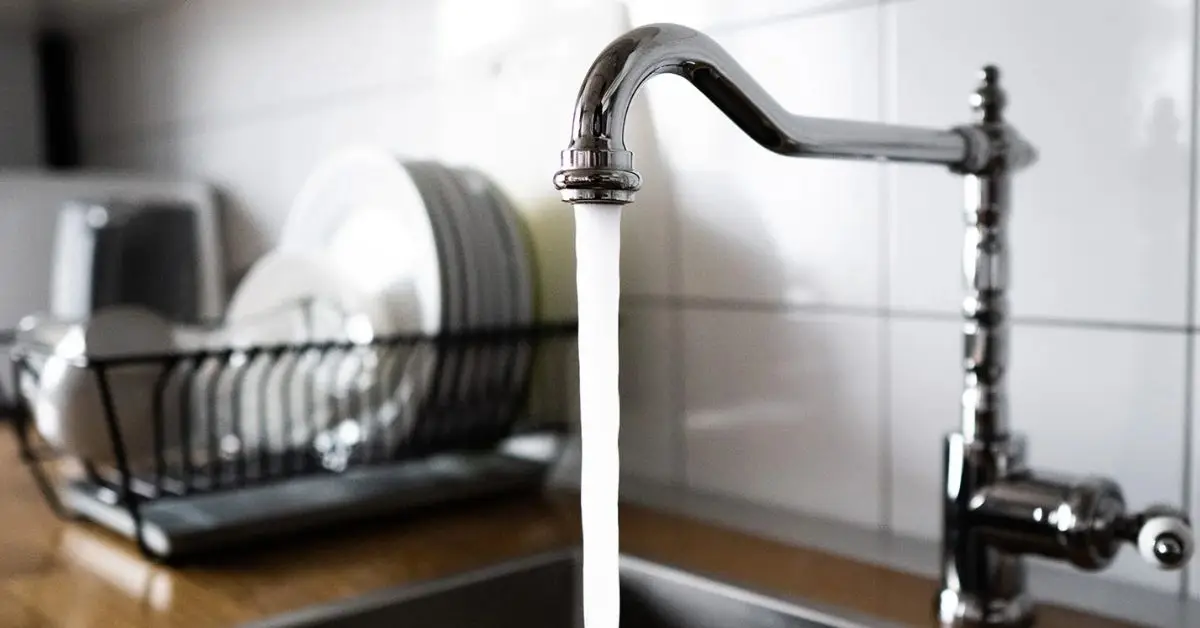
Running the Disposal Without Enough Water
Water isn’t optional—it’s the thing that actually moves waste through the system. Without it, scraps clump, smell, and stick. I once ran mine dry, and the stink lingered for days.
Rule of thumb:
- Run cold water before, during, and at least 15 seconds after grinding.
- Cold water keeps fats solid so blades chop them instead of letting grease melt into the pipes.
Using Harsh Chemicals (Bleach/Drain Cleaners)
Bleach and chemical drain cleaners might kill odor, but they also eat away at seals and metal parts. Over time, that weakens your disposal and shortens its life. The EPA notes how waste handling is already a major strain on plumbing and recycling systems, so using safer cleaning methods isn’t just good for your sink—it’s good for the environment.
Safe cleaning tricks:
- Toss in ice cubes with coarse salt to scrub the blades.
- Run citrus peels for a fresh, natural smell.
Overloading the Disposal in One Go
I used to dump a full plate of leftovers in and think, “It’ll handle it.” Wrong. Overloading strains the motor and leaves half the food stuck inside.
Do this instead:
- Feed scraps slowly, one handful at a time.
- Break larger pieces into smaller chunks first.
7 Things You’re Doing Wrong With Your Garbage Disposal (And How to Fix Them)
Here’s the truth: most of us don’t realize how daily habits quietly destroy a garbage disposal. These are the mistakes I see over and over—and the quick fixes that keep your sink running smooth.
- Not running cold water before, during, and after use: Running the unit dry leaves food clumps behind, which rot and clog pipes.
- Quick fix: Let cold water flow for at least 15 seconds before and after you flip the switch. Cold water also keeps fats solid so the blades can chop them properly.
- Grinding starchy foods (pasta, rice, potatoes): These expand when wet, turning into a sticky paste that gums up your disposal. Real Simple notes that even small amounts of rice can expand and cause blockages.
- Quick fix: Toss starches in the trash instead. If a few slip in, flush with lots of water.
- Dropping in non-food items like twist ties or small utensils: It sounds obvious, but spoons, forks, and even tiny plastic bits slip down by accident and jam the blades.
- Quick fix: Always check the sink before turning the disposal on. Keep a sink strainer to catch strays.
- Ignoring foul odors (sign of hidden buildup): A lingering smell isn’t “normal”—it’s trapped food rotting in the unit. The longer you ignore it, the worse the clog.
- Quick fix: Run citrus peels or a baking soda + vinegar flush.
- Skipping regular cleaning with mild agents: Many people never clean their disposal until there’s a problem. By then, buildup is hard to remove.
- Quick fix: Once a week, do a quick flush with vinegar and baking soda. It keeps the chamber fresh without damaging parts.
- Overloading large chunks without breaking down first: Tossing in a whole melon rind or chicken bone forces the motor to grind harder than it should. That shortens its life.
- Quick fix: Cut large scraps into smaller pieces and feed them in slowly.
- Flipping the switch on/off rapidly instead of letting blades run: Rapid starts and stops strain the motor and leave half-ground food sitting in the chamber.
- Quick fix: Let the disposal run until the grinding noise stops, then keep water flowing for a few extra seconds.
How to Fix & Prevent Damage (Step-by-Step Guide)
Most articles just tell you what not to do, but here’s the part that actually saves your unit: a care routine that takes only minutes and prevents costly repairs.
Daily Habits (Run Water, Don’t Overload)
Your disposal works best with water—it’s the push that carries scraps out of the chamber. I always run cold water before, during, and after grinding. Cold water keeps fats firm so blades can slice through instead of letting grease coat the pipes.
- Feed scraps slowly, not all at once.
- Break down large pieces before sending them in.
Weekly Care (Citrus Peel Cleaning, Vinegar Flush)
Smells are the first sign your disposal is building up residue. A quick weekly routine solves that.
- Toss in a few citrus peels—lemon, lime, or orange—for a fresh scent.
- Do a baking soda + vinegar flush once a week, then rinse with cold water. Baking soda and vinegar aren’t just for your sink—check out these vinegar and baking soda hacks to see how they make home cleaning easier everywhere.
It’s safe, effective, and avoids the damage caused by harsh chemicals.
Monthly Deep-Clean Routine (Ice Cube + Salt Trick)
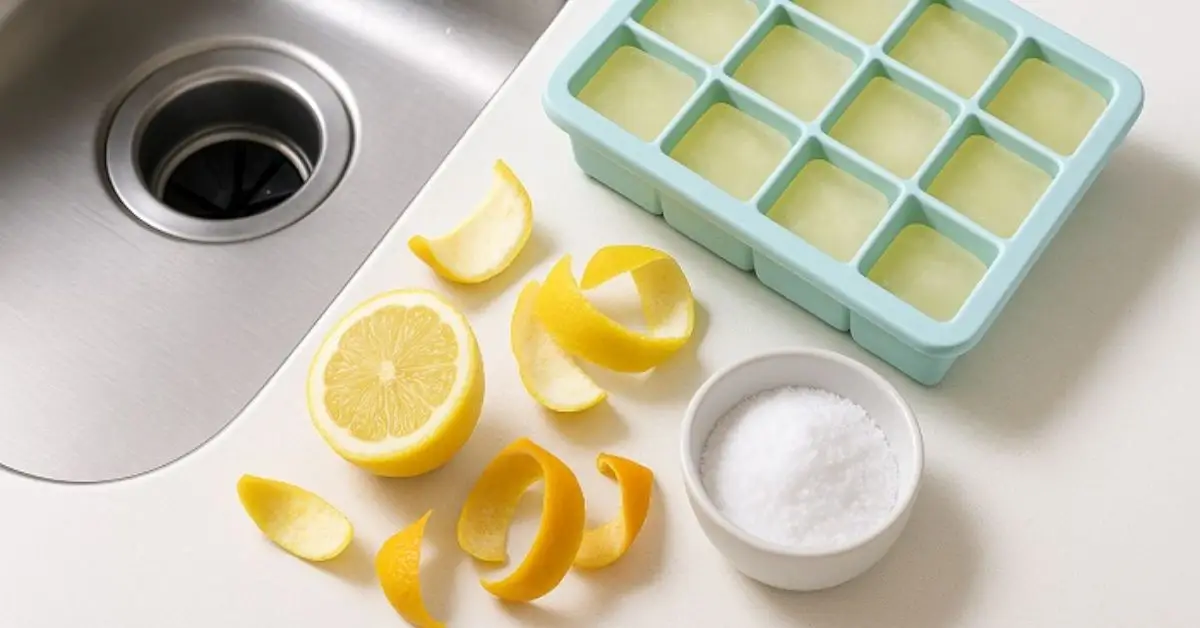
Once a month, I run a tray of ice cubes and a handful of coarse salt through the unit. The ice knocks off buildup, while the salt scrubs the chamber walls.
Plumbers often suggest this method because it’s simple and keeps blades sharp. As Davis Plumbing Pro explains in their guide on things never to put down your disposal, regular safe cleaning is the key to long-term performance.
Signs It’s Time to Call a Pro
Even with perfect care, there are times when you shouldn’t DIY. Here are the red flags I tell people to watch for:
Loud Unusual Noises
If your disposal rattles, grinds, or makes metallic clanks, something’s stuck—or worse, a part is wearing down.
Persistent Clogs Despite Cleaning
Tried water flushes, vinegar, even ice cubes, and still getting backups? That usually means the problem is deeper in your plumbing.
Leaks or Water Damage Under Sink
Any drip under the sink, damp wood, or mold is a sign the unit or seals are failing. Waiting only makes the repair more expensive.
If your current unit is beyond repair, installing a garbage disposal without a plumber is easier than you think.
Quick Checklist for Smart Disposal Use
Here’s a simple do’s and don’ts list you can keep handy. Stick to this, and your garbage disposal will last years longer without surprise breakdowns.
Do’s
- Run cold water before, during, and after grinding
- Feed scraps slowly, one handful at a time
- Use citrus peels for freshening and mild cleaning
- Do a weekly baking soda + vinegar flush
- Drop in ice cubes with salt once a month to scrub blades
Don’ts
- Pour grease, oil, or fat down the drain
- Grind fibrous foods (celery, corn husks, onion skins)
- Dump starchy foods like pasta, rice, or potatoes
- Toss in coffee grounds or eggshells
- Use harsh chemical cleaners (bleach, drain openers)
- Overload large chunks without breaking them down
Once your disposal is taken care of, try these genius kitchen and bathroom cleaning hacks to make the rest of your home just as easy to maintain.
Wrap-Up: Small Fixes That Save Big Money
Your garbage disposal doesn’t need fancy products or constant repairs—it just needs you to treat it right. A few small habits, like running cold water and cleaning weekly, save you from clogs, smells, and costly plumber visits.
Think of it this way: a few minutes of care now is worth hundreds of dollars in repairs later.
Have you made any of these mistakes? Share your garbage disposal horror stories in the comments below—I’d love to hear them. And for more practical home improvement tips, visit us at Build Like New.
Disclaimer: The tips in this article are for general household guidance only. Always follow your garbage disposal manufacturer’s instructions, and contact a licensed plumber if you’re unsure or dealing with serious damage.

