
8 Brilliant Hacks to Erase Wall Scuffs Without Ruining Paint
I’ve been there—you walk into your living room, glance at the wall, and there it is: a glaring scuff mark that wasn’t there yesterday. Maybe it’s from shoes, a bump from furniture, or even the kids at play. No matter how careful we try to be, these little marks have a way of showing up right where they’re most noticeable. And if you’re anything like me, the thought of scrubbing them off only to ruin your paint sends a shiver down your spine. Over the years, I’ve tried every trick in the book—some worked, some made things worse—but I’ve learned which methods actually remove scuffs safely without leaving your walls looking worse than before.
In this guide, I’m going to walk you through eight practical, easy-to-follow ways to tackle those scuff marks without damaging your paint. I’ll share the techniques I trust most, along with a few clever household hacks that surprisingly work. By the end of this article, you’ll not only know how to restore your walls to a clean, polished look, but you’ll also feel confident about preventing future scuffs. Let’s get those walls looking fresh again—without the stress or expensive repainting.
Understanding Scuff Marks: What They Are & Why Paint Gets Damaged
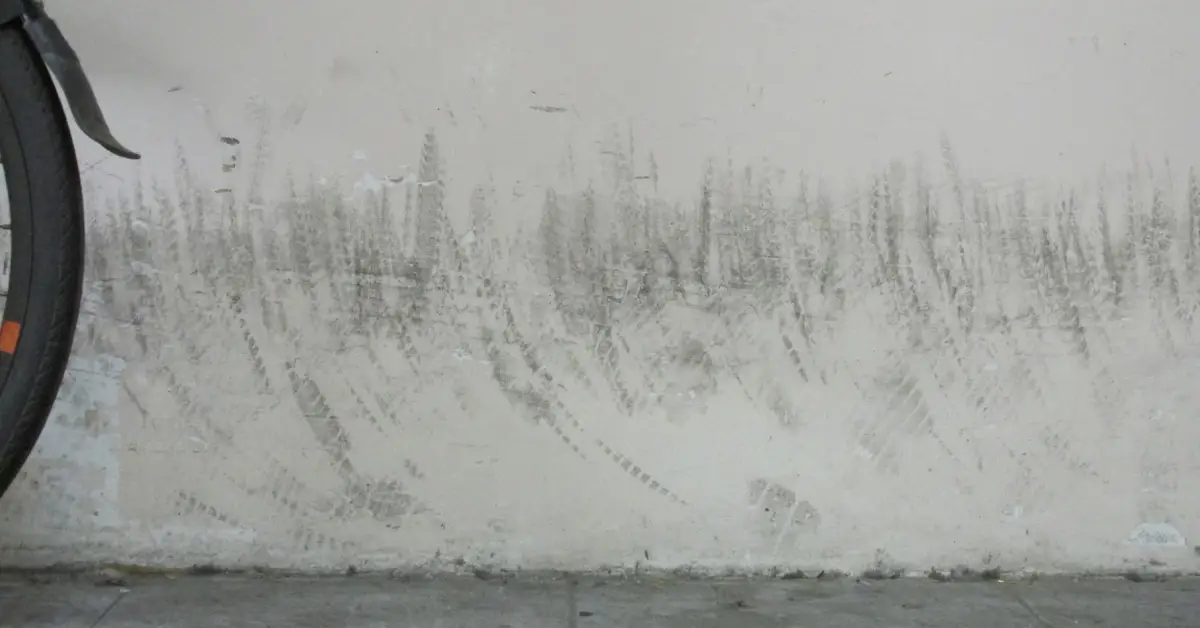
You might think a scuff mark is just a little smudge on your wall, but it’s actually more than that. These marks can come from shoes brushing against your baseboards, furniture bumping during a move, or even playful kids leaving their fingerprints and toys behind. No matter the source, scuffs leave visible streaks or dark lines on your walls that can instantly make a room look messy. I’ve learned that understanding what you’re dealing with is the first step to removing them safely.
Not all paint reacts the same way. Flat and matte finishes are beautiful, but they’re delicate and can absorb marks more easily. Eggshell and satin paints are a bit more forgiving, and gloss finishes are the most durable when it comes to scrubbing. If you use the wrong cleaning method on a flat or matte wall, you could end up removing paint instead of just the mark.
Even gentle scrubbing on the wrong finish can change the sheen, leave outlines, or make the scuff worse. That’s why it’s important to know your wall’s paint type before you start—otherwise, you might be fixing one problem only to create another. For a deeper look at how paint types react to scuff removal, check out this helpful guide from Southern Living.
Pre-Cleaning Steps: Test, Prep & Protect
Before you even think about rubbing that scuff off, you want to set yourself up for success. Jumping straight in without preparation is one of the easiest ways to damage your paint. Before you tackle scuff marks, it’s worth checking other hidden spots in your home that might be silently aging and could benefit from a paint refresh.
Here’s how I always start:
- Spot-test in an inconspicuous area: I pick a hidden corner or behind a door and try my cleaning method there first. This simple step ensures I won’t ruin a large section of wall by accident. Even if it seems tedious, it’s worth the peace of mind.
- Clear the area & dust the wall surface: Loose dust and dirt might seem harmless, but if you rub over it, you can grind it into the paint and make the scuff worse. I usually wipe the area with a dry microfiber cloth or a slightly damp one to remove surface dust before doing anything else.
- Gather your tools & know your paint type: Before you start scrubbing, make sure you have everything at hand:
- Soft microfiber cloths
- Non-abrasive sponges
- Mild dish soap
- Baking soda
- White vinegar
- Melamine sponge (Magic Eraser) – use with caution
Knowing what you’re working with allows you to act quickly when you see a stubborn scuff without accidentally damaging your walls.
Taking these pre-cleaning steps isn’t just about being careful—it’s about giving yourself the best chance for success. I can’t tell you how many times I’ve avoided a ruined wall just by doing a quick test and clearing the area first. Trust me, a little preparation goes a long way.
Method 1 – The Gentle Approach: Plain Water & Soft Cloth
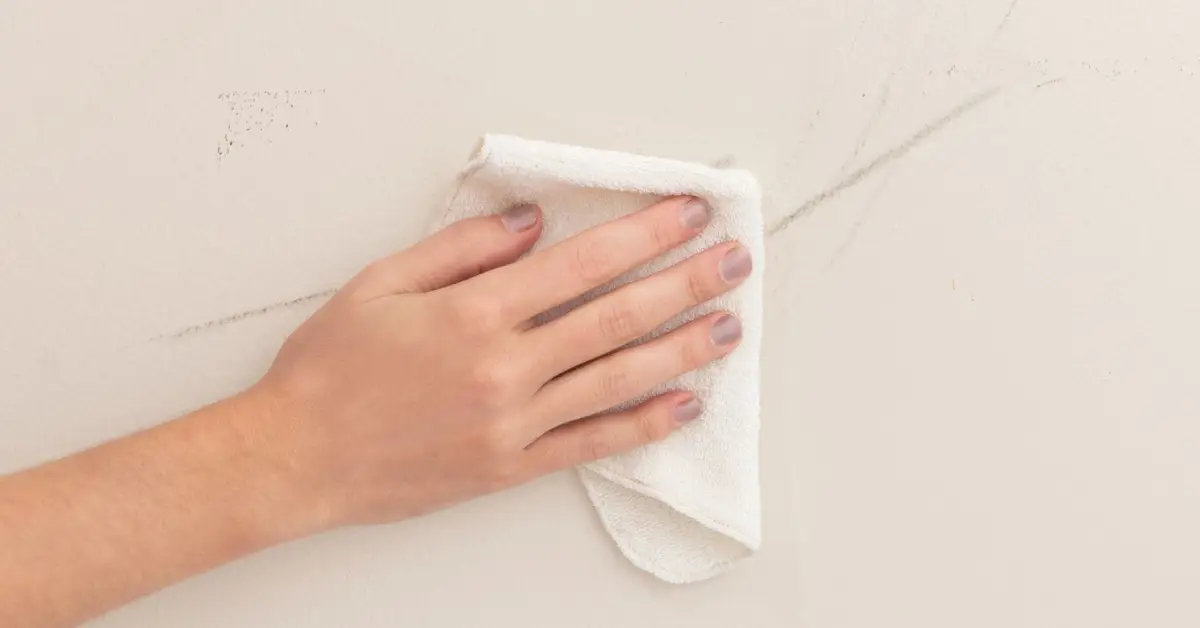
Whenever I see a fresh scuff on my wall, I always start with the simplest method first—plain water and a soft cloth. It’s surprisingly effective, and it carries almost no risk of damaging your paint. Here’s how I do it:
- Use a clean, soft white microfiber cloth.
- Lightly dampen it with water—just enough to feel slightly wet, never dripping.
- Rub the scuff gently in circular motions, observing as the mark begins to lift.
This works best for very recent scuffs, light dirt, or fingerprints. I can’t tell you how many times I’ve saved effort just by trying this first before moving on to harsher methods. Starting gentle not only preserves your paint but often solves the problem in seconds.
Method 2 – Mild Dish Soap Solution for Greasy or Sticky Marks
Sometimes plain water isn’t enough, especially when a scuff involves grease, finger oils, or sticky residues. When that happens, I step up to a mild dish soap solution. Here’s my approach:
- Mix about ½ teaspoon of mild dish soap into 2 cups of warm water.
- Dip your microfiber cloth into the solution and wring it out so it’s damp, not dripping.
- Rub the scuff gently, then rinse the area with a clean damp cloth to remove any soap residue.
- Dry the spot with a soft cloth.
This method is still low-risk for paint but strong enough to tackle marks that water alone won’t budge. I usually reserve it for those scuffs that have lingered for a day or two or when my kids have left fingerprints on the wall.
Method 3 – Baking Soda Paste (Mild Abrasive)
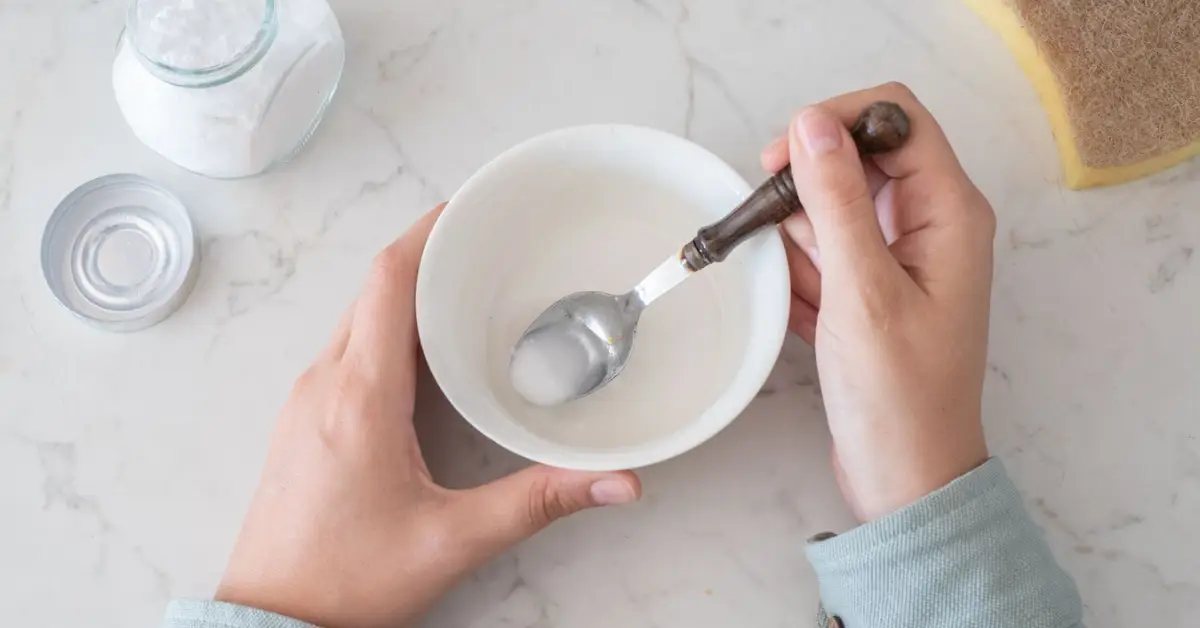
For scuffs that are more stubborn—like shoe marks, pencil lines, or older light marks—I turn to a mild abrasive: baking soda. This method is safe if done carefully and can save you from having to repaint. Here’s my process:
- Mix a small amount of baking soda with just enough water to form a paste.
- Apply it gently to the scuff with a soft cloth or non-abrasive sponge.
- Rub lightly, focusing only on the mark. Avoid scrubbing beyond the affected area.
- Wipe off any leftover paste with a damp cloth and dry the wall.
I’ve found that baking soda is an unsung hero for scuff removal—safe, inexpensive, and effective. For a detailed guide on using household solutions like this safely, I often refer to Food52’s tips.
Method 4 – White Toothpaste (Non‑Gel) for Stubborn Marks
When I run into crayon scribbles, pencil lines, or those persistent shoe scuffs, one of my favorite tricks is using white non‑gel toothpaste. It’s mildly abrasive, so it can lift marks without harsh chemicals—but only if you’re gentle. Here’s my approach:
- Apply a small dab of white non‑gel toothpaste to a soft cloth or cotton swab.
- Rub the scuff in a circular motion, concentrating only on the mark.
- Wipe off any residue with a clean, slightly damp cloth.
- Dry the area with a soft towel.
I always caution myself—and my readers—to go easy. Too much rubbing, or using gel toothpaste, can scratch or dull the paint. I like this method because most people already have toothpaste at home, making it an easy, accessible hack.
Method 5 – Vinegar (With Caution)
For more stubborn marks on durable finishes like satin or semi‑gloss, I sometimes reach for a vinegar solution. It’s natural, low-cost, and surprisingly effective—but it comes with important precautions.
- Mix equal parts distilled white vinegar and water.
- Dip a soft cloth or sponge into the solution and wring it out well.
- Gently rub the scuff, focusing only on the affected area.
- Wipe with a clean damp cloth afterward and dry the wall.
I avoid using vinegar on flat or very porous paints because the acid can dull or even remove paint. For a trusted guide on using household solutions like this safely, I often refer to The Spruce’s detailed advice.
Method 6 – Melamine Sponge / “Magic Eraser” (Use Sparingly)
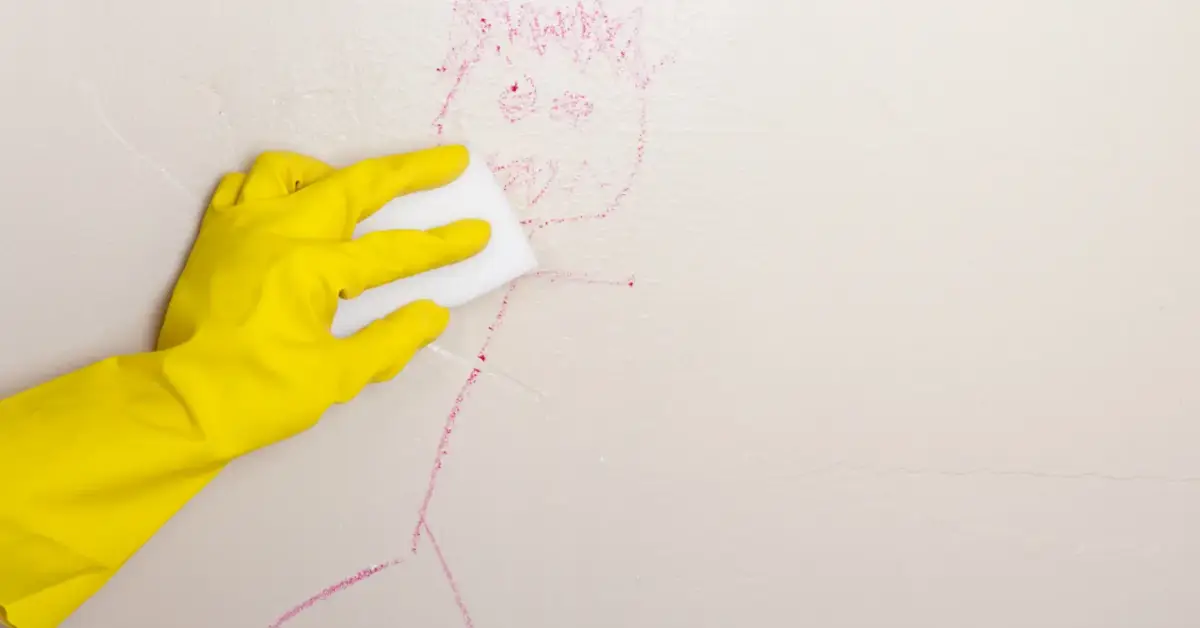
When a scuff has survived all gentler methods, I turn to a melamine sponge—or Magic Eraser. This is my heavy-duty tool, but it comes with risks, so I use it cautiously.
- Wet the sponge and wring out any excess water.
- Apply light pressure only on the scuff, moving in gentle circular motions.
- Rinse or wipe the area if needed and dry the wall.
These sponges can remove or dull paint, especially on flat or matte finishes, so I always test in a hidden corner first. I only use it for marks that won’t budge with other methods. Many “how-to” guides skip this warning, but in my experience, knowing the risk is just as important as removing the scuff.
Method 7 – When Cleaning Isn’t Enough: Touch-Up & Prevention
Sometimes, no matter how careful you are, cleaning alone isn’t enough. If the paint has dulled or a patch is missing, a minor touch-up can save the wall without a full repaint. Here’s what I do:
Minor Touch-Up
- Locate paint that matches your wall—check leftover cans or take a small chip to the store for color matching.
- Apply lightly with a small brush, feathering the edges so it blends seamlessly with the surrounding paint.
- Allow it to dry fully before assessing whether a second light coat is needed.
Prevention Strategies
Preventing scuffs is always better than fixing them. Over the years, I’ve learned a few simple strategies that really work:
- Use felt pads or furniture leg protectors to avoid accidental rubbing when moving chairs or tables.
- Install door-stops and maintain a little clearance between furniture and walls to prevent bumps.
- Choose washable paint finishes or higher-sheen paints in high-traffic areas for easier cleaning in the future.
Prevention doesn’t stop at furniture pads—you can also apply simple tricks to keep your walls mess-free and avoid future touch-ups.
When to Repaint Instead of Cleaning
Sometimes, cleaning and touch-ups aren’t enough:
Just like preparing walls for cleaning, there are essential things you need to know before painting shared or exposed surfaces to avoid costly mistakes.
- Extensive damage or multiple scuff marks covering a large area.
- Paint is worn, faded, or mismatched from previous repairs.
- High-traffic areas where marks appear frequently despite preventive efforts.
I always remind myself that taking preventive steps early saves so much time and frustration later. Many guides stop at cleaning, but thinking about prevention completes the picture.
Final Words: Smart Cleaning = Better Looking Walls for Longer
The key takeaway? Start gentle, escalate only as needed, and always consider your paint type. With careful cleaning and a few preventive strategies, you can keep your walls looking fresh without risking damage or unnecessary repainting. I’ve found that combining these methods not only fixes scuffs but also gives me peace of mind knowing I’m protecting my walls for the long term.
If you’ve tried any of these techniques or have your own household hacks for scuff removal, I’d love to hear about them! Drop a comment below and share your experience. And for more practical, room-saving, and wall-friendly tips, check out my website, Build Like New, where I share smart strategies for keeping your home looking fresh and polished every day.
Disclaimer: The tips in this article are for general household use on typical painted walls. Always test cleaning methods in an inconspicuous area first. If your walls are antique, textured, or have specialty finishes, consider consulting a professional before attempting any cleaning or touch-ups.

