
9 Simple Steps to Make Your Jetted Tub Look Brand New
I’ll be honest with you—cleaning a jetted tub is one of those chores most of us dread. You turn on the jets expecting a relaxing soak, and instead, you’re staring at grimy water lines, stubborn soap scum, or worse, a little black gunk hiding in the pipes. I’ve been there, and I know how overwhelming it can feel when you think about taking apart all those hidden nooks and jets.
But here’s the thing: a clean jetted tub isn’t just about appearances. Running water through a buildup of oils, soap, and bacteria isn’t just gross—it can create odors, mold, and even affect your skin and health over time. I’ve done the research, tested methods, and spoken to cleaning pros, and I can promise you there’s a way to tackle this without spending all day scrubbing or buying expensive products.
In this guide, I’m going to show you 9 simple steps to deep clean your jetted tub—even if you hate cleaning. We’ll cover everything from prep to maintenance, so you can finally enjoy that spa-like soak without the lurking grime. By the end, you’ll feel confident, in control, and maybe even a little proud of your sparkling tub.
Why You Must Deep Clean Your Jetted Tub
I get it—your tub looks fine on the surface, and it’s tempting to ignore what’s happening inside the jets. But here’s the reality: jetted tubs are like little plumbing traps for soap scum, body oils, minerals from water, and even mold and bacteria. Over time, all that gunk circulates through the jets every time you run them, turning what should be a relaxing soak into a potential hygiene hazard.
Neglecting it doesn’t just affect how your tub looks. You might notice weird odors, cloudy water, or even slimy spots that show up after a soak. Some people on cleaning forums even describe horror stories—black mold spitting out of tubs that went months, even years, without a proper deep clean. Reading that kind of thing made me realize: if you care about your health and comfort, this isn’t something you can put off.
What You’ll Need Before You Start (Prep List)
Before you jump in, let’s make sure you have everything ready. Having the right tools and ingredients makes this whole process feel way less daunting.
Here’s what I use and recommend:
- Common household ingredients:
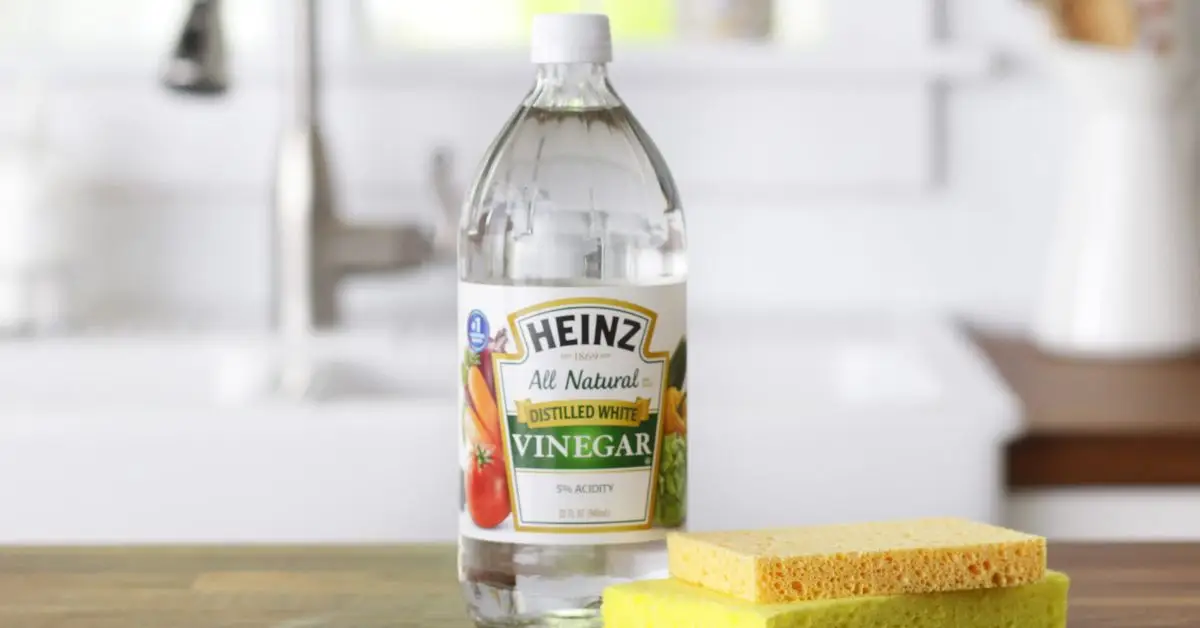
- White vinegar
- Low‑sudsing dish detergent
- Baking soda
- Microfiber cloths
- Optional tools for tough spots:
- Soft brush
- Toothbrush
- Bottle brush for jets
Safety tip: Always check your tub’s manual before using any cleaning solution. Some tubs have sensitive components that vinegar or other cleaners could damage. I usually follow advice from Good Housekeeping on cleaning jetted tubs—they have a solid, step-by-step approach that’s safe for most setups.
Quick Daily/After‑Use Routine (Light Maintenance)
Keeping your jetted tub cleaner doesn’t have to take long. A few small habits after each use can save you hours during a deep clean.
Try this routine:
- Flush the jets with clean water: Run cool or lukewarm water through all the jets for 5–10 minutes. This helps prevent soap scum and oils from settling inside the pipes.
- Wipe down the tub surface: Use a microfiber cloth to remove leftover oils or soap. Doing this keeps residue from circulating back into the jets. Clogged drains from hair and soap can make cleaning your jetted tub frustrating, but these simple tips to clear a clogged bathtub drain fast can help you fix it easily.
Step‑by-Step Deep Clean (Main 9 Steps)
Now let’s tackle the full deep clean. Follow these steps, and you’ll get your tub sparkling and hygienic.
Step 1 — Flush Jets with Clean Water
Start by running cool or lukewarm water through the jets for a few minutes to loosen soap residue and oils.
Step 2 — Create Your Cleaning Solution
Depending on how much buildup you have, you can choose:
- Natural: White vinegar mixed with water
- Stronger: Low‑sudsing dish detergent in warm water
Step 3 — Run the Jets with Cleaning Solution
Fill the tub with the solution and turn on the jets for 10–20 minutes. This circulates the cleaner through the internal pipes and breaks down grime.
Step 4 — Drain and Check What Came Out
Drain the tub and notice what comes out. Grayish or slimy residue is normal and shows the jets were holding buildup.
Step 5 — Refill & Rinse
Refill with clean water and run the jets again for 5–10 minutes to flush away leftover solution.
Step 6 — Scrub Jets and Tub Interior
Use a soft brush or toothbrush to clean visible grime around jet mouths and any corners. If you want more ways to tackle soap scum without spending hours scrubbing, check out these easy bathtub soap scum removal tips.
Step 7 — Final Drain & Dry
Drain completely and wipe the tub dry. Moisture left behind can lead to bacterial growth or mold formation.
Step 8 — Optional Heavy‑Duty Treatments
For stubborn buildup, you can use safe options like vinegar, non‑chlorine bleach, or a specialized jetted tub cleaner. If you want more detailed guidance on these treatments, Homedit’s jetted tub cleaning guide explains what works best and how to use each safely.
Step 9 — When to Call a Pro
If your jets are still clogged, mold persists, or you notice leaks or unusual noises, it’s time to bring in a professional.
What to Avoid (Common Mistakes & Myths)
When it comes to jetted tubs, a few wrong moves can make cleaning harder—or even damage your tub. I’ve learned that avoiding these mistakes saves both time and frustration.
Common pitfalls:
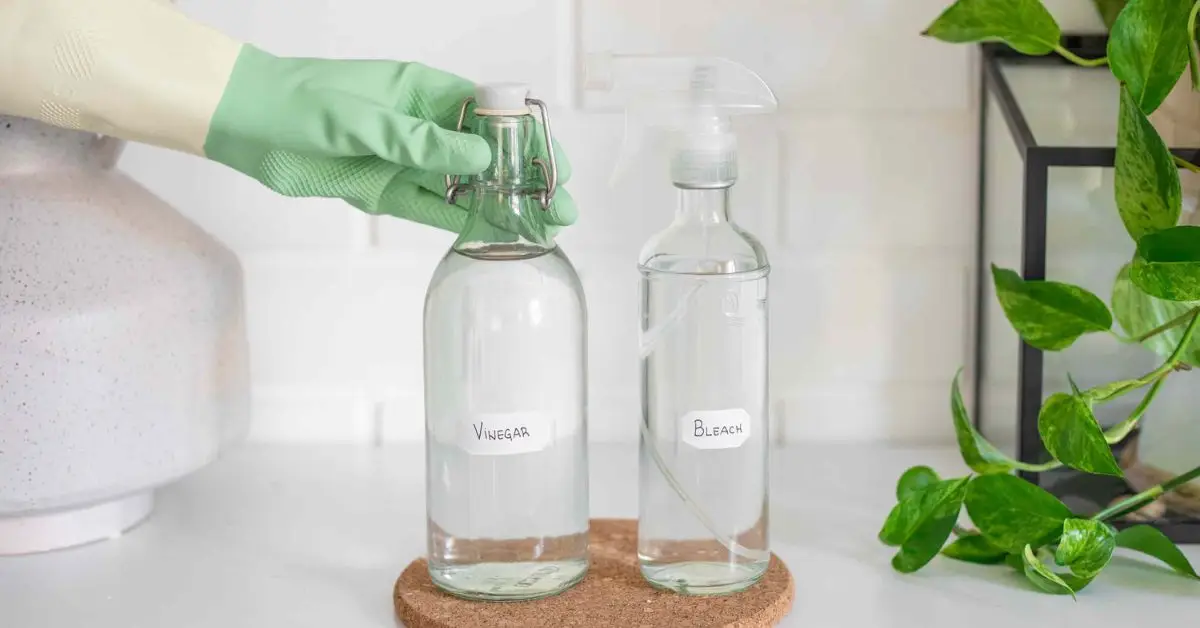
- Never mix vinegar with bleach: Doing so produces toxic fumes, so always keep them separate. You can read more about this safety tip in HOROW’s cleaning guide.
- Skip high-foaming soaps and bubble baths before cleaning: These create extra residue that sticks inside the jets.
- Watch out for hard water minerals: They can build up over time, so consider using water softeners or vinegar soaks periodically.
Recommended Commercial Products
Sometimes DIY just doesn’t cut it, especially if you’re dealing with stubborn black gunk. That’s where a few tested commercial cleaners come in handy.
What I recommend considering:
- Products like “Oh Yuk” are popular with users for heavy buildup.
- Use them mainly when natural solutions don’t fully clean the jets.
- Compare pros and cons: commercial products work faster but can be harsher than vinegar or dish detergent, so use sparingly.
Maintenance Schedule & Checklist
Keeping your jetted tub in top shape is all about consistency. I like to think of it as a small investment that saves hours of scrubbing later.
Simple schedule I follow:
- After every use: Flush the jets and wipe down the tub.
- Monthly deep clean: Do the full 9-step deep clean, or more often if the tub is used heavily. Martha Stewart even suggests a simple monthly routine to keep tubs sparkling.
- Optional seasonal checks: Inspect jets and plumbing for hidden buildup or leaks.
Tough Cases & Troubleshooting

Sometimes, no matter how careful you are, issues pop up that feel impossible to solve. I’ve seen people struggle with these common problems, and chances are, you might too.
Common tricky issues:
- Persistent black sludgy flakes: Even after running a cleaning solution, some gunk stays behind in the jets. Repeated cleaning cycles or specialized jetted tub cleaners usually help flush it out. If you ever spot black mold while cleaning your jets, there are a few household items that can remove it quickly and safely, like the ones recommended in this black mold removal guide.
- Hard water discoloration: Mineral-heavy water can leave a dull film or slight staining in the tub. A vinegar soak or gentle scrub with baking soda can lift these deposits safely.
Tackling these tough cases prevents frustration and ensures your tub stays hygienic. Knowing there’s a solution builds confidence—you’re never left guessing what to do next.
Safety & Warranty Notes
Before you dive into deep cleaning, remember that not all tubs are the same. Some components, like seals or pumps, can be sensitive to harsh chemicals. Always check your manufacturer’s recommendations before trying anything new.
Paying attention to safety protects your investment and ensures your cleaning routine doesn’t cause damage. It also builds trust—you know exactly what’s safe for your tub.
Final Wrap-Up: Make Cleaning Feel Easier
I know deep cleaning a jetted tub can feel overwhelming at first, but following these simple steps—and keeping up with light maintenance—turns it into a manageable routine. By prepping properly, avoiding common mistakes, and tackling tough spots with the right approach, you can enjoy a sparkling, hygienic tub without dreading it.
Now it’s your turn: I’d love to hear about your tub-cleaning experiences. Have you faced stubborn black flakes or hard water issues? Drop your tips or questions in the comments below, and let’s help each other out.
And if you want more practical, step-by-step home cleaning guides, check out Build Like New for easy, expert solutions that actually work.
Disclaimer: The tips in this guide are for general informational purposes only. Always follow your tub manufacturer’s instructions and safety recommendations. Build Like New is not responsible for any damage or injury resulting from cleaning or maintenance done incorrectly.

