
Fix Water Damage Fast: 6 Pro Tips to Protect Your Home and Wallet
Water damage doesn’t knock. It seeps in quietly, usually when you’re not looking—under a bathroom sink, behind a wall, or after a heavy rain that didn’t seem like a big deal.
I’ve seen small leaks turn into $10,000+ disasters because someone waited a weekend to “deal with it.” And the truth is, even a little water can do a lot more damage than most people realize. What’s worse? Mold doesn’t wait. It can start growing within just 24 to 48 hours.
If you’re dealing with water damage right now—or you’re just trying to be smart before it hits—this guide will walk you through exactly what to do. No fluff, no scare tactics. Just six proven, expert-backed tips to repair water damage before it spreads and ruins your home (and your wallet).
You’ll learn what to check first, how to dry things out safely, when to DIY, and when to call in the pros—plus a few tricks most people don’t tell you.
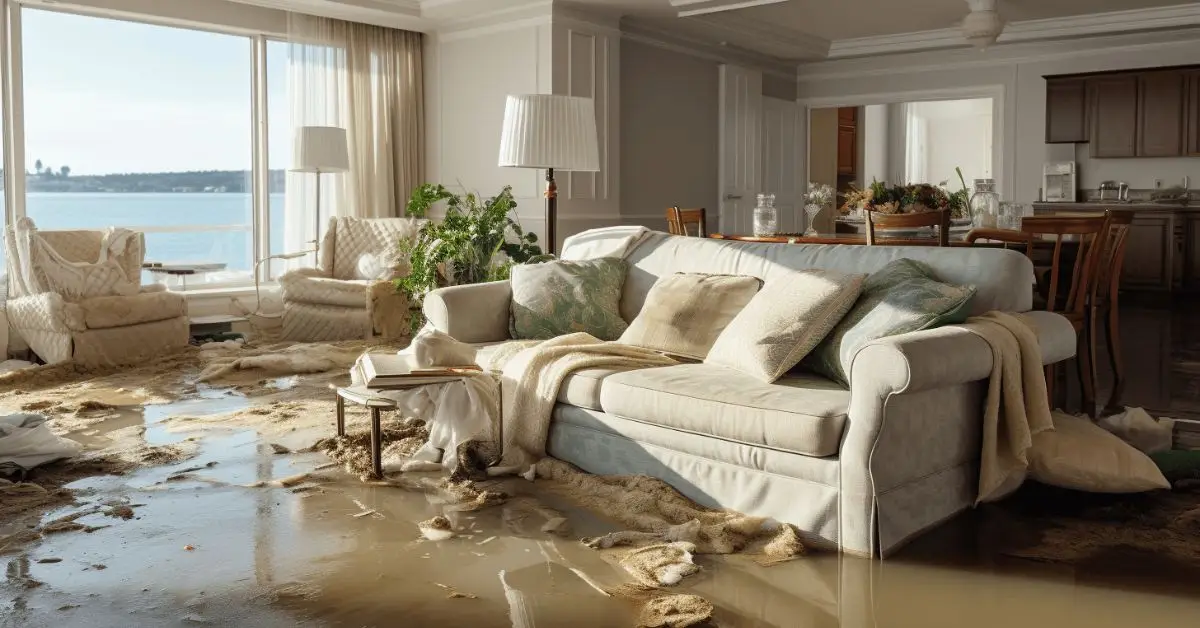
But first, let me show you what’s really at stake.
1. Start with What You Can See — and What You Can’t
The first thing I do when I walk into a home with water damage? I slow down. You’d be surprised how many people panic and start ripping things apart without really assessing the situation.
Look for the obvious signs: bubbling paint, warped wood floors, soft drywall, or that musty smell. But don’t stop there. Water doesn’t always show itself on the surface. Check corners, behind furniture, inside cabinets, and especially around baseboards and ceilings below any plumbing.
If you have access to a moisture meter—even a cheap one online—it can tell you what your eyes can’t. That tool has saved homeowners thousands just by confirming whether an area is still wet behind the wall.
And if it’s a fresh leak, remember: stopping the source is your first job. No drying, no cleanup, no insurance talk matters until the water’s no longer coming in.
Most people focus only on what they can see. But water damage works like an iceberg—what’s underneath is usually worse. This step helps you avoid missing hidden damage that turns into mold or rot later.
2. Don’t Wait — Dry Everything Immediately
Time is the real enemy here. Once water soaks into drywall, carpets, insulation, or wood, it starts a silent countdown. Mold spores can begin growing within 24 to 48 hours, even if things “feel dry” to the touch.
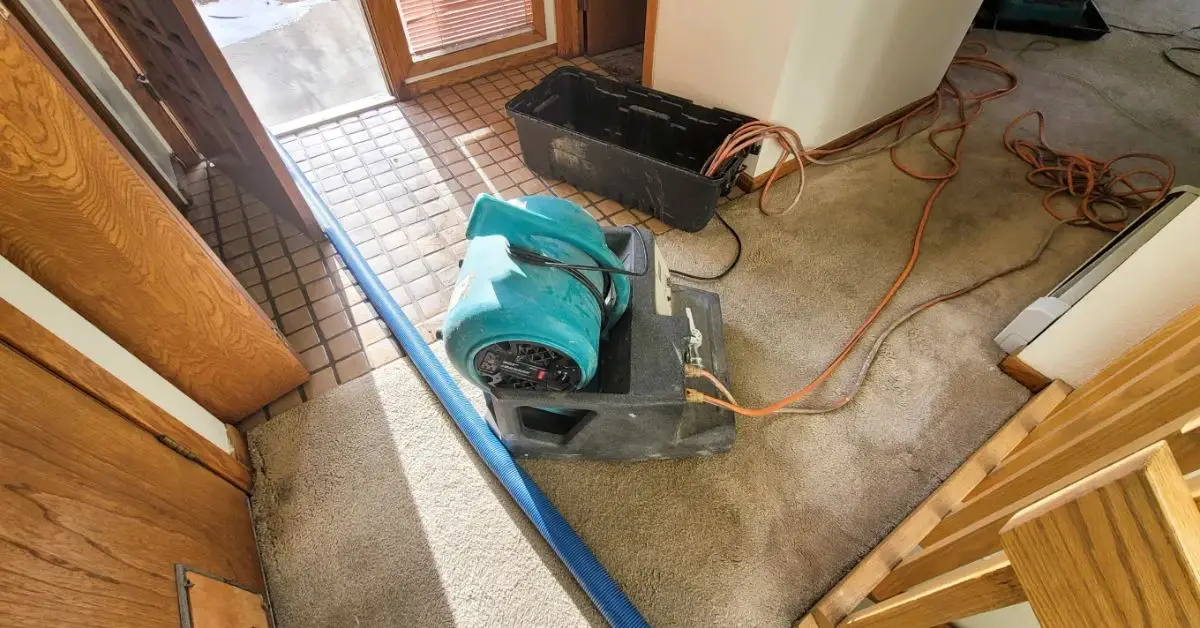
Your goal is simple: remove every ounce of moisture as quickly as possible.
Open windows and doors. Use fans and dehumidifiers (more than one, if possible). Pull up any wet rugs or carpets and prop up furniture to let airflow reach the base.
If you think it’s minor damage, don’t let that fool you. Restoration experts say mold can start growing in as little as 24–48 hours—and that’s when things get serious fast. Even clean-looking water can lead to unhealthy air and hidden rot.
Tip: Take photos of everything before you move it. You may need them later for insurance or if you hire a professional.
Waiting even a few hours can turn a repairable problem into a full-blown gut job. Acting fast not only saves your walls and floors—it protects your health.
3. Know What to Keep — and What to Toss
This is where a lot of people get stuck. After drying begins, the big question is: can you save it, or does it need to go?
Here’s a simple rule I follow: if it’s porous and got fully soaked, don’t risk it. That means wet drywall, insulation, ceiling tiles, carpet pads, particleboard furniture — these things hold moisture deep inside, and even if they feel dry, they can harbor mold or rot underneath.
On the other hand, solid wood, metal, glass, and certain plastics can often be cleaned, disinfected, and reused — as long as you act quickly.
And yes, it’s hard to toss things. But it’s even harder (and more expensive) to deal with a hidden mold colony a few months down the road.
According to This Old House, the long-term costs of improperly handled water damage can easily exceed the value of what you’re trying to save. It’s not just about cleanup — it’s about avoiding future headaches.
Being realistic about what to salvage protects your home from long-term issues like mold, bacteria, and structural decay. It also saves you from spending money twice — once now, and again later when things fail.
4. Don’t Trust “Dry to the Touch” — Track Hidden Moisture
Here’s something I’ve learned the hard way: just because a wall feels dry doesn’t mean it is.
Water loves to hide. It gets into wall cavities, under subfloors, behind baseboards, and inside insulation — areas you can’t see or reach easily. And if that moisture sticks around, mold, odors, and even structural damage can start without warning.
This is where a moisture meter becomes your best friend. It’s a small tool, usually under $30, and it tells you the actual moisture content inside materials — not just on the surface.
Professionals also use dehumidifiers and airflow systems based on psychrometrics — a scientific method for drying buildings. As Wikipedia’s disaster restoration guide notes, it’s not just about removing water, it’s about restoring the environment to safe moisture levels.
So don’t rely on a fan and guesswork. Measure, monitor, and keep drying until you’re confident the job is fully done.
Missed moisture is the #1 reason homes need a second round of repairs. Smart tracking now prevents mold, warped wood, peeling paint, and expensive surprises later.
5. Know When to DIY — and When to Call in the Pros
I’m all for rolling up your sleeves. But water damage isn’t like a loose cabinet hinge — there’s a line between manageable and risky.
If the damage is small, clean water (like from a burst supply pipe or overflowing sink), and caught early, you can probably handle it yourself with the right tools and a clear plan.
But if any of these apply, don’t risk it:
- You see mold
- The water came from outside (flooding or sewage)
- You’re dealing with soaked insulation, walls, or ceilings
- The smell hasn’t gone away after drying
At that point, you’re not just drying — you’re dealing with contamination, health risks, and possibly structural issues.
A lot of homeowners hesitate to call restoration companies because of cost. That’s fair. But as ConsumerAffairs explains, documentation and expert reports can also help you file a successful insurance claim — something DIY doesn’t always cover.
So weigh your time, tools, and tolerance. Sometimes calling a pro early can actually save you money in the long run.
Getting this decision wrong can cost you twice — first for your effort, then again for professional cleanup if things go sideways. Knowing your limits protects your home, your health, and your wallet.
6. Don’t Just Fix — Prevent the Next One
Once you’ve repaired the damage, it’s tempting to move on and forget it ever happened. Don’t. The smartest homeowners I know treat every water incident as a warning shot — a chance to tighten up the weak spots.
Start with these small but powerful upgrades:
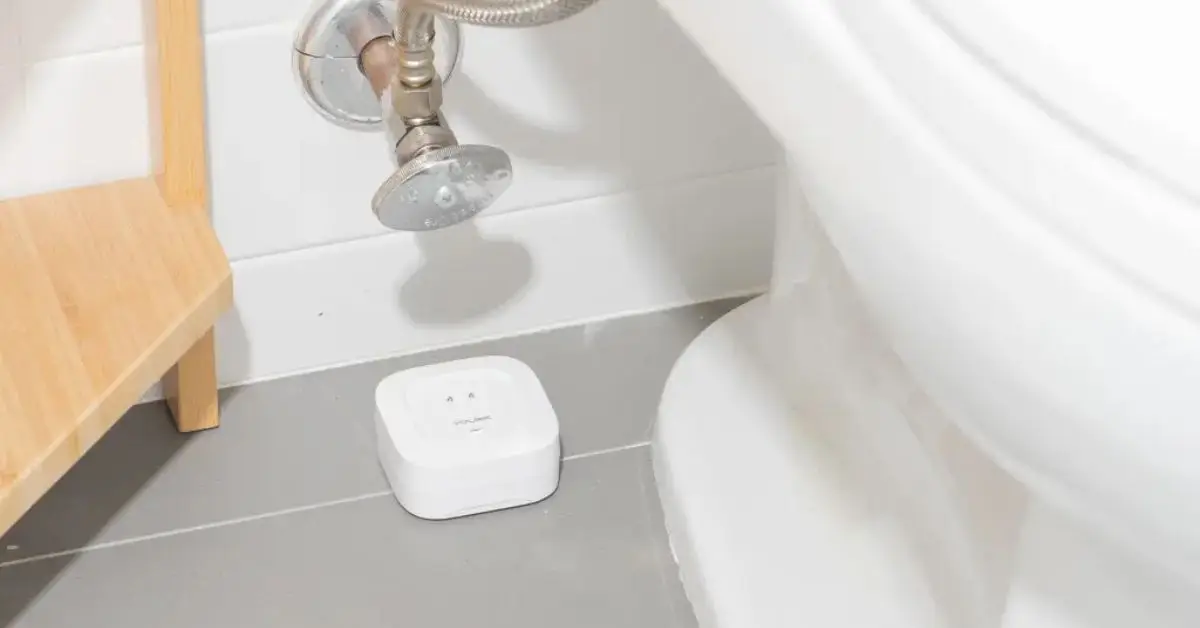
- Install water sensors or leak alarms under sinks, near your water heater, or in the basement
- Add a sump pump with a battery backup if you’re in a flood-prone area
- Clean your gutters regularly and make sure downspouts direct water away from the foundation
- Check appliance hoses (washing machine, dishwasher) every 6–12 months
- Insulate exposed pipes, especially in winter-prone regions. If you live in a cold region, don’t forget that winter-proofing your home can help prevent pipe bursts and water leaks in the first place.
Smart homeowners also make a checklist before any trip — especially for leaks, plumbing, and storage. Here are 5 essentials they always store before leaving home.
It’s not just about avoiding the mess again — it’s about protecting your time, money, and peace of mind.
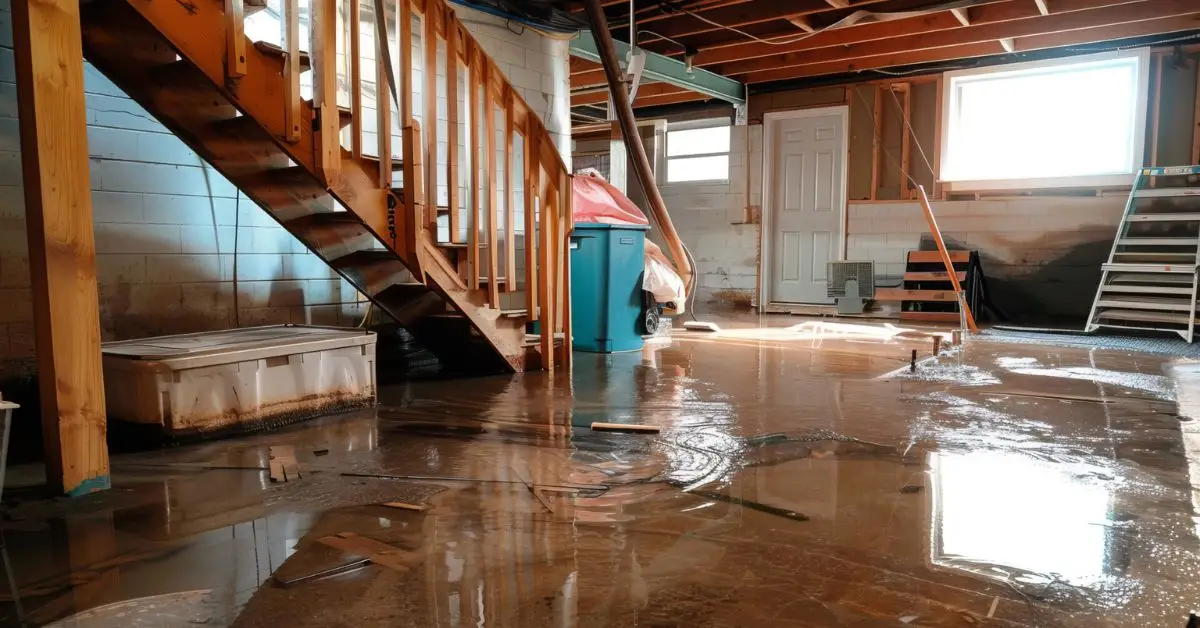
According to a report from Regional Foundation Repair, 98% of basements will experience water damage at some point. That stat alone should be reason enough to act before the next storm, leak, or failure hits.
Prevention doesn’t just save money — it protects your home’s long-term value. A few smart changes today can mean never dealing with this nightmare again.
You Only Get One Shot to Handle Water Damage Right
Here’s the truth: water damage doesn’t give second chances. If you catch it early, act fast, and follow through, you can save your home, your health, and hundreds of dollars.
But ignore the warning signs, cut corners, or assume “it’ll dry on its own,” and you’re almost guaranteed to deal with mold, structural damage, or worse — expensive regret.
I’ve walked into too many homes where someone waited just a little too long. Don’t be that story.
If you’re already dealing with water damage, use these six steps as your checklist. Protecting your home isn’t just about water — you also need to be aware of common home burglary risks, especially when you’re away or during disasters. And if you’re not, use them now to prepare — because prevention is always cheaper than repair.
Now over to you: What’s one step from this list you’ll handle today — even if it’s just checking under your sink?
Want more practical home care tips? Visit Build Like New for guides that help you fix, protect, and upgrade your home — the smart way.
Disclaimer: This article is for informational purposes only and does not substitute professional advice. Always consult a licensed contractor or water damage specialist for serious or recurring issues.

