
Stop the Drip: 8 Proven Ways to Fix Plumbing Leaks in 2025
It usually starts as a drip you barely notice. A dark ring under the sink. A hiss from a valve you swear wasn’t there yesterday. Then one morning the cabinet smells musty, the wall bubbles, and your water bill jumps for no good reason.
If you’re googling how to fix plumbing leaks, you don’t want theory—you want safe, fast, affordable fixes that actually hold. You also want to know when a “five-minute hack” is fine and when calling a pro will save you from a bigger mess.
Here’s the plan: I’ll walk you through eight battle-tested fixes—from tape and epoxy that buy you time, to compression couplings and washer swaps that solve the real problem. I’ll flag the tools you need, the mistakes that cause repeat leaks (overtightening is a big one), and simple checks to prevent a drip from turning into damage.
Because it’s 2025, we’ll also lean on smarter options—eco-friendlier sealants, reliable couplings, and budget smart-leak detectors you can set up in minutes. The goal isn’t just to stop water today; it’s to keep your home dry all year.
Before we dive in, tell me: where’s your leak—under a sink, at a joint, or around a faucet?
Why Plumbing Leaks Can’t Be Ignored
I’ve seen it too many times—a drip that looks harmless turns into a repair bill that makes you wish you’d acted sooner. What starts as a few drops under the sink can waste more than 10,000 gallons of water a year, according to the EPA. That’s not just bad for the planet—it’s money straight out of your pocket.
And it doesn’t stop there. Water has a sneaky way of spreading into walls, floors, and ceilings. By the time you notice stains or warped wood, you’re looking at insurance claims that often cost thousands of dollars. On average, homeowners spend over $11,000 fixing water damage—and many of those cases began with something as small as a leaking joint.
Think about it: one ignored leak means you’re paying higher utility bills, risking mold growth, and possibly lowering your home’s value. That’s why I always tell people—it’s not “just a leak.” It’s a warning sign.
Tools & Materials You’ll Need in 2025
Before you touch a pipe, you’ll want the right tools in your kit. The good news? You don’t need to spend a fortune, and most of these items fit in a small toolbox. Here’s what I keep handy, and what I suggest you should too:
- Plumber’s tape (Teflon tape): For sealing threaded joints and quick drips.
- Epoxy putty: A lifesaver for pinhole leaks and cracks.
- Pipe clamps and rubber patches: For those moments when a burst pipe needs immediate attention.
- High-quality sealants: Modern formulas last longer and are more eco-friendly than the old stuff.
- Smart leak detectors: New in 2025, affordable gadgets like Flo by Moen alert you on your phone the second water escapes.
The way I see it, having these basics on hand is like carrying a spare tire—you hope you never need it, but when trouble comes, you’ll be glad it’s there.
By the time we get to the actual fixes, you’ll be ready—no scrambling, no panic. Just clear steps with the tools already in your hand.
The 8 Plumbing Leak Fixes Every Homeowner Should Know
Now that you’ve got the tools ready, let’s go step by step through the eight most practical fixes. These aren’t just quick hacks—each one solves a different kind of leak you might face at home.
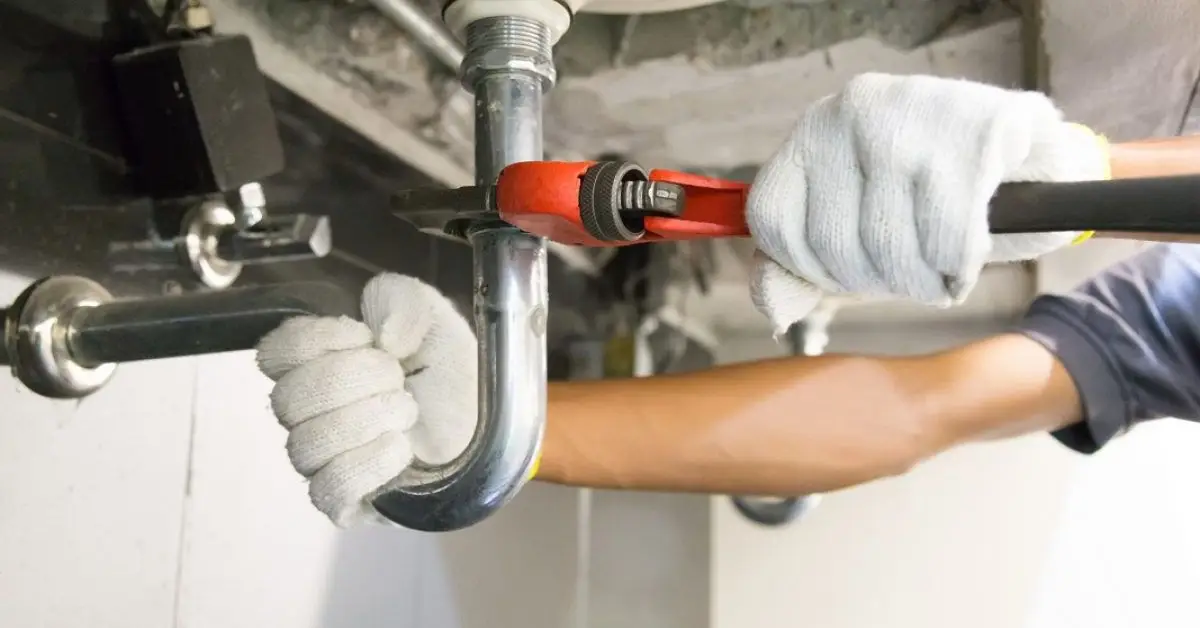
Fix 1: Use Plumber’s Tape for Small Joint Leaks
When you notice water dripping around threaded joints—like showerheads or faucet connections—plumber’s tape is the simplest solution.
- Shut off the water supply.
- Unscrew the leaking joint carefully.
- Clean the threads so the tape adheres properly.
- Wrap plumber’s tape around the threads in a clockwise direction.
- Reattach the joint and tighten it.
This creates a waterproof seal and is often enough to stop minor leaks immediately.
Fix 2: Apply Epoxy Putty to Seal Small Cracks
If you find a tiny crack or pinhole leak in a pipe, epoxy putty can save the day. Once hardened, it forms a solid, waterproof bond.
- Turn off the water and dry the surface.
- Cut a small piece of putty and knead it until soft.
- Press the putty directly onto the crack.
- Let it cure fully before restoring the water flow.
This works as a temporary but reliable fix until you replace the damaged section.
Fix 3: Pipe Clamps or Rubber Patches for Burst Spots
When a pipe suddenly starts gushing water, you need a fast emergency fix. A pipe clamp combined with a rubber patch is effective.
- Shut off the main water supply immediately.
- Place a piece of rubber (an old hose or tube works too) over the leak.
- Tighten a pipe clamp around it to hold the patch in place.
This won’t last forever but can stop flooding long enough for you to schedule a proper repair. Just like these quick plumbing fixes, there are plenty of other super-quick home repairs you can do in under five minutes that save both time and money.
Fix 4: Replace Worn-Out Washers & O-Rings in Faucets
A dripping faucet often points to a worn washer or O-ring.
- Close the water valve under the sink.
- Disassemble the faucet handle using a screwdriver.
- Replace the damaged washer or O-ring with a new one.
- Reassemble and test.
Since washers wear out over time, this is one of the most common and cost-effective fixes.
Fix 5: Tighten or Replace Loose Pipe Joints
If a leak comes from a loose connection, tightening the joint usually helps—but sometimes you need a fresh seal.
- Turn off the water and dry the area.
- Remove the joint and check for damage.
- Apply new plumber’s tape or sealant.
- Reattach and tighten the connection.
This simple step prevents recurring leaks that often return if the joint isn’t properly sealed.
Fix 6: Use a Compression Coupling for Damaged Pipe Sections
When a section of pipe is cracked or badly leaking, compression couplings are a homeowner-friendly option.
- Cut out the damaged section of pipe.
- Slide the compression coupling onto the ends of the remaining pipe.
- Tighten the nuts with a wrench until sealed.
This method doesn’t require soldering and is ideal if you want a durable fix without advanced tools.
Fix 7: Solder Copper Pipes (For Advanced DIYers)
Copper pipes sometimes develop cracks that need a permanent fix. Soldering creates a long-lasting seal.
- Drain the water from the pipe completely.
- Clean both the pipe and fitting with sandpaper or a wire brush.
- Heat the joint with a propane torch.
- Apply solder until it flows into the joint and seals it.
This is best for those comfortable working with heat tools—otherwise, a licensed plumber should handle it.
Fix 8: Upgrade Old Pipes with PEX or PVC
Sometimes the smartest move is to prevent future leaks altogether. Replacing old galvanized or corroded pipes with modern options like PEX or PVC can dramatically reduce problems. PEX piping is flexible, corrosion-resistant, and often more affordable in the long run.
- Identify older sections of pipe that frequently leak.
- Replace them gradually with PEX or PVC.
- Enjoy fewer leaks and a system that lasts decades.
This investment may take more time and money upfront but saves you from repeated repairs. If you’re upgrading old pipes with PEX or PVC, you might also want to explore some budget-friendly home upgrades under $200 that make your space look brand new.
When to Call a Professional Plumber
I know the satisfaction of fixing something yourself, but there are moments when DIY just won’t cut it. If you notice any of these signs, it’s smarter—and safer—to bring in a licensed plumber:
- Major pipe bursts where water is gushing uncontrollably.
- Hidden leaks inside walls, ceilings, or floors that show up as stains or mold.
- Repeated leaks in the same area despite multiple fixes.
- Gas or water heater issues tied to the plumbing system.
The cost difference is worth considering too. A basic DIY repair kit might cost you between $10 and $50, while a professional plumber visit can run $150 to $350 or more depending on the job. But remember, one wrong move with pipes could create thousands of dollars in extra damage—sometimes paying for expertise is the cheaper choice.
Prevent Future Leaks (2025 Maintenance Tips)
The best repair is the one you don’t need. With a few simple habits, you can stop leaks before they start.
- Monitor water pressure: Keep it under 60 psi. Higher pressure puts stress on joints and pipes.
- Install smart leak detectors: Affordable in 2025, devices like Flo by Moen send alerts straight to your phone when they detect moisture.
- Schedule annual inspections: A once-a-year checkup by a plumber can catch small issues before they become disasters.
- Upgrade gradually: If your home still has galvanized steel pipes, replace sections with PEX or PVC over time. For new homeowners especially, keeping leaks under control is only one part of the job—don’t miss these 5 essential maintenance tasks every homeowner should tackle right after buying a house.
Final Takeaway
Plumbing leaks aren’t just an inconvenience—they’re a warning sign. You now have eight reliable fixes to handle most common problems: from plumber’s tape and epoxy for quick repairs, to couplings, soldering, and even full pipe upgrades for lasting solutions.
Your action plan is simple:
- Keep the right tools at home.
- Try the quick fixes when it’s safe.
- Call a professional when the problem is too big.
- Stay ahead of leaks with regular checks and smart detectors.
Small drips become big bills if you wait too long. Acting today means protecting your home, your wallet, and your peace of mind.
Now it’s your turn: Have you ever had to deal with a plumbing leak at the worst possible moment? Share your story in the comments below—I’d love to hear how you handled it.
For more practical home repair guides and tips to keep your house in top shape, visit Build Like New and explore our latest resources.
Disclaimer: The information in this article is for general educational purposes only. Plumbing repairs can carry risks, and results may vary depending on the condition of your home’s system. Always follow safety guidelines, and when in doubt, consult a licensed professional plumber.

