
Moving Soon? 7 Steps to Safely Declutter Your Electronics
The first time I opened a moving box after relocating, I found a tangled mess of cords, an old DVD player I hadn’t touched in years, and a laptop that didn’t even power on anymore. I had paid to pack, move, and carry junk I should have let go of long before. That’s when it hit me—you don’t just move your home, you move your habits too. And nothing clutters a move faster than forgotten electronics.
If you’ve ever stared at drawers stuffed with mystery chargers or felt guilty about a shelf of old gadgets, you’re not alone. Most people put off deciding what to keep, what to recycle, and what to toss until the last minute. The result? Extra boxes, higher moving costs, and sometimes the risk of tossing sensitive data in the trash.
I’ve seen too many people drag along broken printers or five versions of the same cable because they “might need it one day.” But moving is your chance to reset—to cut down, clear space, and make sure only the devices you actually use come with you. And when you handle it right, decluttering your electronics doesn’t just save you stress, it saves you money and helps the environment too.
Before we jump into the seven steps, I want to ask you—if you had to pack tonight, how many unused devices or tangled wires would end up in your boxes?
Step 1 – Take Inventory of All Devices and Accessories
The first mistake most of us make is diving straight into boxes without knowing what we even own. I’ve been guilty of this—grabbing handfuls of cords and tossing them into a bag, only to unpack the same mystery pile weeks later. The result? Stress, duplicates, and no idea what’s actually useful.
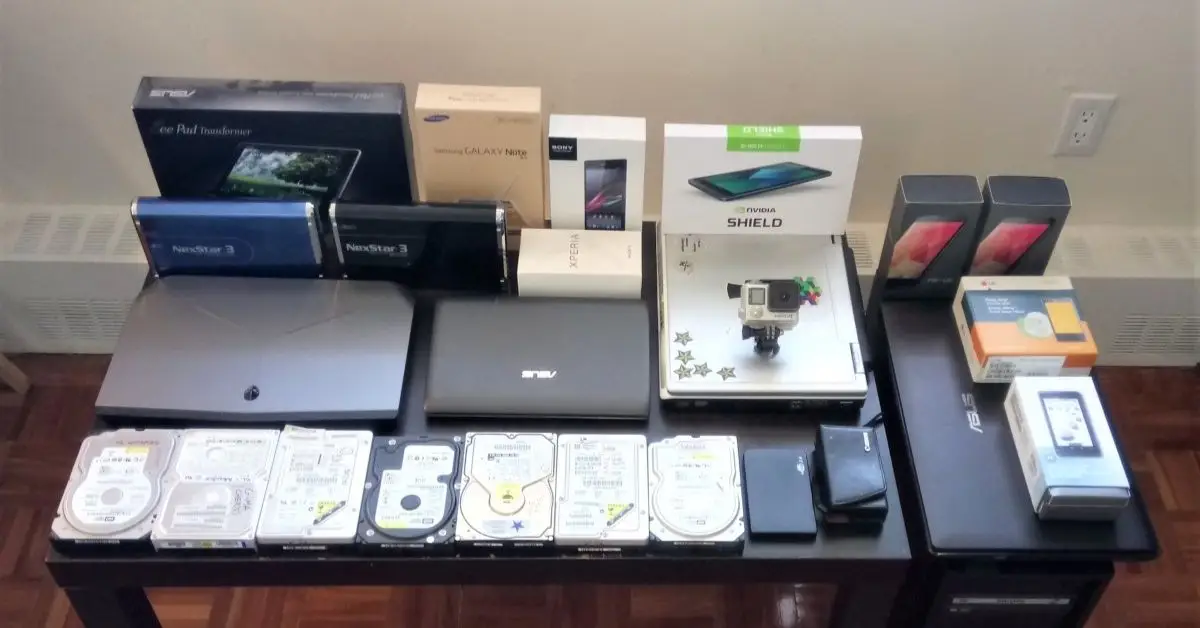
Start by laying everything out on a table or floor. Don’t just think about the “big” stuff like laptops and phones—include the small accessories that usually get forgotten:
- Chargers and adapters (how many of those identical black bricks do you have?)
- Headphones and earbuds (working vs. broken)
- Old phones or tablets tucked away in drawers
- Loose cables—USB, HDMI, power cords, and those random ones you can’t identify
Once everything is in front of you, make a quick checklist. I like using a simple spreadsheet or even the notes app on my phone—label it “Moving Electronics Inventory.” Add columns for:
- Item name
- Condition (working, broken, outdated)
- Decision (keep, donate, recycle, sell)
It sounds small, but having a list turns a chaotic pile into a clear plan. And trust me, when moving day comes, you’ll be grateful you can see what’s worth carrying forward.
Step 2 – Back Up and Wipe Devices
Now that you know what you have, it’s time to protect yourself. I can’t stress this enough: before you donate, sell, or recycle any device, make sure your data is safe. I’ve heard too many stories of people handing over an old laptop with personal files still on it.
Here’s how I approach it:
- Back up your data first:
- Cloud storage works well if you want easy access from anywhere (Google Drive, iCloud, OneDrive).
- External hard drives or USBs are great for a physical backup you control.
- Wipe devices clean:
- Use the factory reset option on phones, tablets, and laptops.
- For extra peace of mind, overwrite drives using secure erase tools before recycling.
Think of it as locking the door before leaving your old house—you wouldn’t move out without securing it. Same rule applies to your digital life.
If you want more detail, the EPA’s electronics recycling guide is a solid resource—it explains both safe disposal and why proper data wiping matters.
Step 3 – Sort Into Keep, Donate, Recycle, Sell
Once you’ve backed everything up, the real decision-making begins. I like to think of this step as drawing a line between what deserves a spot in your new home and what doesn’t.
Criteria for Deciding
Ask yourself a few quick questions for each item:
- Age – Is it more than five years old and struggling to keep up?
- Condition – Does it still work reliably, or is it half-broken?
- Compatibility – Can it connect with your current setup, or is it outdated tech?
If an item fails two out of three, it’s probably not worth keeping.
Local Donation Programs
Some of the most rewarding decluttering moments come from giving old devices a new life. Places like Goodwill or local school drives often accept working computers, monitors, and tablets. That extra laptop gathering dust in your closet might become a student’s first computer.
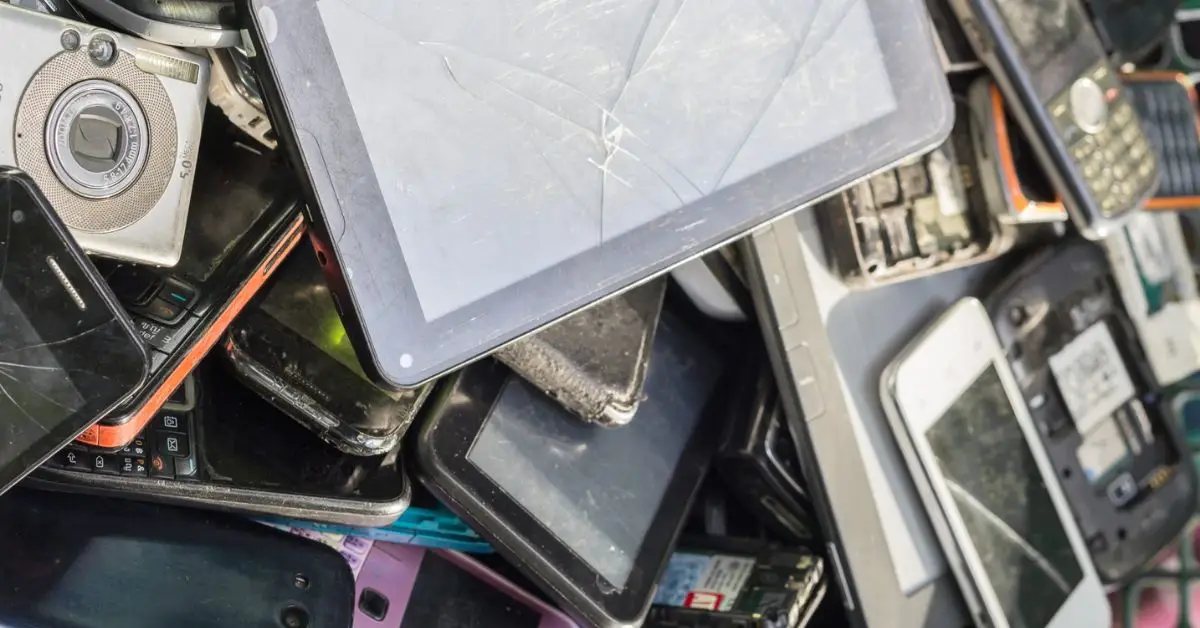
Safe E-Waste Recycling
For the items that are too old or broken, recycling is the responsible choice. Many manufacturers like Apple, Dell, and HP run take-back programs where they’ll properly recycle your gear. And this isn’t a small issue—the world produced more than 57 million metric tons of e-waste in 2021, and that number is expected to hit 74 million by 2030, according to Scoop.Market.
When you donate or recycle thoughtfully, you’re not just clearing space—you’re keeping harmful waste out of landfills and putting your gadgets to better use.
Step 4 – Declutter Cables & Accessories
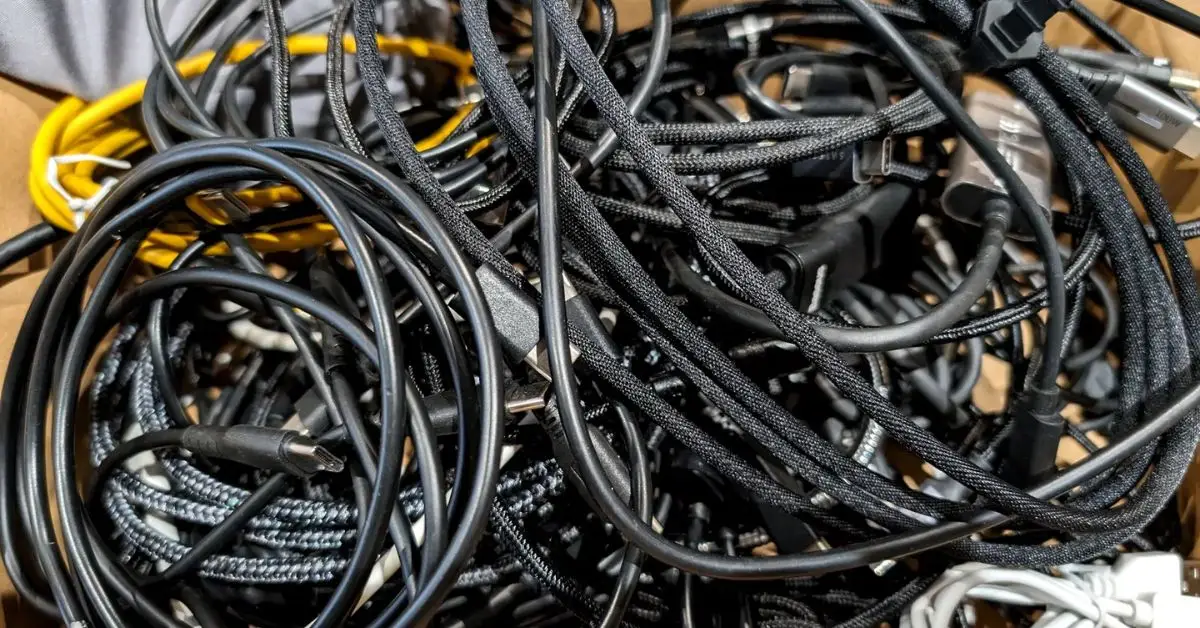
If you’re like me, you probably have a box (or three) filled with tangled wires you’re scared to throw away. Half of them belong to devices you don’t even own anymore. This is where a simple system makes all the difference.
The “One-to-One Rule”
Only keep cables that have a matching device in your inventory list. If you can’t identify the gadget it belongs to, chances are you won’t need it again.
Cable-Labeling Trick Before Packing
Use masking tape or small tags to label each cord with the device name it belongs to: “Laptop Charger – HP” or “TV HDMI – Living Room.” When you unpack, you’ll know exactly what’s what.
Upcycling Ideas
Some people get creative with their “extra” cords. I’ve seen Reddit users braid old cables into DIY organizers or reuse them for school projects. It’s a small but fun way to avoid waste, especially if you hate the idea of just tossing things out.
Decluttering isn’t about getting rid of everything—it’s about knowing what’s worth keeping, and making sure the rest finds a better home. Decluttering often reveals more than just old gadgets—sometimes you’ll uncover signs of pests hiding in forgotten corners. If you’re worried, watch out for these sneaky signs you may have mice before they turn into a bigger problem.
Step 5 – Organize What You’re Keeping
This is the part that saves your sanity later. Before you even think about packing, organize the gadgets and accessories you’ve decided to keep. Trust me—future-you will thank present-you when you’re not digging through a box of random cords.
Storage Hacks: Zip Bags, Cable Ties, Labelled Bins
Here’s my go-to system:
- Zip bags: Perfect for grouping small items like USB sticks, SD cards, or earbuds.
- Cable ties or Velcro straps: Keep cords neat and stop them from becoming spaghetti.
- Labelled bins or shoe boxes: Mark each container with what’s inside (“Gaming Accessories,” “Work Laptop Gear”).
When every piece has its own home, you’re less likely to lose things in the shuffle. Old electronics and cords often collect layers of dust while sitting unused. If you notice buildup around your shelves or storage boxes, here are five proven steps to tackle household dust before it affects your health.
Photograph Setups Before Disassembly
Before you unplug your TV, desktop, or entertainment system, snap a few photos of the wiring setup. When you’re setting everything back up in your new place, those pictures act like a personal instruction manual. It saves hours of “where did this HDMI go?” stress.
Step 6 – Pack Electronics for Safety

Once everything is sorted and organized, it’s time to pack. This is where a little extra care makes the difference between a smooth setup in your new home and unpacking a box of broken gadgets.
Anti-Static Bubble Wrap, Original Boxes vs. Alternatives
- If you still have the original boxes, use them—they’re built for safe transport.
- No boxes? Wrap devices in anti-static bubble wrap or soft clothing as a budget alternative.
- Always cushion the bottom of the box with towels or foam before placing electronics inside.
Mark “Fragile” & “This Side Up”
Don’t forget the basics: clearly mark boxes as “Fragile” and add “This Side Up.” Movers handle dozens of boxes in a day; the clearer your labels, the safer your gear.
For extra guidance, the Travelers Insurance moving checklist highlights how careful packing of electronics can prevent both financial and emotional losses.
Step 7 – Plan for Disposal & Recycling on Moving Day
Most people make the mistake of waiting until after the move to deal with their old electronics. By then, the boxes are already in the new house, and the clutter has followed you. The trick is to schedule disposal at the same time you schedule the move.
Arrange Pickup/Drop-Off in Advance
- Call local recycling centers or donation programs and book a pickup for the same day movers come.
- If pickup isn’t an option, map out drop-off points near your moving route.
This way, you’re not stuck storing old monitors in your garage “until you get around to it.”
Apps & Websites for E-Waste Drop Locations
A quick search on e-waste locator apps or city recycling websites can tell you exactly where to go. Many municipalities list certified drop-off points where you can safely dispose of electronics without worry. Knowing this ahead of time means no last-minute stress.
Common Mistakes to Avoid
Even with the best intentions, it’s easy to fall into these traps:
Forgetting to Back Up Devices: There’s nothing worse than realizing the photos or files you needed are sitting on a recycled hard drive. Always double-check your backup.
Keeping Outdated Gadgets “Just in Case”: That old printer or third-generation iPad probably won’t suddenly become useful. If it’s been untouched for years, it’s only taking up space.
Tossing E-Waste in Regular Trash: Electronics don’t belong in your household garbage. They contain hazardous materials that harm the environment. Always recycle through proper channels.
Avoiding these mistakes will save you time, money, and regret. When you’re clearing out your electronics, it’s also a good time to think about the bigger picture—many homeowners repeat small errors that cost them time and money. You can avoid some of the biggest ones by checking out these common homeowner mistakes.
Quick Declutter Checklist
Here’s a 7-step summary you can pin to your fridge or keep on your phone:
- Take inventory of all devices and accessories.
- Back up files and wipe data.
- Sort into keep, donate, recycle, sell.
- Declutter cables with the one-to-one rule.
- Organize what you’re keeping (zip bags, labels, photos).
- Pack electronics safely with padding and labels.
- Plan disposal or recycling on moving day.
Key Takeaways & Next Step
Decluttering electronics before a move isn’t just about space—it’s about smarter choices.
- Money saved: fewer boxes, lower moving costs.
- Stress reduced: no mess of tangled cords waiting at your new place.
- Eco impact: your old gadgets get reused or recycled, not dumped.
Start small today. Open that “cords and chargers” drawer, pull everything out, and apply the one-to-one rule. You’ll be surprised at how quickly the clutter shrinks.
And if you found this guide helpful, explore more practical home improvement and moving tips at Build Like New—because a fresh start deserves a clutter-free move.
Disclaimer: The information in this article is for general guidance only. Always follow local recycling laws and manufacturer instructions when disposing of electronics. Build Like New is not responsible for how readers use this information.

