
7 Simple Steps to a Clutter-Free Kitchen You’ll Love
I’ve spent years helping friends, family, and even myself tackle the chaos in the kitchen, and let me tell you—it’s more than just about a clean space. A cluttered kitchen isn’t just messy; it steals your time, drains your energy, and quietly adds stress to your daily routine. You know that feeling when you can’t find the right pan, or the countertop is so crowded that you can barely prep a meal? That’s exactly what I’m talking about.
Decluttering your kitchen isn’t about tossing everything you own or following some rigid method. It’s about making your kitchen work for you—creating a space where cooking feels enjoyable, meals come together smoothly, and even a quick glance at your countertops sparks a little calm instead of chaos. Over the next few sections, I’ll walk you through seven practical steps that I’ve seen work time and again, from purging expired items to smart storage hacks that actually stick.
By the end of this guide, you won’t just have a cleaner kitchen—you’ll have a happier, more functional space that makes every meal feel a little easier and every cleanup a little lighter. And if you stick with me, I’ll even share ways to keep this clutter-free habit going for the long term, so you’re not stuck in the same old cycle next month.
Step 1 – Assess and Plan Your Kitchen Space
Identify Problem Areas and Clutter Hotspots
When I first approach a cluttered kitchen, I always start by stepping back and really observing where the chaos lives. Trust me, identifying problem areas is half the battle—if you dive in randomly, it’s easy to get overwhelmed.
Here’s how I usually break it down:
- Cabinets: Are dishes stacked haphazardly? Do you have multiple sets of rarely used bakeware?
- Countertops: Is your coffee maker buried under mail, or do utensils crowd your prep space?
- Pantry: Cans, packets, and jars can pile up unnoticed, especially expired items.
- Fridge top & small appliances: These overlooked areas often collect clutter and dust.
- Utensil drawers: Do you have duplicate tools or gadgets you haven’t touched in months?
To make it simple, I sometimes create a mini checklist and snap photos for inspiration—sort of like an Instagram before shot. It gives you a clear visual map of your mess, so when you start decluttering, you’re tackling the right areas first.
Set Goals and Time Limits for Decluttering
Once you know your hotspots, the next step is to plan your decluttering sessions realistically. I always tell myself: small, focused bursts work better than all-day marathons.
Here’s my approach:
- Set a timer for 30–60 minutes: Pick one zone—maybe a single cabinet or countertop section—and go all in.
- Focus on one category at a time: Pantry cans, utensils, or small appliances.
- Celebrate small wins: Even clearing one drawer can give you a real sense of progress.
Step 2 – Clear Out Expired or Unused Items

Pantry and Fridge Purge
Here’s where the magic starts: seeing immediate results. I like to go shelf by shelf, checking expiration dates and tossing anything that’s gone bad. It’s surprising how many cans, condiments, or forgotten snacks have overstayed their welcome.
- Check expiry dates on all pantry items.
- Look for duplicates—do you really need three cans of tomato paste?
- Sort for donation anything still good but you know you won’t use. Feeding America is a great resource if you want to donate food safely.
Clearing out old items instantly opens space and gives a real psychological boost. Clearing out old items instantly opens space and gives a real psychological boost. You’ll notice your kitchen feeling lighter and more manageable in just one session. Just as clearing out unused kitchen items instantly opens space, decluttering your bedroom of 14 key items can improve your sleep and daily calm. You’ll notice your kitchen feeling lighter and more manageable in just one session.
Appliances and Utensils You Rarely Use
Next, I tackle gadgets and utensils. I use a practical Marie Kondo approach here: ask yourself, “Do I really need this, and does it bring me joy or serve a real purpose?”
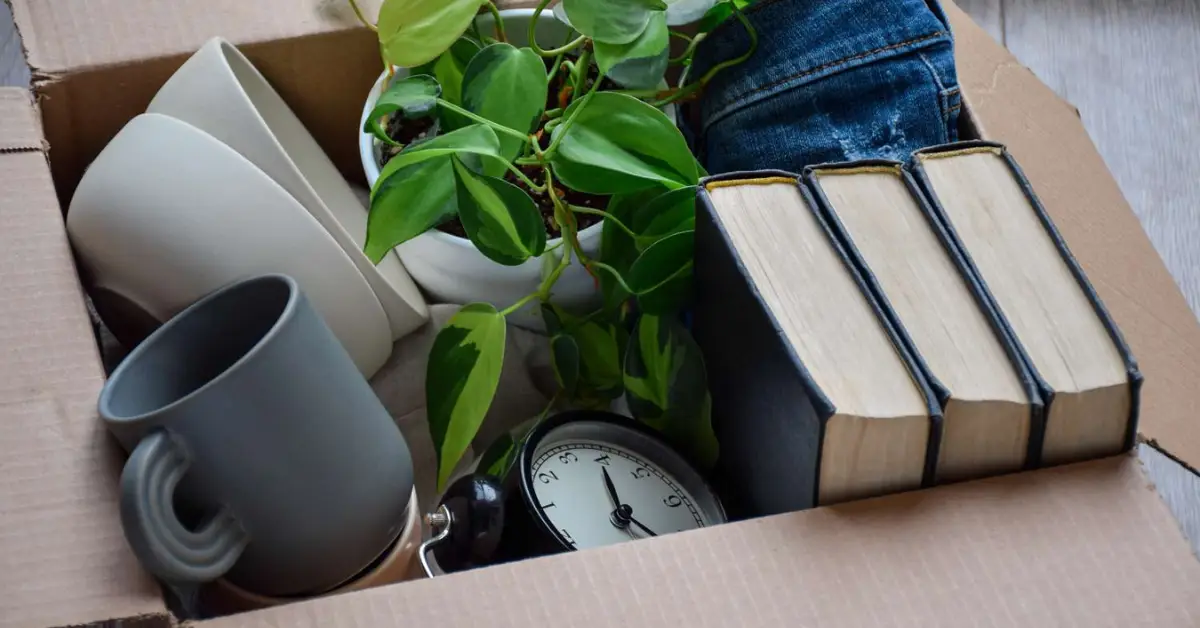
- Keep appliances you use weekly (blender, coffee maker). Keep appliances you use weekly (blender, coffee maker). Just like you can declutter your kitchen step by step, you can also tackle your electronics efficiently before a move to keep your home organized.
- Donate or store items used once or twice a year.
- Discard broken or duplicate tools—holding on just “in case” is a clutter trap.
This step is crucial because even if you’ve cleared expired food, a kitchen full of unused appliances still feels crowded.
Step 3 – Maximize Storage and Organization
Smart Cabinet and Drawer Solutions
Once I’ve cleared out unused items, the next game-changer is making the most of your storage. Even a small kitchen can feel spacious if things are organized smartly. Here’s what I do:
- Vertical stacking: Stack plates, bowls, or trays to save horizontal space.
- Drawer dividers: Keep utensils, cutlery, and small gadgets separated for easy access.
- Lazy Susans & tiered racks: Perfect for spices, condiments, or canned goods.
For practical, budget-friendly solutions, I often browse IKEA’s kitchen organizers. Their range is affordable and really durable for daily use.
Utilize Overlooked Spaces
Some of the most effective storage ideas come from thinking vertically and behind the scenes:
- Above the fridge: Great for rarely used appliances or large containers.
- Inside cabinet doors: Hooks or small racks can hold pot lids or measuring spoons.
- Under sink organizers: Maximize hidden space for cleaning supplies or small trash bins.
I like to keep a Pinterest board of before/after kitchen photos—even just scrolling through these gives me ideas for spaces I might otherwise ignore. Visualizing what’s possible makes it so much easier to commit to organizing.
Step 4 – Declutter Counters and Cooking Zones
Keep Only Daily Essentials on Counters
I always remind myself: less is more when it comes to countertops. Keeping only what you use daily makes cooking feel effortless. Here’s my approach:
- Coffee maker and toaster (if used every day)
- Knife block or frequently used utensils
- Cutting boards or frequently accessed containers
Everything else either goes in a drawer or on a shelf. The difference is immediate—you’ll see your workspace feels open and inviting.
Organize Cooking Zones by Activity
One trick I swear by is setting up zones in the kitchen based on tasks:
- Prep zone: Cutting boards, knives, mixing bowls.
- Cooking zone: Stove, pots, pans, oils, and spices.
- Cleaning zone: Sink, dish soap, drying rack, trash.
I like to sketch a mini diagram or table to visualize the zones—it makes rearranging items and planning meals way easier.
Step 5 – Digital & Paper Decluttering
Recipes, Grocery Lists, and Manuals
Paper clutter is sneaky. Old recipes, grocery lists, and appliance manuals can pile up fast. I switched to digital alternatives and it’s been life-changing:
- Apps like Paprika or Evernote: Store recipes digitally, create grocery lists, and sync across devices.
- Digital manuals: Many appliance manuals are available online, eliminating the need for bulky papers.
Labeling and Minimalist Note Systems
Even in a decluttered kitchen, some labels and notes are necessary. I stick to a minimalist approach:
- Chalkboard or magnetic labels for jars
- Sticky notes only when essential
- Avoid overcrowding the fridge or cabinets with reminders
Keeping it simple ensures organization sticks long-term without creating visual noise.
Step 6 – Maintain Cleanliness and Declutter Habit
Daily 10-Minute Reset Routine
One thing I’ve learned is that decluttering isn’t a one-time project. The kitchen can slip back into chaos if you don’t maintain it. That’s why I always dedicate just 10 minutes a day to a quick reset:
- Wipe down counters after cooking or meals
- Put away dishes, utensils, and small appliances
- Quickly check the stove and prep areas for clutter
Even this tiny habit makes a huge difference over time. Even this tiny habit makes a huge difference over time. Your kitchen stays usable, and the mental relief is immediate. If you want to turn decluttering into a habit, I also love following the 30 bags in 30 days approach—it works in every room of the house. Your kitchen stays usable, and the mental relief is immediate.
Monthly Decluttering Checklist
Beyond daily resets, I do a monthly check to keep everything in shape:
- Pantry check: Look for expired or duplicate items
- Utensil review: Ensure everything you keep is practical and used
- Appliance evaluation: Store or donate items not used frequently
Step 7 – Infuse Joy and Personal Touch
Minimal Decor to Make Kitchen Inviting
A kitchen shouldn’t feel sterile after decluttering. I like to add small touches of personality while keeping it clean:
- Tiny potted plants or herbs on windowsills
- Functional yet aesthetic jars for frequently used ingredients
- Minimal wall art or framed prints that match your kitchen style
These small elements make the space feel alive and personal, giving you a sense of pride every time you walk in.
Social Sharing and Motivation
I also encourage sharing progress with friends or on social media—it works wonders for accountability:
- Post your before/after photos on Instagram or TikTok
- Use hashtags like #KitchenDeclutter or #MinimalKitchen
- Engage with others in the decluttering community for tips and encouragement
Summary of 7 Steps to a Cleaner, Happier Kitchen
Here’s a quick recap of what we covered:
- Assess and plan your kitchen space
- Clear out expired or unused items
- Maximize storage and organization
- Declutter counters and cooking zones
- Digital & paper decluttering
- Maintain cleanliness and declutter habit
- Infuse joy and personal touch
Now it’s your turn: pick one zone in your kitchen today and start decluttering. Even a single drawer or countertop section will make a difference. Once you’re done, I’d love to hear about your progress—drop a comment below sharing your before/after experience.
And if you want more practical tips for organizing and maintaining a home that truly feels brand new, check out my website: Build Like New.
Disclaimer: This guide is for informational purposes only. Always handle sharp objects and cleaning chemicals safely, and follow manufacturer instructions for appliances. Results may vary based on individual kitchen layouts and personal habits.

