
7 Simple Painting Hacks That Will Save You Hours of Cleanup
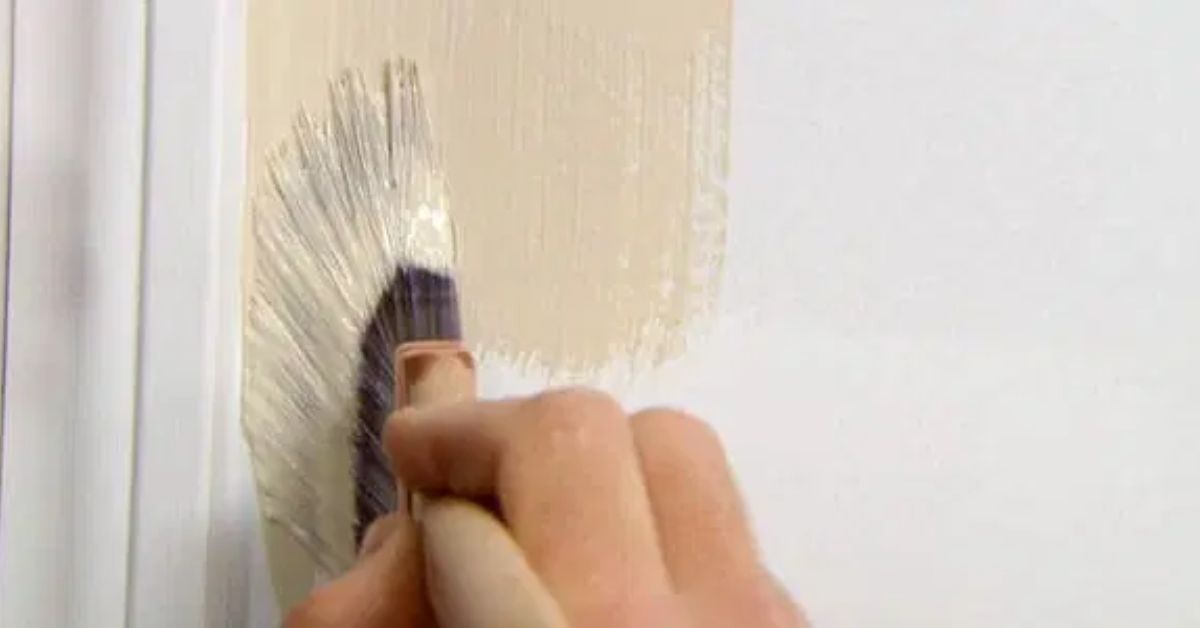
Every time I pick up a paintbrush, I know one thing for sure: nothing ruins a fresh wall faster than those ugly little drips running down before the paint dries. You stand back, proud of your work, and suddenly notice streaks sliding down the corner or fat drops stuck in the middle of the wall. It’s frustrating, right? I’ve been there more times than I’d like to admit.
The good news is that paint drips aren’t random accidents. They happen for clear reasons—too much paint on your brush, rushing the job, skipping prep, or even humidity in the room. Once I started paying attention to those details, painting became less of a mess and more of a process I could control.
In this guide, I’ll share seven simple tricks that actually work to keep your walls smooth and clean. No gimmicks, no “painter’s secrets” that leave you guessing—just practical steps you can use today. By the end, you’ll know how to paint with confidence, fix drips if they happen, and save yourself the headache of sanding down mistakes later.
Understanding Why Paint Drips Happen in the First Place
I used to think paint drips were just part of the process—that no matter how careful I was, gravity would win. But once I looked closer, I realized drips always had a cause. And the moment you understand why they happen, you can stop them before they start.
Here are the biggest culprits:
- Too much paint on your brush or roller: It’s tempting to dip deep into the can and load up, but the heavier the brush, the faster paint starts sliding down the wall.
- Using the wrong size or cheap-quality brush: A stiff, low-quality brush doesn’t hold paint evenly, which means blobs collect at the tips and drip off.
- Gravity on vertical surfaces: When you’re painting walls or ceilings, gravity naturally pulls extra paint down. If you overload, it shows up quickly as runs.
- Humidity and poor surface prep: A dirty, greasy, or damp wall doesn’t let paint stick properly. Add humid air to the mix, and paint just sits on the surface until it drips.
Once I realized these were the real reasons behind messy walls, the fixes started to feel less like guesswork and more like common sense. If you’ve been frustrated by drips before, chances are one of these was the reason.
The Right Tools for Drip-Free Painting
You wouldn’t try to cook a great meal with a dull knife—and painting is the same. The tools you choose make a bigger difference than most people realize. I learned this the hard way after ruining an entire wall with a bargain brush.
Here’s what actually works:
- High-quality angled brushes: They hold paint evenly and give you control, especially around edges and corners.
- Microfiber rollers: These spread paint smoothly without leaving heavy spots that turn into drips. Foam rollers are okay for small jobs, but they often release too much paint at once.
- Paint guards and painter’s tape: Think of these as insurance. They keep lines crisp and stop accidental splatter or runs from spreading.
- Extension poles for ceilings: Instead of tipping your roller and letting paint drip straight down on you, an extension pole lets you paint flat and even overhead.
If you’re unsure which brushes or rollers are worth it, brands like Benjamin Moore break down the differences clearly, and I’ve found their recommendations line up with real-life results.
With the right setup, half the battle against drips is already won. The rest comes down to how you load your brush and how much patience you bring to the job.
Trick 1: Load Your Brush and Roller the Right Way
The first time I painted a room, I dunked the whole brush into the can—big mistake. The bristles dripped everywhere, and the roller left heavy streaks down the wall. What I didn’t realize is that how you load your brush and roller decides whether you get drips or a smooth coat.
Here’s the right way to do it:
- Dip only one-third of the brush into the paint—never the whole thing.
- Roll off excess paint on the tray until the roller looks evenly covered, not dripping wet.
- Use a zig-zag “W” motion to spread paint across the wall, then fill in the gaps with light strokes.
This one adjustment instantly reduces mess and gives you more control over the paint.
Trick 2: Prep Your Walls Before Painting
I know it’s tempting to skip prep and jump straight into painting, but drips often come from walls that weren’t ready to hold paint. A dirty or uneven surface can’t grip paint properly, so it starts to sag and slide.
Do this before picking up a brush:
- Clean the wall to remove dust, grease, or old residue.
- Sand rough patches so the surface feels smooth to the touch.
- Apply primer if the wall is porous or you’re covering dark colors—primer evens out absorption and keeps paint layers consistent. If your wall has damage bigger than just rough patches, you might need to repair it first. Here’s a simple guide on fixing a huge hole in your drywall without calling a pro before you even think about painting.
Skipping these steps is like painting on glass—you’ll fight drips the whole time.
Trick 3: Control Room Conditions (Temperature & Humidity)
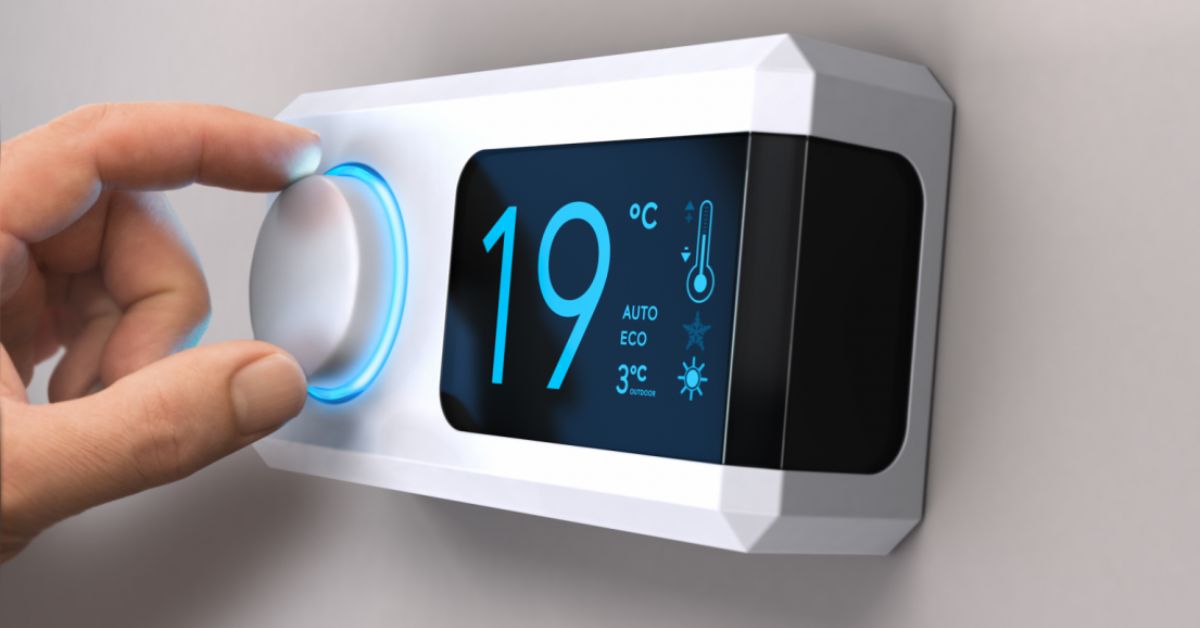
Something most people don’t realize: your room’s environment matters as much as your brush technique. I’ve seen paint jobs ruined just because the space was too damp.
Keep in mind:
- Paint drips more in humid rooms, especially bathrooms and kitchens.
- Use fans or a dehumidifier if the air feels sticky.
- Aim for 50–85°F (10–30°C)—anything outside that range slows drying and makes drips worse. Sometimes, hidden leaks inside your walls are the real reason humidity keeps ruining your paint. Learn how to spot leaks early before they damage your walls so your fresh coat lasts longer.
According to Paintzen, even ceiling painting becomes easier when temperature and airflow are balanced—proof that the room itself can make or break your finish.
Trick 4: Use the “Feathering Technique” for Smooth Finish
When I first heard of feathering, I thought it was some advanced pro trick. Turns out, it’s simple—and it makes a world of difference.
- Apply light pressure near the edges of each stroke.
- Blend strokes while the paint is still wet so there are no heavy lines or clumps.
- Overlap strokes slightly to create seamless coverage without visible roller marks.
Feathering feels slower at first, but the result is walls that look like they were done by a professional—without a single drip running down.
Trick 5: Slow Down and Paint in Sections
If there’s one mistake I’ve seen (and made) more than any other, it’s trying to cover the entire wall as fast as possible. The problem? Speed almost always leads to drips. Paint pools in spots you missed, and by the time you notice, it’s too late.
Instead, break the wall down into smaller chunks:
- Work in 2–3 ft areas so you stay focused and in control.
- Resist the urge to race—painting isn’t about speed, it’s about consistency.
- Check each section for drips before moving on, wiping or brushing them out immediately.
When you slow down, the wall feels less overwhelming, and you’ll actually finish faster because you won’t spend hours fixing mistakes later.
Trick 6: What To Do If a Drip Happens Anyway
Let’s be real: no matter how careful you are, drips happen. The key is knowing how to deal with them without panicking.
- For fresh drips: keep a damp cloth nearby and catch them right away.
- For dried drips: gently sand with fine-grit sandpaper (220 works best), then repaint that patch.
- Pro tip: Use a small angled brush to blend the area seamlessly once sanded.
According to Frenchic Paint’s guide, small mistakes aren’t the end of the world—most drips can be fixed if you act quickly and don’t overwork the area. That’s the reassurance beginners need to keep going.
Trick 7: Final Layer & Finishing Touches
The final coat is where everything comes together—or falls apart. This is the stage where beginners often undo all their hard work by fiddling too much.
- Don’t over-brush the final coat—lay the paint down and leave it.
- Give every coat time to dry fully before adding the next one. Rushing layers is a recipe for streaks and runs.
- Inspect the wall with good lighting to catch imperfections you’d miss in dim rooms.
If you treat the last layer like polishing instead of “fixing,” you’ll step back to a wall that looks smooth, even, and completely drip-free.
Quick Comparison Table: Do’s and Don’ts to Prevent Paint Drips
| Do’s | Don’ts |
|---|---|
| Use quality brushes | Dip brush fully in the can |
| Sand walls before painting | Skip primer on porous walls |
| Apply light coats | Slap on thick, heavy coats |
This simple list is easy to keep in mind while painting—like a quick checklist on the wall next to your tray.
Common Mistakes First-Time Painters Make
I wish someone had told me these when I first started:
- Rushing the process and trying to cover everything in one coat.
- Using cheap paint that runs easily and doesn’t stick well.
- Ignoring drying time between coats, which leads to sagging paint.
- Not checking lighting—what looks fine in dim light shows every drip in daylight.
Avoiding these mistakes can save hours of frustration and rework.
Wrap-Up: Painting Without Drips Is All About Prep + Patience
At the end of the day, smooth, drip-free walls come down to three things: the right tools, careful preparation, and slowing down enough to let the paint do its job. The 7 tricks we walked through—loading your brush properly, prepping walls, controlling room conditions, feathering, painting in sections, fixing drips, and finishing carefully—are what separate a sloppy finish from a pro-level result.
Remember, no one gets it perfect the first time. But with each wall you paint, you’ll build confidence, learn to spot drips early, and start enjoying the process instead of dreading it.
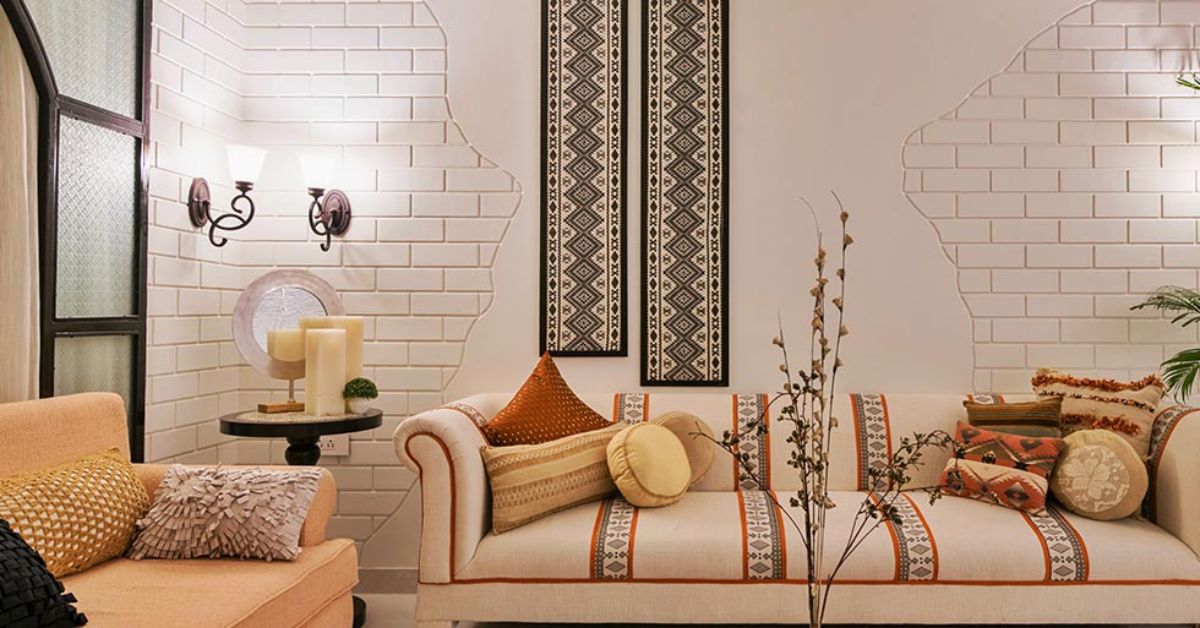
Once your walls are drip-free and smooth, you can take them to the next level with DIY large wall décor ideas that look expensive—because a clean wall deserves a stylish finish.
What about you—what’s been your biggest painting challenge so far: dripping, streaks, or uneven coverage? Share your experience in the comments below.
And if you want more practical home improvement guides that actually work, head over to Build Like New for expert tips designed to save you time, money, and frustration.
Disclaimer: The tips shared in this article are for general DIY painting guidance. Always follow safety instructions on paint labels, use protective gear, and consult a professional painter for large or specialized projects.

