
5 Tips to Remove Your Old Shed Without Hiring a Pro
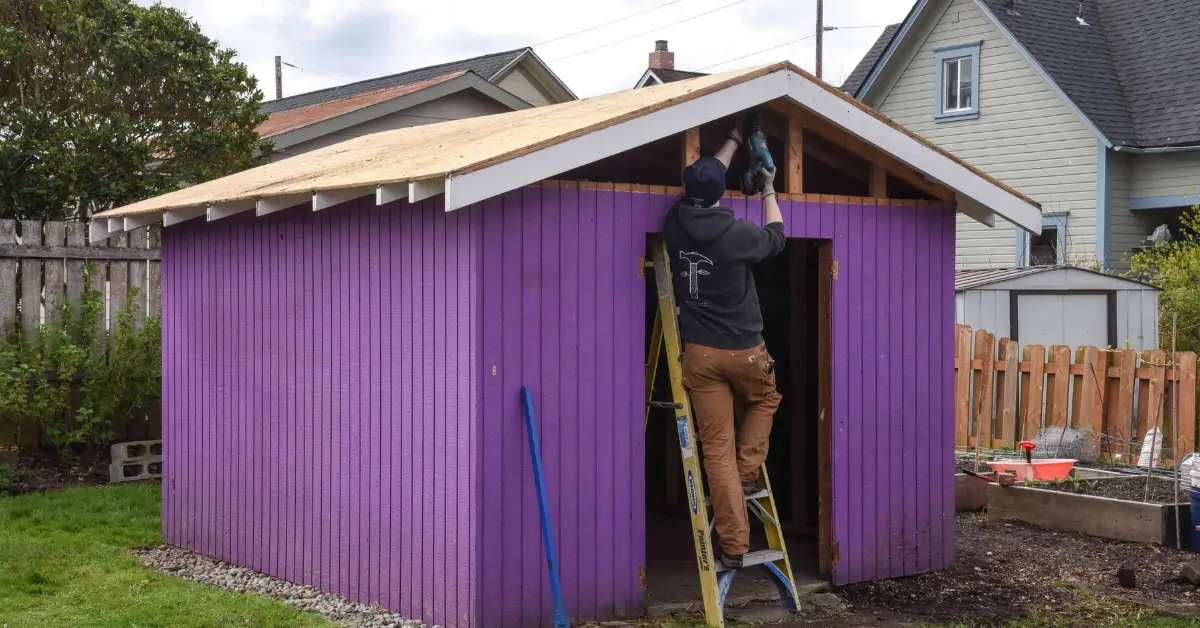
If you’ve ever stood in front of an old shed that’s falling apart, you know that uneasy feeling — half excitement, half fear. You want it gone, but the thought of pulling it down yourself makes you wonder, “What if it collapses on me?” I’ve been there. The truth is, taking down a shed isn’t just about swinging a hammer; it’s about doing it safely so you don’t end up with injuries, a mess, or unexpected costs.
Most online guides will tell you how to tear down a shed — start with the roof, move to the walls, clean up the debris. But very few explain what happens when the structure is weak, or when there’s old wiring, rusted nails, or even hidden mold inside. That’s the part most people — and most articles — skip.
I wrote this guide because dismantling a shed can actually be smooth, controlled, and even satisfying, if you know the right approach. We’ll go through 5 pro-tested tips that focus on safety first — from checking for hazards and setting up your workspace, to taking it apart without risking a collapse.
By the time you’re done reading, you’ll not only know how to take down your shed safely, you’ll also understand what mistakes to avoid and where most DIYers go wrong. So grab a coffee, put on those work gloves (figuratively for now), and let’s make sure your shed comes down the smart way — not the scary way.
Pre-Dismantle Preparation & Planning
Before you even pick up a hammer, let’s slow down for a minute — this is the stage that separates a safe, smooth teardown from a chaotic one. I’ve seen too many people rush in, only to realize halfway through that the shed’s frame was rotted, the power line was still connected, or the roof panels were heavier than they looked. Trust me, every shed has surprises, and most mistakes happen before the real work even begins.
Start with a Careful Survey
Walk around your shed like a detective. Look for signs of rot, rust, loose panels, or sagging corners. Tap the walls and floorboards — if they sound hollow, they may be weak. This quick inspection helps you decide where to start dismantling and which sections might need extra bracing.
Think of it as getting to know your opponent before you take the first swing.
Check for Hazardous Materials
Older sheds can contain lead-based paint, asbestos sheets, or chemically treated wood, especially if they were built decades ago. These materials release harmful dust when disturbed. The safest approach is to get a quick test kit or contact your local waste department for guidance. According to the EPA, lead paint should never be sanded or scraped without proper containment.
If you spot anything suspicious, pause the project — your health is worth more than finishing a day early.
Handle Permits and Local Rules
Depending on where you live, dismantling a structure might need a simple permit or prior notice to the municipality. Some cities treat shed demolition as “minor construction,” while others classify it as structural removal. It’s always easier to make one quick call to your local building office than deal with fines later.
Disconnect Utilities
This part often gets ignored — until something goes wrong.
Make sure to:
- Turn off electricity if your shed has lighting or outlets.
- Shut off water lines connected to outdoor taps or sprinklers.
- If there’s a gas heater or line, have a professional disconnect it first.
Double-check every wire and pipe before you begin taking anything apart.
Gather the Right Tools & Safety Gear
Having the correct tools not only makes your job faster but much safer. Here’s a simple checklist I rely on before starting:
- Protective gear: gloves, goggles, respirator mask, sturdy boots, and a helmet if you’re working under roofing.
- Tools: pry bars, ladders, drill, reciprocating saw, claw hammer, wrench set, and screwdrivers.
- Cleanup gear: heavy-duty garbage bags, bins, and a tarp to collect debris.
If you’re working alone, a lightweight saw and adjustable ladder will make your day easier — and your back will thank you later.
Set Up a Safe Work Zone
Finally, clear at least six to eight feet of space around the shed. Remove kids’ toys, garden tools, or anything you might trip on. If possible, mark “no-go” zones with cones or rope so family members or pets stay away. Keep your debris bin or dumpster close, but not right next to the shed — you’ll want room to move safely as panels come down.
5 Pro Tips for Safe Dismantling
When you finally start taking your shed apart, every move counts. The trick isn’t strength — it’s control. These five pro tips will help you stay organized, safe, and efficient from start to finish, no matter how old or awkward your shed might be.
Tip 1: Work Top-Down Methodically
Always start from the roof, then move to the walls, and finish with the frame.
This isn’t just tradition — it’s physics. When you remove the heavier, upper sections first, you prevent the structure from collapsing inward.
When you start removing the roof panels, make sure you understand how shingles are layered and attached — it’ll make dismantling smoother. If you haven’t seen it before, check out this step-by-step guide on installing shed roof shingles like a pro to get a clearer idea of what you’re working with.
Here’s how to do it right:
- Use a pry bar or drill to loosen roof panels, shingles, or metal sheets one at a time.
- If the roof is rotted, stand back and let each panel drop carefully instead of forcing it.
- Keep one section secured while working on the next — never remove two adjoining supports simultaneously.
A calm, controlled teardown beats brute force every single time.
Tip 2: Brace & Support as You Go
Once you remove key sections, your shed’s stability changes instantly — and that’s where many people get caught off guard.
Before you detach walls or frames, insert temporary supports or braces, like a sturdy 2×4, to hold up the load-bearing sides.
Think of it as scaffolding for your safety.
- Add diagonal bracing at the corners as you remove panels.
- Never remove two opposite supports together — it’s a recipe for collapse.
- If your shed creaks or shifts while working, stop and add extra support before continuing.
It’s easier to take five minutes to brace than deal with a sudden collapse.
Tip 3: Remove Non-Structural Components First
Before attacking the frame, clear out anything that adds unnecessary weight or hazard.
Take off doors, windows, shelves, nails, and any hanging light fixtures — they might seem harmless, but when debris starts falling, they become dangerous projectiles.
A few smart moves here save hours later:
- Use contact tape on window glass to prevent it from shattering mid-removal (as advised by Dumpsters.com).
- Label and separate parts you can reuse — hinges, bolts, handles.
- Keep a small bin nearby for nails and screws to avoid stepping on them.
This one step reduces both the shed’s weight and your cleanup workload.
Tip 4: Cut Smart — Use the Right Tools & Strategy
This isn’t about cutting fast — it’s about cutting smart. Plan your cut lines so each panel falls away safely and predictably.
A reciprocating saw works great for wood and nails, while metal snips are perfect for steel siding or roofing. Avoid chainsaws — they’re overkill and can backfire dangerously in tight spaces.
Pro tips:
- Cut one panel at a time; never make deep cuts through multiple layers.
- Work with a partner to guide or support the piece you’re detaching.
- Always stand to the side, not directly beneath the section you’re cutting.
One wrong cut can change the structure’s balance — precision here keeps you safe.
Tip 5: Manage Debris & Waste as You Go
Nothing ruins progress faster than tripping over your own debris pile. As you dismantle, sort materials right away — wood in one bin, metal in another, hazardous waste in a sealed bag.
Keeping your workspace clean isn’t just about tidiness — it’s about avoiding hidden nails, sharp edges, or slipping hazards.
Keep these habits throughout the teardown:
- Clear your walking path every 20–30 minutes.
- Stack larger panels flat to avoid tipping.
- Keep your exit path open — in case anything shifts suddenly.
You’ll move faster, stay safer, and save yourself a massive cleanup at the end.
Disposal, Recycling & Environmental Safety
Once the last panel comes down, the job isn’t over — in fact, this part is where most people either shine or slip up. A clean, responsible disposal process not only keeps your yard safe but also protects the environment (and helps you avoid fines you didn’t even know existed).
Let’s walk through how to get it right.
Handle Hazardous Waste Carefully
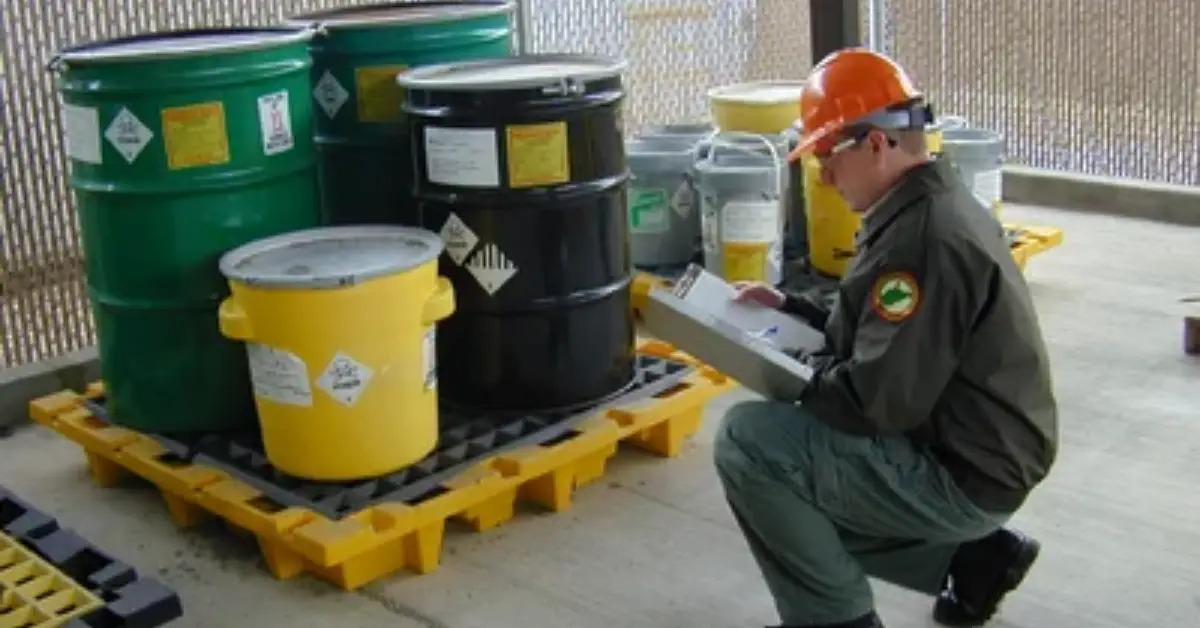
If your shed had lead-based paint, asbestos, or pressure-treated wood, you can’t just toss it in a dumpster. These materials release toxins when broken or burned. The Wisconsin Department of Natural Resources (DNR) advises that such debris should be handled by an authorized facility and transported separately from household waste — check local listings at dnr.wisconsin.gov.
If you’re unsure about a material, keep it aside and call your local environmental agency before disposal. It’s better to ask first than pay later — some states issue fines for incorrect dumping of treated lumber or painted materials.
Recycle or Reuse What You Can
You’d be surprised how much of your old shed can live a second life.
- Wood panels can be reused for garden beds or small furniture projects (if untreated).
- Metal roofing or siding is fully recyclable — scrap yards often pay by weight.
- Hardware like hinges, screws, and handles can be cleaned and reused in future DIY work.
If your shed’s insulation is still in good condition, don’t toss it away — you can repurpose or reinstall it easily. Here’s a quick refresher on how to insulate a shed efficiently so you can reuse materials instead of wasting them.
Before tossing anything, take a few minutes to separate materials — it saves space in the landfill and puts money back in your pocket.
Find Local Drop-Off or Pickup Options
Most towns have municipal drop-off stations or recycling depots where you can bring sorted materials. If you’ve rented a dumpster, confirm whether it accepts treated wood or metal before loading it. Some junk removal services even collect directly from your site, saving you a trip.
You can also call your local waste management office to check pickup schedules and recycling rules — they’ll often tell you exactly what’s allowed.
Know the Costs and Permits
Disposal isn’t free, but with a bit of planning, it doesn’t have to break the bank.
- Dumpster rental: around $200–$400 for a weekend (varies by region).
- Junk removal services: typically $100–$150 per cubic yard.
- Hazardous waste drop-off: often free or discounted during municipal collection events.
If you’re removing a large shed (especially one with a concrete foundation), check if a temporary demolition permit is required for disposal. It’s usually inexpensive but saves you from potential legal trouble later.
Time & Cost Estimation + Variation Factors
No two sheds are the same — and neither are the hours it takes to bring them down. Knowing what to expect helps you plan your weekend (and your wallet) before you start swinging a hammer.
Understand the Main Variables
Here’s what affects your timeline and cost the most:
- Shed size: A 6×8 wooden shed takes half a day; a 12×16 metal one could take two days or more.
- Material type: Metal sheds are faster to disassemble but harder to recycle; wood sheds take longer due to nails and rot.
- Condition: Rotted sheds fall apart easily (and dangerously), while newer ones require more cutting.
- Manpower: Solo work doubles your time; a helper cuts it in half.
- Tool availability: Having a reciprocating saw and power drill speeds everything up.
DIY vs. Professional Help (Cost Range)
If you do it yourself, you’ll mostly spend on tools and disposal. Hiring professionals adds labor cost but ensures safety and cleanup.
| Shed Size | DIY Time (Hours) | DIY Cost (Approx.) | Pro Time (Hours) | Pro Cost (Approx.) |
|---|---|---|---|---|
| Small (6×8 ft) | 4–6 hrs | $50–$150 | 2–3 hrs | $250–$400 |
| Medium (10×10 ft) | 6–10 hrs | $100–$300 | 3–5 hrs | $400–$700 |
| Large (12×16 ft) | 10–16 hrs | $200–$500 | 5–7 hrs | $700–$1,200 |
Costs include basic disposal but exclude hazardous waste handling or concrete removal.
Safety and Labor Premiums
If your shed is old, elevated, or partially buried, expect to pay a 20–30% premium for extra labor and safety equipment. That covers stabilizing braces, heavy-duty tools, or protective suits for hazardous materials.
Common Mistakes & How to Avoid Them

Even the most confident DIYers can make errors that turn a simple teardown into a stressful mess. I’ve seen it happen — the roof comes down too soon, debris piles up, or someone forgets their gloves just when a nail decides to remind them why safety matters. So before you start, learn from the mistakes I’ve seen (and made) over the years.
1. Pulling Walls Before Removing the Roof
This is the most common and dangerous mistake. The roof holds the shed’s frame together — remove the walls first, and you risk the entire structure collapsing toward you.
Avoid it: Always follow the top-down method. Take off the roof first, then the upper frame, then the walls. It’s safer, faster, and keeps gravity on your side.
2. Ignoring Hidden Weak Spots or Rot
Old sheds hide problems you can’t see from the outside — soft floorboards, rotted beams, or rusted joints that can give way when you apply pressure.
Avoid it: Do a quick probe test with a screwdriver before stepping or cutting into any section. If it feels spongy or brittle, reinforce it temporarily before removing it.
3. Skipping Braces Before Cutting
Once you start cutting into the structure, its balance changes. Removing a key support without adding a brace is how accidents happen.
Avoid it: Keep a few 2x4s nearby to use as temporary props. Brace before every major cut — especially when detaching roof beams or wall supports.
4. Mixing Hazardous Waste with Regular Debris
Throwing painted wood, treated panels, and metal in the same pile might seem convenient, but it’s risky and can even lead to fines during disposal.
Avoid it: Keep three piles — recyclable, hazardous, and general. Label them clearly and dispose of hazardous materials separately through your local waste program.
Many DIYers also struggle with paint and chemical waste when working outdoors. Before repainting your garden fence or shed walls, read these 7 essential things to know before painting a shared fence with your neighbor — it’ll help you handle leftover paint safely and avoid disposal issues.
5. Rushing or Skipping Protective Gear
It’s easy to think, “I’ll just pull this part off quickly.” That’s when splinters, cuts, or flying debris get you. PPE may feel unnecessary until it saves you.
Avoid it: Before every work session, do a quick gear check — gloves, goggles, respirator, boots, and long sleeves. Five minutes of prep beats hours in the ER.
Mistakes happen when excitement takes over planning. Keep your focus on safety and structure, not speed — because the goal is to finish the job standing tall and injury-free.
Checklist & Quick Reference Guide
When you’re juggling tools, debris, and safety checks, a solid checklist keeps you grounded. Print this section or save it on your phone before you begin.
Pre-Work Checklist
- Inspect the entire shed for rot, mold, or structural damage.
- Disconnect electricity, gas, and water (if applicable).
- Gather all tools and PPE: gloves, goggles, mask, helmet, ladder, saw, pry bar.
- Clear at least 6–8 feet around the shed for safe movement.
- Set up disposal bins for wood, metal, and hazardous waste.
- Check local rules or permits for demolition or waste disposal.
Step-by-Step Dismantle Checklist
- Remove non-structural items: doors, windows, shelving, fixtures.
- Take off roofing panels or shingles carefully.
- Remove wall panels one at a time — brace as you go.
- Dismantle the frame slowly, cutting at connection points.
- Sort materials immediately into piles for recycling or disposal.
- Keep the ground clear and your exit path open at all times.
Safety Checks in Every Phase
- Re-check your PPE every hour — dust masks wear out quickly.
- Watch for loose nails, sharp metal, or tripping hazards.
- Stay aware of your surroundings — kids, pets, or helpers nearby.
- Take short breaks if tired — fatigue leads to accidents.
- Keep a first-aid kit within reach.
Following this checklist turns a risky project into a smooth, satisfying teardown. You’ll stay in control from start to finish — and maybe even enjoy the process of taking something apart the right way.
Final Thoughts
Taking down a shed safely isn’t about speed — it’s about patience, preparation, and control. If you’ve read this far, you already know the difference between tearing something apart and dismantling it the right way. With the right mindset and a bit of planning, you can turn what feels like a big, messy task into a confident DIY win.
Here’s what to remember before you grab your tools:
- Plan before you pull. Most accidents happen because someone skipped inspection or rushed the first step.
- Work top-down, one section at a time. Gravity is your helper, not your enemy.
- Keep your zone clean and organized. Clear paths, sorted piles, and braced structures make every move safer.
- Don’t ignore safety gear. Gloves, goggles, and masks aren’t optional — they’re your insurance policy.
Once you’ve got your plan ready, print or save the checklist, share it with your crew, and follow it step-by-step. You’ll not only protect yourself but also make sure your teardown runs smoothly from start to finish.
Got a shed you’re planning to dismantle? Drop your shed size or setup in the comments — I’ll help you map out the safest teardown steps for your space.
And if you found this guide helpful, explore more DIY home improvement projects and step-by-step repair tips on Build Like New — where every project teaches you how to make old things strong, safe, and better than before.
Disclaimer: This guide is for general informational purposes only. Always follow local building and safety regulations, and use proper protective equipment when dismantling structures. If your shed contains hazardous materials or complex wiring, consult a licensed professional before starting any demolition work.

