
3 Hardwood Floor Revival Hacks That Actually Work
If you’ve ever stood in your living room, looked down at those dull, scratched hardwood floors, and thought, “These used to shine,” you’re not alone. I’ve seen countless homeowners assume the only solution is an expensive replacement — but here’s the truth: most floors don’t need to be torn out. They just need to be brought back to life the right way.
Over the last few years, the cost of hardwood replacement has jumped, while restoration methods have become smarter, cleaner, and far more affordable. That’s why so many homeowners — from DIY enthusiasts to families in 100-year-old homes — are turning to new techniques that revive original floors without the mess or the bill of a full remodel.
In this guide, I’ll break down three proven, “genius” ways to restore hardwood floors — from quick refreshes to deep renewals and even eco-friendly touch-ups that extend floor life for years. Each method works for a different type of home, damage level, and budget, and I’ll walk you through how to know which one fits yours.
By the end, you’ll understand not just how to bring your floors back, but why doing it right now can save thousands, raise your home’s value, and make your space feel brand new again.
So, before you call a contractor or price out replacement planks, ask yourself this — what if your hardwoods just need a second chance?
Why It’s Time to Act (and What “Restore” Really Means)
Most homeowners wait until their floors look completely worn out before doing anything about it. I get it — life gets busy, and those little scratches or dull patches seem harmless. But hardwood doesn’t suddenly go bad; it fades slowly, and the longer you wait, the more expensive it becomes to bring it back.
Restoring isn’t just about cleaning or polishing. It’s about giving your floors a fresh finish, repairing damage, and protecting the wood underneath so it lasts another decade. Think of it as maintenance for your home’s most hard-working surface — not a cosmetic touch-up.
Signs Your Hardwood Flooring Needs More Than Surface Cleaning
You don’t need to be a pro to tell when your floors are crying out for help. A few simple checks can reveal a lot:
- The “Water Drop” Test: Drop a few drops of water on the floor. If it beads up, your finish is still doing its job. If it soaks in or darkens the wood, the protective layer is gone — time to refinish.
- Dull, Gray, or Uneven Areas: These are bare wood spots where the finish has worn away, usually in high-traffic zones like hallways or kitchens.
- Deep Scratches or Stains: Surface-level scratches can often be buffed out, but if you can feel the groove with your fingernail, the damage likely reaches the wood itself. For minor surface scratches that don’t need full refinishing, check out our guide on 5 Easy Ways to Remove Scratches from Hardwood Floors Without Replacing Them — a few smart DIY tricks can make small blemishes disappear fast.
- Color Fading or Discoloration: Sunlight, pets, and moisture can all fade or stain wood, and no amount of mopping will fix that.
When you start noticing two or more of these signs, you’re past the point of simple cleaning. That’s when restoration saves the day — and your budget.
Why Replacing Isn’t Always the Answer
Replacing hardwood floors might seem like the easiest fix, but it’s rarely the smartest. Here’s why most homeowners choose restoration instead:
- Cost: According to a cost breakdown from Real Simple on refinishing hardwood floors, refinishing can range from $600 to $4,500, depending on your home’s size and floor condition — far less than the $8,000–$15,000 you’d spend replacing them.
- Character: Older hardwood often has patterns, grains, and tones that new planks can’t replicate. Restoring preserves that original beauty.
- Environmental Impact: Every time you restore rather than replace, you save trees, reduce waste, and avoid the carbon footprint tied to new flooring production.
So before ripping anything out, weigh the real trade-offs. In most cases, restoration gives you 90% of the “new floor” look at a fraction of the cost — and without sending perfectly good wood to the landfill.
How Often Hardwood Floors Need Restoration
Every home’s rhythm is different — pets, kids, shoes, and sunlight all speed up wear and tear. Still, there’s a general rule that helps you stay ahead of serious damage:
- Every 7–10 years for average homes
- Every 5–7 years in high-traffic or pet-heavy households
- Every 3–5 years for light “screen and recoat” maintenance between major refinishes
If you wait too long, the top layer of wood gets too thin for sanding, and your only option becomes replacement — a costly mistake I’ve seen too many times.
Taking action early doesn’t just protect your floors; it protects your home’s value and your peace of mind.
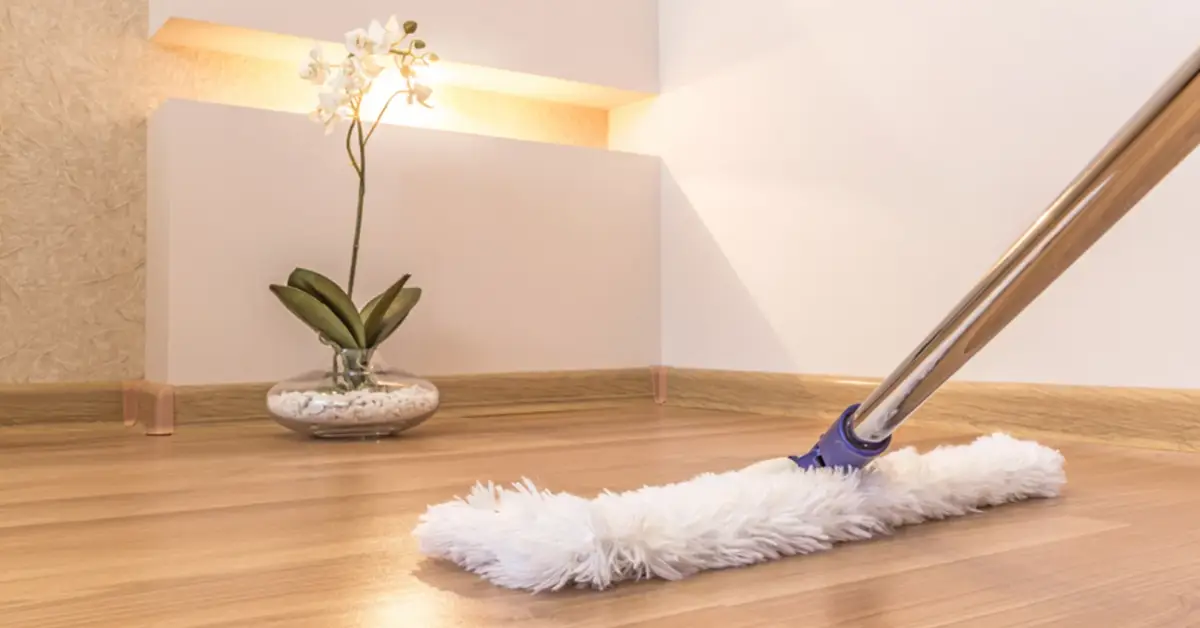
Method 1 – “Light Refresh”: Screening, Recoating & Minimal Sanding

If you’re staring at a floor that’s lost its shine but not its soul, this is where you start. The “light refresh” method is perfect for homeowners who want results fast — no full sanding, no week-long chaos, and no big contractor bill. It’s the least invasive way to restore hardwood floors and can often be done in a single weekend.
What This Method Involves
Think of it as a spa day for your floors — not surgery. The process involves lightly screening (also called buffing) the surface to remove the old, dull finish, followed by a new coat of polyurethane or sealant. There’s minimal sanding — just enough to smooth out micro-scratches and allow the fresh finish to bond properly.
According to a detailed guide from This Old House on refinishing wood floors without sanding, homeowners can refresh their hardwood in less than two days using basic tools like a buffer, screen pads, and a quality floor finish. The beauty of this method is that it skips the heavy sanding equipment and dust storms — while still giving your floors a revived, glossy look.
Ideal Scenarios for This Method
You’ll get the most value from this approach if your floors are still structurally sound but just look tired. It’s ideal for:
- Floors with light surface wear — small scratches, dull patches, or light fading
- Homes where the finish has thinned, but the wood grain still looks even
- High-traffic rooms where the finish wears faster than the rest of the house
- Homeowners wanting a quick turnaround before hosting guests or listing the property
If your floors are deeply gouged, stained, or gray in spots, a light refresh might not be enough. But for mild wear, it’s a time-saver that delivers dramatic results.
Typical DIY vs Professional Considerations
Before diving in, here’s what to weigh:
- Cost: DIY kits cost roughly $100–$300, while professionals charge between $1–$2 per square foot for screening and recoating.
- Equipment: You’ll need a buffer or orbital sander, screens, tack cloths, and the right finish (water-based dries faster, oil-based lasts longer).
- Dust & Downtime: Minimal dust since you’re not sanding deep. Dry time runs 4–24 hours, depending on finish type.
- Skill Level: It’s beginner-friendly if you follow directions and test first. One wrong move with a heavy buffer, though, and you could leave swirl marks.
If you’re new to floor work, consider hiring a pro for one room first — you’ll learn a lot just by watching.
Method 2 – “Deep Renewal”: Full Sanding, Repair & Refinish
When your floors have crossed the line from “well-loved” to “worn-out,” it’s time for a full reset. This is the heavy-lift method — more work, more dust, but also the most transformative. It’s what pros use to bring 50-year-old floors back from the dead.
Step-by-Step Process Overview
Full sanding means stripping your floors down to bare wood. It’s done in stages, using progressively finer sandpaper to smooth out deep scratches, stains, and uneven areas before applying stain and finish.
Architectural Digest’s guide to refinishing hardwood floors outlines the process clearly: prepare the room, sand in multiple passes, vacuum thoroughly, apply stain (if desired), then seal with two or three coats of polyurethane. It’s labor-intensive but delivers a flawless, brand-new surface that can last another decade or more.
When You Need This Method
You’ll know it’s time for a deep renewal when:
- Your floors have deep scratches or gouges that go through the finish
- There’s water damage or dark staining in multiple areas
- The finish is completely gone, leaving the wood exposed
- The floor has been refinished several times and now looks uneven
If light screening doesn’t cut it anymore, this method resets everything from the ground up.
Cost and Time Factors
Restoring at this level takes more time and money, but it’s still cheaper than replacement. On average:
- Cost: $3–$8 per square foot
- Time: 3–5 days for sanding, staining, and curing
- Longevity: Up to 10 years of protection with proper maintenance
Remember that exotic woods, larger spaces, or custom stains will bump up both cost and timeline.
Mistakes to Avoid
- Skipping grit stages: Each sanding pass matters; skipping steps can leave swirl marks that only show after staining.
- Neglecting dust control: Dust in your topcoat means a rough finish and wasted effort.
- Rushing the finish: Give each coat full drying time — shortcuts can cause peeling or clouding.
- Over-sanding: Every refinish removes a thin layer of wood; too much can shorten your floor’s lifespan.
Pro Tips for Homeowners
If you’re going for a deep restoration, think ahead about how you want your floors to age:
- Water-based finishes dry fast, stay clear, and suit lighter woods.
- Oil-based finishes give a warm amber tone and last longer between coats.
- For sun-exposed rooms, look for UV-resistant sealants to prevent fading.
- Keep samples of your stain and finish — they’ll help match touch-ups later.
Method 3 – “Spot Repair & Eco-Friendly Upgrades”: Targeted Fixes + Sustainable Finishes
If you love the idea of restoring your floors but can’t face the thought of sanding every inch, this method is your sweet spot. Spot repair and eco-friendly upgrades focus on fixing only what’s damaged and using sustainable materials to make your floors look renewed — without the mess, cost, or waste of a full overhaul. It’s perfect for homeowners who want smart, low-impact solutions.
What Constitutes a “Spot Repair”
Spot repair is exactly what it sounds like — restoring small problem areas instead of tackling the whole floor. Professionals often:
- Replace single damaged boards that are warped or cracked
- Fill minor gaps and nail holes using color-matched wood filler
- Sand only the affected zones, blending them seamlessly with the existing floor
- Refinish small sections to match tone and texture
This technique is especially useful in older homes where only certain rooms or corners show visible wear. When done correctly, you can refresh your floors in hours instead of days, and no one will ever know a repair was made.
Why Eco-Friendly Finishes and Methods Matter Now
Hardwood restoration doesn’t have to come with harsh fumes or environmental guilt. Modern eco-friendly methods use:
- Low-VOC coatings that emit fewer toxins and protect indoor air quality
- Water-based sealants that dry faster and don’t yellow over time
- Natural oil finishes derived from plants like linseed or tung oil — safe, durable, and easy to touch up
- Reclaimed wood inserts to replace damaged boards, reducing waste
Choosing these products isn’t just better for the planet — it’s healthier for your family, pets, and even the contractor who applies them. The finishes may cost slightly more upfront, but they save you from exposure to harmful chemicals and last just as long as traditional options.
Gap in Current Articles
If you’ve read a few guides online, you’ve probably noticed they jump straight from “cleaning tips” to “total refinishing.” Hardly anyone talks about middle-ground fixes. That’s the gap this section fills — practical, sustainable repair methods for real homeowners who want to maintain charm and control costs without endless sanding or chemical fumes.
Checklist for Choosing Materials & Contractors
When hiring help or sourcing supplies for spot repair and eco-upgrades, use this quick checklist:
- Ask if they offer low-VOC or plant-based finishes
- Verify experience with partial restorations (not just full sanding jobs)
- Check for certifications from flooring associations or green-building councils
- Request before-and-after photos of previous spot repairs
- Get written warranties for both materials and workmanship
- Confirm color-matching options for stains and finishes
- Discuss timeline and drying time upfront to avoid household disruption
These steps keep your project transparent and ensure you get the clean, eco-friendly result you’re paying for.
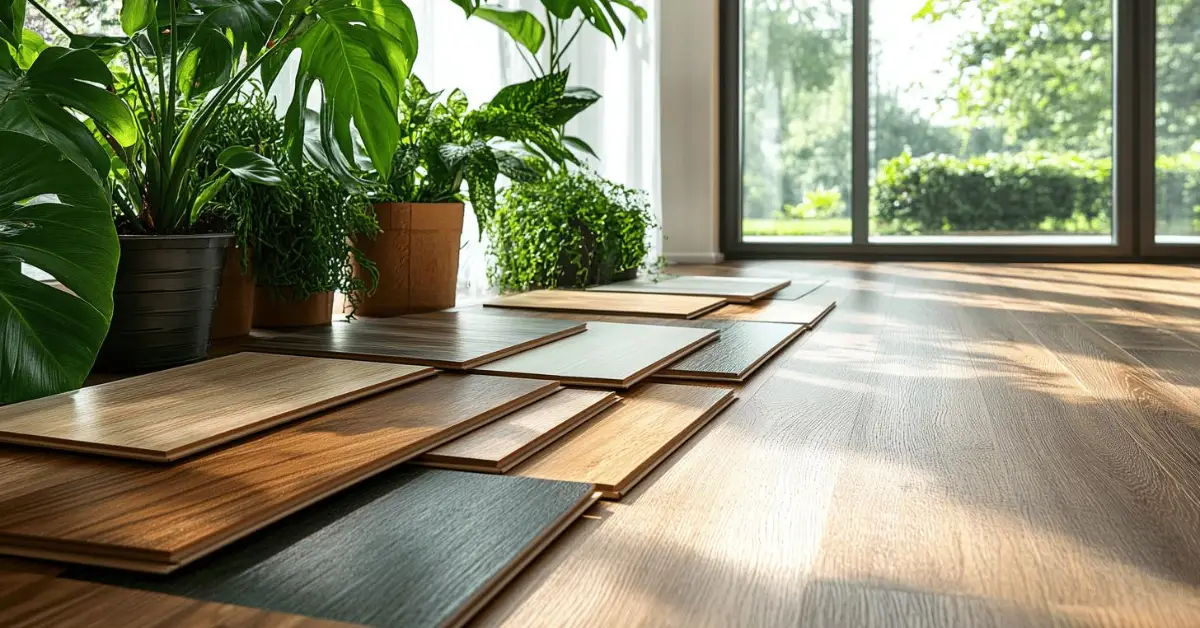
How to Choose the Right Method for Your Home
Every floor tells a story — and not every one needs the same ending. Choosing the right restoration method is about matching your floor’s condition, your budget, and your lifestyle.
Pre-Check: Know Your Floor Type
Before anything else, find out if you’re working with solid hardwood or engineered wood. Solid floors can be sanded and refinished several times; engineered ones usually have a thinner top layer and can only handle one or two light refinishings.
Check the finish thickness, look for loose boards, and note any discolored patches. This quick pre-check helps you decide whether a light refresh, full sanding, or spot repair makes the most sense.
Assessment Table: Damage vs Budget vs Lifespan
Here’s a simple way to visualize your options:
| Condition | Recommended Method | Typical Cost Range | Time | Lifespan Gain |
|---|---|---|---|---|
| Light wear, dull finish | Light Refresh | Low ($100–$300 DIY / $1–$2 sq ft pro) | 1–2 days | 3–5 years |
| Deep scratches, heavy wear | Full Sand & Refinish | Moderate ($3–$8 sq ft) | 3–5 days | 7–10 years |
| Small damaged zones | Spot Repair / Eco Upgrade | Variable ($200–$800 area-based) | Few hours | 5–8 years |
This table gives you a quick, reality-based way to weigh disruption against results.
Lifestyle & Home Factors
Every household wears floors differently. Think about:
- Pets: Claws and water bowls accelerate surface wear.
- Kids: Toys and high foot traffic create scuffs and scratches.
- Sunlight: Direct sun can fade finishes; choose UV-resistant coatings.
- Humidity: Seasonal moisture shifts can expand or contract boards.
- Resale Goals: Well-maintained floors can raise home value and buyer appeal.
Your daily rhythm should guide your restoration choice as much as your floor’s condition.
DIY vs Hiring a Pro
You can handle a light refresh or small repair yourself if you have patience and basic tools. But hire a professional when:
- The damage is deep or widespread
- You’re unsure of your floor’s previous finish type
- You need custom color-matching or board replacement
- You want eco-friendly materials properly applied
- You don’t have time for trial and error
When interviewing contractors, ask about their dust-control systems, insurance coverage, and how many similar projects they’ve completed. A good pro will walk you through the process and guarantee results — no hidden surprises.
Maintenance & Preventive Habits to Maximize Your Restoration Investment
You’ve spent the time and money to bring your floors back to life — now the real win is keeping them that way. Proper maintenance isn’t just about looks; it’s what separates a floor that shines for 10 years from one that dulls in 12 months. These simple, consistent habits protect your restoration investment and save you from starting over too soon.
Daily & Weekly Cleaning Habits
The secret to beautiful hardwood floors isn’t complicated — it’s consistency. Follow these routines:
- Vacuum or sweep daily with a soft-bristle or hardwood-safe brush attachment to prevent dirt from scratching the surface.
- Damp-mop weekly — but make sure your mop is just slightly damp, not wet. Too much water seeps into joints and can cause warping.
- Use pH-neutral hardwood cleaners recommended by your installer or brand.
- Spot-clean spills immediately — the faster you act, the fewer long-term stains.
What to Avoid
Even the most stunning refinish can fail early if you make a few classic mistakes. Avoid:
- Steam mops — they force moisture into the wood and can lift your finish. Before you plug in that steamer, make sure you’ve read Thinking of Using a Steam Mop? These 6 Items Say Absolutely Not — it breaks down exactly why steam is one of the fastest ways to ruin a hardwood finish.
- Harsh cleaners like ammonia or vinegar that break down sealants.
- Dragging heavy furniture without pads or sliders (use felt protectors instead).
- Rubber-backed rugs that trap moisture underneath.
Homes and Gardens recently highlighted how many homeowners unintentionally ruin floors through cleaning shortcuts. Protect your investment by keeping these no-gos in mind.
Periodic Care
Restoration isn’t a one-and-done event — floors evolve with your home. Every few years, plan for:
- Recoating every 3–5 years to keep the finish layer strong and protective.
- Screen and recoat rather than full sanding if only the surface has dulled.
- Annual deep cleanings (especially before winter) to remove embedded dust and grit.
Experts at rejuvenationfd.com recommend sticking to this cycle to prevent costly, full-scale refinishing down the line.
Sunlight, Humidity & Wear-Zone Management
Your floors live under constant pressure — sunlight, moisture, and movement. Here’s how to fight back:
- Use UV-blocking window films or sheer curtains in sun-exposed rooms.
- Lay rugs or runners in high-traffic areas.
- Rotate furniture occasionally to distribute wear evenly.
- Keep indoor humidity between 35–55% year-round.
- Trim pet nails regularly — small scratches add up fast. If you’re struggling with how sunlight or seasonal moisture affects your wood, our post on 8 Proven Secrets to Save Your Vintage Pieces from Sun, Humidity & Bugs dives deeper into simple protection habits that apply just as well to hardwood floors.
These small adjustments add years to your restoration and keep your floors looking showroom-fresh.
What It’s Going to Cost & How to Budget Wisely
Every homeowner starts this journey with one big question: How much will it cost me to restore my hardwood floors? The answer depends on how far your floors have gone and how hands-on you plan to be — but a smart budget can keep surprises to a minimum.
Typical Cost Ranges for Each Method
Here’s a quick breakdown:
| Restoration Method | Average Cost | Duration | Longevity |
|---|---|---|---|
| Light Refresh | $600–$1,200 | 1–2 days | 3–5 years |
| Full Sand & Refinish | $2,000–$4,500 | 3–5 days | 7–10 years |
| Spot Repair / Eco Upgrade | $200–$800 (area-based) | Few hours | 5–8 years |
Your total depends on room size, wood type, and whether you go DIY or hire a pro.
Factors That Increase Cost
Some things quietly drive up expenses — and catching them early keeps your budget safe:
- Damage depth: deep gouges or water marks require extra sanding or board replacement.
- Wood species: exotic woods like maple or walnut cost more to sand and refinish.
- Finish type: water-based dries faster but often costs more per gallon.
- Furniture removal & room prep: moving items or covering vents adds time.
- Dust-control systems: worth every penny if you want cleaner air and faster cleanup.
Hidden Costs to Watch Out For
Even experienced homeowners miss these:
- Temporary relocation: You may need to vacate rooms for a few days.
- Downtime: Curing time can delay furniture return.
- Baseboard or trim touch-ups: Sometimes sanding scuffs nearby surfaces.
- Additional repairs: Subfloor or board damage might show up mid-project.
Always plan a 10–15% buffer for these variables so you’re not caught off guard.
Budget-Saving Tips & Financing
- Book off-season (late fall or winter) when flooring companies offer discounts.
- Combine DIY + Pro: Handle prep work (like removing furniture or cleaning) to reduce labor fees.
- Get at least 3 quotes and compare not just price — but equipment, finish type, and warranties.
- Ask about financing options — many flooring companies offer zero-interest short-term plans.
A smart plan turns restoration into an investment, not an expense.
Final Prep Checklist Before You Get Started
When you’re ready to move forward, this checklist keeps everything on track — no confusion, no last-minute regrets.
Pre-Work Steps:
- Measure your floor area accurately
- Identify all visible and hidden damage
- Confirm wood type (solid or engineered)
- Check how much finish life remains
Planning:
- Choose your restoration method based on your floor’s condition and budget
- Get at least three contractor quotes or tool rental estimates if DIY
- Select your finish type (eco-friendly, oil-based, or water-based)
- Plan your timeline and room disruption — move furniture, seal HVAC vents, set dust controls
Post-Work Care:
- Establish a cleaning routine immediately after curing
- Place rugs in high-traffic zones
- Avoid dragging heavy furniture or walking in heels for at least a week
Ready to Bring Your Floors Back to Life?
If this guide helped you understand how to restore hardwood floors like a pro, I’d love to hear your thoughts.
Which restoration method feels right for your home? Drop your answer in the comments — your insight might help another homeowner make the right call.
And if you’re planning your next project or want expert tips for keeping your home in top shape, visit Build Like New — where smart homeowners learn how to make old spaces feel brand new again.
Disclaimer: The information in this article is for general guidance only. Always consult a licensed flooring professional before starting any restoration work. Costs, results, and timelines may vary depending on your home’s condition, materials, and local labor rates.

