
10 Genius Ways to Restore Your Kitchen Countertops at Home
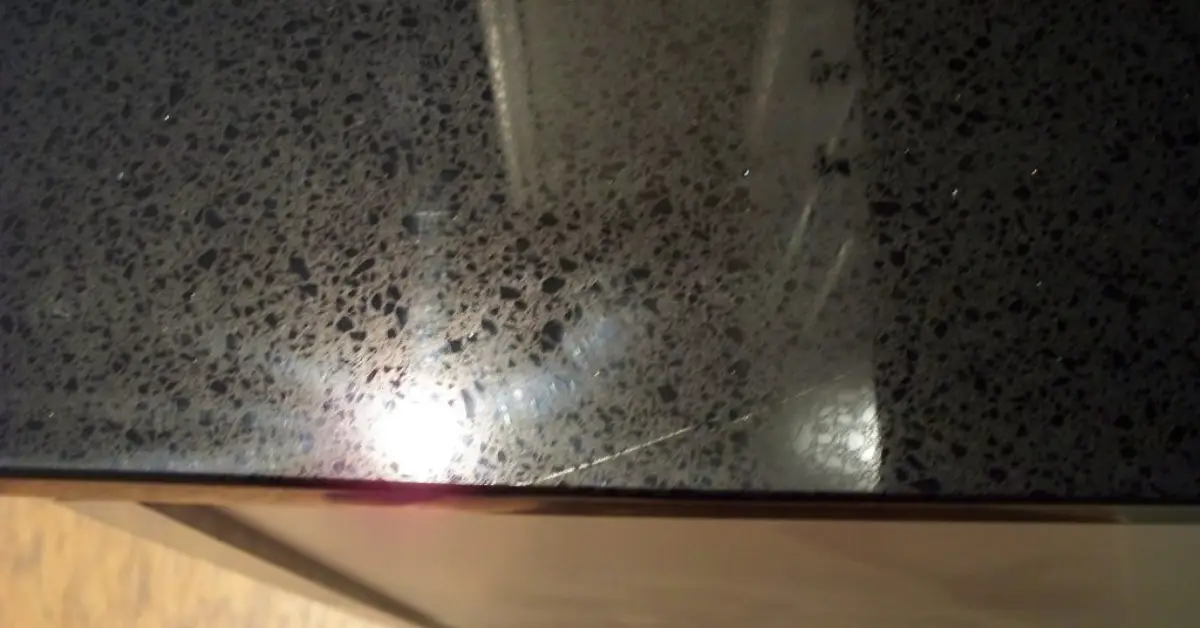
I still remember the first time I noticed a faint scratch on my kitchen countertop—it was one of those tiny lines that somehow ruins the whole look of your perfectly clean kitchen. I know the feeling: you’ve spent time and money picking out the right countertop, and then, bam—a careless cut from a knife or a sliding pan leaves a mark.
Over the years, I’ve tried every trick in the book, from quick home remedies to professional-grade solutions, and I’ve learned which methods actually work without risking more damage. In this guide, I’m going to show you 10 proven ways to remove or disguise scratches on your countertop, no matter what material you have—laminate, granite, quartz, or solid surfaces. These aren’t just tips I read online; these are techniques I’ve tested, recommended by experts, and used in real homes.
By the end of this article, you’ll know exactly how to assess your scratch, choose the right fix, and prevent future damage—all in ways that actually make your countertop look cared-for, not patched up. Let’s get started.
Why Countertop Scratches Happen (and Why They Matter)
I’ve seen so many homeowners shrug off those tiny scratches on their countertops, thinking they’re “just cosmetic.” But let me tell you, even small scratches can silently wreak havoc over time.
What causes scratches on kitchen countertops
Scratches happen in the blink of an eye—one slip with a pan, one rushed cut without a board—and suddenly your once-perfect surface looks worn. Here are the main culprits:
- Slipping dishes or pots: Moving heavy cookware across your countertop can leave scratches, even if the pan’s bottom seems smooth.
- Cutting directly on the countertop: I know it’s tempting to save a cutting board, but knives will leave marks on most materials.
- Abrasive cleaners or scrubbing pads: Harsh chemicals or rough pads may clean stains, but they can also eat into your countertop finish.
- Everyday wear and tear: Dragging appliances or small items across the surface might seem harmless, but over months, those tiny scuffs add up.
Material also matters:
- Laminate: More prone to scratches from sharp objects, and deep scratches can’t be sanded like stone.
- Solid surface (like Corian, Hi‑MACS): Minor scratches are common but repairable with proper sanding or polishing.
- Granite & quartz: Generally hard, but they’re not invincible—granite can chip, quartz can scratch if exposed to abrasive forces.
Why small scratches should not be ignored
It’s easy to ignore them, but leaving scratches unchecked can lead to bigger problems:
- Aesthetic impact: Even a small scratch catches the light, making your countertop look dull and worn.
- Practical consequences: Scratches can trap dirt and stains, wear down sealants, and even reduce the lifespan of your countertop.
- Resale value: A scratched countertop can make a kitchen feel older or less cared-for, which is a red flag if you ever want to sell your home.
For a deeper look at simple, reliable ways to deal with countertop scratches, check out this guide from Martha Stewart.
Identify Your Surface Material First
Before you rush into fixes, take a step back and really look at what kind of countertop you have. Trust me, the right solution depends on the material. You wouldn’t use sandpaper on laminate the same way you’d use it on granite.
Know your countertop material
Here’s a quick guide:
- Laminate: Often looks like wood or stone but is a thin plastic layer on particleboard. Easily scratched, harder to repair deeply.
- Solid surface (Corian, Hi‑MACS): Smooth, non-porous, can be sanded to remove light scratches.
- Natural stone (granite, marble): Extremely durable but can chip, dull, or stain if the finish is compromised.
- Engineered stone / quartz: Harder than most stones, but abrasive tools or acidic cleaners can damage it.
Using the wrong method can make things worse. For example, applying an epoxy meant for stone on laminate will look unnatural and could peel. Knowing your surface ensures your fix actually works—and keeps your countertop looking like new.
Quick ways to identify your countertop
- Check documentation: Most homeowners have a manual or warranty that lists the material.
- Manufacturer labels or stamps: Some stone and solid surfaces have subtle markings underneath or on the edges.
- Simple tests: Lightly scratch a hidden area with a fingernail—laminate will show marks more easily than quartz.
Once you know your material, you’re ready to move on to the actual fixes—starting with the easy, at-home methods that don’t require professional tools.
Quick “First Aid” Fixes for Light, Superficial Scratches
Sometimes the scratch on your countertop is just a surface blemish—a small line that bothers you but hasn’t really damaged the material. I like to call these “first‑aid” fixes: simple, quick, and low‑risk.
Easy home fixes you can try in minutes
Cleaning & prepping the scratch area
Before you grab a tool or product, do this:
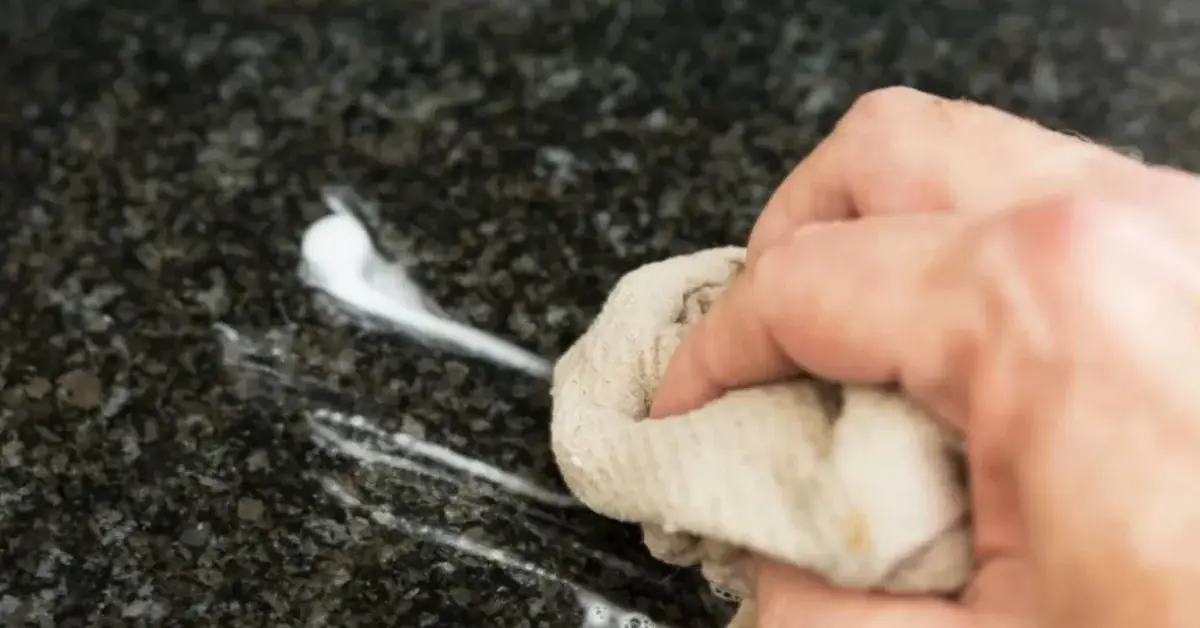
- Mix a gentle paste of baking soda + water and clean around the scratch.
- Remove any debris, wipe down tools or cookware that caused it, and dry the surface completely.
Cleaning first gives you a clear view of how deep the scratch really is and if you want to keep your kitchen spotless daily, check out these 3 quick kitchen cleaning habits to adopt before bed that prevent buildup and scratches from forming in the first place.
Using wax / furniture polish / mineral oil (for laminate & solid surfaces)
If the scratch is shallow and your surface material allows it:
- Apply a bit of mineral oil or furniture polish directly into the scratch.
- Buff lightly with a soft cloth until it blends.
- On forums like Home Improvement Stack Exchange, DIYers suggested simple oil‑rubs to “dress” minor scratches on laminate.
These methods won’t fix deep gouges but they often restore aesthetics fast.
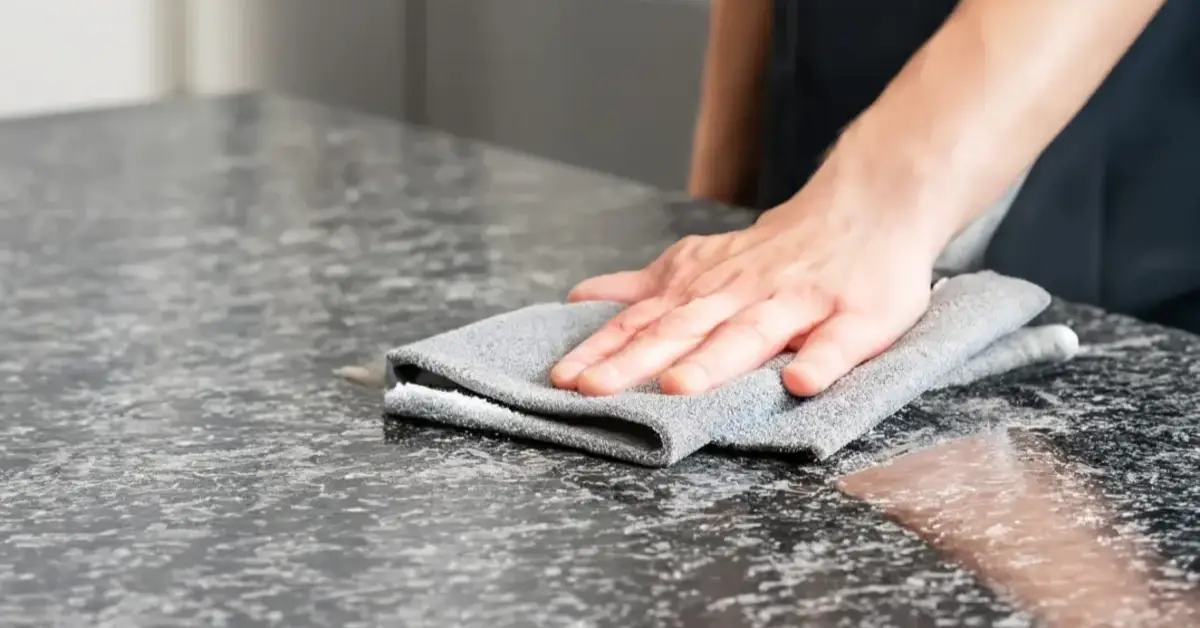
Buffing compound for stone/engineered surfaces
For harder materials (granite, marble, engineered quartz):
- Use a buffing compound made for stone surfaces.
- Apply with a soft polishing pad, work gently and evenly.
- After buffing, apply a sealer if needed to protect the finish.
These fixes are inexpensive and fast — perfect when you want to “bridge” until a more thorough repair.
Targeted Repair Methods for Different Materials & Scratch Depths
When the scratch is more than just a surface line—when you can feel it, see the depth, or it catches your fingernail—you need to step up to a material‑appropriate method. Using the wrong tool can make things worse, so let’s match the repair to the material.
Laminate countertops
- Ideal fixes: laminate repair kits, color‑matched pens, or fillers.
- For lighter scratches: some users just apply a matching marker/Sharpie as a quick disguise.
- Note: Deep gouges in laminate cannot usually be sanded like stone — you might need to replace the section.
Solid surface countertops (e.g., Corian, Hi‑MACS)
- These surfaces allow sanding lightly: start with 220‑grit, progress to 500‑grit for smoother finish.
- After sanding, polish to restore sheen.
- Key caution: Don’t over‑sand and change the surface contour.
Natural stone (granite, marble) & Engineered quartz
- For natural stone: buffing + polishing + sealing works well.
- For engineered quartz: although very durable, it can scratch. According to Granite Selection, “Light or fine scratches can usually be fixed by buffing and polishing, while deeper scratches might need to be filled with epoxy or resin.”
- Always check your countertop’s warranty before DIY—some damage could void it.
- For deep damage: fill the scratch, level it, then polish the surface to match the finish.
The Ten Proven Ways to Remove Kitchen Countertop Scratches
Let’s break it down. These are the 10 proven ways I’ve used or seen professionals recommend. Each step includes when it works best, how to do it, and what to avoid.
1. Clean & Inspect the Scratch
Before touching anything, take a good look.
- Clean the area with a mild soap or baking soda paste.
- Dry completely.
- Assess the depth: Can you feel it with your fingernail? Is it just a surface mark?
Why important: Understanding the scratch depth guides which repair method to use.
2. Use Wax or Mineral Oil for Superficial Scratches
- Apply a small amount of wax, furniture polish, or mineral oil.
- Rub gently with a soft cloth until the scratch blends.
When appropriate: Shallow scratches on laminate or solid surfaces.
Avoid: Deep gouges—they need stronger repair.
3. Use a Buffing/Polishing Compound for Stone Surfaces
- Select a compound safe for granite, marble, or engineered quartz.
- Apply with a soft pad and buff evenly.
- Seal afterward if needed.
When appropriate: Light scratches that don’t break through the stone surface.
4. Apply a Color‑Matched Repair Pen or Filler for Laminate Scratches
- Match the pen/filler to your countertop color.
- Fill in the scratch, smooth with a soft cloth.
When appropriate: Laminate scratches that are deeper than a surface line.
Avoid: Using generic markers—they can look unnatural.
5. Sand and Polish Solid Surface Countertops for Mid‑Depth Scratches
- Use 220‑grit sandpaper, then 500‑grit for smoothing.
- Polish to restore sheen.
When appropriate: Solid surface scratches that aren’t just cosmetic.
Avoid: Over‑sanding, which can alter the countertop’s shape.
6. Use Epoxy or Acrylic Filler for Deep Scratches in Stone/Quartz
- Mix filler per instructions, apply into scratch, and level.
- After curing, polish to match the surrounding surface.
When appropriate: Deep quartz or stone scratches that go below the surface finish.
Avoid: Using filler on laminate—won’t bond properly.
7. Reseal / Refinish Surface After Repair (Stone & Engineered)
- Apply manufacturer-approved sealer for granite, marble, or quartz.
- Follow proper curing times.
Why important: Protects the repaired area and extends countertop life.
8. Preventive Touch-Ups & Maintenance
- Buff minor scratches with a soft pad regularly.
- Clean with mild, non-abrasive solutions.
- Apply polish or wax periodically to maintain luster.
9. When to Call a Professional & Cost Considerations
- If scratches are deep, widespread, or affect the structural integrity.
- Cost of DIY vs professional repair: sometimes a pro is cheaper than a failed DIY attempt.
10. Avoid Common Mistakes
- Don’t use magic erasers or harsh abrasives on stone surfaces.
- Avoid applying strong chemicals that can dull or damage finishes.
Maintenance & Prevention: Keep Your Countertop Scratch-Free
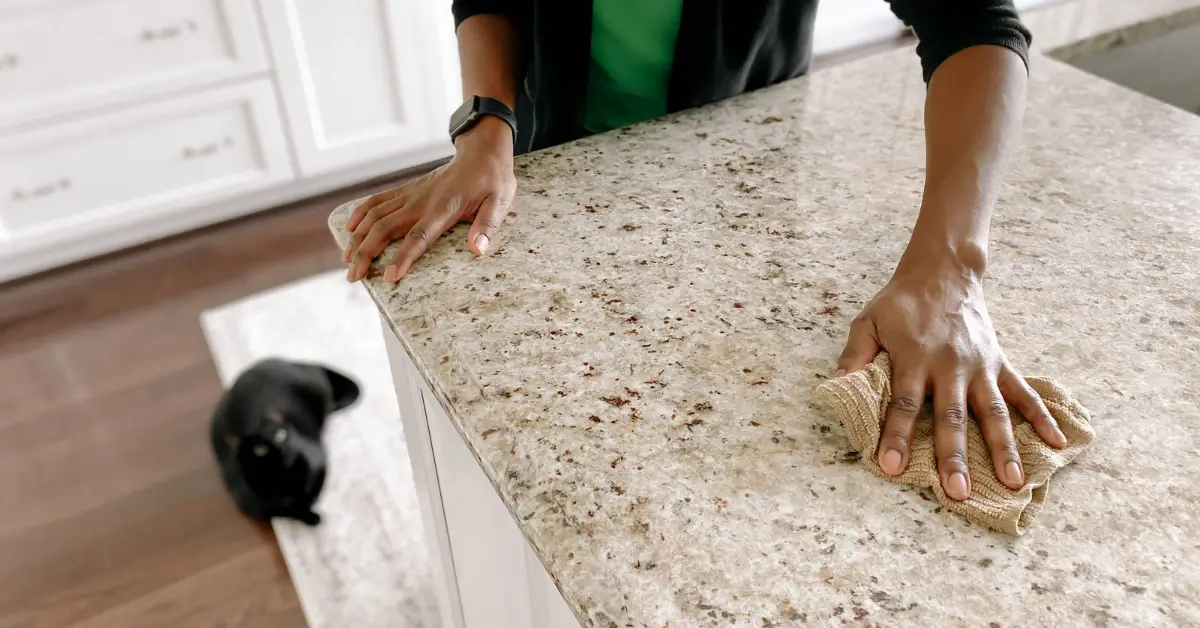
Even after repairs, your countertop can get scratched again. Here’s how I keep mine looking fresh:
- Use cutting boards and trivets: Avoid direct knife cuts or hot pans.
- Avoid sliding heavy or metal objects: Lift items instead of dragging.
- Use manufacturer‑recommended cleaners: Avoid abrasives or harsh chemicals.
- Periodic inspection & maintenance: Buff minor scratches, reseal surfaces as needed.
- Material-specific tips: Quartz, for example, doesn’t require sealing.
You can pair your cleaning routine with these 10 proven ways to get rid of cooking smells without chemicals to maintain a clean, healthy kitchen environment.
Keeping surfaces clean is also important to avoid pests—crumbs and spills on countertops can attract unwanted visitors. Learn 8 ways you’re accidentally attracting ants in your kitchen so you can protect both your countertop and your home.
When Replacement Is the Better Option
Sometimes, no matter how many tricks you try, a repair just isn’t enough. I’ve had kitchens where the scratches, chips, or dull finish were so bad that a simple fix would have been temporary at best. Knowing when to replace your countertop can save you frustration—and sometimes money.
Signs it’s time to replace rather than repair
- Too many deep gouges or cracks: If scratches are widespread or deep enough to catch your fingernail, repair may not restore a smooth surface.
- Structural damage: Warping, chips, or cracking beneath the surface indicates the countertop isn’t just cosmetic—it’s compromised.
- Finish severely worn or stained: Even after sanding or polishing, if the countertop looks tired or uneven, it may be easier to start fresh.
- Cost considerations: When repair materials, labor, and time add up, sometimes replacement is more cost‑effective in the long run.
- End‑of‑life or design changes: Maybe your countertop has served its life, or you simply want a style update that fits your current kitchen aesthetic.
According to the team at JSB Home Solutions, there are obvious moments when “it’s time to replace your kitchen countertops” rather than patch them. Their breakdown gives you a clear framework before committing to another repair.
Your 5‑Point Action Checklist
By now, you’ve learned how to handle countertop scratches from start to finish. To make it easy, here’s a practical 5‑point checklist you can follow every time you spot a scratch:
- Identify your countertop material
- Laminate, solid surface, granite, marble, or quartz—knowing this determines which fixes are safe and effective.
- Assess the scratch depth
- Light surface marks can often be buffed or oiled, while deep gouges may need filler or professional help.
- Choose the correct repair method
- Match your material and scratch depth to the right technique: wax, buffing, sanding, filler, or epoxy.
- Perform the repair carefully
- Follow step-by-step instructions, take your time, and avoid shortcuts that could damage the surface further.
- Put a prevention plan in place
- Use cutting boards, trivets, proper cleaning routines, and periodic inspections to keep your countertop scratch-free.
I’d love to hear from you! If you’ve tried any of these fixes, share your experience in the comments below. Have a question or need guidance for your specific countertop? Visit Build Like New for more expert tips, guides, and solutions to keep your home looking flawless.
Disclaimer: The tips and methods shared in this article are for informational purposes only. Results may vary depending on your countertop material and condition. Always follow manufacturer guidelines and consider consulting a professional for deep or extensive damage. Build Like New is not responsible for any damage or injury resulting from DIY repairs.

