
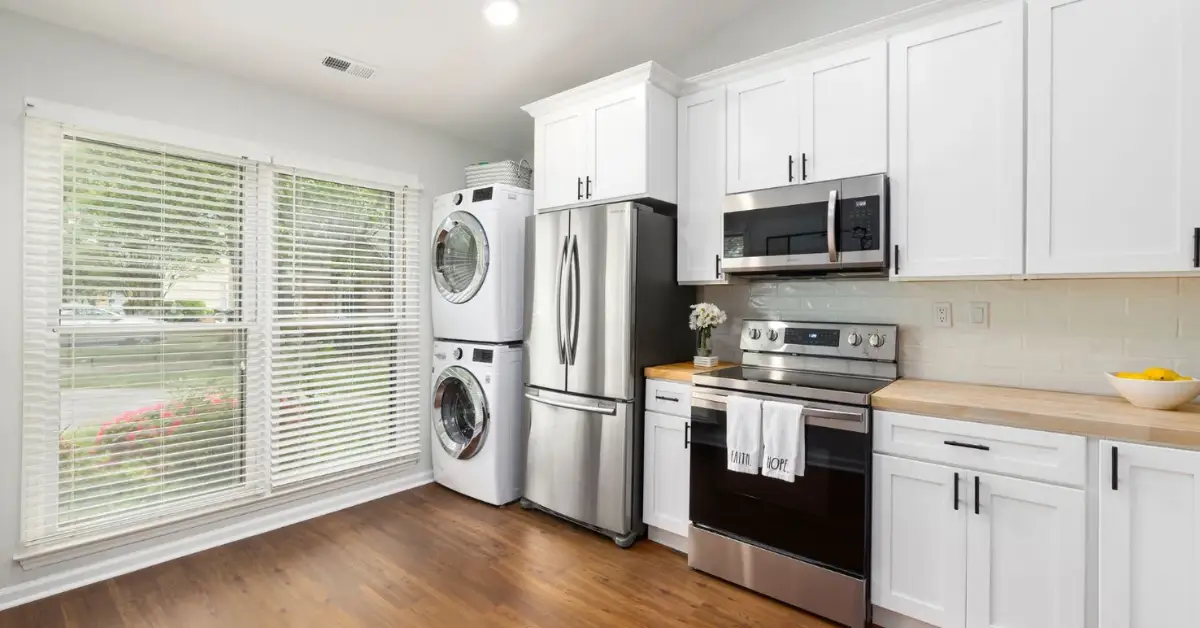
7 Quick Ways to Clean Under Appliances That Everyone Forgets
I have to be honest—most of us never think about what’s lurking under our appliances. I’ve lost count of the times I’ve pulled out a fridge or stove only to find a hidden mess that would make anyone cringe: dust, crumbs, sticky spills, and sometimes even a few unwelcome guests. You probably know that cleaning the surface is important, but what about the part you never see? That tiny, neglected space can quietly turn into a hotspot for pests, odors, and even efficiency problems for your appliances.
I want to show you the tricks I’ve learned over the years to tackle this hidden zone without turning it into a full-blown ordeal. By the time you finish reading, you’ll not only know why under-appliance cleaning matters, but you’ll also have actionable hacks you can use immediately. Trust me—you’ll be surprised how much difference a little attention in this often-ignored spot can make.
Why “Under” Your Appliances Is the Hidden Mess Zone
I have a confession: I used to clean only the visible parts of my appliances—the fridge door, the stove top, maybe the dishwasher exterior. But what about what’s hiding underneath? That little unseen space collects dust, crumbs, and spills over time, quietly turning into a mess that can cause real headaches. Most cleaning guides never touch this part, and that’s exactly why it’s such a problem.
Here’s what I’ve learned:
- Many homeowners are unaware of proper maintenance – in fact, more than a third of Americans (36%) don’t know their appliance’s manufacturer cleaning recommendations.
- Hidden hazards build up – dust and lint under your fridge or stove can increase fire risks, especially around coils and electrical components. Mold and pests also find a cozy home in these neglected corners.
- Efficiency and lifespan suffer – debris stuck under or behind appliances can reduce airflow and force your fridge or stove to work harder, pushing your energy bills up.
By focusing on this hidden zone, you’re not just ticking off a chore. You’re:
- Avoiding potential hazards
- Saving money on energy and repairs
- Extending the life of your appliances
Honestly, until you see it for yourself, it’s easy to underestimate the impact of what’s under your appliances. That’s why every trick I’ll share is aimed at making this invisible space manageable and surprisingly easy to clean.
Trick 1: Use a Slim-Reach Tool Before You Ever Pull the Appliance Out

Here’s the thing: moving a fridge or stove just to clean underneath can be a pain—and let’s be real, it’s heavy and awkward. That’s why I always reach for a slim tool first. Think of it as your secret weapon for cleaning the space under appliances without having to rearrange your kitchen.
One of my favorites is a retractable gap-cleaner microfiber tool. It’s slim, flexible, and slides right under your fridge, stove, or dishwasher. No sweat, no backache. If you don’t have one on hand, I’ve even improvised by attaching a microfiber cloth to a broom handle—it works surprisingly well!
Here’s a simple way I do it:
- Slide the slim-reach tool under the appliance slowly, reaching as far back as possible.
- Wipe away crumbs, dust, and lint along the way.
- If you hit a stubborn patch, twist the tool or replace the cloth with a slightly damp one.
- Repeat monthly to prevent buildup—your future self will thank you.
This trick is so simple that a lot of guides skip it and jump straight to moving the appliance. But doing this little step regularly saves a ton of effort and prevents the hidden mess from becoming a bigger problem later.
Trick 2: Schedule a Quick Vacuum Under Every 3-6 Months — and Set a Calendar Reminder
Here’s the truth—I used to tell myself, “I’ll clean under the fridge next weekend.” Then months would pass, and the “next weekend” never came. Sound familiar? That’s why I started setting an actual reminder on my phone. It turns out that doing a quick vacuum under your appliances every few months makes a huge difference.
Most experts suggest cleaning the hidden areas behind or under your appliances at least every three to six months, depending on how dusty your home gets.
Before you start, here’s a simple safety checklist I follow:
- Unplug your appliance before reaching behind it.
- If you’re working near a gas stove, turn off the gas line first.
- Use the brush attachment on your vacuum for dust and crumbs.
- Don’t forget to wipe the floor before pushing the appliance back in place.
We’ve all been there—it’s easy to ignore what we can’t see. But once you schedule it and make it part of your cleaning routine, it stops feeling like an overwhelming task.
A little reminder on your phone is all it takes to turn “someday” into a five-minute habit that keeps your kitchen cleaner, safer, and fresher year-round.
Trick 3: Pull Out the Appliance Once a Year for Deep Clean & Efficiency Check
This is the one task I treat like an annual check-up for my home. Once a year, I set aside an hour to pull out my big appliances and give them a proper deep clean. It’s not glamorous, but it’s satisfying—and it actually saves money.
When you slide out your fridge, stove, or dishwasher, you’ll find more than just dust. You might spot old spills, lint, or even tiny leaks you wouldn’t have noticed otherwise. According to Consumer Reports, this kind of cleaning not only improves airflow but also extends your appliance’s lifespan.
Here’s how I handle it:
- Unplug the appliance and, if it’s a gas stove, turn off the line.
- Vacuum coils or vents to remove lint and dust.
- Wipe the floor and wall area with warm, soapy water.
- Check cords and water lines for wear or leaks before pushing the unit back.
That single deep-clean session each year keeps your appliances running more efficiently and reduces fire or mold risks hiding behind them. Think of it as one hour of work that saves you from expensive repairs down the road.
Trick 4: Prevent Crumbs and Spills Falling Under — Seal the Gap Now
Here’s my favorite preventive hack: stop the mess before it starts. Once you’ve cleaned under your stove or fridge, take an extra five minutes to block those narrow gaps that collect crumbs and grease.
You don’t need fancy gear. I use simple solutions—thin trim, electrical tape, or even a flexible silicone strip—to close the space between the counter and the appliance. I first found this trick on a Lifehacks Stack Exchange thread, and honestly, it’s genius.
You can also:
- Place a washable mat or tray under your fridge or stove area to catch small spills.
- For renters, removable gap seals work great—you can peel them off later.
By sealing that little space, you’ll save yourself hours of scrubbing in the future and make pest prevention a whole lot easier.
So before you push your appliances back in place, spend that extra minute to seal the gap—it’s one of those small habits that quietly keeps your kitchen cleaner for years. Once you’ve sealed those messy gaps, it’s a great time to organize the rest of your kitchen space. Check out these 10 genius spice storage ideas that’ll instantly declutter your kitchen—they pair perfectly with a clean, crumb-free countertop.
Trick 5: Use Baking Soda, Vinegar, or Compressed Air for Hard-to-Reach Spaces

Sometimes, even after a good vacuum, you’ll notice that fine dust, sticky residue, or faint odors linger under your appliances. That’s where a few simple household tools come in handy. I’ve relied on these for years to get rid of grime in places my hands—and most tools—can’t easily reach.
Here’s how I do it:
- Start with a dry clean-up. Use your vacuum or lint roller first to grab loose dust and crumbs.
- Tackle buildup next. Dampen a cloth with a mild detergent or an all-purpose cleaner, then run it along the edges and sides of the space.
- Use baking soda for odor control. Sprinkle a light layer under the fridge or stove before pushing it back in place. It naturally absorbs moisture and neutralizes smells.
- Handle vents and coils with compressed air. A few quick bursts remove lint and fine dust without having to disassemble anything.
It’s amazing how much fresher your kitchen feels after doing this once. You’ll notice less odor, fewer allergy triggers, and your appliances will run more smoothly. I like to think of this step as the “finishing touch” that most people skip—but it’s what keeps everything feeling genuinely clean.
Trick 6: Make Use of Smart Accessory Tools to Tackle the Hidden Zone
If you’ve ever stared at the narrow space beside your fridge wondering how to reach it, you’re not alone. The good news is, the right tools make this job ten times easier. You don’t need a closet full of gadgets—just a few smart accessories that make cleaning these awkward spots simple.
Some of my go-to tools include:
- A flat vacuum head that slips under tight spaces.
- A long-handled duster or microfiber cloth attached to a broom handle for quick sweeps.
- Appliance sliders or glides that make moving heavy units safer and smoother.
- A small under-sink “cleaning kit” with your favorite duster, cloths, and attachments ready to go.
When everything you need is in one spot, it removes that “I’ll do it later” excuse. The goal isn’t to buy more tools—it’s to make the task so easy you’ll actually do it regularly. Once you’ve used a few of these, cleaning under your appliances will feel more like a quick routine than a full workout.
Trick 7: Combine Cleaning Under Appliances with a Broader Kitchen-Maintenance Routine

If you want this habit to stick, pair it with other kitchen tasks. Every few months, when I deep-clean the fridge shelves or wipe down the backsplash, I take an extra ten minutes to clean under my appliances too.
Here’s how to make it effortless:
- Align your “under-appliance” clean with other routine jobs—like scrubbing behind the sink, wiping vents, or emptying the trash area.
- Add it to your seasonal checklist: clean fridge door seals, range hood filters, and dishwasher traps all in the same session.
- Treat it like part of your overall kitchen health—not a separate, dreaded chore.
This approach keeps your kitchen more hygienic and prevents cross-contamination from hidden dust or crumbs. It also builds consistency; once you tie it to your normal rhythm, it no longer feels like an extra task. If you’re already planning a seasonal kitchen refresh, you might also love these 8 easy ways to transform outdated wood cabinets into modern masterpieces. It’s a simple next step to give your kitchen a clean, updated look while you’re improving its upkeep.
Why here: At the end of the day, cleaning under appliances isn’t just about appearance—it’s about creating a cleaner, safer, and more efficient home environment without overcomplicating your life.
Bonus: Quick Checklist & Safety Reminders
Before you grab the cleaning tools, here’s a simple checklist you can keep on your phone or tape inside a cabinet door. It’s the exact sequence I follow to clean under any appliance safely and efficiently.
Quick Action Checklist
- Unplug or turn off gas before moving anything.
- Slide out or use a slim-reach tool to clear visible debris.
- Vacuum thoroughly to remove dust, crumbs, and lint.
- Dust or brush coils and vents for better airflow and performance.
- Wipe all surfaces with mild detergent or vinegar solution.
- Replace appliance safely—align cords, hoses, and gas lines carefully.
- Record the cleaning date in your phone calendar for next time.
Safety Notes:
- Always disconnect power before starting.
- If your appliance connects to gas, double-check that the valve is off.
- Avoid getting water near cords or outlets.
- Never force heavy appliances—use sliders or ask for help if needed.
Taking five minutes to review these steps before cleaning keeps you safe and ensures your hard work doesn’t cause avoidable damage. It’s simple, but this little list turns a risky chore into a confident routine. If you’re trying to build a stress-free daily cleaning habit, these 10 things you should clean every morning for a stress-free day will help you stay ahead of the mess and keep your home feeling consistently fresh.
Closing Thoughts: Skip This Zone at Your Risk
Here’s the truth most homeowners eventually learn the hard way: the mess you don’t see is the one that causes the biggest problems. The space under your appliances quietly collects everything—dust, food bits, lint, moisture—and together they invite pests, odors, and even fire risks.
The good news? You can stop all that with just a few of the tricks we’ve talked about today. Start small. Maybe this week you just grab a slim-reach tool and clear under the fridge. Next month, schedule a full pull-out clean. Once you do it once, it won’t feel like a big deal again.
Keeping your appliances clean underneath isn’t about perfection—it’s about peace of mind, safety, and a home that runs smoothly.
I’d love to know—which trick are you going to try first? Drop your thoughts or your own favorite cleaning hacks in the comments. And if you found this guide helpful, check out more smart home-care tips at Build Like New, where I share simple ways to keep your home feeling fresh, efficient, and, well… like new.
Disclaimer: The information in this article is for general home-maintenance guidance only. Always follow your appliance manufacturer’s safety and cleaning instructions before attempting any maintenance. Build Like New is not responsible for any damage or injury resulting from improper handling or use of tools or cleaning products.

