
7 Home Exterior Upgrades That Protect Against Snow Damage
Winter is coming, and if you’re like me, you’ve felt that sinking dread when a cold draft sneaks in or your heating bills skyrocket. Over the years, I’ve learned that a few smart fixes can make a huge difference—not just in comfort, but in protecting your home and saving money. I’ve walked through leaky windows, icy gutters, and freezing pipes, and trust me, ignoring them until the first frost hits is a mistake you don’t want to make.
In this guide, I’m going to share seven winter-proof home fixes that I swear by—practical steps you can actually do, without waiting for a professional to swoop in. By the end, you’ll know exactly what matters most, where to start, and how to make your home truly winter-ready.
Why Winter-Proofing Your Home Matters Now
Every year, as temperatures drop, I see the same pattern repeat. People wait for the first cold snap, then scramble to fix problems that could’ve been handled weeks earlier. I’ve done it myself, and it always costs more—more stress, more energy bills, more repairs.
When you winter-proof your home early, you protect yourself from three big headaches:
- Heat slipping out through windows and doors (which can account for a surprising 30 percent of heat loss, according to This Old House.
- Pipes freezing or bursting when the temperature drops suddenly
- Small cracks turning into structural repairs when moisture freezes inside them.
If you want to dive deeper into saving on winter bills and avoiding hidden cold-weather damage, you may find this guide on cutting utility costs and preventing winter-related issues during vacancies helpful.
You’re here because you want fixes that actually matter—things that make your home warmer, safer, and more efficient before winter hits hard. My goal is to walk you through those high-impact steps so you aren’t reacting to problems but preventing them.
Fix #1 – Seal the Gaps: Windows, Doors, Vents & Baseboards
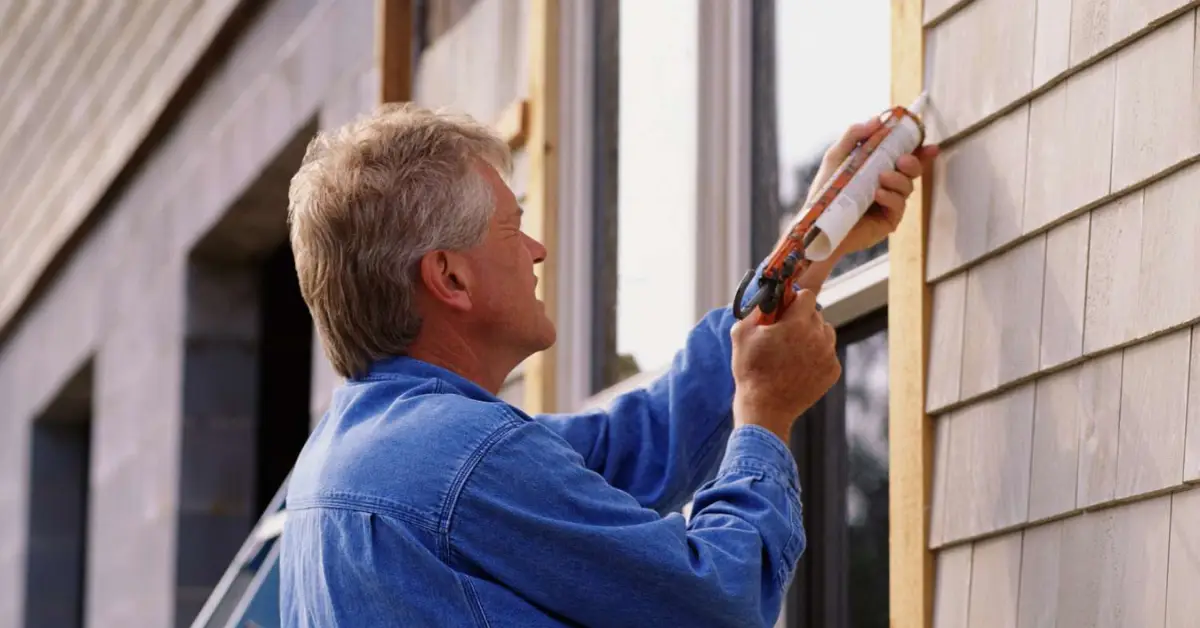
If there’s one place people underestimate, it’s the small gaps around their home. I’ve seen homeowners invest in new heating systems, yet lose warmth because a thin draft slips in from a window they never checked. These tiny leaks may look harmless, but they drain heat fast and force your heating system to work overtime.
Here’s what I always check first:
- Window and door frames: Look for cracks where old caulking has dried or pulled away.
- Weather-stripping: If you feel air seeping through the edges when you run your hand along them, it’s time to replace it.
- Baseboards: These gaps often get ignored, but they can let cold air travel through interior walls.
- Vents and utility openings: Cables, pipes, dryer vents—anything that penetrates the wall can leak air if not sealed properly.
For many homes, this is the easiest, cheapest fix with the biggest payoff. You can handle most of this with basic tools:
- Fresh caulk for small cracks
- Peel-and-stick weather-stripping
- Foam sealant for bigger openings
If you notice extensive gaps, rotting trim, or condensation inside the window frame, that’s when I’d call a pro. But for everyday leaks, you can make a big difference in a single afternoon.
A simple test I always recommend: light a candle and move it slowly around your windows and doors. If the flame flickers toward or away from the frame, there’s a draft you need to seal. It’s quick, free, and surprisingly accurate.
Fix #2 – Boost Insulation: Attic, Walls, Crawlspaces
If I could pick one upgrade that pays you back every single winter, it’s insulation. Most people look at windows and heaters first, but the real heat loss often happens above your head and beneath your feet.
When I walk into older homes, I notice the same gap in most guides: everyone talks about attics and walls, but hardly anyone mentions crawlspaces and basements. These areas can pull cold air inside like a vacuum, especially if the edges aren’t sealed or insulated.
Here’s what I recommend you inspect:
- Attic: Look for thin or uneven insulation. If you can see the joists clearly, you probably need more.
- Walls: Check spots where rooms feel colder than others—this usually points to gaps in wall insulation.
- Crawlspaces and basements: Look at rim joists, floor edges, and any exposed foundation areas.
Your budget plays a role here. If you’re tight on cash, start with sealing gaps and adding insulation to the attic. It delivers the fastest improvement. If you have room to invest, insulating crawlspaces and basement walls will stabilize the temperature across your entire home.
Good insulation does more than warm the space. It reduces drafts, cuts energy bills, and stops your heating system from overworking. Once you fix this layer, every other upgrade works better.
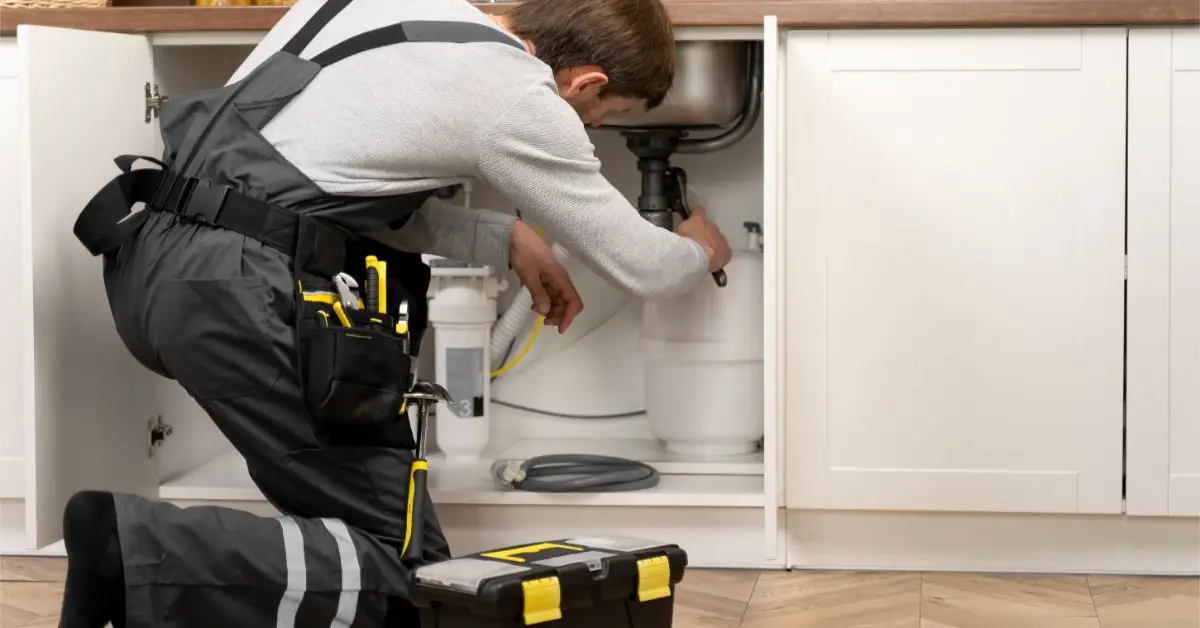
Fix #3 – Protect & Maintain Heating Systems & Pipes
Your heating system carries most of the load during winter, and a little maintenance now saves you a lot of panic later. The Insurance Information Institute points out how overlooked heating issues often lead to mid-winter breakdowns and preventable repair costs.
I follow a simple rule: if the system keeps your home warm, give it attention before the season kicks in. That includes:
- Furnace or boiler: Change the filter, clean vents, and listen for unusual noises.
- Chimney: Make sure it’s clear and drafting properly if you use a fireplace.
- Radiators: Bleed trapped air so they heat evenly.
And while you’re already prepping your heating setup, you may want to check whether covering your AC unit in winter is actually necessary — it’s a common question I break down clearly in this guide.
Pipes are another weak point. A sudden freeze can burst a line you never thought about, and trust me, nothing ruins a winter morning like a flooded basement. Add insulation around exposed pipes, and drain exterior lines so water isn’t sitting inside them.
Here’s one habit that many people still miss: when you’re away or sleeping, keep your thermostat at a safe minimum to protect your plumbing. You don’t need high heat, but you do need enough warmth to stop pipes from dropping to a dangerous temperature.
One more tip I always share: schedule your service early. Technicians get booked fast the moment the first cold wave hits.
Fix #4 – Roof, Gutters & Exterior Drainage
Most homeowners don’t look up until there’s a leak, but your roof and gutters take the hardest hit every winter. Snow, ice, and clogged gutters can lead to ice dams, and once water starts slipping under shingles, it becomes a much bigger—and more expensive—problem. Country Living explains how winter buildup is one of the top causes of hidden leaks and structural damage.
Before that happens, I always do a simple walk-around and check:
- Missing or lifting shingles
- Gutters packed with leaves
- Downspouts that don’t direct water far enough away
- Tree branches hanging over the roof
A clean gutter system before the first freeze is one of the easiest ways to prevent winter damage. Trim any branches that could drop snow loads or scratch the roof during storms. If you’re already handling your exterior prep, this is the perfect time to focus on your yard too — here’s a list of smart ways to winterize your lawn before it’s too late that pairs well with your roof and gutter maintenance. And if you want to stay ahead of future problems, follow a seasonal rhythm:
- Early fall: clean gutters, inspect shingles, clear branches
- Mid-winter: check for ice buildup after storms
- Early spring: look for damage caused by heavy snow or thawing
These small checks protect the entire structure of your home. A good roof keeps everything else stable. Let me know when you’re ready to move to the next section.
Fix #5 – Upgrade Windows/Glazing & Window Treatments

Whenever someone tells me their home still feels cold even after sealing drafts, I look at the windows next. Most of the heat that escapes your home slips out through the glass and the frames around it. In many houses—especially older ones—windows can be responsible for a large portion of energy loss, and you feel it every time the furnace kicks on again.
If you’re ready for a long-term improvement, upgraded glazing is one of the smartest investments:
- Double or triple-pane windows that hold heat better
- Low-E coatings that keep warmth inside during winter
- Tight, well-sealed frames that prevent invisible drafts
But you don’t need a full upgrade to see results. Heavy curtains and thermal blinds are surprisingly effective. Most homeowners overlook them, yet they add a real layer of insulation and block cold air that sneaks past older glass.
Older homes often need a mix of both approaches. If the structure is solid but the windows are outdated, start small—seal the frames, add thermal coverings, then replace the panes when your budget allows. A staged approach spreads out the cost while still improving comfort, lowering your bills, and boosting your home’s value.
Fix #6 – Floor & Foundation Care – Insulate, Cover Bare Floors, Seal Foundations
Floors are one of the coldest surfaces in any home once winter sets in, and most people don’t realize how much heat they lose through them. Even if the rest of your home is insulated well, cold from the ground can creep upward through gaps in the floor or through an uninsulated foundation.
Start with the simple comfort fixes:
- Add thick area rugs to rooms that feel especially chilly
- Seal any cracks in the foundation so cold air doesn’t seep upward
- Insulate the underside of floors or crawlspaces if you have exposed areas
If you live in a colder region, insulating rim-joists or installing radiant floor heating in key rooms can make a huge difference. You don’t have to tackle the whole house—just targeting high-traffic spaces brings back warmth you can actually feel.
These changes are usually inexpensive and quick, but the improvement in comfort is immediate. The ground floor stops feeling icy, and your heating system doesn’t have to fight as hard to keep up.
Fix #7 – Smart Home Controls, Ventilation & Moisture Management
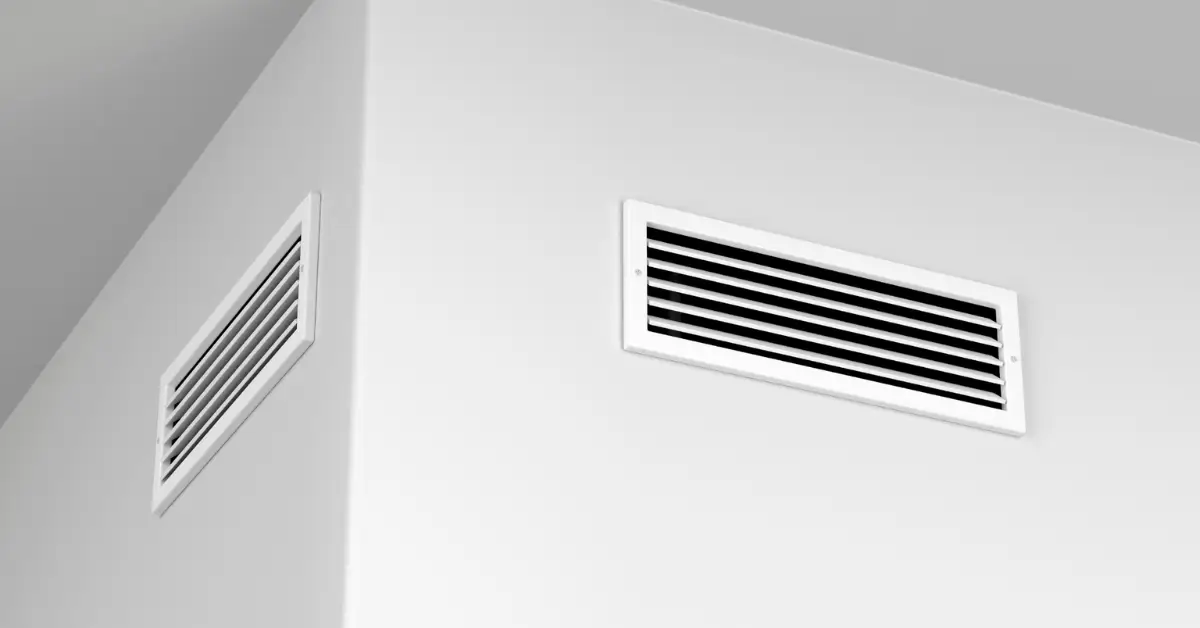
Most homes today are sealed tighter than ever. That’s good for keeping warmth inside, but it creates a new problem when winter arrives: trapped moisture, stale air, and uneven heating. This is where smart controls and proper ventilation come in.
Start with temperature control. A smart thermostat helps you heat your home efficiently without wasting energy. And the simple trick of reversing your ceiling fans helps push warm air back down into the room instead of letting it hover near the ceiling.
Then move to airflow. When moisture builds up in a sealed home, you start to see foggy windows, musty smells, or even mold forming in corners. That’s a sign your ventilation system isn’t doing its job.
Here’s what to check:
- Kitchen and bathroom fans
- Condensation on windows or walls
- Damp spots near floors or ceilings
- Whether you’re using a humidity monitor
When you balance heat and airflow the right way, the home stays warm, fresh, and healthy without driving up your energy bill. It’s a small upgrade with long-term benefits.
Bonus Rapid-Action Checklist & Seasonal Timing Guide
If you want a quick way to get your home winter-ready without overthinking it, here’s a weekend-friendly list I always share with homeowners:
10 Tasks You Can Do in 1–2 Weekends
- Seal any remaining drafts
- Clear out gutters
- Check roof shingles
- Insulate exposed pipes
- Lay down rugs in cold rooms
- Test and clean your heating system
- Replace furnace filters
- Reverse ceiling fans
- Inspect attic insulation
- Clear space around vents for better airflow
The best time to do all of this is early autumn. You get ahead of the freeze, everything is still easy to access, and you have time to fix small issues before they turn into expensive repairs.
Wrapping Up: Your Winter-Proof Home Plan
Here’s the truth I always remind homeowners of: you don’t need to do everything at once. Even starting with two or three of these fixes will make your home feel warmer, safer, and more efficient this winter. Pick the upgrades that matter most for your home, then schedule the rest over the next few weeks.
And if something feels too big or too unfamiliar, there’s no harm in calling a professional for help—especially for roof work, major insulation upgrades, or heating system repairs. Your home is worth doing right.
Before you move on, I’d love to hear from you: Which fix are you planning to tackle first?
Drop your reply in the comments—and if you want more home-care tips, check out the latest guides on Build Like New.
Disclaimer: The information in this article is for general guidance only and isn’t a substitute for professional home inspection or repair advice. Always consult a qualified expert for major work or safety-related issues.

