
5 Proven Methods to Get Rid of Wallpaper Glue Fast
When you peel off old wallpaper, you expect a clean wall waiting underneath. But if you’re anything like me, you’ve probably stepped back and realized the real mess isn’t the wallpaper — it’s the glue that refuses to let go. And the worst part? If you paint over that residue, the finish will bubble, streak, or peel within weeks. I’ve seen homeowners spend hours repainting, only to learn the glue was the real problem.
Most guides online jump straight into “mix vinegar and water” or “use a steamer,” but they skip what actually matters: knowing why the glue is sticking so hard in the first place, how much pressure a wall can handle, and which method is safest for the material you’re working with. That’s where things really go wrong — especially on drywall, which dents and softens faster than you think.
So in this guide, I want to walk you through five simple, wall-safe ways to remove wallpaper glue without damaging your surfaces. These are the same methods painters, contractors, and experienced DIYers rely on when they want a clean, paint-ready wall the first time. And don’t worry — you won’t need special tools or harsh chemicals unless the glue is extremely stubborn.
Before we dive in, tell me this: what kind of walls are you working with — drywall, plaster, or something older?
Why Removing Wallpaper Glue Matters

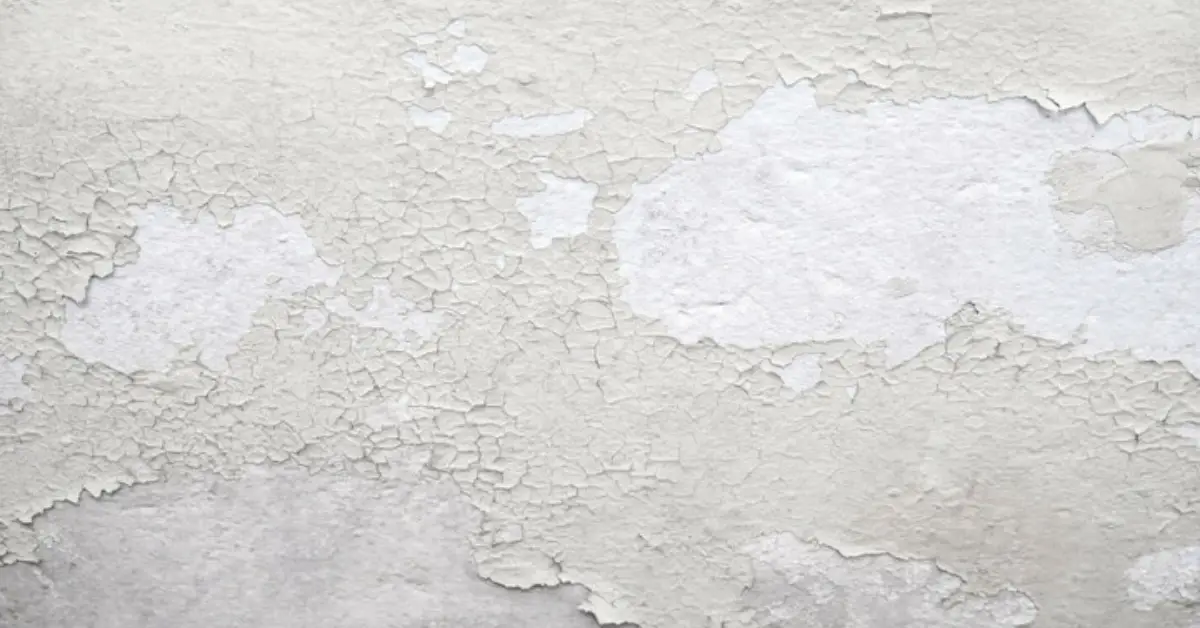
I’ve seen a lot of homeowners do the hard part — ripping off old wallpaper — only to discover that the real trouble shows up afterward. That thin, sticky layer of leftover glue can ruin everything you try to do next. If you paint over it, the finish bubbles. If you prime over it, the surface turns uneven or patchy. And if you try to scrub it too aggressively, you can gouge the wall and make a simple job much harder than it needs to be.
You and I both know that nothing feels worse than stepping back from a fresh paint job and spotting streaks or raised patches where the glue refused to cooperate. That’s the pain point almost every DIYer hits: the wallpaper is gone, but the glue is still calling the shots.
So in this article, I’m going to walk you through five easy, wall-safe ways to remove wallpaper glue without harming your drywall or plaster. These are straightforward techniques, but the reason they work is because they’re matched to the type of glue and the type of wall you’re dealing with.
Before you start, here are a few things worth thinking about:
- What kind of adhesive was used? Some older homes used clay-based glue, while many modern wallpapers use pre-mixed or vinyl adhesives. Each softens differently.
- What material are your walls? Drywall soaks up moisture quickly and dents easily. Plaster is tougher but can still crack if scraped too hard.
- How old is the glue? Older adhesives dry out, harden, and cling tighter to the wall.
Once you understand what you’re up against, the removal process becomes a lot easier — and a lot safer for your walls.
Understanding Wallpaper Glue: What You’re Dealing With
Before we get into the actual methods, I want you to understand the glue itself. Most guides skip this part, but in my experience, this is where you avoid 80 percent of the mistakes. When you know what kind of adhesive you’re facing, you won’t waste time using the wrong technique or risk tearing into the surface underneath.
Types of Wallpaper Adhesive
Not all glue behaves the same. You may be dealing with:
- Starch-based paste: Common in older homes. It softens quickly with warm water, which makes it easy to remove.
- Vinyl adhesive: Often used under moisture-resistant wallpaper. It takes more time and usually needs warm water plus a mild cleaning agent.
- Modern pre-mixed adhesive: These are smoother and easier to apply when installing wallpaper, but they dry firm and sometimes require repeated soaking.
- Clay-type adhesive: Thicker and heavier. This one often needs more soaking or a slightly stronger solution to break down.
Each one reacts differently to water, heat, or cleaning mixtures, which is why you’ll see methods online ranging from dish soap to steam to vinegar. Even Architectural Digest notes that certain adhesives break down much faster with warm water and vinegar depending on their base.
Why Wallpaper Glue Can Be So Stubborn
There’s a reason some patches feel welded to the wall while others come off easily:
- Water evaporates over time, which turns glue rigid and harder to soften.
- Some adhesives aren’t fully water-soluble, so plain warm water won’t be enough.
- Older plaster or thin drywall can absorb glue, making it feel like the residue is “inside” the wall rather than on the surface.
- Heat and humidity over years can bake the adhesive into a tougher layer.
When you know why the glue is fighting back, you can choose the right method instead of scraping blindly and damaging the wall.
Method 1: Warm Water + Dish Soap (Softening + Scraping)
Mix a Simple Solution
Whenever I want to start with the safest method, I go straight to warm water and a few drops of mild dish soap. It’s gentle, reliable, and most water-based glues loosen up with this mix. If you need a little extra cleaning strength, you can add a tablespoon of baking soda. Angi recommends this approach for softening wallpaper paste.
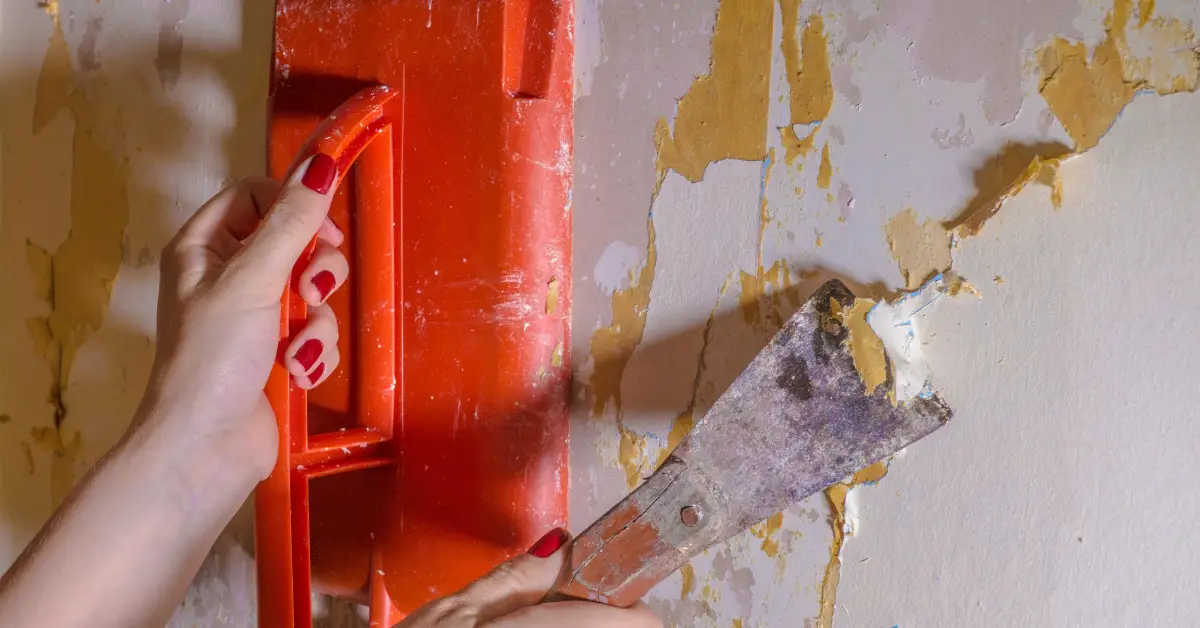
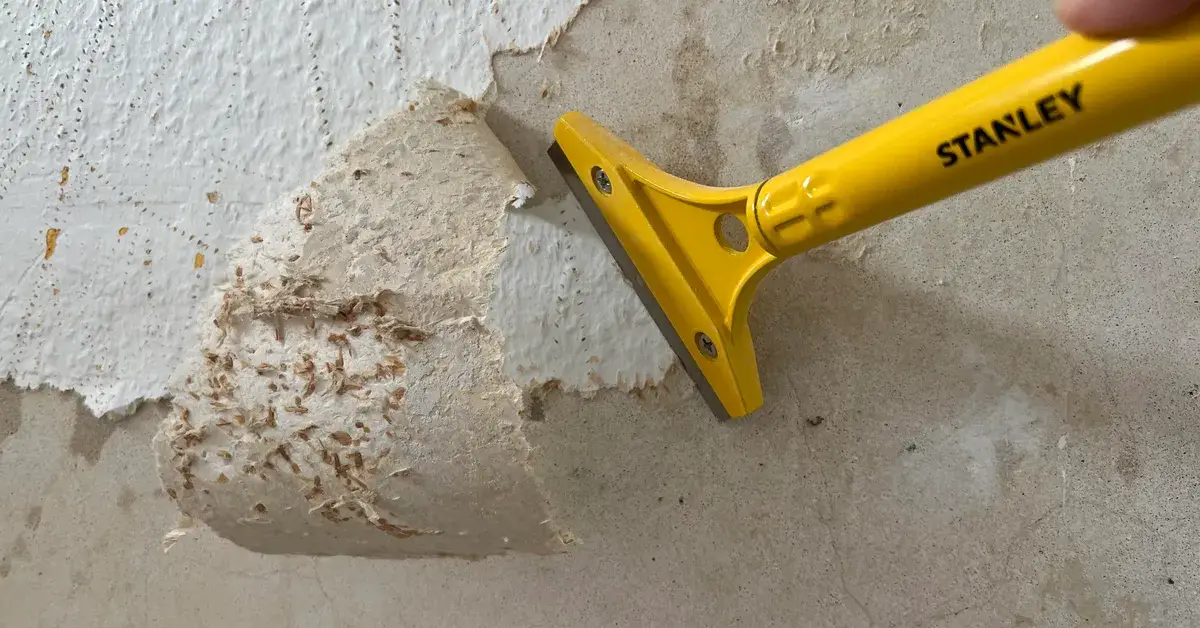
Application Process
I always work in small areas — around five feet at a time — because it keeps the surface consistently damp without overwhelming the wall. Spray or sponge the solution generously and give it about ten to fifteen minutes to soak in. Once the glue softens, use a flexible plastic scraper and slide it under the residue. Metal scrapers bite too hard into drywall, so stick with plastic for safety.
After scraping, wipe the area with clean warm water to lift anything left behind.
Common Pitfalls & Tips
- Avoid soaking drywall or plaster too heavily; too much water causes bubbling or swelling.
- Re-apply the solution on stubborn patches instead of scraping harder.
- Always wipe each finished section so the residue doesn’t dry back onto the wall.
This is the gentlest, most beginner-friendly option. It works well on water-based adhesives and protects your wall from unnecessary damage while giving you a clean base to build on.
Method 2: Vinegar or Vinegar + Baking Soda Boost
Why Vinegar Helps
White distilled vinegar has just enough acidity to break down the glue’s structure when soapy water alone isn’t cutting it. When you mix it with baking soda, the mild fizzing action helps lift older, stubborn residue. It’s a simple reaction, but it can make the removal process faster and easier when the glue has hardened over time.
How to Do It Safely
Blend a gallon of warm water with a cup of white vinegar and a small amount of dish soap. Apply it with a spray bottle or sponge and give it five to ten minutes to work. After the glue softens, scrape gently with a plastic putty knife. Rinse the area well so no vinegar remains, because leftover acidity can interfere with primer or paint later.
This gives you more power than regular soapy water without stepping into harsh-chemical territory. It’s ideal for older homes or walls where the adhesive has stiffened over the years.
Method 3: Use a Wallpaper Steamer (Steam + Heat)
What a Wallpaper Steamer Is & How It Works
A wallpaper steamer heats water until it boils and sends steam through a flat plate. When you press that plate against the wall, the steam penetrates the glue, softening it from the inside and breaking the bond that’s been holding everything in place for years. It’s especially helpful when adhesives are thick or layered.
Step-by-Step Use
Fill the steamer with water and let it heat fully. Hold the steam plate against the wall for ten to fifteen seconds, then move it and scrape the softened glue right away. Work in small sections so the glue doesn’t cool down or harden again. Keep the plate moving to avoid overheating or damaging the wall underneath.
Common Mistakes & Precautions
- Holding the steamer too long in one spot can cause moisture damage.
- Waiting too long to scrape lets the glue stiffen again.
- Good airflow and protective gloves make the job easier and safer.
A steamer gives you the strength you need for the toughest adhesive without relying on chemical removers. If you want a full, step-by-step walkthrough of using a steamer the right way, you can check out my guide on Steam Away Wallpaper in 6 Simple Steps, where I break down prep, steaming technique, and cleanup in detail. When used carefully, it’s one of the fastest ways to clear large areas of old, stubborn glue.
Method 4: Use a Commercial Wallpaper Stripper / Glue Remover
When to Use a Commercial Remover
I turn to a commercial remover when the glue is so stubborn that water, vinegar, or steam barely make a difference. If the adhesive feels rock-hard, glossy, or almost plastic-like, it’s often non-water-soluble. And if you’ve already soaked the wall multiple times and nothing seems to lift, a chemical stripper saves you hours of frustration.
How to Use Safely
Choose a low-odor or non-toxic wallpaper stripper when you’re working indoors. It keeps the air comfortable and reduces irritation. Follow the manufacturer’s instructions for dilution and dwell time — most removers need to be mixed with hot water and left to sit long enough to break down the glue.
Once the adhesive softens, scrape slowly with a plastic putty knife. After you’re done, rinse the wall thoroughly so no chemical residue remains. This step matters because leftover remover can react with primer or paint later.
Example Products
- Polyfix Debonder Glue Remover Spray — ready-to-use for smaller or targeted spots.
- AKT F3 500 ML Glue Remover — a good option if you’re treating larger wall sections.
- Multi-Function Scraper Tool — gentle enough to avoid scratches, strong enough to remove softened glue.
This is your reliable “last resort” before calling in a pro. If you still have wallpaper on the wall that needs to come off before tackling the glue, you can follow my guide on 4 Proven Ways to Remove Wallpaper in Under an Hour to speed up the process and avoid damaging your surface. It gives you a strong, controlled way to loosen glue that simply won’t respond to softer, water-based methods.
Wallpaper From The 70s notes that commercial removers work particularly well on old, hardened paste that resists soaking.
Method 5: Rinse, Sand & Seal (Finishing)
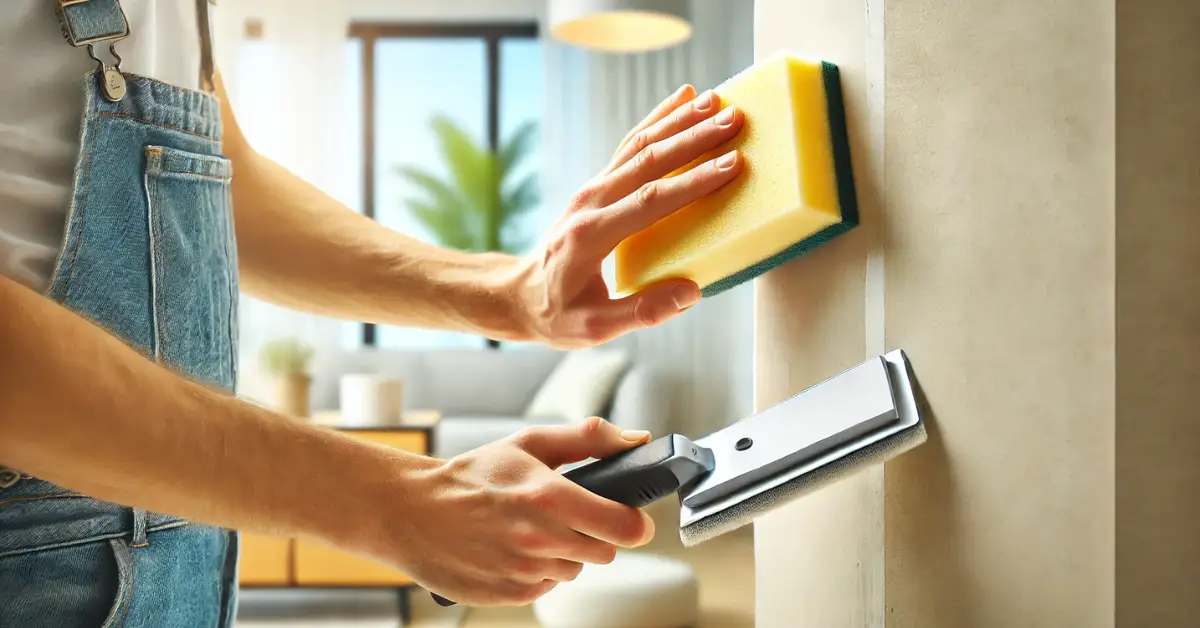
Rinse and Neutralize
Once the glue is gone, I always rinse the wall with clean water to remove the last traces of residue. A simple sponge-and-bucket method works best because it lets you control the moisture. After rinsing, let the wall dry completely — rushing this step can cause issues once you sand.
Sanding the Remaining Residue
Use fine-grit sandpaper, ideally in the 120–180 range, to smooth any tiny rough spots the scraper couldn’t reach. Work lightly. The goal is just to level the surface, not to grind into the wall. If you’re on drywall, gentle pressure is especially important to avoid scuffs or dents.
Sealing / Priming
When the wall is fully dry and smooth, seal it with a quality primer. A problem-surface primer helps lock in microscopic glue traces that you can’t see but that could react with paint later. And in older homes or heavy-glue situations, a shellac- or oil-based primer can give you extra insurance so nothing reactivates under your finish coat.
This final step is what protects all the work you did earlier. A clean, sanded, well-primed wall gives you a flawless paint base, prevents bubbling, and ensures the glue never comes back to haunt you.
Bonus Tips and Pro Advice
Test a Small, Hidden Area First
Before you commit to any method, I always suggest testing a small, low-visibility patch. It tells you how your drywall or plaster will handle moisture, heat, or chemicals. A quick test prevents surprises and saves you from accidental damage.
Work in Zones
Wallpaper glue removal gets tiring fast, so break the wall into small zones that you can handle without rushing. Working in manageable three-by-three-foot sections helps you control moisture, scraping, and steaming time.
Safety First
Any method involving water, heat, or chemicals needs basic protection. Tape off outlets and switches, and if you’re using liquids near electrical points, shut off the power for safety. Wear gloves and goggles, and put down a drop cloth so the floor stays protected from drips or old glue.
When Not to Try DIY
If your home has older plaster walls or fragile surfaces, aggressive scraping or steaming can cause more damage than the glue itself. In those cases, a skim coat may be safer than trying to remove every last trace of adhesive. Many DIYers recommend sealing with a problem-surface primer like Gardz if the glue just won’t budge or keeps reactivating under paint.
And if you’re planning to install new wallpaper after cleaning up the glue, especially textured options, you might find my guide on 3 Realistic Lessons from Grasscloth Installation helpful for avoiding beginner mistakes.
These pro-level habits reduce risk, protect your walls, and help you work efficiently. Even small precautions make a big difference when dealing with old or stubborn wallpaper glue.
Common Mistakes to Avoid
- Scraping too soon instead of letting the solution soak or steam long enough.
- Pushing metal scrapers aggressively, which can gouge or scratch surfaces.
- Over-wetting drywall or plaster, which can lead to swelling or soft spots.
- Skipping sanding and priming, allowing glue residue to bleed through paint.
- Failing to ventilate when using chemical removers.
Avoiding these mistakes keeps your wall in good condition and prevents costly repairs. These errors are extremely common among DIYers, and knowing them ahead of time puts you ahead of the curve.
Summary of Key Takeaways (Actionable Checklist)
- Choose your method based on the type and age of the adhesive.
- Start with the gentlest option and move up only if needed.
- Always test a small patch before treating the full wall.
- Work in small sections so you stay in control.
- Rinse, sand, and prime for a perfectly smooth paint-ready surface.
Try one of these methods today on a small test section and see how your wall responds. And if you want more step-by-step home improvement guidance, visit Build Like New for practical tutorials and pro-tested techniques.
Disclaimer: The methods in this guide are based on general best practices. Every home and wall material reacts differently, so test a small area first and proceed at your own risk. For severe damage or uncertain wall conditions, consult a professional.

