
10 Simple Ways to Degrease Kitchen Cabinets Using Safe, Natural Ingredients
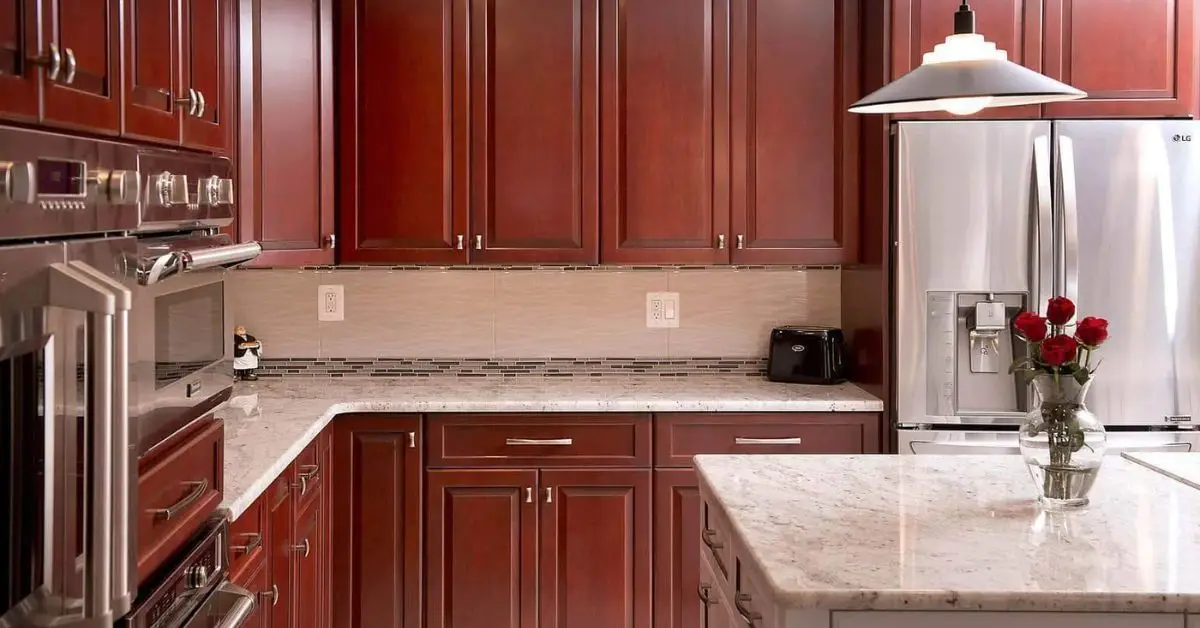
When I walk into a kitchen, the first thing I notice isn’t the stove or the counters — it’s the cabinets. And if they look shiny but feel sticky, I know exactly what’s going on. That thin film of grease you can’t seem to wipe away? It builds up slowly from cooking steam, oil splatter, and everyday handling. You don’t see it happening, but one day your cabinets go from “a little dull” to “why does this feel like glue?”
I’ve cleaned more cabinets than I can count over the years, and I’ll tell you the truth: most people reach for harsh chemical sprays because they think that’s the only way to cut through the mess. But you don’t need fumes, strong solvents, or anything that makes you open windows in the middle of winter. You already have safer, more effective tools right in your kitchen.
Before we jump into the hacks, I want you to know this: your cabinets don’t have to be a weekend project. When you understand why the grease sticks and which gentle ingredients break it down fastest, the whole job becomes easy — almost satisfying. And once you get them clean, keeping them that way takes minutes, not hours.
I’ll walk you through the methods I trust, the mistakes I see people make, and the small tweaks that protect your cabinet finish for years. But first, tell me this — what kind of cabinets do you have: wood, painted, or laminate? This helps me guide you better as we go.
Why Grease Builds Up on Cabinets (And Why It Matters)
When you cook, tiny oil droplets float into the air without you noticing. I’ve seen this happen in every busy kitchen — the steam rises, the oil breaks into micro-particles, and they settle on the nearest surface. Your cabinets take the biggest hit because they sit right next to the stove and get coated layer by layer. Over time, that light film turns into a sticky sheet that grabs dust, darkens the finish, and makes even a well-kept kitchen look older than it is.
I want you to understand this part because it affects how you clean. If you approach grease buildup the wrong way, you can scratch the finish or strip the protective coating. And this is where avoiding harsh cleaners becomes important. Strong solvents might feel like a quick fix, but they can dry out wood, dull paint, and leave fumes lingering in your kitchen. A gentler approach keeps your cabinets safe and keeps you from breathing in unnecessary chemicals.
Why this matters for you: You’re not just removing grease — you’re protecting the surface underneath it so your cabinets stay good-looking for years.
Add these details here:
- Light airborne grease + dust = sticky buildup
- Long-term effects: dull finish, grime that gets harder over time
- Gentle, natural cleaners protect both your health and the cabinet surface
What to Know Before You Start (Material & Tools)
Before I show you the hacks, you and I need to get on the same page about your cabinet material. Different finishes respond differently, and using the wrong tool on wood or painted surfaces can leave marks you didn’t expect. I’ve worked in homes where a simple scrub pad took the shine off in seconds — so this step matters more than people think.
First, identify your cabinet type:
- Wood (sealed, stained, or varnished)
- Painted (matte, satin, or gloss)
- Laminate
- Glass-front cabinets
Once you know what you’re working with, gather a few basic tools. If your cabinets are wood and you want a deeper cleaning method, you can also check out my full guide on how to clean wooden kitchen cabinets like a pro for more targeted steps. You don’t need anything fancy, just the right gentle equipment so you’re not fighting the grease or hurting the finish.
Tools that make the job easier:
- A microfiber cloth
- A soft sponge
- A toothbrush for grooves and edges
- A soft plastic scraper for stubborn buildup
- Mild gloves if your skin is sensitive
And one rule I stand by: always test the product or mixture on a hidden corner. You’ll know instantly whether the surface reacts well before you clean the entire door.
Better Homes & Gardens covers different cabinet materials and why it matters.
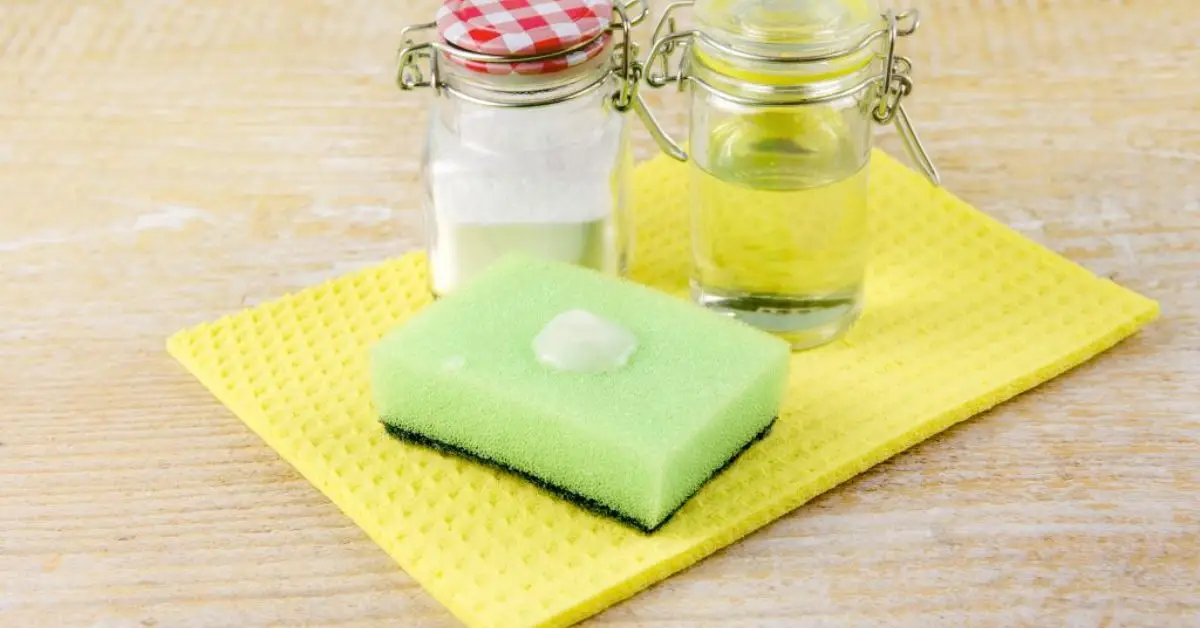
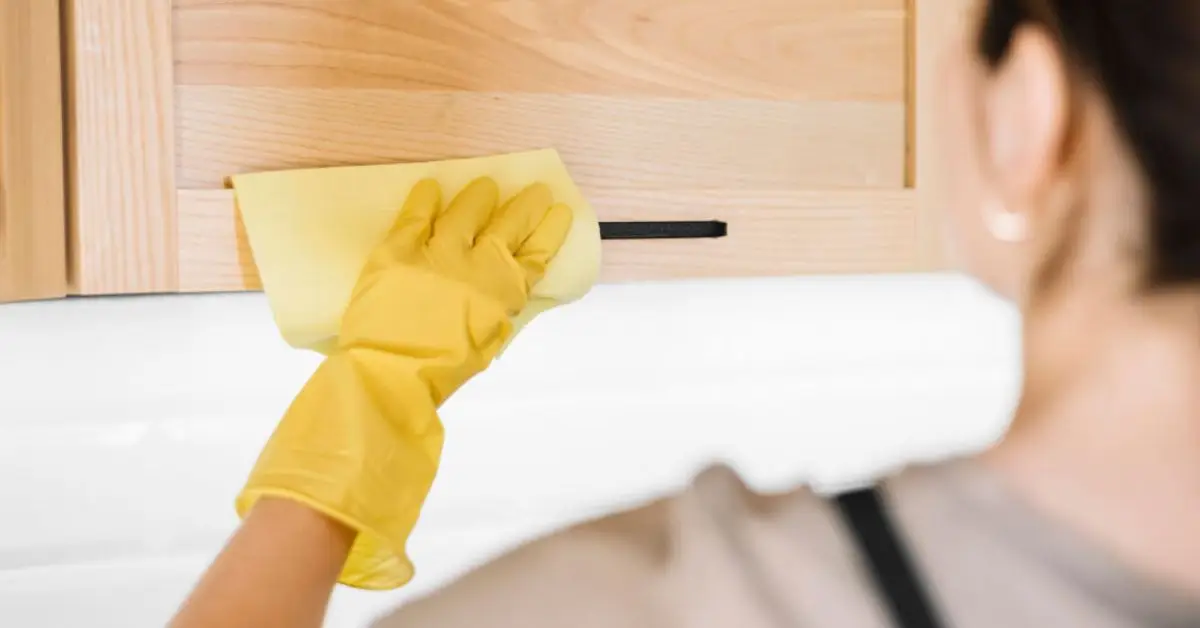
Hack #1: Dish Soap + Warm Water
Whenever someone asks me where to start, this is the first method I suggest. You already have dish soap at home, and it’s designed to cut through cooking grease without harming delicate surfaces. A few drops in warm water are usually enough to loosen that oily layer without any scrubbing drama.
How I use it:
- Mix a small amount of grease-cutting dish soap into warm water
- Dip a microfiber cloth, wring it out, and wipe the surface
- Use gentle pressure — you don’t need to push hard
- For corners and cabinet edges, switch to a soft toothbrush
The surfactants in dish soap break apart grease molecules, so you’re not fighting the mess — the soap is. What you shouldn’t do is scrub aggressively. That’s the mistake most people make. Hard pressure + warm surfaces can scratch the finish or leave dull spots behind.
Why this method works for you: It’s the gentlest way to start, it’s safe on almost all finishes, and it removes more grime than most people expect.
Hack #2: Baking Soda Paste
When the grease has been sitting for months (or years — I’ve seen it), dish soap alone might not be enough. That’s where baking soda helps. It’s mildly abrasive, so it lifts stuck-on grime without scratching most surfaces when used with care.
How to make and use the paste:
- Mix baking soda with a little water until it becomes a spreadable paste
- Apply it to stubborn oily spots
- Let it sit for a couple of minutes so it can soften the buildup
- Rub gently in small circles
- Wipe clean with a damp cloth and dry thoroughly
This works especially well near handles and lower edges where grease tends to collect. Just make sure you don’t leave residue behind — it can dry chalky if not rinsed well.
Why this method helps you: It gives you extra cleaning power without jumping to harsh products, and it’s safe enough for most cabinet materials when used lightly.
If this tone and depth feel right to you, say the word and I’ll continue with the next hacks.
Hack #3: Vinegar–Water Solution
Whenever I want something simple, natural, and still strong enough to cut through sticky grease, I go with vinegar. It works fast, but you have to use it lightly so the finish stays safe.
How I mix it:
- Combine equal parts distilled white vinegar and warm water
- Spray the mixture onto a cloth instead of directly onto the cabinet
- Keep the surface slightly damp, not soaked
Let it rest for a few seconds so the vinegar can loosen the grease. Then wipe it clean and follow with a quick rinse so there’s no leftover smell.
One thing you should never do is mix vinegar with anything containing bleach. And just like with any cleaner, always test a small hidden corner first.
Why this works for you: You’re getting natural degreasing power without harsh fumes or risky chemicals.
Hack #4: Citrus Oil Cleaners / Essential Oils
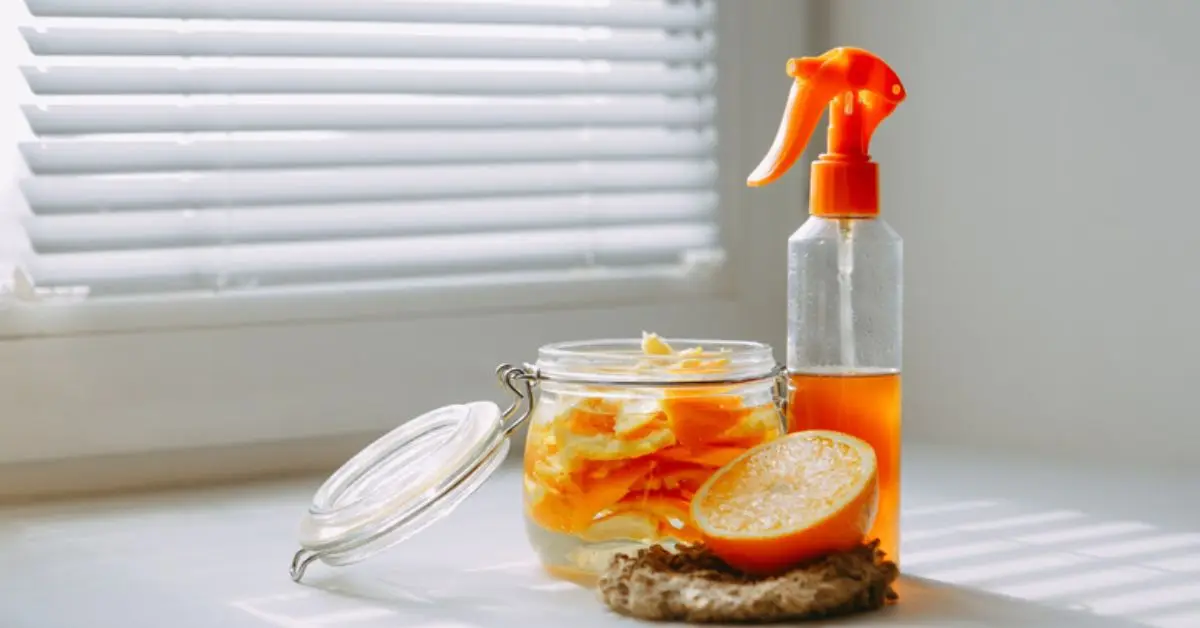
Citrus oils are one of my favorite “gentle but effective” tools. They break down grease while leaving a fresh scent — and they’re much softer on cabinet finishes than strong chemical sprays.
How you can use them:
- Add a few drops of lemon or orange essential oil to warm water or your soap mixture
- Apply it with a microfiber cloth
- Let it rest for a moment on sticky areas
- Wipe it clean, then rinse and dry
If you prefer commercial citrus-based cleaners, those work too, but a DIY mix usually performs surprisingly well.
Why this works for you: You get cleaning power plus a pleasant scent, without drying out the cabinet surface. A Better Homes & Gardens guide explains how citrus-based methods help lift grease safely.
Hack #5: Olive Oil “Pre-Soften” Trick
This trick always catches people off guard, but oil can loosen old, hardened grease better than most water-based cleaners. When I’m dealing with years of buildup, this is the first step I take.
How I do it:
- Put a tiny amount of olive oil on a clean cloth
- Rub it over the sticky, stubborn spots
- Wait a minute so it can soften the grease
- Wipe away the loosened layer
- Follow with a dish-soap solution to clear any leftover oil
- Dry completely to avoid a slick film
This method is safe on wood and especially helpful when nothing else seems to “break the seal” of old grease.
Why this works for you: It softens grease gently, without scratching or damaging delicate finishes.
Hack #6: Shaving Cream Cleaning (For Painted Cabinets)
Plain white shaving cream (not gel) is mild and foamy, making it a surprisingly good cleaner for painted cabinets. It lifts grease without rubbing off paint or changing the cabinet’s sheen.
How to use it:
- Add a small blob of shaving cream to a damp microfiber cloth
- Wipe the greasy areas lightly
- Clean the surface with a damp cloth afterward
- Dry the area fully
It’s one of the best “soft touch” hacks when you’re worried about damaging the paint.
Why this works for you: You’ll remove grease without risking streaks, scratches, or dull spots.
Hack #7: Salt + Micro-Scrub for Crevices
When grease settles into the tiny grooves of cabinet doors, no cloth can reach it properly. That’s when I switch to a simple salt scrub. Salt has just enough grit to break up grime without scratching the surface if you use it gently.
How I do this safely:
- Sprinkle a little kosher salt onto a damp soft cloth
- Rub the greasy corner or groove with light pressure
- Let the salt loosen the grime instead of scraping at it
- Rinse the area well, wipe with a clean damp cloth, and dry completely
This method shines when you’re dealing with decorative trim or narrow edges that tend to hold old grease.
Why this works for you: You get extra cleaning power without risking scratches from harsh pads.
Hack #8: Prevent Grease Build-up — Wax Paper or Cabinet Liners
One thing I’ve learned over the years is that preventing grease is much easier than fighting it later. A few small habits can save you hours of scrubbing in the long run.
Simple ways to stay ahead of grime:
- Line the tops of upper cabinets with wax paper so grease settles on the paper instead of the wood
- Add washable mats or liners inside cabinets to catch splatter and residue
- Do a quick wipe-down with diluted dish soap after cooking, especially near the stove
These small steps keep your cabinets cleaner for longer and reduce how often you need deep cleaning. For even smoother day-to-day kitchen management, you may also like these expert-approved cabinet tricks for clutter-free living that help keep everything organized effortlessly.
Why this works for you: You protect your cabinets without constant effort — just replace the liners when they get dirty.
The Kitchn shows how easily grease can build up on wood cabinets, which is exactly why small prevention steps go a long way.
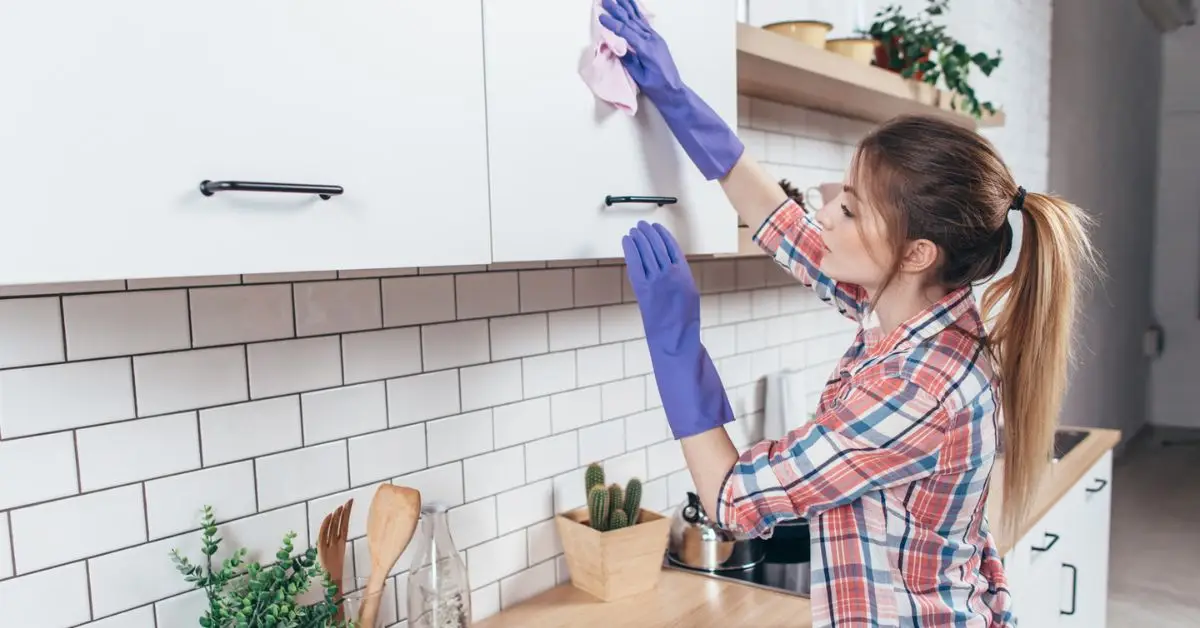
Hack #9: Gentle Routine Maintenance
If you stay consistent with small cleanups, grease never gets the chance to harden. I always choose light maintenance over heavy scrubbing — it’s faster and gentler on your cabinet finish.
A simple routine:
- Weekly: wipe cabinet fronts and edges with a microfiber cloth and mild soapy water
- Monthly: clean around handles, knobs, and hinges
- After cooking: do a quick wipe on the cabinets closest to the stove
- For tight spots: use a toothbrush around hardware and grooves
When you follow this rhythm, you almost never need strong cleaners.
Why this works for you: It keeps your cabinets looking clean year-round and stops buildup before it becomes a problem.
Hack #10: Deep Cleaning with Steam / Heat Trick (Optional & Careful)
Sometimes grease gets so thick and sticky that regular cleaners slide right off. When that happens, I soften the grime first — and a little heat works surprisingly well.
How I handle stubborn areas:
- Use a hairdryer on low to gently warm the greasy patch
- Stop when the surface feels warm (not hot)
- Wipe the softened grease with your dish-soap solution or baking soda paste
- Dry the area immediately
Heating the grease first makes it easier to remove without heavy scrubbing.
Important cautions:
- Test heat on a hidden spot
- Avoid steamers on plastic or thermofoil cabinets
- Keep the heat moving so it never sits in one place
Why this works for you: It turns a tough, stuck layer into something you can wipe away with almost no effort.
Conclusion & Next Steps
Keeping your kitchen cabinets clean doesn’t have to feel like a full-weekend chore. After testing and using these methods in my own kitchen, I’ve seen how much easier life gets when you rely on simple, safe, non-toxic steps. You now have 10 practical hacks you can use without worrying about harsh chemicals or damaged finishes — from dish soap and baking soda to heat tricks that loosen old grease in minutes.
If you’re not sure where to start, choose 2–3 easy wins this week. Try the dish-soap wipe-down, use a baking soda paste on the tough spots, and line the cabinet tops so you’re not dealing with built-up grime later. Small moves add up fast, and you’ll feel the difference every time you walk into your kitchen.
What really keeps cabinets looking new is consistency. A quick weekly wipe and a simple monthly deep clean prevent the kind of buildup that takes hours to fix. Once you build the habit, it becomes effortless. And if you have honey oak cabinets and want to update the look after cleaning, here’s a helpful guide on simple ways to modernize honey oak cabinets without a full remodel.
Before you go, I’d love to hear from you — which hack are you trying first? Drop your answer in the comments, and if you want more practical, chemical-free cleaning tips, make sure you follow along on Build Like New for the next guide.
Disclaimer: The cleaning methods shared here are based on general household practices and personal experience. Always test any solution on a small hidden area of your cabinets first, especially if they’re painted, older, or specialty-finished. Follow manufacturer care instructions when available. Use all cleaning products and tools responsibly and at your own discretion.

