
Winter Is Coming: Protect Your Pool Now and Stop Expensive Damage Later
Winter is coming, and if your pool isn’t ready, it could cost you hundreds—or even thousands—of dollars in repairs next spring. I’ve been helping homeowners winterize their pools for over two decades, and I’ve seen what happens when this step gets skipped: cracked pipes, green water, and filters that need a complete overhaul.
You might think it’s just about throwing on a cover and calling it a day, but winterizing a pool is more than that. It’s about protecting your investment, saving time, and making sure your first swim of the year is relaxing—not a scramble to fix preventable damage. In this guide, I’ll walk you through everything I’ve learned about preparing your pool for the cold months, step by step, including the common mistakes most people make—and how to avoid them.
By the end, you’ll have a clear action plan, practical tips, and a checklist to keep your pool safe all winter long. Ready to stop worrying and start winterizing the right way? Let’s dive in.
Why Winterizing a Pool Is Not Optional — It’s Essential
I can’t stress this enough: skipping winterization is like leaving your front door wide open during a blizzard. I’ve seen too many homeowners shrug it off, thinking “it’ll be fine,” only to face major headaches come spring. If you don’t winterize your pool properly, here’s what you’re risking:
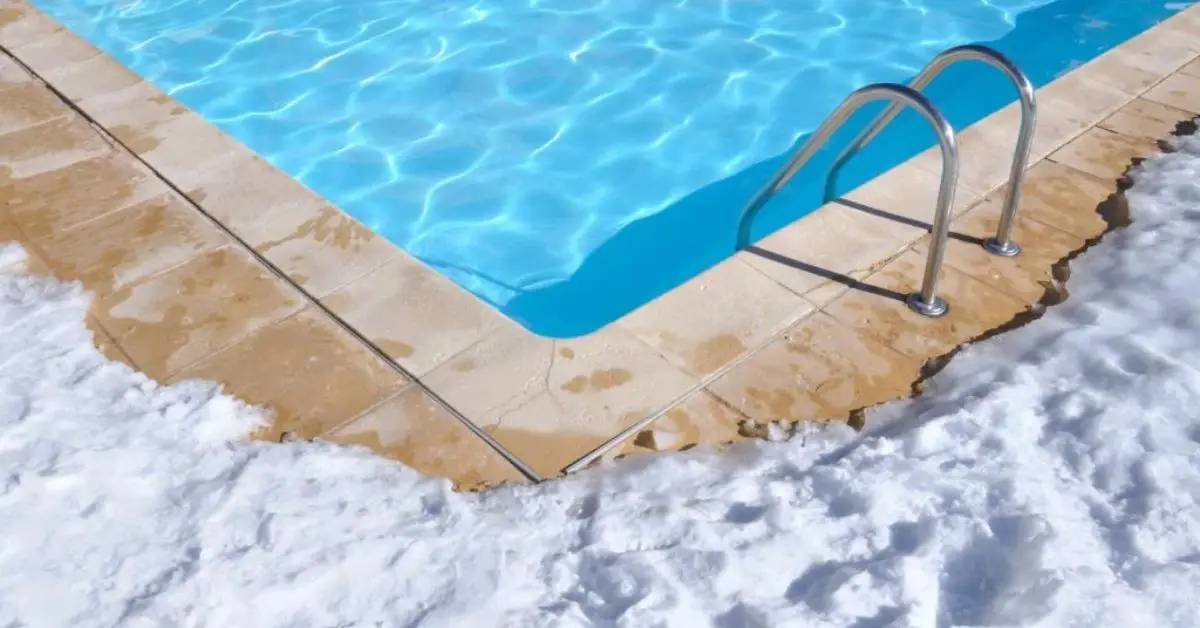
- Freeze damage to plumbing and pumps – Even a small amount of water left in pipes can expand and crack them when temperatures drop. That means costly repairs or full replacement of your equipment.
- Algae growth and poor water quality – Warm water lingering too long or unbalanced chemicals create the perfect environment for algae, which can stain your pool and make reopening a nightmare.
- Surface damage and staining – Debris, leaves, or leftover chemicals can eat away at plaster, tile, or vinyl surfaces over winter.
- Expensive repairs and deep cleaning – All of the above combine to make spring opening a stressful, costly ordeal.
On the flip side, properly winterizing your pool protects every part of your investment:
- Keeps your structure, plumbing, and equipment safe from freeze-related cracks
- Maintains clean water so you’re not spending hours scrubbing algae in spring
- Extends the lifespan of pumps, filters, and pool surfaces
- Reduces spring-opening costs and hassle
Trust me, taking these steps now saves you time, money, and stress later. It’s not just about closing your pool—it’s about safeguarding a part of your home that you love.
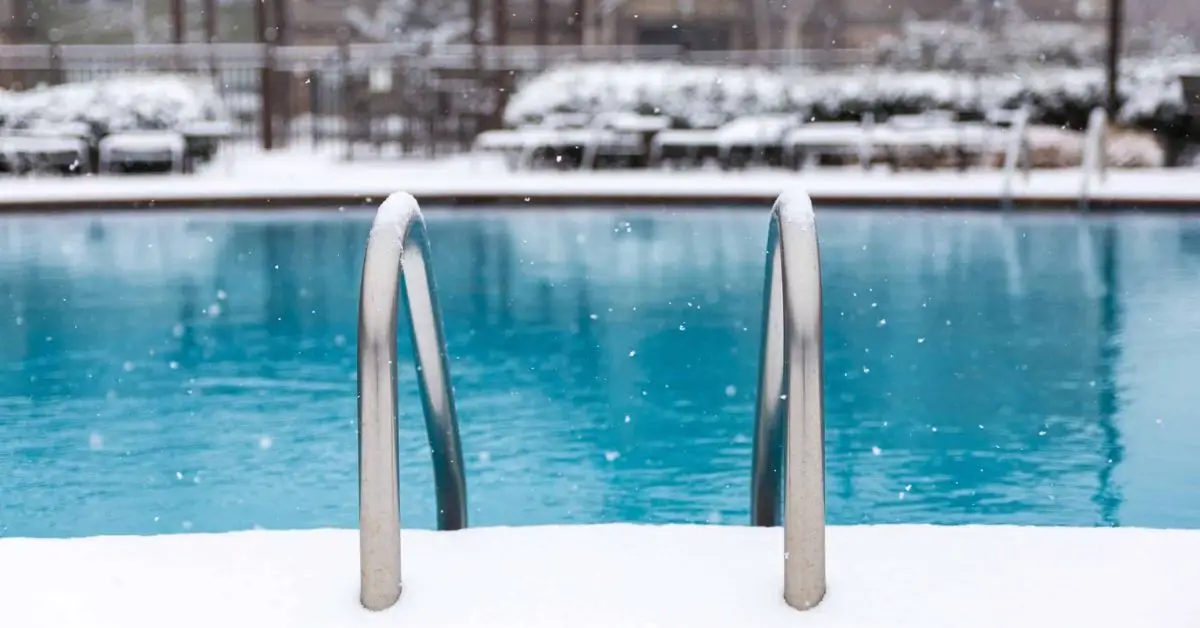
When Is the Right Time to Winterize Your Pool? (Timing & Climate Considerations)
Timing is everything when it comes to winterizing your pool. If you do it too early, you’re wasting chemicals and effort; too late, and you risk freeze damage. Here’s how I determine the perfect window, and how you can too:
- Watch the thermometer – A reliable rule of thumb is to start winterization when water or air temperatures consistently drop below around 65 °F (≈18 °C). At this point, algae growth slows, and your chemical treatments work more effectively. According to Watsons Pool Blog, this is the ideal threshold for most regions.
- Consider your local climate – If you live in a mild climate, you might have a bit more leeway. In colder regions, you need to be proactive—sometimes starting the process before the first frost is key.
- Check water temperature, not just air temperature – The water retains heat longer than the air, so make sure your pool itself is in the right range before starting chemicals or draining lines.
By paying attention to the timing, you make sure that every step of winterization is effective. Do it too early, and algae or debris can sneak in; do it too late, and freezing water can crack your pipes. Getting the timing right gives you peace of mind that your pool is protected all winter.
Complete Step-by-Step Guide: How to Winterize a Pool Properly
Winterizing your pool doesn’t have to be overwhelming if you tackle it step by step. I’ll walk you through exactly what I do for every pool I close for the season.
Step 1 — Deep Clean the Pool (Skim, Brush, Vacuum)
Before you even touch chemicals or covers, your pool needs a deep clean:
- Skim the surface to remove leaves, twigs, and other debris. You can even use tools like a leaf blower to quickly clear leaves and debris from the pool surface before winterizing—here are 10 jaw-dropping ways to use a leaf blower inside and outside your home that can make this chore surprisingly easy.
- Vacuum the pool floor and brush walls and corners
- Remove any trace of algae or organic matter to prevent stains or wintertime algae blooms.
If you want to make sure your pool is spotless before winterizing, check out these 4 easy DIY tricks to remove dirt and sand from your pool for extra cleaning tips that make the process much faster.
If the pool isn’t squeaky-clean before you winterize, the cover and chemicals won’t protect it. Think of it like putting a blanket over a messy bed—nothing underneath is safe.
Step 2 — Test & Balance Water Chemistry + Shock & Add Algaecide
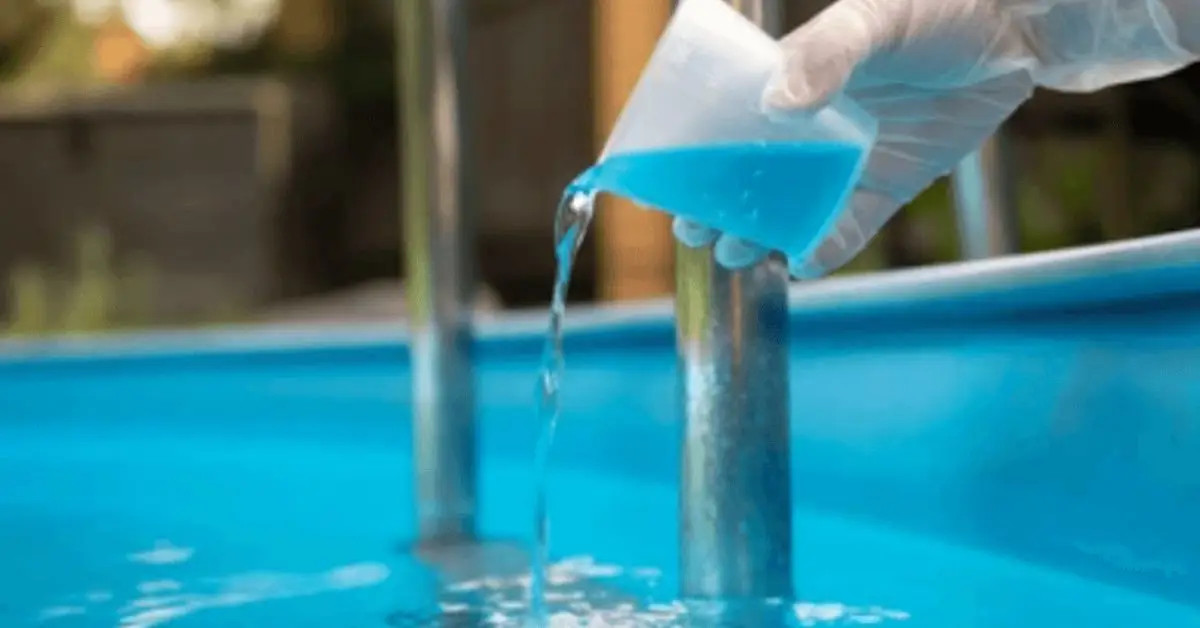
Next, we tackle the water itself:
- Check pH, alkalinity, and hardness; ideal ranges are pH ~7.2–7.6 and alkalinity ~80–120 ppm
- Perform a chlorine shock a day or two before closing, then wait for chlorine levels to settle between 1.0–3.0 ppm
- Add a winter-specific algaecide, and optionally a stain or scale preventer. Preventing algae growth is critical for winter pool prep; you can apply similar simple techniques to your pool maintenance routine as those used in 7 simple ways to remove algae from your roof without calling a pro to keep algae at bay efficiently.
Balanced water now saves you hours of cleaning later. It stops algae, bacteria, and scaling from taking hold over the winter.
Step 3 — Lower Water Level & Remove Pool Accessories
Once your water is chemically ready, focus on physical preparation:
- Lower the water below the skimmer or tile line, depending on your pool type and cover
- Remove ladders, handrails, diving boards, toys, skimmers, floats, and cleaning gear
- Clean them, let them dry, and store them indoors
This simple step prevents freeze damage, rust, and wear on your equipment while making spring reopening far smoother.
Step 4 — Drain/Blow Out Plumbing Lines, Pumps, Filters & Winterize Equipment
Now it’s time to protect the hidden parts that cause the most expensive damage:
- Turn off the filter pump, remove drain plugs, and blow out remaining water from plumbing lines, heaters, and filters
- In regions prone to freezing, you can add pool-safe antifreeze to the lines for extra protection
- Lubricate valve o-rings and seals before storage
Removing water from equipment is critical. Leftover water can expand when frozen and crack pipes, pumps, or heaters—a nightmare in spring.
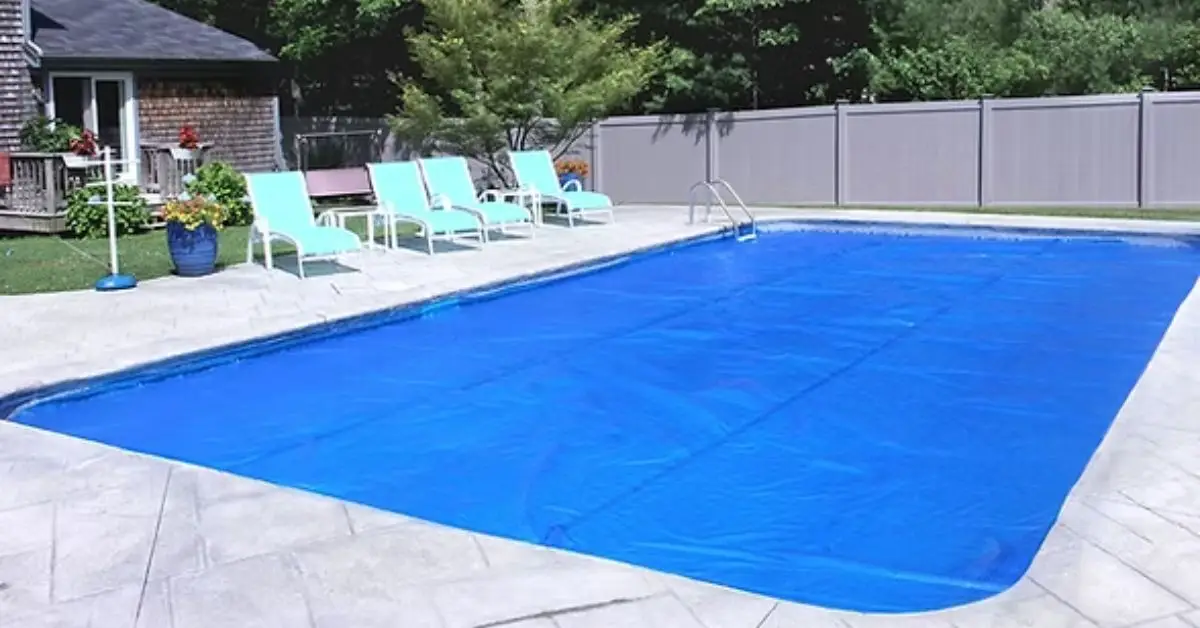
Step 5 — Cover the Pool with a Quality Winter Cover & Secure It Properly
Finally, the crown jewel of winter protection:
- Use a fitted winter or safety cover (mesh or solid) suitable for your pool type and local climate
- For above-ground pools, place a pool pillow under the cover to absorb ice pressure
- Check periodically through winter for debris, rain, snow, or ice accumulation
A secure cover keeps your pool clean, prevents freeze damage, and makes spring opening simple and stress-free.
Common Mistakes to Avoid When Winterizing — and How to Prevent Them
Even experienced pool owners slip up sometimes. Here’s what I see most often, and how you can avoid these mistakes:
- Closing the pool too early while water is still warm – increases risk of algae and ineffective chemical treatment. You can check detailed timing advice in this Pentair winterizing guide.
- Skipping water chemistry balancing or shock & algaecide – leads to algae, bacteria, and stains
- Leaving water in plumbing lines or equipment – freeze damage risk
- Using a poor-fitting or unsecured cover – allows debris in and risks equipment damage
- Neglecting winter checks – debris, snow, or water accumulation can cause cover tears or additional maintenance headaches
Avoiding these pitfalls is the fastest way to ensure your pool emerges from winter in excellent condition—saving you money and headaches.
Winterizing Checklist & Tools You Need
Here’s what I always make sure is on hand before I start winterizing:
- Cleaning tools: pool skimmer/net, pool vacuum, pool brush
- Chemical tools: water test kit, chlorine shock, algaecide, pH/alkalinity adjusters, scale/stain remover
- Hardware & protective gear: pool cover, winter plugs, pool pillow (for above-ground pools)
- Equipment prep: air compressor or blower, pool-safe antifreeze (if required), storage for removable accessories
Optional extras I recommend:
- Periodically check your cover for debris, rain, or snow
- Monitor winter water chemistry if your pool is exposed to frequent temperature fluctuations
- Keep leaves and other debris off the cover to avoid tears or extra weight
This checklist makes winterizing far less stressful. It’s quick, actionable, and ensures you have everything ready before the weather turns.
When & How to Reopen Your Pool in Spring — What to Do & What to Check
Most guides stop at closing your pool, but here’s where you can really get ahead of the game. Planning for spring now saves headaches later:
- Wait for consistent warm temperatures and avoid frost days before reopening
- Remove the cover carefully and clean off any debris accumulated over winter
- Refill water to the proper level if you had lowered it
- Reconnect your pump, filter, and heater
- Test and rebalance water chemistry, adding shock if needed
- Inspect equipment for leaks or cracks
- Slowly restart circulation and monitor water clarity over the first few days
By thinking about spring from the start, you make sure your pool is safe, clean, and ready for your first swim without last-minute stress.
Cost vs. Benefit — Is Winterization Worth It?
You might be wondering if all this effort is really worth it. From my experience, it absolutely is:
- Winterization costs: chemicals, pool cover, optional antifreeze, tools, and a few hours of labor
- Potential damage costs: burst pipes, filter/pump replacement, deep cleaning, resurfacing, leaks—these can easily run into thousands of dollars
Even approximate figures show the ROI is clear: spending a small fraction now prevents massive expenses later. Plus, you save time and reduce stress in spring.
For example, I recently worked with a homeowner who skipped winterization and ended up replacing a cracked pump and two pipes—costing triple what a proper winter prep would have been. Stories like this make the value obvious, and guides like this Arm & Hammer winterization article back up the step-by-step approach I recommend.
Winterization isn’t just maintenance—it’s an investment in your pool’s longevity, your wallet, and your peace of mind.
Pro Tips & Eco-Friendly / Sustainable Pool Winterization Practices
If you want to take your winterization to the next level, there are a few tips I always share with homeowners who care about both their pool and the environment:
- Eco-friendly chemicals: Consider non-toxic algaecides, propylene-glycol-based pool antifreeze, or biodegradable products. Many standard pool antifreezes are actually safe, but choosing greener options reduces environmental impact while keeping your pool protected.
- Periodic winter checks: Even with a cover in place, check it occasionally for tears, remove accumulated snow or debris, and ensure water levels under the cover remain stable.
- Professional or automated help: For busy homeowners or those less confident with DIY, hiring a professional winterization service or using automated systems can save time and reduce errors.
These small steps help you adopt greener practices while making sure your pool stays safe and ready for spring. Many guides skip this entirely, but adding sustainability can set your pool care apart.
Your Winter-Ready Pool Action Plan
Winter is approaching, but taking a little time now can protect your pool—and your wallet—through the cold months. Here’s your quick action plan:
- Clean and prep your pool: Skim, vacuum, brush, and balance your water chemistry.
- Secure and protect equipment: Lower water levels, remove accessories, blow out plumbing lines, and add antifreeze if needed.
- Cover and monitor: Use a proper winter cover, add a pool pillow if necessary, and check periodically.
Pick a weekend to tackle these steps, gather your tools and supplies, and mark it on your calendar. If you have questions, want to share your experience, or need more tips, drop a comment below—I’ll respond personally.
Also, for even more detailed guides and seasonal pool tips, visit Build Like New and bookmark the page so you have a complete winterization resource at your fingertips.
Taking action now means a worry-free, ready-to-swim pool come spring—and that’s what every pool owner deserves.
Disclaimer: Winterizing a pool involves handling chemicals and equipment that can be hazardous if used incorrectly. Always follow manufacturer instructions and safety guidelines. If you’re unsure about any step, consider consulting a professional to avoid damage or injury.

