
4 Simple Steps to Get Dust-Free Walls with Wet Sanding
If you’ve ever sanded drywall the usual way, you already know the feeling—fine white dust drifting through every room, settling into vents, coating furniture, and making you wonder why you ever started the project. I’ve been there, and after one especially messy job years ago, I went looking for a cleaner method. That’s when I realized wet-sanding isn’t just a “hack.” It’s a legitimate technique painters and remodelers use to control dust without sacrificing a smooth finish.
What I like about wet-sanding is that it slows the process down just enough to give you more control. Instead of clouds of dust, the joint compound softens under a damp sponge, and you shape it with light pressure. It feels more hands-on, almost like sculpting instead of grinding. And if you’re working in a lived-in home—kids around, pets wandering through, HVAC running—it can save hours of cleanup.
But here’s the part most guides skip: wet-sanding only works well if you approach it with the right tools, timing, and expectations. It’s not a magic replacement for every situation. Some areas need traditional sanding, and some don’t respond well to a damp sponge at all. The trick is knowing when it works and how to get a clean, even surface without streaks or over-wetting the mud.
Before we get into the steps, think about your space: Are you trying to control dust? Working in a tight area? Fixing a small patch? These are the moments when wet-sanding can make your life much easier.
Quick Answer: Yes — You Can Wet-Sand Drywall in 4 Simple Steps
If you want the fast version: dampen your sponge, use the abrasive side to shape the mud, switch to the soft side to smooth everything out, then let it dry and check for touch-ups.
Just remember, this works best for seams, corners, and small patches — not for thick, heavy-mud areas that need stronger sanding.
What Wet-Sanding Drywall Actually Means — and Why You Might Prefer It

Wet-sanding is simple: you soften the dried joint compound with a damp sponge and smooth it out instead of grinding it down with sandpaper. You’re reshaping the mud while it’s slightly rehydrated, which keeps dust under control and gives you more room to finesse the surface.
I lean on this method when I’m working in lived-in homes because dry sanding sends dust into vents, carpets, closets — everywhere. Wet-sanding slows things down a bit, but you get cleaner air, cleaner floors, and far less cleanup.
Here’s why you might choose it:
- Minimal Dust: Huge advantage when you’re working around furniture, clothing, or open HVAC vents.
- Gentler on the Surface: Less risk of gouging the drywall.
- Better for Tight Indoor Spaces: Especially helpful when a room can’t be fully cleared.
But you should also know the downsides:
- Slower: You’re softening, shaping, and smoothing — it’s more deliberate than sanding.
- Finish May Not Be Perfectly Smooth: Too much water or pressure can create slight waves.
- Not Right for Thick Mud: Heavy compound requires traditional sanding power.
Wet-sanding makes the most sense for:
- Small drywall repairs
- Tape seams and inside corners
- Light touch-ups before painting
- Any project where dust control matters more than speed
If you want a technical breakdown of how the method works, you can check out this overview of wet-sanding drywall from The Spruce.
Tools & Prep You’ll Need Before You Start (Set Up Right)
Sponge and Bucket (or Two)
You’ll want a stiff drywall-sanding sponge — the kind with an abrasive side and a smooth side. A soft kitchen sponge won’t give you the control you need, and it won’t hold up once the mud softens. I keep a bucket of warm water nearby, and sometimes a second bucket helps when the sponge gets loaded with compound and needs a quick rinse. A clean sponge makes a big difference in how even the surface turns out.
Protective Setup & Prep Area
Even though wet-sanding keeps dust to a minimum, I still cover the floor and nearby furniture with plastic or a drop cloth. Before you start, make sure the walls are clean and free of any leftover adhesives or residues — if you need tips, check out 5 Easy Ways to Remove Wallpaper Glue Without Damaging Your Walls to prep your surface properly.
It prevents splatter marks and keeps the area clean if you switch to dry sanding later. If you’re in a small room, sealing off the doorway with a sheet is a simple extra step that keeps everything contained.
Before you start, make sure the joint compound is fully dry. If it’s even slightly damp, the sponge will smear it instead of giving you a clean shape. Give it the proper dry time — it pays off in a smoother finish.
Optional Extras: Putty Knife, Extra Mud, Rags, Good Lighting
I like keeping a putty knife within reach. If there’s a ridge or dried chunk of compound, shaving it off first saves you a lot of sponge work. A few clean rags help when you need to wring out the sponge or wipe the surface lightly.
Good lighting is also underrated. When the light hits the wall from the side, you catch high spots and edges instantly — issues you’d completely miss under overhead lighting. This one small detail can make the difference between a “good enough” finish and a clean, ready-to-paint surface.
If you want a clear visual reference on the basic tools used in drywall sanding, Home Depot has a helpful guide.
4-Step Wet‑Sanding Process (Detailed)
Step 1: Dampen the Sponge Properly
Fill your bucket with warm water, dip the sponge in, then wring it out until it’s damp but not dripping. A sponge that’s too wet will over-soften the compound and make the wall surface uneven. I always use a firm sanding sponge (not a soft kitchen sponge), because it stays rigid enough for controlled smoothing.
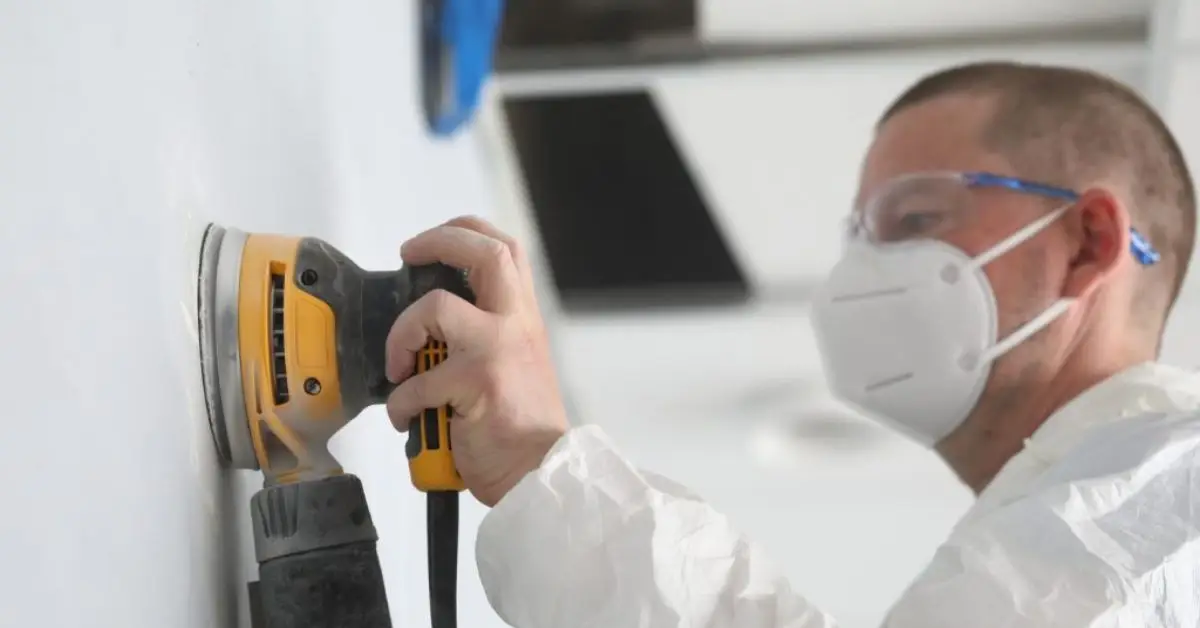
Step 2: Use the Abrasive Side — Remove Ridges and High Spots
Using gentle circular strokes with the abrasive side, carefully smooth out ridges, seams, or lumps in the dried compound. Don’t press too hard or focus too long on one spot, or you risk gouging the drywall paper. Whenever the sponge starts to feel gritty, give it a rinse and re-dampen before continuing.
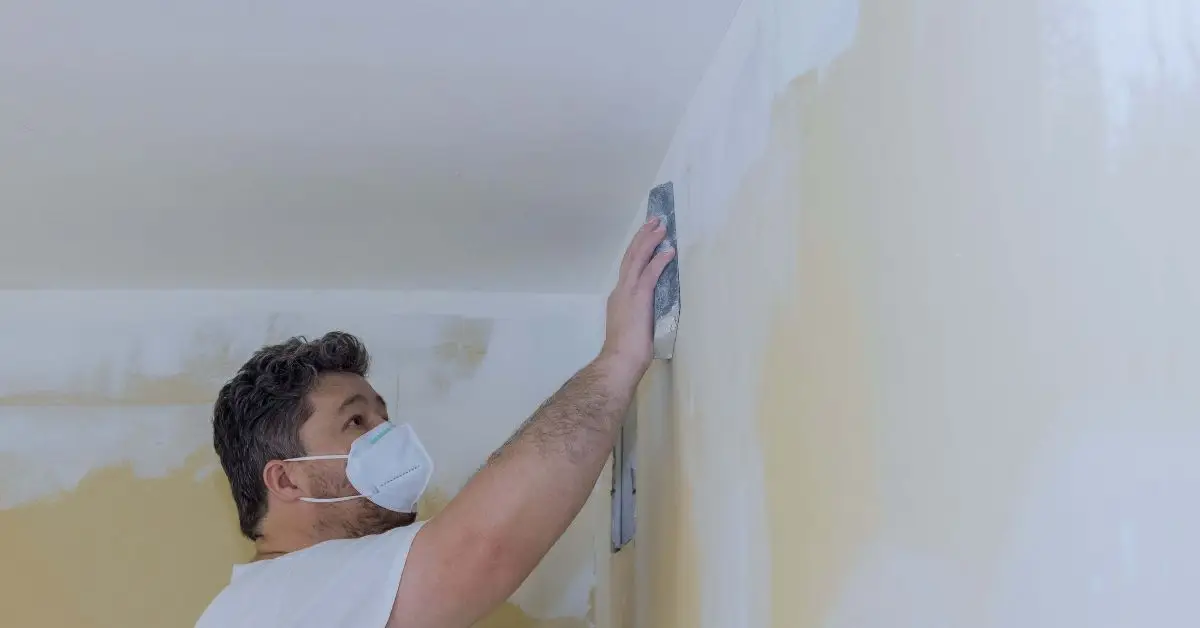
Step 3: Flip to the Smooth Side and Feather the Edges
Once the big ridges are gone, re-wet the sponge, flip to the smooth side, and use soft sweeping motions to blend the compound edges gently into the adjacent wall. Be light and consistent — overworking or over-wetting can leave soft spots or surface irregularities.
Step 4: Let the Wall Dry, Inspect, and Touch Up
Let the wall dry fully (per compound instructions — often overnight). Then inspect under good lighting to catch bumps, edges, or uneven texture. If needed, apply a thin coat of compound and repeat a light wet-sanding pass. If seams still show, a light dry-sand pass can smooth everything out — but only as a small touch-up to keep dust minimal. This hybrid method isn’t often covered, but it’s a smart finish move.
For guidelines on compound drying times and sanding best practices, see National Gypsum’s drywall-sanding tips.
When Wet-Sanding Alone Is Not Enough (And You May Need Dry-Sanding or Hybrid Method)
Wet-sanding is great for small patches and corners, but it’s slower and not always enough for large rooms, thick compound, or multiple layers of mud. In those cases, dry sanding — or a hybrid approach — can save time and give a smoother, flatter finish.
Here’s the trade-off:
- Dry sanding gives a perfectly smooth surface but creates dust.
- Wet-sanding keeps dust under control but can leave minor undulations or soft spots.
A hybrid approach works well: wet-sand seams, corners, and small repairs, then lightly dry-sand large flat surfaces or do a final pass for the perfect finish. This combination is often missing from competitor guides, so including it keeps your project realistic and manageable.
Pro Tips & Common Mistakes to Avoid (From Experienced DIYers / Painters)
Even small mistakes can ruin the results. Here’s what I’ve learned from years of sanding and patching drywall:
- Too wet sponge: Over-softens mud and creates depressions — always wring properly.
- Skipping sponge rinsing: A gritty sponge drags dried mud and scratches the surface.
- Wet-sanding large walls blindly: Too slow and uneven. Plan zones or use hybrid sanding.
- Lighting matters: Finish under side lighting or raking light to catch ridges and imperfections before painting.
- Multiple sponges/clean water: Rotate sponges or water to avoid muddy surfaces and maintain an even finish.
After Wet-Sanding: Drying, Priming, and Prepping for Paint — Do’s for a Dust-Free Finish

Once the sanding is done:
- Let the wall dry fully — residual moisture affects paint adhesion.
- Wipe down surfaces with a soft cloth or brush to remove any remaining dust. Once the wall is sanded and dust-free, you might still notice small scuff marks or minor imperfections — for tricks on dealing with these without harming your paint, see 8 Genius Ways to Remove Scuff Marks from Your Walls Without Damaging Paint.
- Use a good-quality primer for drywall — it hides seams and ensures paint adheres properly.
- Inspect under different lighting (natural vs artificial) to catch imperfections, and touch up as needed.
Final Checklist Before You Paint — 5-Point Sanity Check for a Smooth, Dust-Free, Paint-Ready Wall
- Compound is fully dry and smooth under good lighting.
- All seams and edges are feathered; no visible ridges or lines.
- Sponge work was gentle and even; no gouges or over-wet spots.
- Room is clean; no dust, crumbs, or loose mud.
- Primer is applied and ready for paint.
After completing your final checks, follow a few extra precautions to avoid paint drips and keep your walls mess-free — check out 7 Tricks to Prevent Paint Drips and Mess-Free Walls before starting your paint job.
Have you tried wet-sanding drywall before? Share your tips or questions in the comments below — I love hearing what works for other DIYers.
Also, if you want more step-by-step guides for home projects that look professional, check out my website Build Like New for practical tips and tutorials you can actually use.
Disclaimer: The information provided here is for general DIY guidance only. Results may vary depending on materials, tools, and individual skill level. Always follow product instructions and safety precautions when working with drywall and joint compound.

