
Clean Your Plastic Chairs in Just 15 Minutes Without Harsh Chemicals
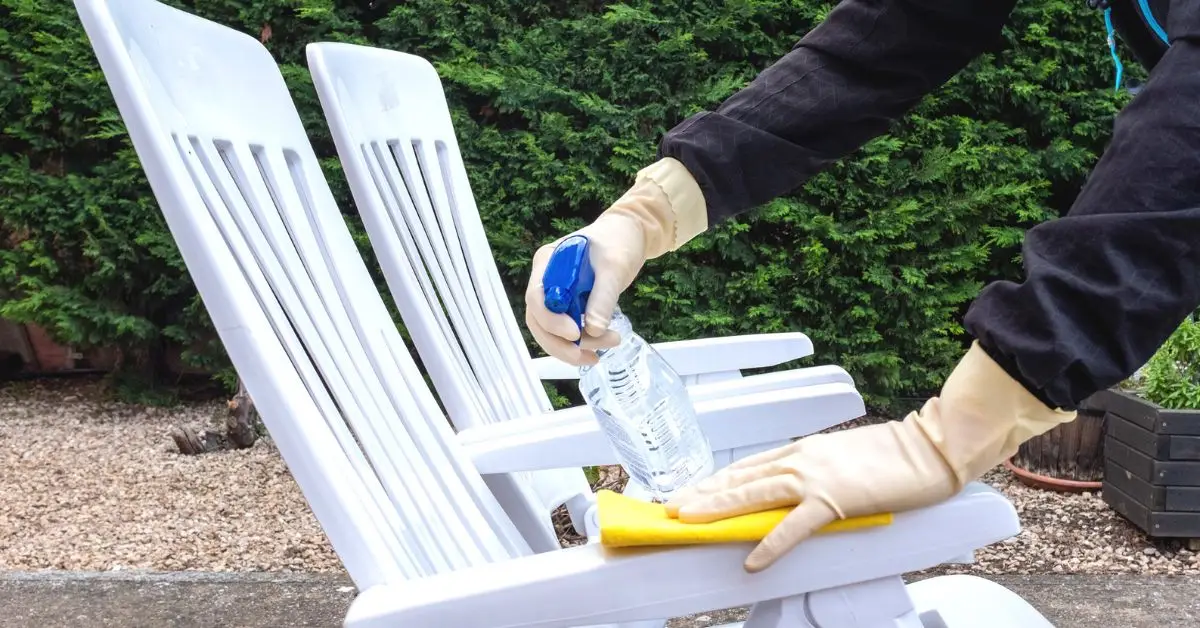
I’ve spent countless weekends scrubbing my outdoor plastic chairs, only to find them looking just a little cleaner, but never truly spotless. If you’ve ever felt the same frustration—stubborn dirt, mildew spots, or that grimy layer that just won’t budge—you’re not alone. The good news is, you don’t need harsh chemicals or hours of elbow grease to bring them back to life. In fact, with the right approach, you can get your plastic chairs sparkling clean in just 15 minutes.
I’ll walk you through simple, safe methods that actually work, share real-life tips I’ve tested, and show you how to protect your chairs so they stay clean longer. By the end, you’ll see that keeping your plastic furniture fresh isn’t a chore—it’s a small, satisfying habit that makes a big difference.
What You’ll Need — Gentle Supplies for Quick Cleaning
Before you roll up your sleeves, it really helps to have everything ready. I’ve learned that prepping your supplies first not only saves time but also makes the whole process feel effortless. Here’s what you’ll need for a safe, 15-minute clean:
- Warm water and mild dish soap (or gentle laundry detergent): This is your base cleaner. It’s gentle on plastic but strong enough to lift dirt, dust, and light stains. I always reach for this instead of harsh chemicals—it keeps my chairs looking new without worrying about damage.
- Soft sponge or microfiber cloth & soft-bristle brush: The sponge or cloth will cover large areas quickly, while a soft-bristle brush (or an old toothbrush) is perfect for grooves or textured areas where dirt hides. You’ll notice how much easier it is when you have the right tools.
- Optional: Baking soda: I keep this on hand for stubborn stains or lingering odors. Just a little paste with water can make those tough spots disappear.
- Optional: White vinegar: A natural solution for mildew or musty smells. I like spraying a diluted mixture on problem areas—it works without harsh chemicals.
- Bucket, hose or water container, and a towel or cloth for drying: Rinsing and drying are just as important as scrubbing. I never skip this step because water spots and leftover moisture can create mildew.
Having these ready before you start sets you up for success. Trust me, when you prep first, the actual cleaning takes less than 15 minutes, and you’re not scrambling halfway through looking for supplies. For reference and safety tips on using mild cleaning solutions, check out Italica’s guide on maintaining plastic chairs.
Quick Step-by-Step — 15-Minute Routine for Everyday Cleaning
I’ve found that breaking the cleaning into three simple steps keeps it fast and efficient. This is exactly what I do every few weeks to keep my chairs looking great without overdoing it.
Step 1: Dust / Wipe Off Loose Dirt
- Start by removing loose dirt, dust, and debris. I grab a dry microfiber cloth or duster for this—if you’re outside, flipping the chair upside down and giving it a shake first works wonders.
- Make sure you hit corners, armrests, and the back of the chair where dust collects. This step is simple but makes the next steps much easier.
Step 2: Prepare Mild Soap Solution & Clean
- Fill a bucket with warm water and add a few drops of mild dish soap. This is your main cleaning solution.
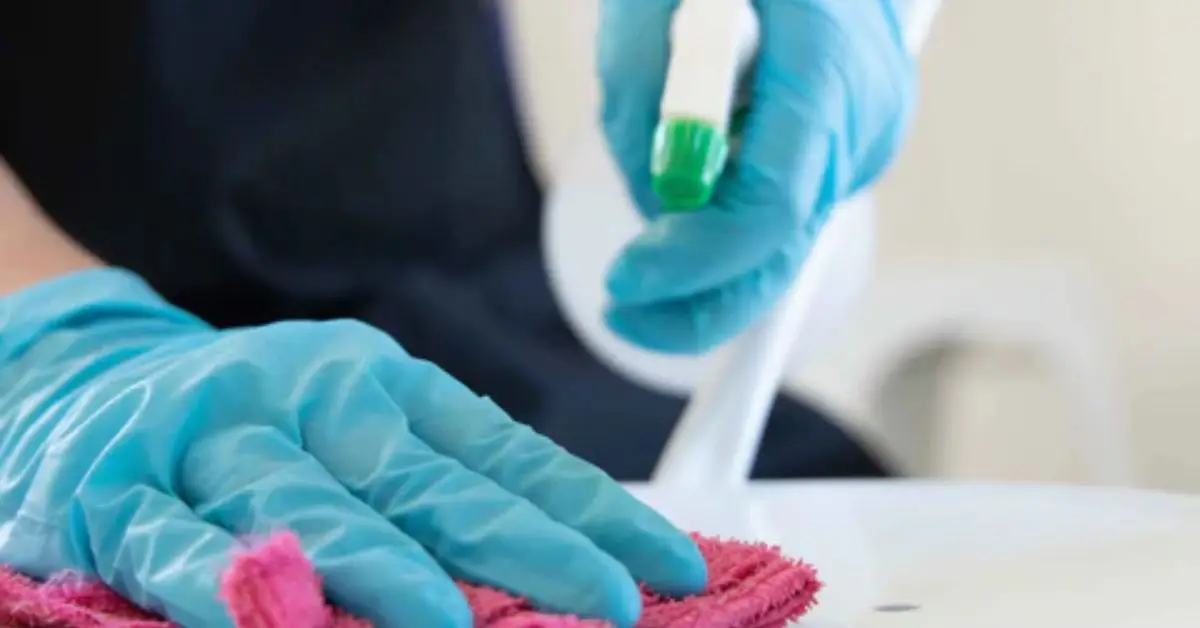
- Dip your sponge or soft cloth in the solution and scrub the chair. Focus on the areas that see the most use: the seat, armrests, and legs. For grooves and textured spots, I use a soft-bristle brush—it makes all the difference.
- Rinse thoroughly with water, either from a hose or a container. Leaving soap behind can cause streaks or a sticky residue.
Step 3: Dry Immediately
- After rinsing, grab a clean towel or microfiber cloth and dry the chair. I always recommend air-drying in the shade if possible—direct sun can cause fading, and leftover water can invite mildew.
- Make sure every corner and groove is dry. This little step is often overlooked but is key to keeping chairs looking fresh for longer.
Removing Stubborn Stains, Mildew, or Odours — Extra 5–10 Minute Hacks
Sometimes, even after a quick clean, stubborn stains or a musty smell just won’t budge. I’ve been there—especially with outdoor chairs that see sun, rain, and the occasional spilled drink. Luckily, there are simple, safe ways to tackle these problem areas without resorting to harsh chemicals.
Baking Soda Paste Method
- Mix baking soda with a small amount of water to form a thick paste.
- Apply it directly to stains or discolored spots. I usually let it sit for 10–15 minutes before gently scrubbing with a soft brush. Baking soda is such a versatile cleaner—I even use it for other household hacks, like the ones I share in 7 Baking Soda Toilet Cleaning Tricks That Work to save money and the planet.
- Rinse thoroughly with clean water.
This method is perfect for:
- Grease or food stains
- Dirt buildup in grooves or textured areas
- Light discoloration
It’s inexpensive, safe, and surprisingly effective for most common stains.
Vinegar Spray for Mildew / Musty Smell
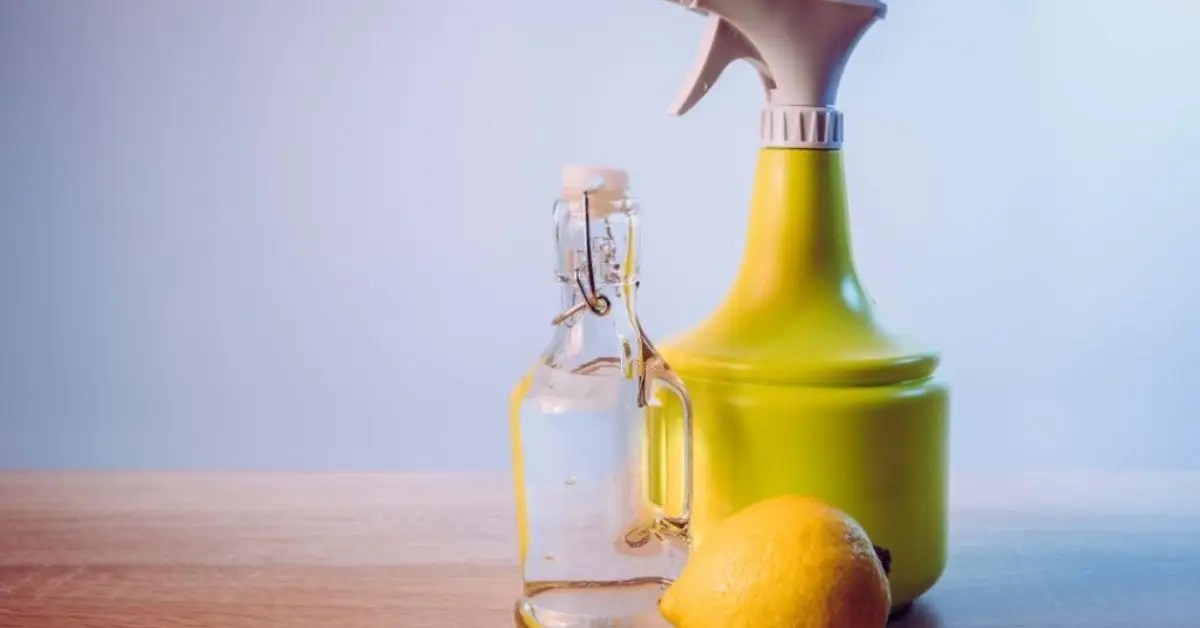
- Combine equal parts white vinegar and water in a spray bottle.
- Spray the affected areas—especially spots with mildew, mould, or a musty odour—and let it sit for 5–10 minutes.
- Scrub lightly with a brush and rinse thoroughly.
I love this method because it’s:
- Eco-friendly
- Safe for plastic
- Effective at removing mildew without harsh bleach or chemicals
When (and How) to Use Bleach or Oxygen-Bleach (with Caution)
Sometimes, stains are truly stubborn—deep-set discoloration on white chairs, for example. In those cases:
- Use a very diluted bleach or oxygen-based bleach solution.
- Always spot-test in a hidden area first.
- Limit soak time and rinse thoroughly afterward.
- Wear gloves to protect your hands.
I rarely use bleach, but when I do, I follow expert advice carefully. For guidance on safe cleaning solutions and maintaining plastic furniture, you can refer to HomeLane’s tips on gentle cleaning.
Important: Harsh chemicals can damage plastic over time—causing fading, brittleness, and cracks. I’ve learned it’s always better to try baking soda or vinegar first, and save bleach as a last resort.
Quick‑Clean Checklist (15‑Min Version) vs Deep Clean (30–45 Min) — When to Use Which
I’ve learned that treating your plastic chairs with a simple routine keeps them looking fresh without much hassle. Not every cleaning session needs to be heavy — here’s what I do depending on how messy they are:
Quick‑Clean (≈ 15 min):
- Dust or wipe off loose dirt
- Clean with a mild soap‑and‑water solution
- Rinse thoroughly and dry
This works great for regular upkeep when dirt or dust is light. I aim to do this every 2–3 weeks, or at least once a month when things haven’t piled up.
Deep Clean (≈ 30–45 min):
- Use baking soda paste or a vinegar spray (or even a mild bleach solution only if absolutely needed) to tackle stains, mildew or deeply embedded grime
- Scrub grooves and textured areas carefully
- Rinse well and dry thoroughly
I reserve this for when I spot stains, mildew, or before big events — maybe once every season or whenever things seem “off.”
Having this simple schedule helps me avoid letting dirt, mildew, or stains settle for months — which makes each clean easier and keeps the chairs in good shape longer.
Preventive Care & Maintenance — Extend the Life of Your Plastic Chairs
Cleaning helps, but a few extra habits make a big difference if you want your chairs to stay fresh and last years. Here’s how I maintain them between cleans:
- Wipe them down regularly: After outdoor use — especially post‑party, meal, or rain — I give chairs a quick wipe. It prevents dust and debris from building up and saves me scrubbing time later.
- Skip harsh chemicals and rough scrubbers: Steel wool, paint thinners, or strong solvents might feel tempting for stubborn grime — but they scratch and even weaken plastic over time. Gentle soap, soft sponges or microfiber cloths are always safer.
- Store or cover when not in use: If chairs are outdoors, I either move them to shade or cover them. Sun, dust, and rain can cause fading, brittleness, or mildew.
- Optional — use plastic‑safe UV‑protectant spray (for outdoor chairs): If chairs are exposed to sun a lot, a UV‑safe spray once in a while helps delay fading and degradation.
For more expert guidance on gentle cleaning and extending the life of your plastic furniture, I follow tips from The Spruce’s guide on cleaning white plastic chairs.
Quick 15‑Minute Cleaning Plan (For When You’re Short on Time)
I know how hectic life can get, and sometimes you just need your chairs looking clean fast. Here’s the plan I use when I’m short on time:
- Pre‑gather supplies: bucket, soap, sponge, water, towel — takes just about 1 minute.
- Clean quickly: Dust or wipe off debris → soap wash → rinse → dry — this takes 10–12 minutes for a single chair.
- Spot check: Take a quick look for any stains or mildew. If you notice any, dedicate an extra 5–10 minutes later using baking soda paste or vinegar spray.
If you enjoy quick and creative cleaning solutions, there are some surprisingly effective hacks, like 6 Shaving Cream Cleaning Hacks That Actually Work, that make tackling everyday messes a breeze.
When to Avoid DIY Cleaners — What Not to Do (And Why)
It’s tempting to grab whatever chemical or tool is nearby, but I’ve learned that some shortcuts actually shorten the life of your chairs.
- Avoid harsh solvents, ammonia, acetone, rough scrubbers, or steel wool: They scratch plastic, cause discoloration, or make it brittle over time. Just like harsh chemicals can ruin wooden cutting boards, which I explain in 5 Cleaning Products That Could Seriously Damage Your Wooden Cutting Board, they can also degrade plastic chairs—so gentle solutions are always the safer choice.
- Don’t leave bleach solutions on for too long: Always spot-test before applying to the entire chair.
- Rinse thoroughly: If you use stronger solutions, residue can damage the surface or attract more dirt later.
Bonus Tips (For Tough Scenarios) — Grease, Oil, Outdoor Grime, & Post‑Rain Cleanup
Some situations need a little extra attention. Here’s what I do for tricky messes:
- Grease or oil stains: Near the grill? A mixture of dish soap and baking soda scrub works wonders.
- After heavy rain, dust storms, or seasonal changes: Use a deep clean → full rinse → dry → cover or store in the shade approach to prevent mold and surface damage.
- Regular maintenance for outdoor chairs: Wipe them every 2–3 weeks and do a deep clean every 3–4 months, or just before guests arrive.
Final Thoughts — Clean Chairs, Healthy Home, Smart Maintenance
I’ve found that a simple, no-harsh-chemicals approach not only makes cleaning faster but also keeps my chairs looking new for years. When you combine a quick 15‑minute routine with occasional deep cleans and proper preventive care, maintaining your plastic chairs becomes effortless.
Here’s my challenge for you: Try this method this weekend and see how much brighter and fresher your chairs look. Then, share your results in the comments below—I’d love to hear your experience!
For more practical tips, tricks, and guides on keeping your home looking brand new, visit Build Like New. Your chairs (and your home) will thank you.
Disclaimer: The cleaning methods and products mentioned are intended for general household use on plastic chairs. Always test any solution on a small, hidden area first. Build Like New is not responsible for damage caused by misuse or neglect. Use caution and follow all safety instructions.

