Get Ahead of the Cold: 10 Must-Do Steps to Ready Your Home for Winter Storms
I’ve lived through enough brutal winters to know one thing for sure: a storm doesn’t wait for you to get ready. It hits fast, hits hard, and exposes every weak spot in your home — the draft you ignored, the old furnace you meant to service, the gutter you said you’d clean “next weekend.”
If you’ve ever dealt with frozen pipes, a power outage, or a freezing house in the middle of the night, you already know how stressful winter can be when you’re unprepared. And if you haven’t, trust me — you don’t ever want that first experience to happen during a storm.
That’s why I like to prep early. Not in a panic, not in a rush — just calmly tightening the basics before the temperature drops. When you make a few smart moves now, winter becomes a season you manage, not survive.
In this guide, I’m going to walk you through ten simple but crucial steps that protect your home, your wallet, and your peace of mind. As you read, think about what you can knock out this week. Small actions add up fast.
What’s the one thing about winter storms you worry about the most?
Understand the Risks — Why Pre-Winter Preparation Is Non-Negotiable
I’ve seen winter storms catch people off guard, and it’s never pretty. A storm isn’t just cold air and a little snow — it can bring hours of ice, power outages, bone-freezing temperatures, and sudden problems you don’t want to deal with at midnight.
A winter storm can lead to:
- Heavy snow or ice that weighs down your roof
- Power outages that leave your home freezing
- Burst pipes and flooding
- Blackouts that last longer than anyone expects
- Structural damage from ice buildup or falling branches
Inside your home, the weak spots show up fast. You lose heat through thin insulation, pipes freeze in crawlspaces, and older heating systems struggle to keep up. A lot of people don’t realize that poor ventilation can also raise fire or carbon-monoxide risks when you switch to backup heat.
The hidden dangers worry me the most — especially carbon-monoxide issues from space heaters or generators. Every winter, I see people take shortcuts just to stay warm, and it only takes one mistake to end up in real danger.
If you want a quick reality check on how serious winter hazards can be, look at the winter-weather safety guidance from the CDC.
Once you understand what a storm can do, the next steps feel less like chores and more like smart, protective moves you’re making for yourself and your home.
Step 1 — Weatherproof Your Home: Insulation, Caulking & Sealing Windows/Doors
When I help homeowners get ready for winter, this is always the first thing I focus on. You can’t fight the cold if your home is leaking heat from every corner.
Start with the basics:
- Add insulation to your attic, walls, and any unheated areas like basements or crawlspaces.
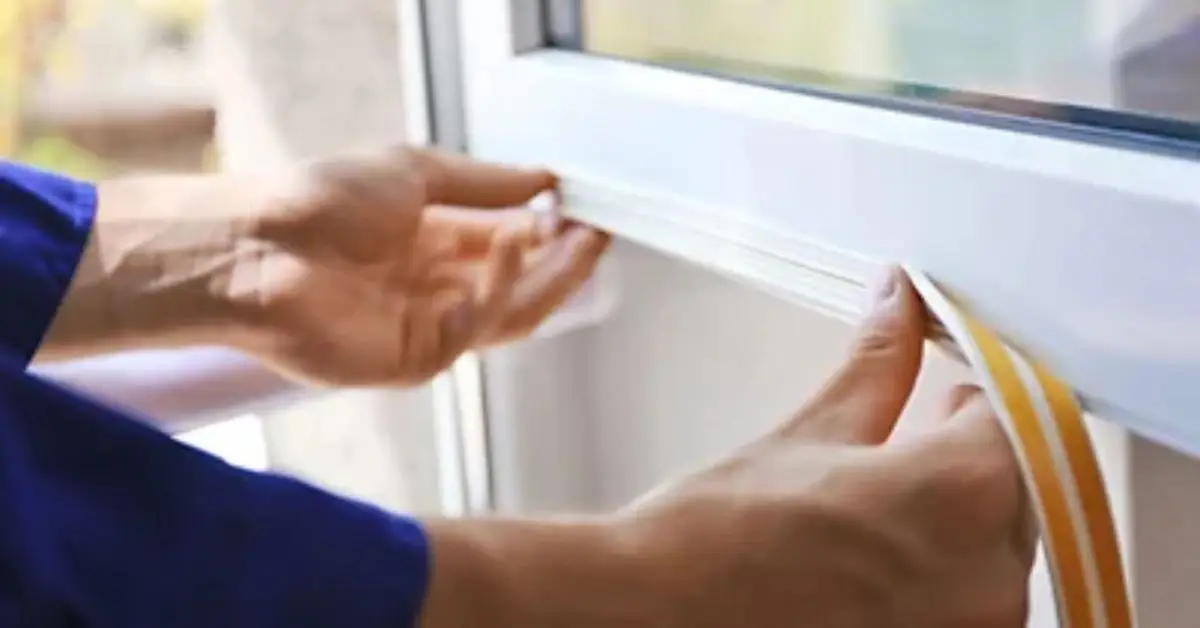
- Seal the small gaps that suck warm air out of your home — around windows, doors, outlets, and crawlspace openings.
- Use weather-stripping or caulking to tighten problem spots.
- If you live in an older home, interior window insulation film or storm windows make a noticeable difference.
- And if your budget allows, upgrading older windows or adding a storm door is one of the smartest long-term steps you can take.
These small fixes stack up fast. You feel the difference the first cold night. If you want to tackle a few more upgrades that make a noticeable impact in cold weather, this list of key winter-proof home fixes you shouldn’t ignore gives you a solid starting point.
Step 2 — Protect Plumbing: Prevent Frozen or Burst Pipes
If there’s one kind of winter damage that always catches people by surprise, it’s frozen pipes. They don’t seem like a big deal — until one bursts and floods your home.
Here’s what I always recommend:
- Wrap any exposed water lines, especially in basements, attics, garages, or along exterior walls.
- Disconnect and drain outdoor hoses, sprinkler lines, and exterior faucets before the first deep freeze.
- Make sure you know exactly where your main water shut-off valve is. When a pipe bursts, every minute counts.
- On extremely cold nights, let a couple of faucets drip to keep water moving through the lines.
You don’t need to overhaul your plumbing system — just protect the weak points. A little prep now saves you stress, money, and the chaos of late-night flooding.
Step 3 — Inspect Roof, Gutters, and Remove Hazardous Tree Limbs
I always tell people that storms don’t need high winds to cause chaos. Snow and ice alone can push a weak roof to its limit or snap a heavy branch that lands exactly where you don’t want it.
Here’s what I look at before the first freeze:
- Clean your gutters and downspouts so melting snow drains instead of freezing into ice dams.
- Check your roof for loose shingles, soft spots, or early signs of leaks. Fixing small problems now saves you from big repairs later.
- Trim any branches hanging over your roof or close to power lines. Snow makes them heavier, and that’s when they break.
- If you live in a heavy-snow area, consider snow guards or roof-heating cables. These help prevent ice buildup, especially on older or low-slope roofs.
Most people only look at their roof when something already goes wrong. Trust me — doing it early is always cheaper. If you have a pool at home, it’s worth checking whether it’s ready for freezing temperatures, and this guide on protecting your pool before winter to prevent costly damage walks you through the essentials.
Step 4 — Prepare a Winter Emergency Kit for Home (and Pets or Vulnerable Members)
When the power goes out in the middle of a storm, you don’t want to improvise. A solid kit keeps everyone warm, calm, and safe.
I’d include:
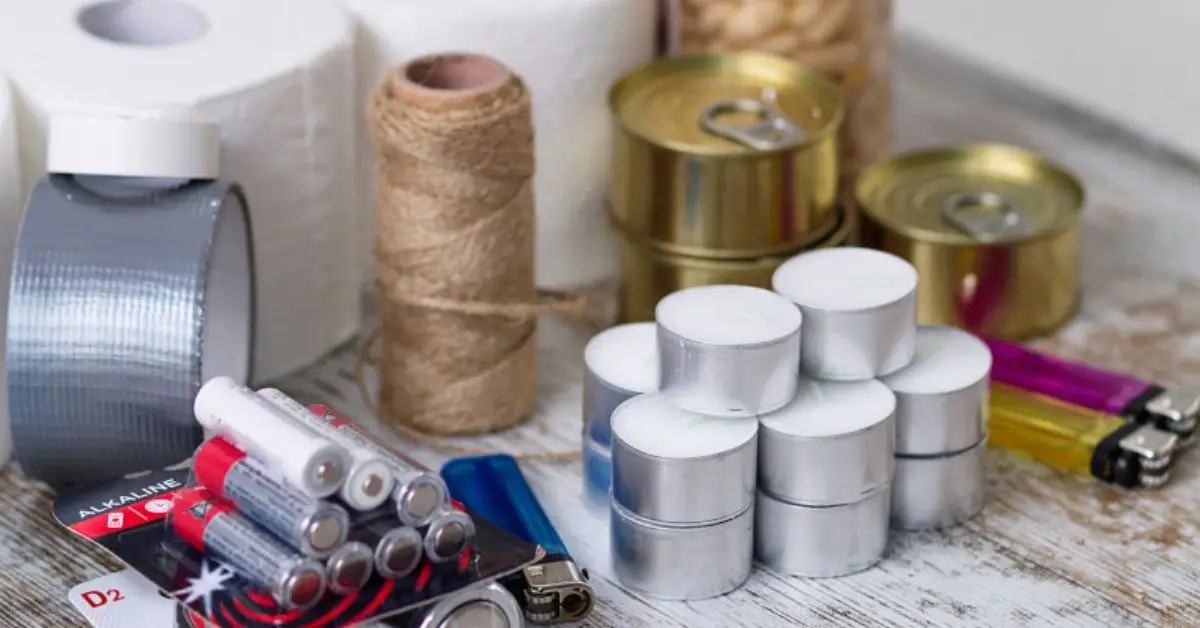
- Flashlights, extra batteries, and a battery-powered or NOAA weather radio
- Enough non-perishable food and drinking water for at least three days
- Essential medications and a basic first-aid kit
- Warm blankets, layered clothing, sleeping bags, and something to insulate yourself from cold floors
- Pet food, water, and a warm spot for animals if you have them
- For older adults or anyone with medical needs: a backup plan for devices, a thermometer, and easy-access supplies
A storm doesn’t care whether you’re ready or not — but your kit will.
Step 5 — Ensure Safe Heating: Maintenance, Ventilation & Detector Check
Before temperatures hit their lowest, I make sure every heat source in the home is safe and efficient. A quick inspection prevents a lot of problems.
Here’s what I run through:
- Have your furnace, fireplace, chimney, and water heater inspected and cleaned.
- Test smoke detectors and carbon-monoxide detectors; replace batteries if you’re unsure.
- If you use a wood stove or space heater, keep it clear of clutter and make sure the room is ventilated.
- Keep a multipurpose fire extinguisher where you can reach it fast.
- Never try heating your home with an oven or stove — that’s a serious risk.
If you want reliable guidelines on safe heating habits, the National Weather Service offers a clear overview. This small checkup gives you peace of mind for the whole season.
Step 6 — Plan for Power Outages: Backup Options & Safety Precautions
When an outage hits in freezing weather, you need both warmth and safety. I prepare for that like this:
- If you use a generator, keep it outdoors and away from windows or doors — never indoors.
- Unplug sensitive electronics so they don’t get damaged when the power snaps back on.
- Keep one light plugged in so you know immediately when power is restored.
- Stock extra blankets, warm clothing, and backup heating or cooking tools that don’t depend on electricity (and keep the space ventilated).
- If you use fuel-based heaters, store fuel safely and follow all ventilation rules.
A few simple steps make outages a lot less stressful — and keep your home safe until the lights come back on. If your home has exterior panels or wiring, take a minute to review why covering outdoor electrical boxes before winter is so important so you’re not dealing with avoidable damage later.
Step 7 — Keep Important Documents, Valuables & Emergency Contacts Ready
I’ve seen people handle winter emergencies smoothly simply because their documents were already in one place. It saves stress, arguments, and hours of scrambling.
Here’s what I keep ready before winter:
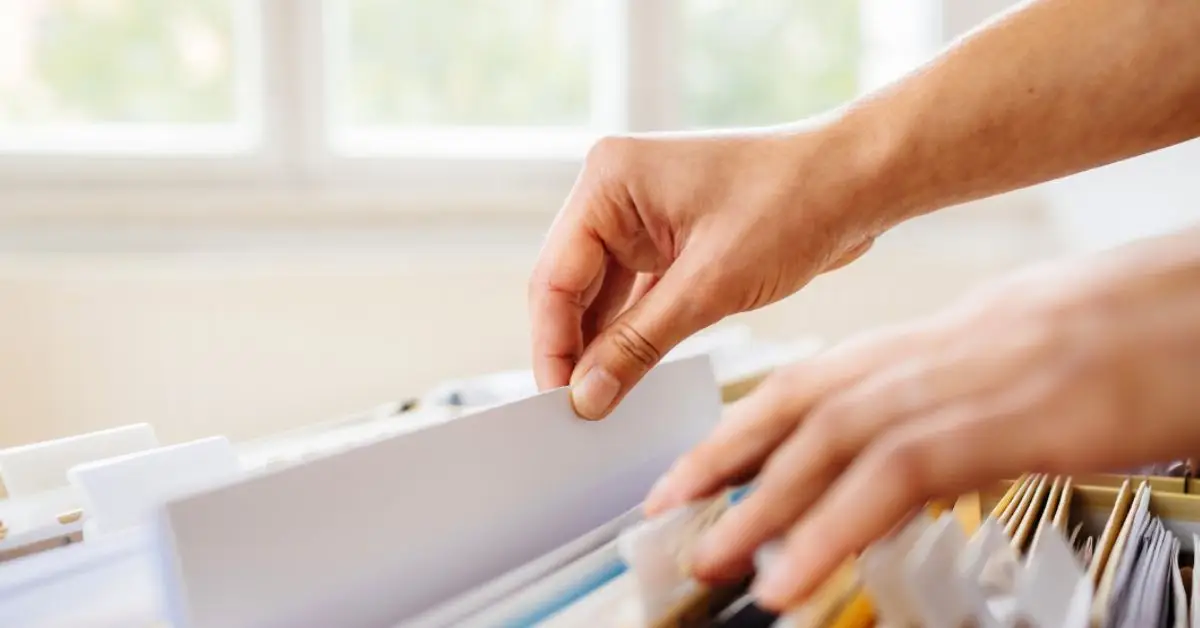
- A folder with IDs, insurance papers, medical prescriptions, and a list of key contacts
- A digital backup of the same documents stored safely on a phone or cloud
- Cash in small amounts in case card networks or ATMs fail
- Power banks, backup chargers, and a list of emergency numbers written on paper
- Notes on how to shut off water, electricity, and gas if something bursts or leaks
- For anyone with pets, seniors, or special needs: an emergency plan and contacts who can help fast
It’s a simple habit that pays off in the moments you least expect.
Step 8 — Prepare Indoor & Outdoor Safety: Walkways, Lighting, Ice Prevention
When temperatures drop, even your own driveway can become risky. I try to make the house as safe and comfortable as possible before the first freeze.
I focus on:
- Clearing walkways, steps, and driveways; treating them with sand or a pet-safe ice melt
- Checking outdoor lights and adding motion sensors or dusk-to-dawn lights for better visibility
- Covering unused vents, mail slots, or pet doors to stop cold drafts
- Putting rugs on bare floors to keep them warm underfoot
- Using thermal curtains or heavier drapes at night to reduce heat loss
These small details make a big difference during long cold spells.
Step 9 — Monitor Forecasts & Stay Alert; Make a Disaster Communication Plan
I follow local alerts closely once winter starts. A few hours of early warning can help you avoid damage or sudden emergencies.
Here’s what I rely on:
- Regularly checking local weather alerts and community updates
- Setting up a simple communication plan: where to meet, who to call, what to do if phones go down
- Planning for pets, seniors, or anyone who needs help moving fast
- Knowing exactly where your water and main electricity shut-offs are
- Keeping numbers of local services handy: utility companies, tree specialists, plumbers, electrician
If you like having quick access to alerts, this resource stays updated through winter.
When everyone in the home knows the plan, you avoid panic and save time.
Step 10 — Review Home Insurance & Document Home Condition Before Winter Arrives

A storm doesn’t just threaten comfort; it can hit your wallet. So before winter ramps up, I make sure the paperwork is solid and proof is documented.
My checklist looks like this:
- Review home insurance to see what winter damage is actually covered
- Consider extra coverage if you live in a high-risk area for roof damage or frozen pipes
- Take photos or video of the home — inside and out — so any future claim is easier
- Document plumbing, roof condition, wiring, appliances, and valuable items
- Keep receipts for repairs, servicing, insulation upgrades, and emergency supplies
It takes less than an hour, but it can save you thousands if a storm hits hard.
If you want, I can finish the conclusion next or shape these steps to match a specific audience.
Special Considerations — Elderly, Pets, and Long-Term Outages
When an outage stretches into days or the temperature drops suddenly, the people and animals who depend on us feel it first. I always take a few additional steps so no one gets left vulnerable.
Here’s what I focus on:
- Extra blankets, layered clothing, and warm sleeping areas for older adults
- Medications, easy-to-read thermometers, and a plan for accessing medical help if travel becomes difficult
- Warm shelter for pets — either indoors or in a fully insulated outdoor setup
- Enough pet food and water for several days, plus a designated space where they can stay warm
- If the outage lasts days: use safe, ventilated options for heating or cooking, gather everyone in one room to conserve warmth, and close off unused spaces
- Rotate warm clothing, use thermal layers, and limit how often you open exterior doors
Small adjustments like these make your home safer and far more comfortable for everyone who relies on you.
Final Thoughts: Early Preparation Is the Best Defense — Make This Winter Stress-Free
If you’ve read this far, you already understand one thing: winter storms aren’t drama, they’re reality. And the homes that stay safe aren’t lucky — they’re prepared.
You don’t need to tackle everything in one day. Just choose the first two steps you can handle this week. Maybe it’s sealing drafts. Maybe it’s checking the roof. Maybe it’s building your emergency kit. Each action makes your home stronger and your family safer.
If you want a simple way to stay on track, create a quick checklist and schedule the tasks on your calendar. Even better — call in help where needed, whether it’s a roofer, an electrician, or a plumber. Preparation is always cheaper than repair.
And if you want more guides, practical checklists, and smart home-improvement advice, you’ll find it all at Build Like New — where the goal is simple: make every home storm-ready, safe, and built to last.
What’s the first task you’re planning to start with?
Disclaimer: This guide is for general information only and isn’t a substitute for professional advice. Every home and region is different, so always consult qualified contractors, local authorities, or emergency services for recommendations specific to your situation. Safety decisions should be based on your local conditions, building codes, and professional guidance.