
Don’t Throw the Cloth Away: 5 Smart Ways to Remove Hardened Wax From Fabric
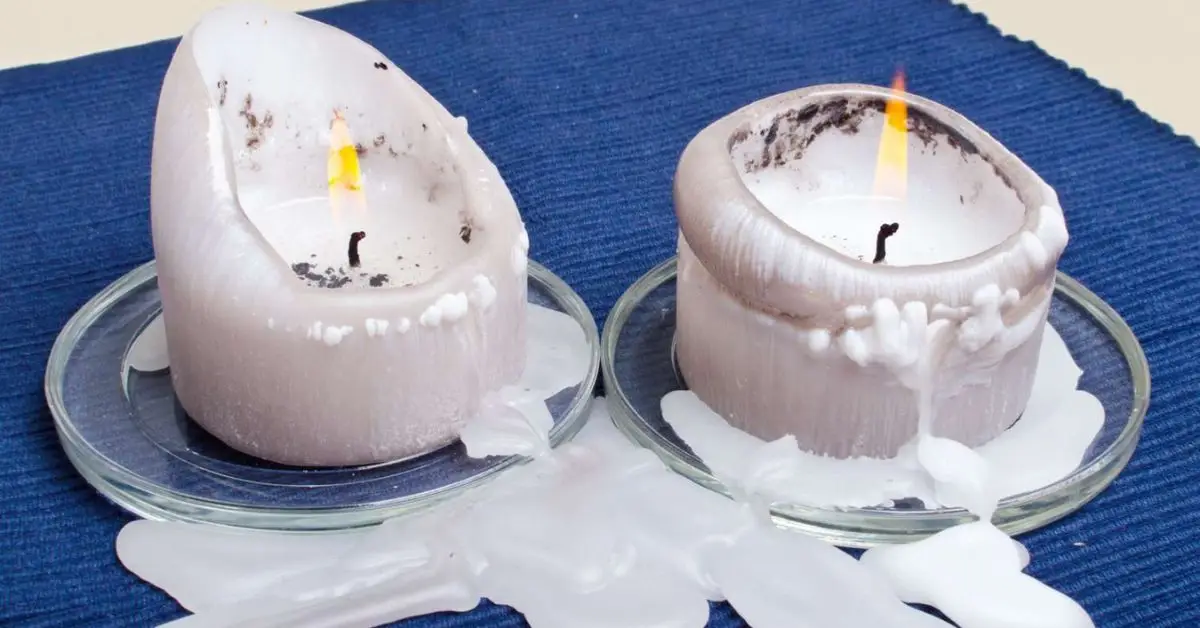
If you’ve ever knocked over a candle or watched a drip slide off the edge of a jar and land straight on your sofa or clothes, you know that tiny moment of panic. I’ve been there too—one second the room feels warm and cozy, and the next you’re staring at a hardened blob of wax wondering if your favorite fabric is ruined for good.
The good news: wax looks scarier than it actually is. Most spills can be fixed at home with simple tools you already have. The trick is knowing what to do first, what to avoid, and how to handle different fabrics without making the stain worse. After working through countless wax mishaps over the years, I’ve learned that a calm approach and the right sequence of steps make all the difference.
In this guide, I’ll walk you through the exact hacks I rely on—what works, what doesn’t, and how to save everything from cotton tees to sofa upholstery. Whether the spill just happened or you found it hours later, you’ll know exactly where to start.
Before we dive in, I’m curious: where did your wax spill—on clothes or on furniture?
Why Removing Candle Wax Needs Care
Wax is oil-based and can leave stains or set permanently
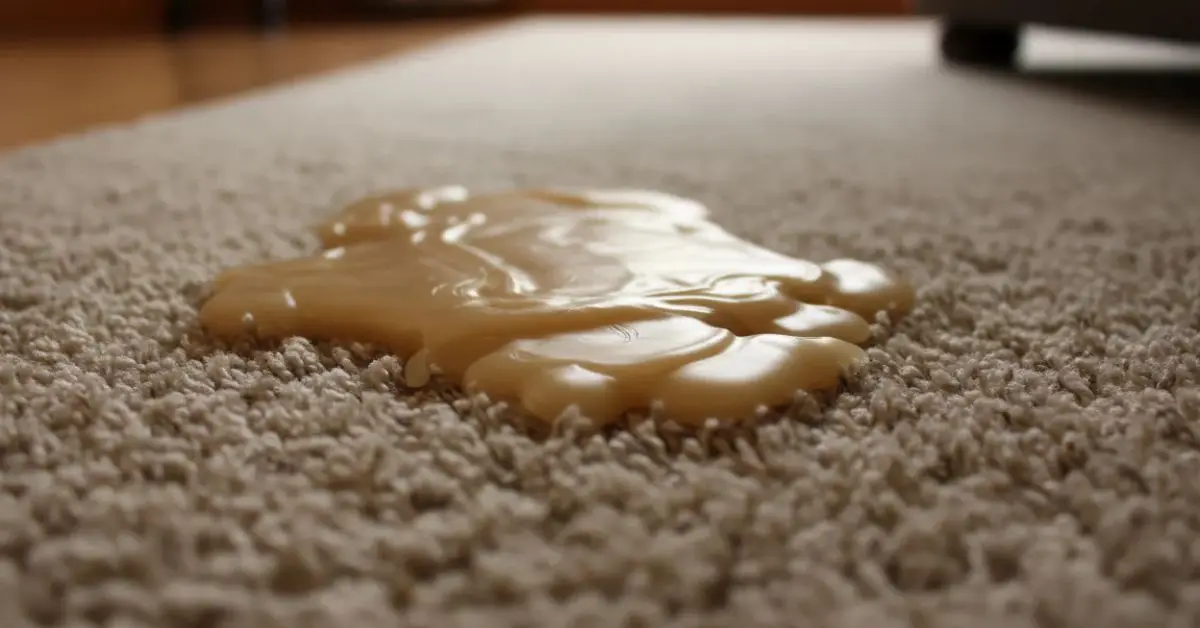
Whenever wax lands on fabric, it’s easy to assume it’s just a solid layer you can peel off — but it’s not that simple. Most candles contain oils, fragrances, and dyes that slip into the fibers the moment the wax is warm. To avoid more candle mishaps in the future, you can also read about whether it’s safe to leave a candle burning when you’re not in the room. That’s why wiping soft wax almost always makes things worse. Instead of removing it, you end up pressing those oily components deeper, and once they settle, the stain becomes harder to lift later.
I’ve learned this the frustrating way: the quickest way to “set” a wax stain is to panic and rub it right away. You’re not dealing with water that sits on top of the fabric. You’re dealing with a warm, oily mixture that behaves more like butter — the more you touch it, the deeper it goes. Understanding this upfront makes the next steps easier and stops you from turning a small spill into a permanent mark.
Quick First Aid: Stabilize the Wax (Don’t Rub Immediately)
Let it harden — ice or natural cooling
When wax is still soft, you have one job: stop it from spreading. I always start by letting it firm up. If it’s fresh, I grab an ice cube, slip it into a small plastic bag, and place it gently over the wax. The goal isn’t to soak the fabric — it’s to harden the wax so it becomes brittle instead of sticky.
A few things that help:
- Keep the ice in the bag so moisture doesn’t seep into the fabric
- Hold it lightly — don’t rub
- Check every 20 to 40 seconds
- Skip the ice if the wax has already cooled solid
This simple step makes the rest of the cleanup far easier. Hard wax lifts; soft wax smears. A detailed guide from UGA Cooperative Extension breaks down the same approach — harden first, then scrape, then treat the residue.
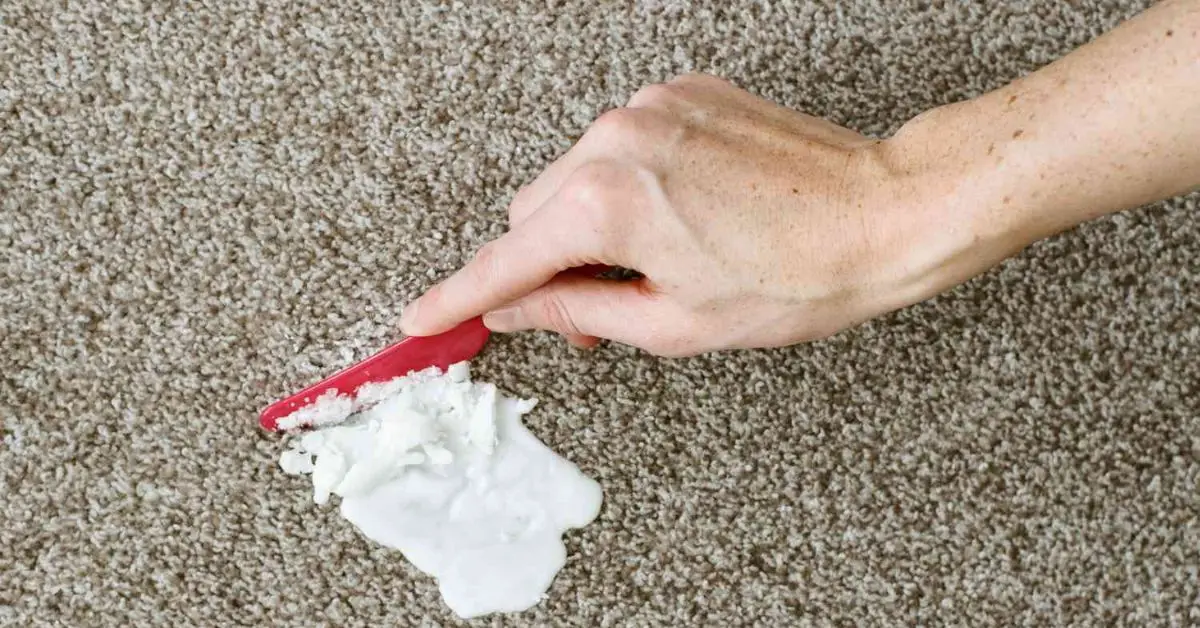
Gently scrape off the bulk — dull edge, not sharp
Once the wax is firm, I remove the top layer using the gentlest tool I can find. A dull butter knife, the edge of a credit card, or even a plastic spatula works well. For fabrics with a loose weave or delicate texture, I prefer a spoon because it lifts without scratching.
Here’s what makes this step important:
- You remove most of the wax before applying heat or cleaners
- You avoid pushing oily residue deeper
- You protect the fabric from tearing or snagging
- You reduce how much stain treatment you’ll need later
Think of this as lifting the shell off. You’re not scraping aggressively — you’re nudging the hardened wax away so only a thin residue remains.
5 Proven Household Hacks to Lift Wax and Residue
1. Iron + Paper Towels or a Brown Paper Bag (Clothes or Sofa Covers)
When I deal with wax on clothes or removable sofa covers, this is often the first method I reach for. I place a clean paper towel or a piece of brown paper on top of the wax, sometimes underneath as well if it seeped through. Then I use a low-heat, non-steam iron and press gently. As the wax melts, the paper absorbs it, so I keep rotating to fresh spots until no more wax transfers.
This works because:
- The heat melts the wax without soaking the fabric
- The paper lifts the wax instead of spreading it
- It handles both wax and some of the oily residue in one step
It’s simple, safe, and uses things everyone already has at home.
2. Hair Dryer for Upholstery or Delicate Fabrics
When ironing isn’t an option—like on a fixed sofa cushion, velvet, or anything that scorches easily—I go for a blow dryer. I hold it a little distance away on low or medium heat so the wax softens without overheating the fabric. Once the wax loosens, I blot it with white paper towels or a clean cloth until it stops transferring.
Why this helps:
- Safer than ironing on sensitive fabrics
- Lets you control heat and distance
- Perfect for furniture you can’t remove or flip
Whirlpool also uses the same approach when dealing with fabrics that can’t take direct heat.
3. Solvent-Based Cleaners — Rubbing Alcohol or Nail Polish Remover
After the wax chunks are gone, you’re often left with a faint oily ring or a bit of dye from colored candles. That’s when I bring in rubbing alcohol or an acetone-based nail polish remover—but only if the care label says it’s safe. I dab a small amount onto a cloth, blot the area, and let the solvent break down whatever residue is left. A gentle wash afterward usually clears it out.
Why this step matters:
- Heat removes wax, not oil
- Solvents reach what melting can’t
- Especially useful for scented or colored candles
4. Vinegar + Water or Mild Detergent for Remaining Dye or Oil
Sometimes I notice a slight shadow even after cleaning. That’s when a mild detergent solution or a half-vinegar, half-water mix helps. I dab it onto the fabric, let it sit briefly, and rinse or blot depending on whether it’s clothing or upholstery. This lifts leftover dye and resets the fabric before washing.
This helps because:
- Vinegar and mild detergent break down dye residue gently
- Works well on colored wax stains
- Avoids the harshness of strong chemicals
5. Soak and Wash for Clothes, or Spot Clean and Air Dry for Upholstery
For clothing, a short soak after wax removal can make a big difference—especially with stubborn stains. If you’re preparing your home for visitors, here are important home tasks to get ready for holiday guests that pair well with these preventive steps. Then I wash the garment on the warmest setting the fabric allows. For upholstery, instead of soaking (which can cause water rings), I clean only the affected area with mild detergent and blot until the area looks even. I let it air dry completely so the fabric settles naturally.
Why this step is important:
- Clothes need a full wash to remove remaining oils
- Upholstery needs careful blotting to avoid water marks
- Finishes the job so no faint stains appear later
Special Cases — When Extra Caution Is Needed
Delicate Fabrics (Silk, Wool, Velvet, Cashmere)
Whenever I’m dealing with anything delicate—silk, wool, cashmere, or velvet—I slow down and avoid shortcuts. High heat from an iron or hair dryer can change the texture, and strong solvents can distort fibers. I always test a tiny amount on a hidden spot first before touching the stained area. If the fabric reacts even slightly, I stop. Some materials simply aren’t meant to be treated at home, and forcing it can cause irreversible damage.
When things look too risky, I choose the safer route: professional dry cleaning. They’re equipped for fabrics that don’t tolerate heat or moisture well, and The Spruce points out the same caution for delicate materials.
Why this matters:
- These fabrics react quickly to heat
- Solvents can weaken or discolor fibers
- One small mistake can ruin an expensive piece
Upholstery and Sofa Covers — Fixed vs. Removable Fabric
Upholstery behaves differently from clothing, and I’ve learned the hard way that you can’t treat every sofa the same. If the cushion covers zip off and the care label allows washing, you can usually treat them just like clothing—iron, soak, wash, and air dry.
But for fixed upholstery, I stay away from anything that soaks the fabric too deeply. Water rings, uneven drying, and hidden moisture pockets can all turn a simple wax stain into a bigger problem. Instead, I use controlled heat from a blow dryer plus gentle blotting. After lifting the wax, I rely on mild upholstery cleaner or diluted detergent and apply it sparingly. I check the area as it dries to make sure the fabric isn’t darkening or warping.
Why this matters:
- Removable covers give you more cleaning options
- Fixed upholstery is sensitive to moisture and heat
- Gives clear guidance depending on the type of sofa fabric
Common Mistakes — What Not to Do
I see the same mistakes happen over and over when people panic after a wax spill. Most of them make the stain harder to treat, not easier. Here’s what I always avoid:
- I never rub or wipe soft wax. It smears instantly and pushes deeper into the fibers.
- I stay away from high heat or steam on delicate fabrics. They can shrink, warp, or lose texture.
- I don’t pour strong solvents directly on unknown fabrics. I test on a hidden spot first.
- I never toss stained clothes into the dryer. Heat can set leftover oil or dye permanently, and The Spruce warns about this too.
Quick Reference Table — Which Hack for What Situation
This is the fast “if this, do that” guide I wish I had years ago:
| Situation / Fabric / Surface | Recommended Method |
|---|---|
| Fresh wax on clothes | Ice + scrape, then iron + paper towel, wash |
| Old wax on clothes | Iron + paper towel, solvent if needed, soak and wash |
| Wax on removable upholstery cover | Iron or hair dryer + absorbent cloths, then wash if safe |
| Wax on fixed sofa upholstery | Hair dryer + blotting, mild spot-cleaner, air dry |
| Colored or scented wax leaving stains | Solvent (alcohol or nail-polish remover) or vinegar/detergent pre-treatment |
| Delicate fabrics (silk, wool, velvet) | Gentle scraping only, minimal heat, professional cleaning recommended |
When to Call a Professional or Use Dry Cleaning
Even though DIY methods work for most spills, there are moments where I don’t take chances. I let a professional handle it when:
- The fabric is delicate — silk, velvet, wool, or anything marked “dry clean only.”
- The wax was colored or scented and has been sitting for a while. Dyes and oils can go deeper than we think.
- I’ve already tried the safe at-home methods, but the stain still won’t move. More scrubbing or heat may do more harm.
Preventive Tips — Avoid Candle Wax Spills and Damage
After enough spills, I learned that prevention is easier than cleanup. A few habits make a big difference:
- Use candle holders that catch drips or place your candle on a tray.
- Keep a piece of parchment or brown paper under candles during dinner or décor setups.
- Choose washable, sturdy fabrics for tablecloths or sofa covers when using candles nearby. And if you’re decorating for the season, you might also like this guide on which items to clear before setting up your Christmas tree.
- Keep a simple “wax cleanup kit” handy: ice cubes, a butter knife, paper towels, and a spare cloth.
Why this helps: If you love candles, a little planning makes spills rare—and cleanup much faster when they do happen.
Summary and Final Advice
Here’s the simple sequence I always follow:
Harden the wax → scrape gently → use heat or solvent → wash or spot-clean based on the fabric.
Match the method to the material, test anything new on a hidden spot, and don’t rush with heat or chemicals.
If you’re ever unsure, it’s safer to lean on a professional than to gamble with a favorite fabric.
Before you go — I’d love to hear from you. Did you spill wax on clothes, a sofa, or something more unusual? Tell me in the comments on Build Like New, and let me know which hack you plan to try first.
Disclaimer: The cleaning methods in this guide are based on commonly used household practices, but results can vary depending on fabric type, color, and condition. Always check your care label and test any heat or solvent on a hidden area first. Build Like New is not responsible for damage caused by improper use or unexpected fabric reactions.

