
7 DIY Floor Adhesive Removal Tricks Every Homeowner Swears By
I’ve seen this problem more times than I can count.
You pull up old carpet, peel off a mat, or remove floor tiles—and suddenly your beautiful wood floor is covered in stubborn adhesive. It looks ugly, feels sticky, and the first instinct is to scrape it hard or grab the strongest chemical you can find.
That’s where most homeowners go wrong.
I’ve researched dozens of guides and real homeowner experiences, and one pattern is clear: most floor damage doesn’t happen because of the adhesive—it happens because of the removal method. Metal scrapers, harsh solvents, and rushed decisions ruin wood finishes far more often than people realize.
If you’re here, chances are you’re asking one simple question: How do I remove adhesive from wood floors without damaging them? And you want a real answer—not generic advice copied from a label.
In this guide, I’ll walk you through simple, proven DIY methods that homeowners actually use, starting with the safest options first. No shortcuts that destroy your finish. No tools that scratch the surface. Just practical steps you can trust.
Before we get into the methods, let me ask you something—do you know what kind of adhesive you’re dealing with right now?
Why Removing Adhesive the Wrong Way Can Ruin Your Wood Floor
I’ve seen people ruin perfectly good wood floors—not because the adhesive was too strong, but because the removal method was wrong.
Most DIY advice online jumps straight to scraping or chemicals. What they don’t tell you is that wood floors are layered systems. There’s the wood, then the stain, then a protective finish on top. Once that finish is damaged, you’re no longer “cleaning” the floor—you’re repairing it.
Here’s where things usually go wrong:
- Using metal scrapers or razor blades: These cut through adhesive fast, but they also cut through your floor’s finish just as easily. Even light pressure can leave permanent scratches.
- Reaching for strong solvents too early: Products like acetone or paint thinner don’t just dissolve glue—they can soften or strip polyurethane finishes. The Spruce specifically warns that harsh chemicals can dull or remove protective coatings if used carelessly.
- Applying heat without control: Too much heat can bubble the finish or discolor the wood. Once that happens, no amount of cleaning will fix it.
What most homeowners don’t realize is this: Adhesive usually sits on top of the finish, but aggressive removal pushes damage into the finish.
That’s why this article focuses on safer, step-by-step methods backed by flooring experts, not shortcuts.
Before you touch anything, follow one rule I never skip:
- Always do a small test patch: Pick a hidden corner. Try your method there first. If the finish changes color, gets cloudy, or feels rough—you stop and switch methods.
That one habit alone can save you hundreds of dollars in refinishing costs.
How to Identify Your Adhesive Type (and Why It Matters)

This is the step most guides skip—and it’s the reason so many floors get damaged.
I always identify the adhesive before choosing a removal method. Different adhesives react very differently to heat, water, and solvents. Using the wrong approach can turn a simple cleanup into a floor repair job.
Here’s how I break it down in real life:
Common adhesive types you’ll see on wood floors
- Tape or sticker residue
- Usually soft or slightly rubbery
- Often left by rugs, labels, or floor protectors
- Responds well to gentle heat or mild solvents
- Dried construction or flooring adhesive
- Hard, crusty, or uneven
- Often left after removing carpet, vinyl, or tiles
- Needs gradual softening—not force
- Carpet glue under old padding
- Dark, sticky, sometimes tar-like
- Can harden over time
- Requires patience and layered methods
Why age matters more than people think
- Fresh adhesive hasn’t fully cured, so it breaks down faster.
- Old adhesive has chemically bonded and hardened, making aggressive methods more tempting—and more dangerous.
I also rely on quick visual and texture clues:
- If it smears when pressed → it’s still soft
- If it flakes or chips → it’s fully cured
- If it feels rubbery → heat will likely help
- If it feels brittle → solvents must be used carefully
Once you know what you’re dealing with, you can choose a method that works with your floor, not against it.
Before moving on, take a second and look closely at your adhesive. Does it feel soft, hard, or rubbery right now?
Method 1: Warm Soapy Water + Plastic Scraper (Starter Step)
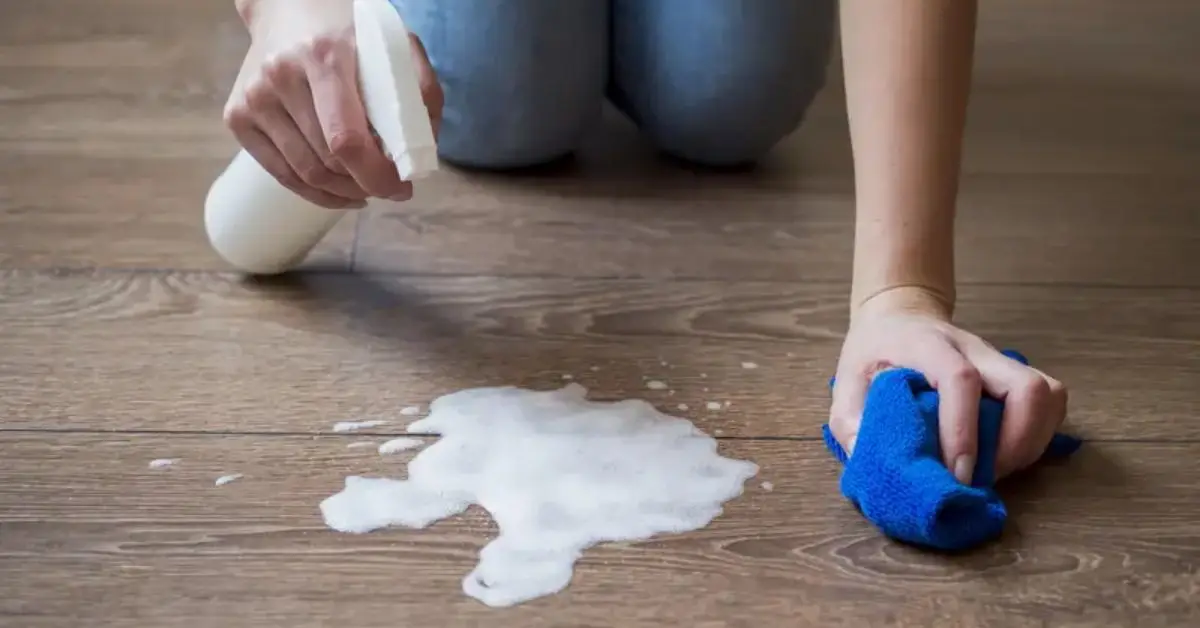
This is always where I start—and honestly, most of the time, it’s enough.
Warm water mixed with a mild dish soap works because many adhesives break down gradually when moisture and gentle friction are applied together. Many homeowners unknowingly damage their floors here by using too much water or the wrong cleaning technique—something I’ve broken down in detail in this guide on the worst mopping mistakes that make wood floors filthy. You’re not attacking the floor. You’re loosening the bond slowly, which is exactly what wood needs.
Here’s how I do it safely:
- Mix warm (not hot) water with a few drops of mild dish soap
- Dampen a soft cloth or sponge and let it sit on the adhesive for a minute
- Use a plastic putty knife or an old gift card
- Scrape with the wood grain, not against it
A key mistake I see people make is switching to metal tools too soon. Even sealed wood floors can scratch easily. European flooring experts consistently recommend plastic tools for this reason—they remove residue without cutting into the finish.
This method won’t remove heavy construction glue, but it prepares the surface. Think of it as loosening the grip before moving to stronger options.
If the adhesive starts to smear or lift slightly, you’re on the right track. If nothing moves at all, that’s your sign to step up—not force it.
Method 2: Heat Softening (Hair Dryer or Heat Gun)
When water alone doesn’t work, I move to heat—but carefully.
Heat works by softening the adhesive’s structure. Once it warms up, the bond weakens, and scraping becomes easier. The problem is that heat doesn’t know the difference between adhesive and finish—you have to control it.
Here’s how I decide what to use:
- Hair dryer
- Best for tape residue, stickers, and light dried glue
- Slower, but much safer for most homes
- Heat gun
- Only for thick, stubborn adhesive
- Use the lowest setting and keep it moving
Safe heat tips I never skip:
- Hold the heat source 6–8 inches away
- Heat for 10–15 seconds max, then test
- If the surface looks shiny, smells odd, or feels soft—you stop
Once the adhesive softens, use a plastic scraper and lift gently. No digging. No prying.
This method works especially well when you want to avoid chemicals altogether. Just remember: overheating causes finish bubbling, and once that happens, there’s no undo button.
Method 3: Safe Household Solvents and Natural Solutions
This is where most guides get lazy. They either say “use a solvent” or scare you away completely. I take a middle path—right solvent, right situation, small amounts.
Based on flooring experts and homeowner experience, these are the options I trust:
- Rubbing alcohol (isopropyl alcohol)
- Breaks down many adhesives quickly
- Use on a cloth, not poured directly
- Wipe, lift, and stop once residue releases
- White vinegar + warm water
- Mild and eco-friendly
- Works best on light residue
- Slower, but safer for cautious homeowners
- Baking soda paste
- Mix baking soda with water
- Acts as a gentle abrasive
- Use light pressure only
- Natural oils (olive or coconut oil)
- Surprisingly effective on sticky tape residue
- Best for small areas, not large glue patches
Flooring specialists consistently warn against acetone and nail polish remover on sealed wood floors because they can soften or strip the finish.
If you’re unsure, do a test patch. Always.
If the adhesive lightens or rolls up, continue. If the finish dulls, stop immediately and switch methods.
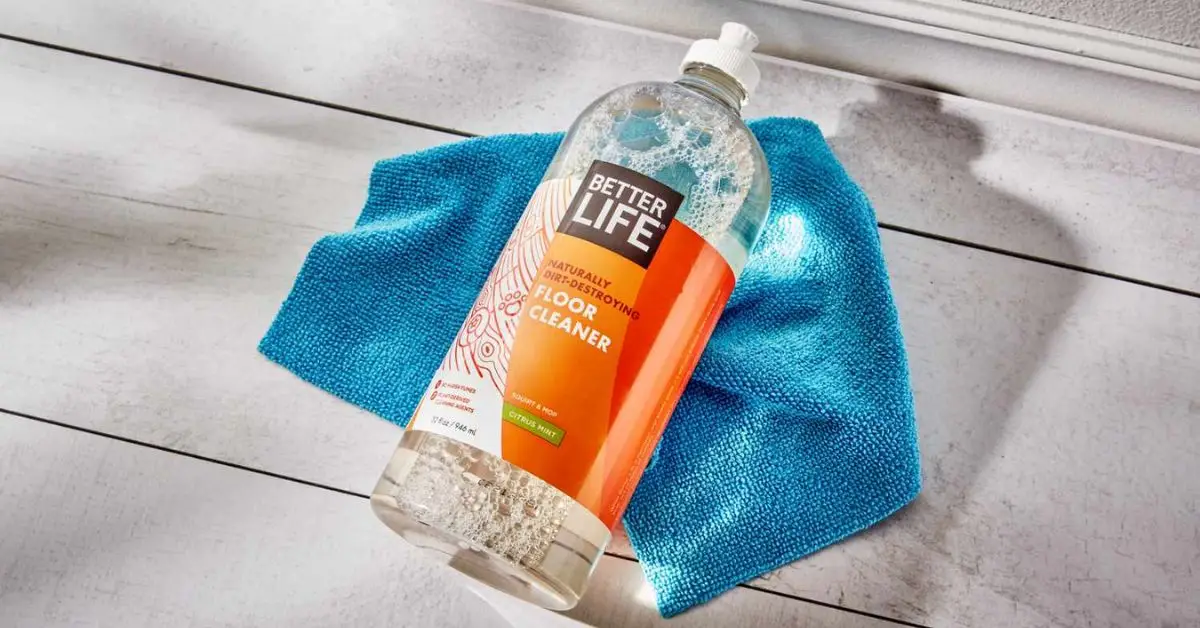
Method 4: Commercial Adhesive Removers (When DIY Isn’t Enough)
Sometimes, no amount of soap, heat, or household solutions will do the job. That’s when I consider a commercial adhesive remover—but only as a controlled last step.
Here’s how I approach it safely:
- Choose products labeled safe for hardwood floors
- Avoid anything designed for concrete or tile
- Look for low-odor, citrus-based, or water-rinsable formulas
Application rules I follow:
- Apply a small amount with a cloth—not directly on the floor
- Let it sit only for the recommended dwell time
- Never walk away while it’s working
After removal:
- Clean the area with warm water and mild soap
- Dry immediately to avoid moisture damage
These products can work extremely well—but only if you treat them like precision tools, not shortcuts.
Before you move on to the next method, pause for a second. Which of these sounds closest to what your floor needs right now?
Method 5: Hot Towel / Steam Shortcut for Sensitive Finishes
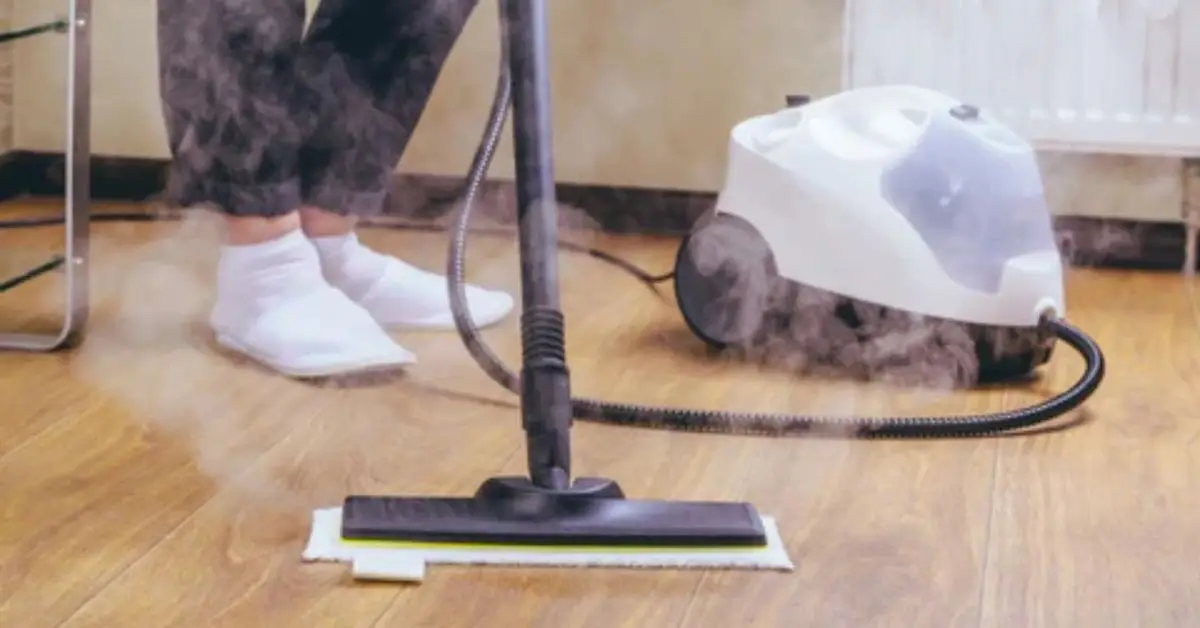
When I’m dealing with a floor that feels delicate—or when I’m not fully sure how the finish will react—I switch to this method. It’s slow, but it’s controlled. And control matters more than speed with wood floors.
This works especially well for oiled, waxed, or older sealed finishes that don’t tolerate direct heat or strong solvents.
Here’s how I do it step by step:
- Soak a clean towel in hot (not boiling) water
- Wring it out well—you want steam, not dripping water
- Lay the towel flat over the adhesive
- Let it sit for 2–3 minutes
- Remove the towel and gently lift the softened adhesive with a plastic scraper
The steam slowly penetrates the adhesive and weakens the bond without shocking the finish. Woodworking professionals often recommend this low-impact approach for sensitive surfaces because it reduces the risk of bubbling or discoloration.
This method works best on sealed oak and amber-toned finishes, where aggressive heat or chemicals can leave visible marks. It’s not fast—but it’s forgiving, which is exactly what you want at this stage.
If the adhesive starts to peel instead of crack, you’re doing it right.
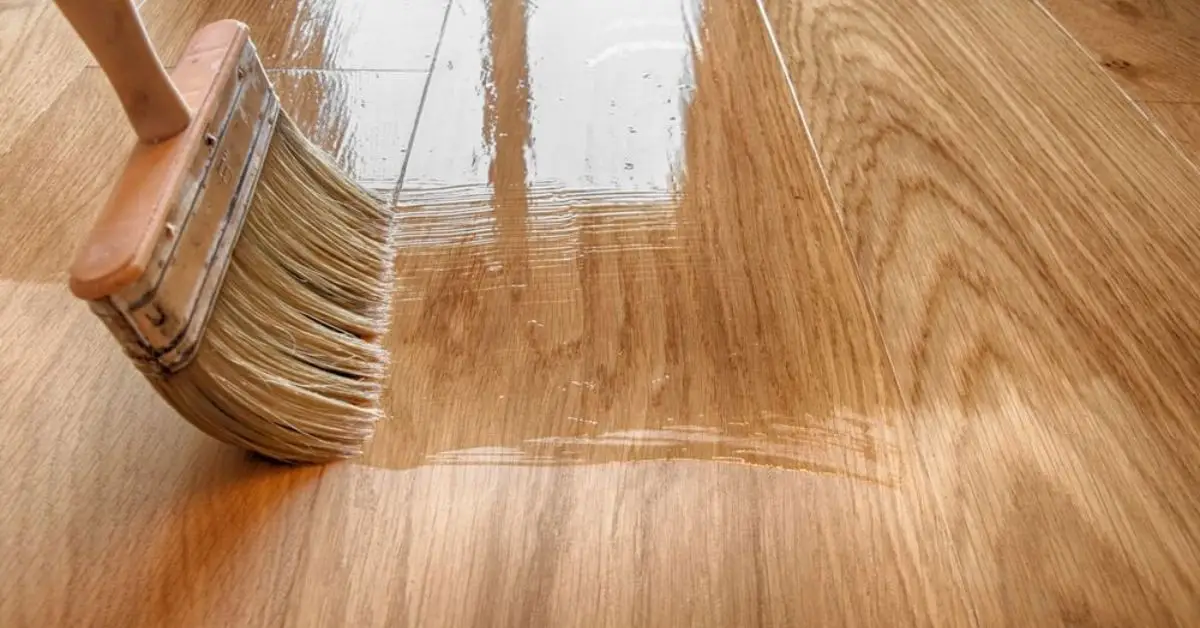
Method 6: Sanding — Only as a Last Resort
I’ll be very clear here: sanding is not a cleaning method. It’s a surface removal method.
That’s why I only consider it when adhesive is fully cured, thick, and completely unresponsive to every safer option.
If you reach this point, here’s how to reduce the risk:
- Use fine-grit sandpaper (start around 220 grit)
- Sand lightly by hand, following the grain
- Avoid power sanders unless you plan to refinish the area
What I avoid entirely:
- Drum sanders for spot removal
- Heavy pressure “just to get it done”
- Sanding large areas without a refinishing plan
If you see bare wood appearing or the color changing, that’s your stop point. At that stage, refinishing—not cleaning—is the correct next step. If you reach that point, there are smarter ways homeowners restore worn or damaged wood without jumping straight to full replacement, like the methods explained in these proven hardwood floor restoration techniques.
Before you go further, ask yourself honestly: Are you still removing adhesive—or are you starting to remove the floor itself?
When to Avoid These Methods (and What Happens If You Don’t)
This is the part most guides skip—and it’s where homeowners lose their floor’s finish.
I’ve read countless real-world stories where people kept pushing a method even after the floor showed warning signs. Wood always warns you before it fails. The problem is most people don’t know what those signs mean.
Here’s when you should stop immediately:
- The finish turns cloudy or white
- The surface feels soft or sticky after cleaning
- Color starts lifting onto your cloth
- The wood looks darker in one spot
Certain finishes are especially risky and often best left to professionals:
- Old shellac or wax finishes
- Hand-oiled or unfinished wood
- Historic or thin veneer flooring
Strong chemicals are where the real damage happens. Acetone, lacquer thinner, and paint thinner can strip polyurethane finishes in seconds. Many homeowners only realize the mistake once the floor dries and looks patchy or dull. If the damage is limited to surface marks or light scratches, you may not need refinishing at all—there are simple ways to remove scratches from hardwood floors without replacing them.
If a method isn’t working after a few careful attempts, that’s not a signal to push harder. It’s a signal to change approach.
Quick Troubleshooting: What If Residue Still Won’t Come Off?
If you’re here, I know the feeling—you’ve tried the “safe” methods, and that patch of glue is still staring back at you.
This is where I slow things down instead of getting aggressive. Most stubborn residue comes off with patience and the right fallback, not force.
Here’s what I do next, step by step:
- Repeat heat + scrape cycles: One pass is rarely enough. Warm the area again, scrape lightly, wipe clean, and repeat. Adhesive often releases in layers.
- Try mineral spirits—sparingly: On solvent-safe, sealed floors, a small amount on a cloth can help break down residue that won’t respond to heat. Homeowners often mention success with this approach when used carefully and wiped off immediately.
- Spot test alternate mild solvents: Don’t switch products randomly. Test one option at a time in a hidden area and watch the finish—not just the adhesive.
- Know when to stop and call a pro: If the finish starts changing color, dulling, or lifting, you’re past DIY territory. A flooring pro can remove adhesive without turning a small problem into a full refinish.
If you’re stuck at this stage, you’re not failing—you’re just dealing with a tougher adhesive than average.
Preventing Adhesive Marks in the Future
Once you’ve cleaned the floor, the last thing you want is to repeat this process again.
I’ve learned that prevention is easier than removal, especially with wood floors.
Here’s what actually helps:
- Use rug pads labeled safe for hardwood floors
- Avoid tape or stickers directly on wood—use barriers instead
- Clean spills and sticky spots early, before they cure
- Don’t let adhesives sit “until the weekend”—time makes them harder
These small habits protect the finish and save hours of cleanup later.
Practical Safety Tips Before You Start
Even simple DIY methods deserve basic safety. I’ve seen more damage from rushed work than from the adhesive itself.
Before you begin, I always recommend:
- Open windows or use a fan for ventilation
- Wear gloves if you’re using solvents
- Never mix cleaning products
- Keep liquids minimal—wood hates standing moisture
- Work in small sections, not the entire floor at once
Protecting yourself and the finish go hand in hand.
If you’ve dealt with a stubborn adhesive that refused to come off, share what worked for you in the comments—real experiences help other homeowners more than generic advice.
And if you want more practical, no-nonsense home guides like this, visit Build Like New. That’s where I break down real fixes the way homeowners actually need them.
Now tell me—what kind of adhesive are you still fighting with?
Disclaimer: The methods shared here are for general DIY guidance only. Wood floors vary by finish, age, and condition, so results may differ. Always test any method on a small, hidden area first. If you’re unsure about your floor type or notice damage during removal, stop and consult a professional flooring expert.

