
5 Common Stainless Steel Cleaning Mistakes You Should Avoid
You clean your stainless steel, step back, and instead of that smooth shine—you see streaks. Sometimes tiny scratches too. I’ve been there. And after years of testing cleaners, tools, and techniques, I can tell you this: most stainless steel damage doesn’t come from neglect. It comes from doing the wrong thing with good intentions.
If you’ve ever wiped an appliance three times and still felt frustrated, this is for you. I’m going to walk you through the most common stainless steel cleaning mistakes that quietly ruin the finish—and more importantly, how to stop repeating them without buying expensive products or scrubbing harder.
Before we dive in, let me ask you this: which surface in your home never looks clean no matter how much effort you put in?
Why Stainless Steel Is Prone to Streaks and Micro-Scratches
If stainless steel feels harder to keep clean than other surfaces, you’re not imagining it. I’ve learned over time that stainless steel isn’t actually “stain-proof.” It’s only stain-resistant, and the way it’s made is exactly why every mark shows up so clearly.
Stainless steel has a thin protective layer called chromium oxide. This layer helps prevent rust, but it’s sensitive to friction and residue. When you clean the surface the wrong way—even with good intentions—you disturb that layer in tiny ways that don’t show up immediately.
Here’s what’s really happening beneath the shine:
- Stainless steel has a visible grain, similar to brushed wood
- Wiping against that grain creates uneven surface pressure
- Cleaning causes micro-scratches, not deep damage
- Those scratches trap oils, fingerprints, and dust
That’s why you wipe the surface, walk away, and still notice streaks later. In many cases, the cleaner didn’t fail—the surface just holds residue in spots you can’t see yet. Professional cleaners explain that streaking usually comes from leftover moisture and residue settling into these microscopic imperfections, not from dirt alone.
Once you understand this, the common cleaning mistakes start to make a lot more sense.
Mistake #1 — Choosing Abrasive Cloths or Tools
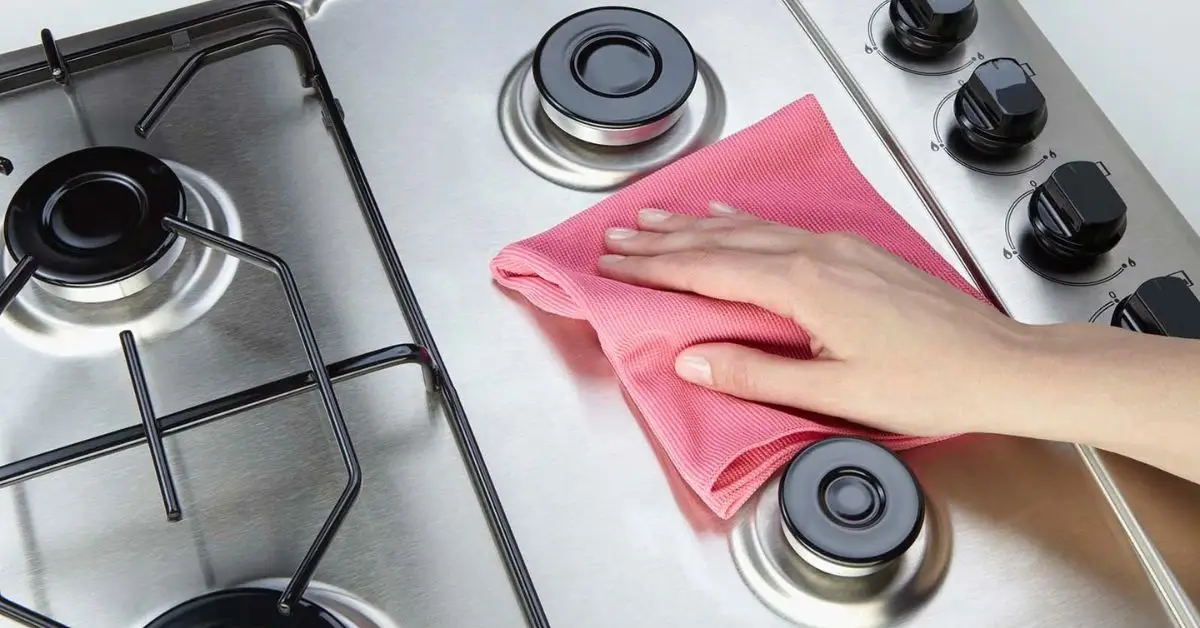
This is the mistake I see most often, and it causes the most long-term damage. You think you’re being gentle—but the tool you’re using slowly dulls the surface every time you clean.
Here’s where things usually go wrong:
- Paper towels feel soft but have rough fibers
- Cheap cloths drag tiny debris across the surface
- Kitchen sponges are made to scrub, not glide
- Reusing the same cloth adds grit you don’t notice
All of this creates a hazy finish that no cleaner seems to fix.
Why Paper Towels and Rough Sponges Hurt Stainless Steel
I get the convenience—I used paper towels for years. But they’re one of the biggest reasons stainless steel loses its shine.
They cause damage because they:
- Create micro-scratches with repeated wiping
- Leave lint that mixes with cleaning residue
- Spread oils instead of lifting them evenly
Cleaning experts at Microfiber Wholesale explain that most stainless steel damage comes from repeated friction, not harsh chemicals alone. That friction adds up quickly when the wrong tools are used.
Better Alternatives That Actually Protect the Finish
If you want stainless steel to stay smooth and reflective, your tools matter as much as your cleaner.
What I recommend using:
- High-quality microfiber cloths with a tight weave
- Separate cloths only for stainless steel
- Soft, non-abrasive pads for stuck-on residue
- Light pressure instead of repeated scrubbing
You’ll notice the difference almost immediately—less effort, fewer streaks, and no new scratches being added while you clean.
Mistake #2 — Cleaning Against the Stainless Steel Grain
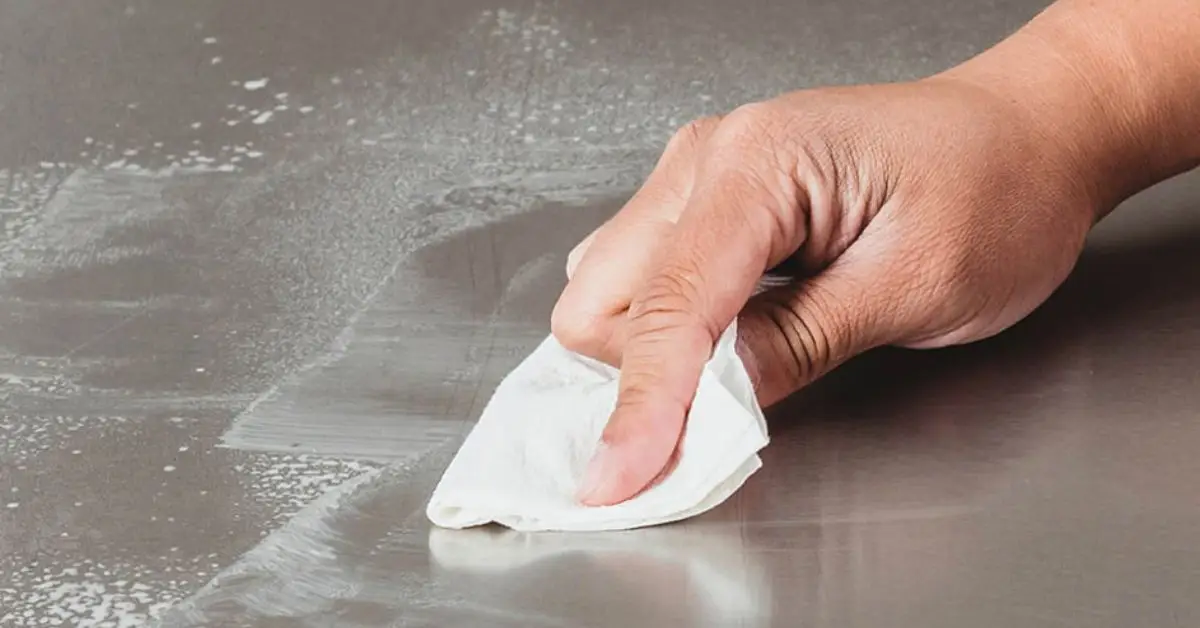
This mistake is mentioned everywhere, but almost no one explains why it actually ruins the finish. I’ve seen people clean the same surface again and again, thinking the cleaner isn’t strong enough—when the real issue is how they’re wiping.
Stainless steel has a directional grain. When you wipe against it, you push moisture, oil, and residue sideways into tiny grooves. That’s when streaks appear in strange patterns and refuse to go away.
Here’s what wiping against the grain does over time:
- Spreads residue unevenly
- Makes light reflect inconsistently
- Highlights streaks instead of removing them
- Slowly dulls the surface finish
What “Grain” Means on Stainless Steel
If you’ve never noticed the grain, don’t worry—most people haven’t.
This is how I spot it:
- Look closely under daylight or a bright bulb
- You’ll see faint straight lines on the surface
- The lines usually run vertically or horizontally
- That direction is the grain, not scratches
Once you identify it, cleaning becomes much easier.
How to Wipe With the Grain to Prevent Marks
This one habit change can fix a lot of frustration.
What I always recommend:
- Wipe only in the direction of the grain
- Use long, steady strokes
- Avoid circular or back-and-forth motions
- Do a final dry wipe, still following the grain
You’ll notice fewer streaks instantly—even if you don’t change your cleaner.
Mistake #3 — Using Harsh Chemicals or Over-Spraying
This is where good intentions backfire. I’ve seen people use the “best” cleaners and still end up with haze and fingerprints within hours.
The problem usually isn’t dirt. It’s residue.
When you over-spray or use harsh chemicals, a thin film stays behind. Once that film dries, it attracts dust and oils faster than a clean surface ever would. According to cleaning professionals at ServiceMaster Clean, most stainless steel streaking happens because cleaner and moisture dry unevenly—not because the surface is still dirty.
Common Cleaners That Leave a Film
Some very popular products are actually the biggest culprits:
- All-purpose sprays
- Glass cleaners
- Disinfectant wipes
- “Shine-boosting” formulas
They clean, but they don’t rinse clean.
How Excess Cleaner Turns Into Streaks and Haze
Here’s the cycle I see all the time:
- Cleaner is sprayed directly on the surface
- Some areas get more product than others
- Parts dry faster, parts slower
- Residue settles into the finish
That’s how you end up with haze instead of shine. A lot of people don’t realize that harsh cleaners cause problems not just on stainless steel but on other kitchen surfaces too—like oven racks—where using the wrong place or method can make cleaning much harder than it needs to be, which is why this guide on the one place that makes cleaning oven racks shockingly easy is worth checking out.
Best Cleaners and Dilution Tips
You don’t need stronger products. You need less.
What works best in real life:
- Mild cleaner or diluted dish soap
- Spray onto the cloth, not the surface
- One pass to clean
- One damp wipe to remove residue
This alone can dramatically reduce streaking.
Mistake #4 — Not Rinsing and Letting Water Dry on the Surface
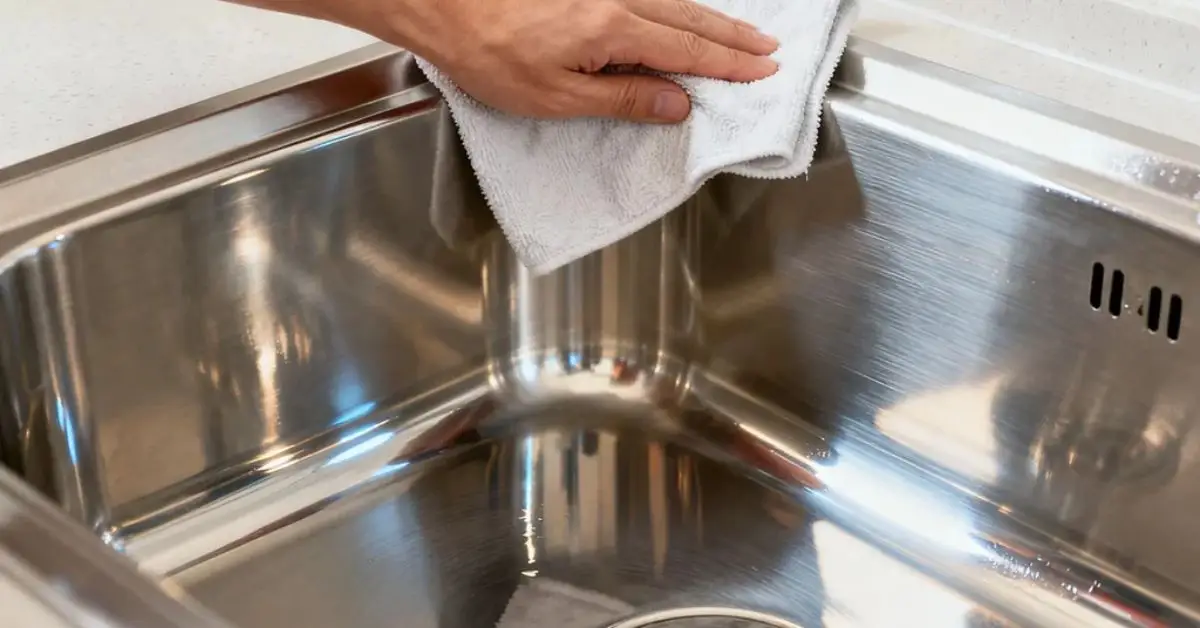
This mistake is easy to miss, but it’s one of the biggest reasons stainless steel never looks “done.” Especially if you have hard water.
When water dries on stainless steel, it leaves minerals behind. Those minerals scatter light, which is why the surface looks chalky or cloudy later—even if it looked fine at first.
Here’s what’s really happening:
- Hard water contains calcium and magnesium
- Minerals settle into micro-scratches
- Residue builds up with each cleaning
- The finish slowly loses clarity
Hard Water Effects on Stainless Steel Finishes
If you’ve ever seen white spots on faucets or sinks, the same thing is happening on your appliances.
You’ll notice:
- Dull patches instead of even shine
- Streaks that come back after drying
- Spots that don’t wipe away easily
This isn’t about effort—it’s about the drying step.
Rinse + Dry Step-by-Step That Actually Works
This is the routine I stick to, and it works consistently:
- Clean with a lightly damp cloth
- Wipe once with a clean, water-only cloth
- Dry immediately with a soft towel
- Follow the grain during the final wipe
It adds less than a minute, but it prevents streaks for hours.
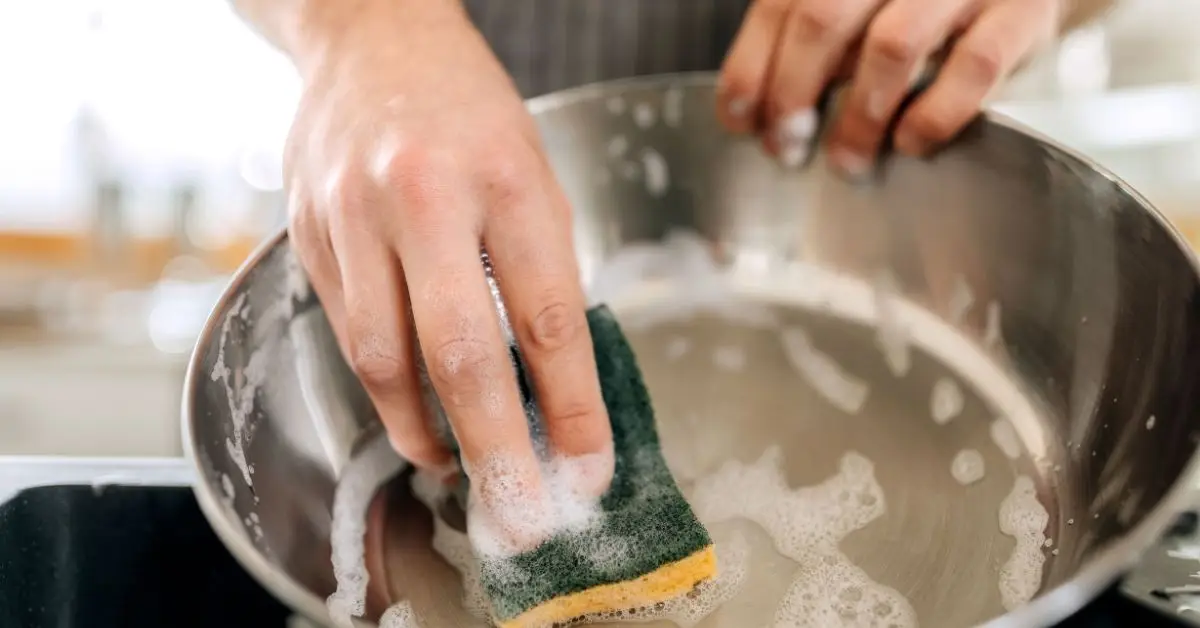
Mistake #5 — Skipping Pre-Cleaning or Polishing Too Soon
This mistake usually comes from trying to rush to the “finished shine” without doing the groundwork first. A lot of guides gloss over this, but I’ve learned the hard way that polishing before removing oils and grease actually locks in problems instead of fixing them.
That’s because stainless steel doesn’t just collect dust—it attracts fingerprints, cooking oils, and airborne residue. Even something as basic as dish soap can cause residue buildup if it’s used the wrong way, and many people unknowingly make these errors across their home—as explained in these dish soap cleaning mistakes that slowly ruin surfaces. If those aren’t removed first, polishing spreads them around instead of lifting them off.
Why Polishing Before Removing Oils and Grease Causes Streaks
Here’s what happens when you polish too soon:
- Oils and grease sit under the polish
- The polish pushes residue into tiny grain lines
- Light reflects unevenly, making streaks stand out
- The surface ends up looking spotty instead of smooth
You might think the polish will “fix it,” but it just highlights problems you didn’t remove first.
Pro Step-By-Step: Pre-Clean → Clean → Dry → Polish
Follow this sequence and you’ll actually see the difference:
- Pre-clean: Wipe with a slightly damp microfiber to remove loose dust and oils
- Clean: Use a gentle cleaner to dissolve grease (not just mask it)
- Dry: Make sure no water or cleaner residue remains
- Polish: Finish with a small amount, applied with the grain
Breaking these into distinct steps makes the whole process more predictable and the results way more satisfying.
Bonus Mistake — Treating Stainless Steel Like Normal Surfaces
This one is subtle, but it’s everywhere. People assume stainless steel can be cleaned like any other surface—wipe here, spray there, and call it done. The problem is, it behaves very differently from countertops or tiles, and the wrong habits add up fast.
Quick Habits That Make Deep Cleaning Rare
Good daily habits are the secret most experts don’t talk about:
- Wipe fingerprints as soon as you see them
- Keep a dry microfiber cloth handy instead of paper towels
- Avoid touching with greasy or damp hands
- Clean small spots regularly instead of waiting for buildup
These simple actions keep oils and dust from turning into stubborn streaks. Many everyday kitchen habits feel harmless, but they often cause more harm than good—not just visually, but hygienically too—which is exactly why microbiologists warn against several common routines in these kitchen cleaning mistakes they beg people to stop.
For a deeper look at what common mistakes are costing your stainless steel its shine, sources like Homes & Gardens break down how residue, wrong tools, and improper techniques leave streaks and marks that feel impossible to fix if you don’t adjust your routine.
Final Tip Before You Clean Again
If there’s one thing I want you to remember, it’s this: stainless steel responds to intention, not force. Scrubbing harder, using more product, or rushing through the steps almost always leads to more streaks—not fewer.
When you slow down and clean with purpose—right tools, right direction, and the right order—you stop fighting the surface. That’s when stainless steel starts looking clean and staying that way.
Before you clean again, pause and ask yourself: Am I wiping gently, or am I trying to fix the problem with pressure and speed?
Now I’d love to hear from you. Which mistake do you think has been causing the most streaks in your home? Drop it in the comments—your experience might help someone else.
And if you want more practical, no-nonsense home care guides like this, make sure to explore more tips on Build Like New.
Disclaimer: The information shared here is based on professional cleaning experience and trusted sources. Always check the manufacturer’s care instructions for your specific appliance or surface, and test any cleaning method on a small, hidden area first. Results may vary depending on finish and usage.

