
The 1 Shower Cleaning Mistake That Fuels Limescale
I’ll be honest—I used to think limescale in the shower was just a hard-water problem. Clean it often enough, use the right product, and it should go away. That’s what most of us believe. But after digging into expert advice, real homeowner experiences, and what cleaning pros actually say off the record, I realized something uncomfortable: one very common cleaning habit is quietly making limescale worse.
If you’ve ever scrubbed your shower, stepped back feeling accomplished, and then noticed the white chalky stains come back even faster—that’s not bad luck. It’s usually the result of how you’re cleaning, not how often.
In this article, I want to walk you through the one mistake I see again and again—one that feels logical but backfires over time. Once you see it, you can stop wasting effort, money, and elbow grease. Before we go further, let me ask you this: when was the last time you cleaned your shower and felt like it actually stayed clean?
What Is Limescale and Why It Builds Up in Showers
Before we talk about mistakes, you and I need to clear up one big misunderstanding—limescale is not dirt. And treating it like dirt is where most shower problems begin.
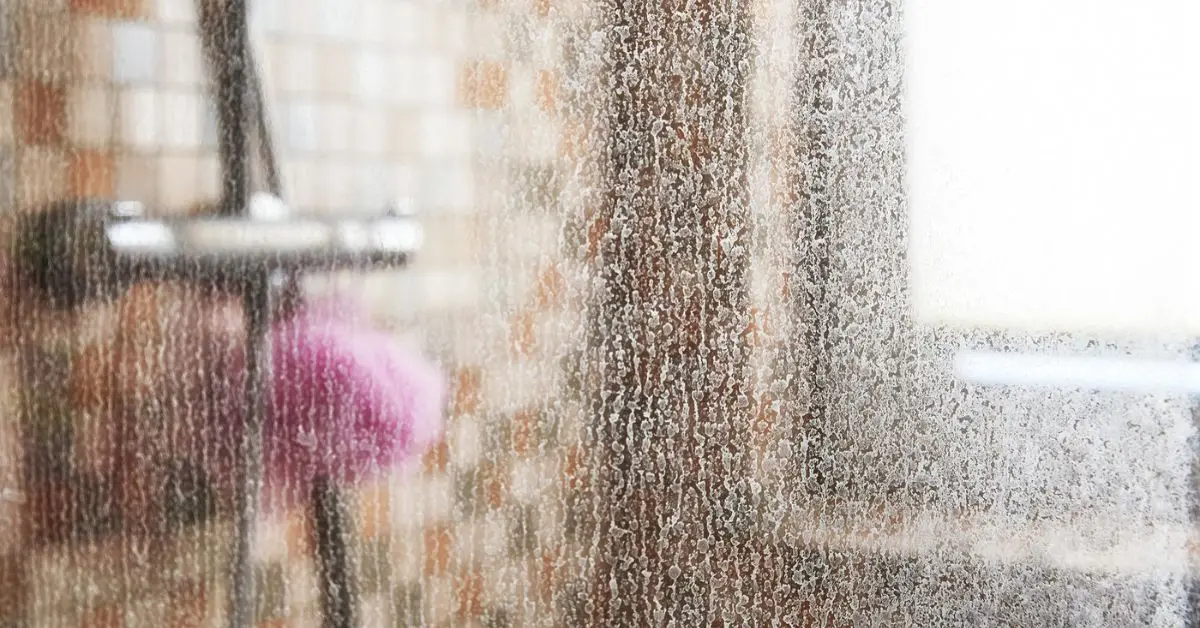
Limescale is a hard mineral deposit made mainly of calcium and magnesium. Every time hard water dries on a surface, these minerals stay behind. Over time, they bond, harden, and turn into that white, cloudy layer you see on shower glass, tiles, and fixtures.
Your shower is basically the perfect setup for this to happen.
- Hard water is very common in the US: According to data published by the U.S. Geological Survey, most American homes deal with mineral-heavy water in some form. If your water leaves spots on dishes or faucets, limescale isn’t optional—it’s inevitable.
- Heat and steam make it worse: Hot showers cause water to evaporate faster, which means minerals get left behind more frequently.
- Cleaning products add to the problem: Many everyday bathroom cleaners are alkaline. They don’t dissolve minerals. Over time, cluttered counters and shelves also make it harder to notice early buildup, which is why simplifying your bathroom setup helps more than people realize. Removing unnecessary items—like the ones mentioned in these common bathroom clutter mistakes—makes routine cleaning faster and more effective. Instead, they leave a thin residue that makes it easier for limescale to grab on the next time water hits the surface.
So if you’re cleaning regularly and still seeing buildup, it’s not because you’re careless. It’s because the chemistry of your bathroom is working against you—and most advice online skips this explanation.
The One Common Shower Cleaning Mistake That Makes Limescale Worse
Here’s the uncomfortable truth—this mistake feels like the right thing to do, and almost everyone makes it.
What most people think helps:
- Cleaning the shower more often
- Using strong, foamy bathroom cleaners
- Scrubbing harder when stains won’t budge
- Letting the shower air-dry after cleaning
I used to believe this too. But this is where things quietly go wrong.
The actual mistake: You’re using cleaners that remove soap scum but don’t break down mineral deposits, then letting hard water dry on top of those leftover residues.
That combination makes limescale stronger, not weaker. What makes this mistake even worse is that the same habit doesn’t just fuel limescale—it also creates the perfect environment for mold, which I explain in detail in this breakdown of a common shower mistake that leads to bathroom mold.
Why this accelerates limescale buildup:
- Alkaline cleaner residue stays on the surface
- Calcium and magnesium from hard water cling to that residue
- Each drying cycle locks minerals in place
- Layers build faster and become harder to remove
Instead of fixing the problem, this routine trains limescale to come back quicker and stick harder.
That’s why:
- The glass looks dull even after cleaning
- White stains return within days
- You feel like you’re cleaning more but seeing worse results
If any of this sounds familiar, this one mistake is probably already happening in your shower. And once you understand it, you can finally stop fighting limescale the hard way.
How the Mistake Interacts With Surfaces and Water Chemistry

This is the part most cleaning articles avoid, because once you understand the chemistry, the mistake becomes obvious. And honestly, a little uncomfortable.
How Cleaning Agents React With Mineral Content
Most bathroom cleaners are made to deal with organic mess—soap scum, oils, and bacteria. Limescale isn’t organic. It’s mineral.
So when you use a strong, foamy cleaner:
- Soap residue breaks down, so the surface looks cleaner
- Calcium and magnesium don’t dissolve
- Minerals stay behind and become more concentrated as water dries
Experts quoted by Tom’s Guide explain that mineral buildup behaves very differently from corrosion or dirt—it hardens in layers when repeatedly exposed to heat and moisture. That means every “wrong” clean quietly prepares the surface for the next layer of scale.
Surface Residues That Attract More Scale
Here’s the part most people never notice.
Many everyday cleaners leave behind:
- An invisible film
- Slight stickiness at a microscopic level
- A surface that feels clean but isn’t neutral
That residue becomes a landing pad for minerals. When hard water hits it:
- Calcium binds faster
- Drying locks minerals in place
- The surface slowly becomes rougher
Rough surfaces hold more limescale. Smooth surfaces resist it. Cleaning the wrong way slowly flips the odds against you.
Common Products That Backfire
I see this pattern constantly:
- Multi-purpose bathroom sprays
- Thick foam cleaners
- “Daily shower cleaners” that promise prevention
They clean fast, smell good, and give instant results—but:
- They don’t break down minerals
- They leave residue behind
- They rely on appearance, not chemistry
That’s why stains come back quicker and harder than before.
How to Avoid the Mistake and Actually Reduce Limescale
Once you stop fighting the chemistry, everything gets easier.
What You Should Do Instead (Step-by-Step)
Here’s a realistic approach that actually works:
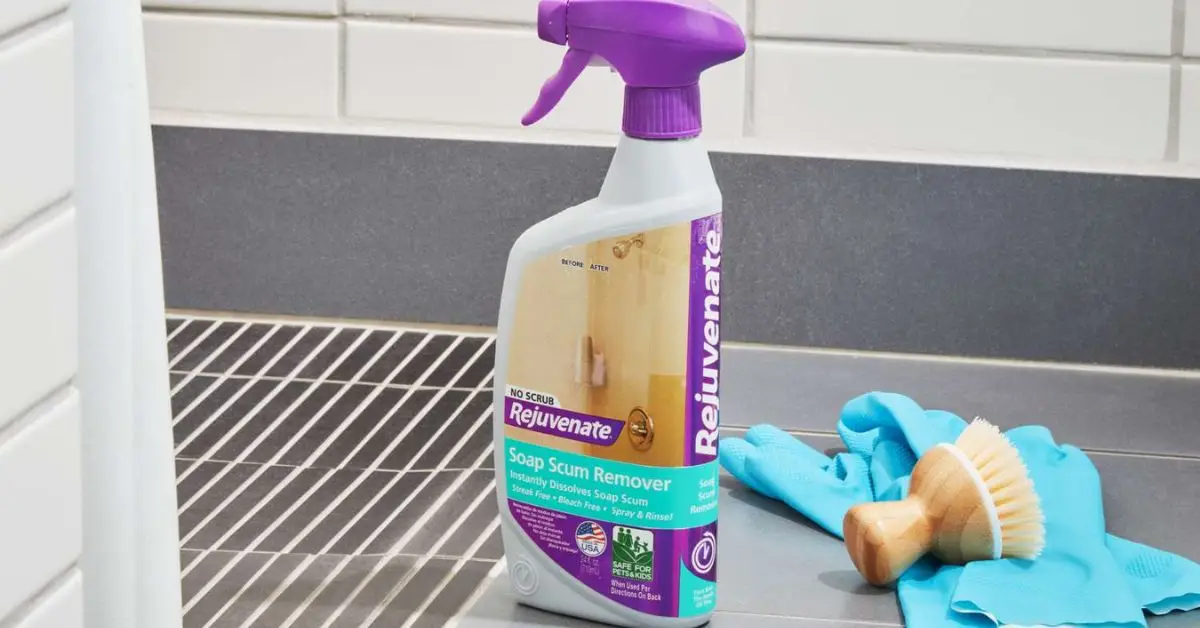
- Use something that targets mineral deposits, not just surface grime
- Rinse thoroughly so nothing stays behind
- Dry high-contact areas instead of letting water evaporate
Less effort. Better results.
Tools and Products That Work With—Not Against—Your Shower
No hype, just logic:
- Choose cleaners made for mineral buildup, not general bathroom use
- Use soft cloths instead of aggressive scrubbing
- Keep a simple wipe-down habit after showers
You’re preventing bonding, not fighting hardened layers.
Routine vs Deep Clean: When and Why
This is where people overwork themselves.
- Routine care: stops minerals before they settle
- Deep cleaning: only when buildup already exists
If you’re deep-cleaning all the time, the routine is broken. Fix the process, and the problem shrinks.
If you want, tell me what you currently use to clean your shower—I can help you spot whether it’s helping or quietly making things worse.
Best Products That Don’t Make the Problem Worse
You already know the real issue isn’t how hard you clean—it’s what you clean with. So let’s talk about the products that actually help, and the ones that quietly make limescale stronger.
pH-Safe Cleaners
Limescale isn’t soap residue. It’s mineral buildup. Most “all-purpose” bathroom sprays are designed for grime, not minerals. Use products that are formulated to target mineral deposits without leaving behind sticky residue. That way, the surface stays neutral instead of becoming a magnet for the next layer of buildup.
A practical breakdown of how surfaces interact with hard water minerals appears in this guide on removing and preventing limescale, which highlights how ordinary products can leave behind microscopic roughness that attracts more scale.
This matters because anything that roughens your surface at the micro level makes mineral bonding easier, not harder.
Natural vs Chemical Cleaners: Pros and Cons
Here’s the real trade-off:
Natural cleaners
- Pros: gentler on surfaces, safer for frequent use
- Cons: slower on established mineral buildup
Chemical cleaners
- Pros: faster on deposits that have already hardened
- Cons: can be too harsh if misused or used too often
The smart approach isn’t picking a side. It’s choosing the right tool for the job:
- Natural for regular maintenance
- Stronger cleaners when buildup has already formed
This avoids unnecessary wear while still getting results.
What to Avoid (Ingredients List)
Products that often make things worse include those heavy in:
- Thick foaming agents that leave unseen residue
- Harsh alkaline boosters that don’t dissolve minerals
- Waxes or “shine enhancers” that attract mineral crystals
If it smells great but doesn’t dissolve calcium or magnesium, it’s probably not solving your scaling problem.
Quick Daily Habits That Keep Limescale From Returning
Fixing the chemistry is only half the battle. The habits you build decide whether it stays fixed.
Habit Triggers (After Shower, Weekly Checks)
You don’t need a complicated checklist—just smart cues:
- Wipe down while the surface is still wet
- Make a weekly pass for cloudy spots
- Tackle small spots before they harden
Routine beats intensity.
Small Fixes That Yield Big Results (Squeegee, Ventilation)
These tiny adjustments make a big difference:
- Using a squeegee after every shower
- Wiping metal and glass surfaces dry
- Running ventilation to reduce lingering moisture
roper ventilation matters more than most people realize—if moisture hangs around, minerals settle faster, which is why keeping your airflow clean (and not clogged with dust) is just as important as wiping surfaces. If you’re not sure where to start, this guide on cleaning your bathroom exhaust fan properly breaks it down step by step.
You’re not deep-cleaning. You’re disrupting mineral deposition before it starts.
Takeaway: Fix This One Thing First for Cleaner Showers
Here’s the real insight: once you stop feeding limescale with the wrong products or habits, the problem becomes manageable, not stubborn. You don’t need stronger scrubs or more frequent cleaning—you need smarter cleaning and prevention.
Try shifting to mineral-targeted cleaners, rethink your post-shower routine, and watch how quickly the buildup slows.
Now tell me this — what cleaning product are you currently using in your shower? Drop a comment and let’s figure out whether it’s helping or hurting you.
For more practical, no-nonsense cleaning and home improvement guides like this, visit Build Like New, where we focus on fixing issues the right way, not the hard way.
Disclaimer: The tips and product suggestions in this article are for general home maintenance guidance only. Always check product labels and test cleaners on a small, hidden area first. Results may vary depending on water quality, surface material, and existing buildup. If limescale damage is severe or surfaces are sensitive, consider consulting a professional.

