
7 Genius Slow‑Drip Hacks Every Homeowner Must Try Before Cold Hits
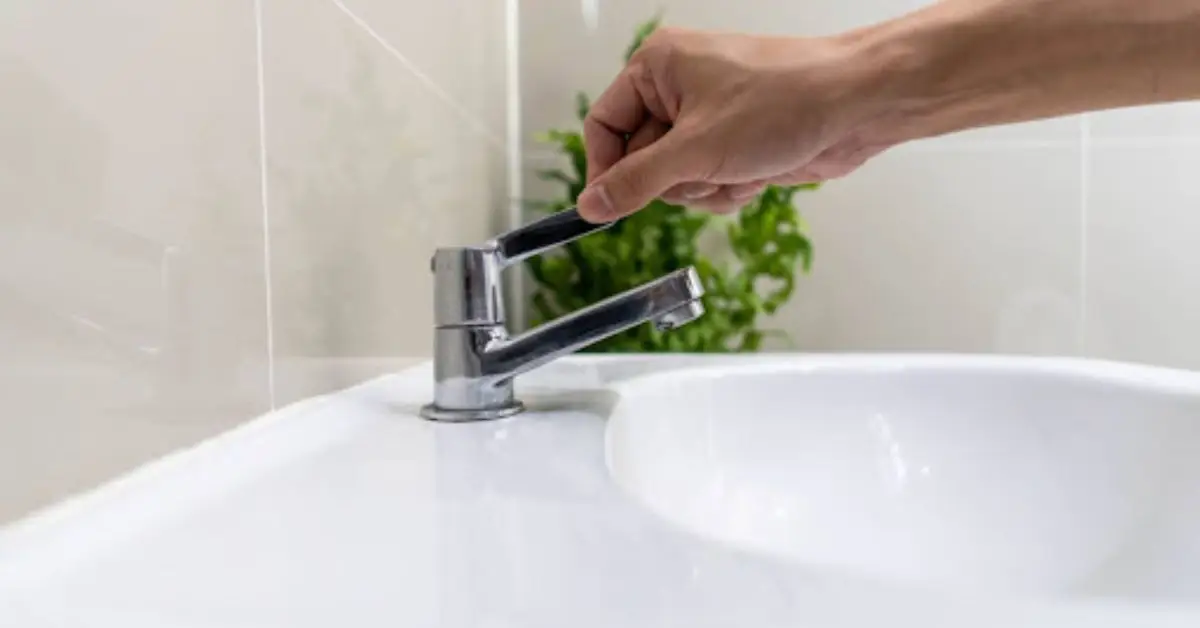
Winter is coming, and if you’re like me, the thought of frozen pipes keeps you up at night. I’ve seen firsthand how a burst pipe can ruin a day, a week, or even your entire winter budget. That’s why I always rely on the slow drip method to prevent froze pipes before the cold really sets in. It’s not complicated—just a few simple steps can keep water moving and pressure from building up inside your pipes.
You might be wondering, “Do I really need to do this? My house has never frozen before.” The truth is, even a short cold snap can catch your plumbing off guard, especially if pipes run along exterior walls or through unheated spaces. I’ll walk you through exactly what I do every year, so you can protect your home without wasting water or money. By the end, you’ll know when to start dripping, which faucets to focus on, and the practical tweaks that make the biggest difference.
Hack 1 — Know When to Start Dripping
I’ve learned the hard way that timing is everything. Starting too late can mean a pipe bursts before you even realize it. Here’s how I decide when to turn on the slow drip.
- Watch the thermometer: Once the temperature is consistently around 20°F (‑6°C) or lower, that’s your signal. Even a few hours at that level can freeze unprotected pipes.
- Check pipe exposure: Pipes along exterior walls or running through unheated spaces like basements or attics are at the highest risk. If you can feel cold spots on a pipe, treat it as priority.
Taking action early has saved me from dozens of potential disasters. You’ll sleep better knowing your plumbing isn’t at the mercy of the next cold snap. For a detailed guide on timing your drip, I often refer to the practical tips from legacyplumbing.net—they break down temperature thresholds and risk zones very clearly.
Hack 2 — Pick the Right Faucets
Once you know when to start, the next step is deciding which faucets actually need dripping. You don’t need to keep every tap running—it’s all about strategic selection.
- Exterior faucets first: These are your most exposed pipes, and even a short freeze can cause them to burst.
- Furthest-from-main-line taps: Opening these ensures water is moving through the longest stretch of vulnerable piping.
- Interior faucets last: If your home is well-heated, most interior taps are safe and don’t need to drip.
I always prioritize high-risk areas first—it’s a simple way to protect the plumbing that matters most. The city of Oklahoma City’s official water guidance has a great breakdown on which faucets to focus on and why, and it aligns perfectly with what I do every winter.
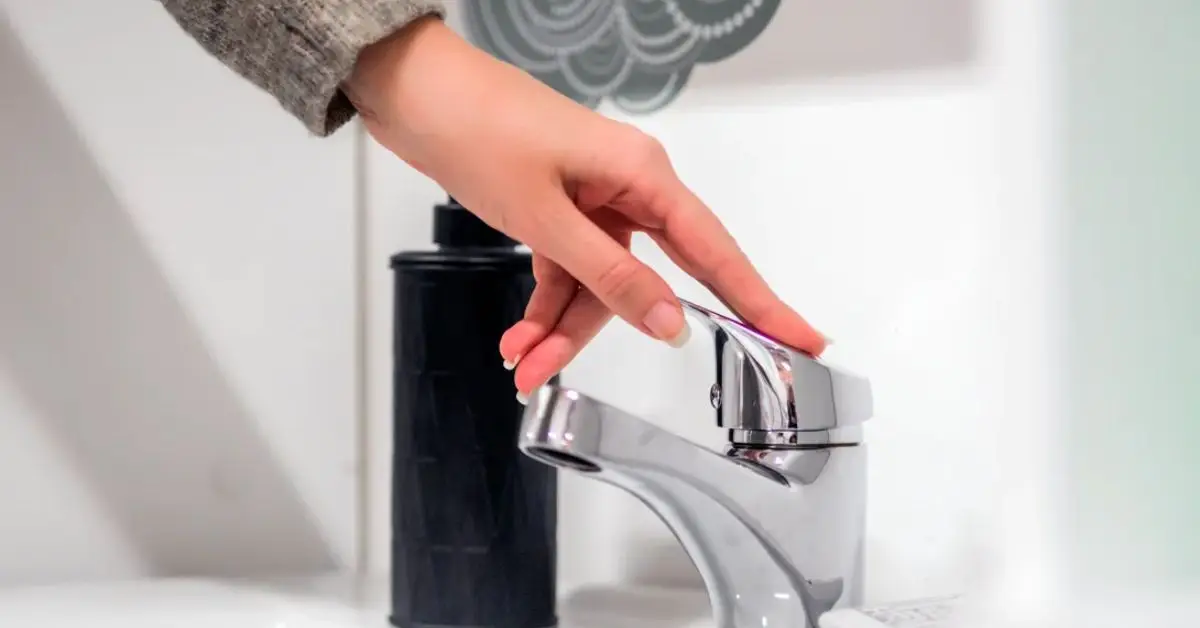
Hack 3 — Set the Perfect Drip Rate
Here’s where I see many people get it wrong: either the faucet is barely trickling, or it’s a mini-waterfall. You need just enough to keep water moving without wasting gallons.
- Pencil-thin trickle: One drop per second is ideal. Enough movement to prevent freezing, not enough to inflate your water bill.
- Hot and cold: Opening both slightly helps prevent pressure buildup and keeps the flow balanced.
- Check visually: Make sure water is moving consistently—not stopping for long stretches. If your slow drip seems weaker than expected, it might not be the cold—it could be a clogged faucet. I’ve found that checking for buildup and following best ways to fix low water flow from a dirty faucet head can make sure your drip trickles perfectly without any interruptions.
Hack 4 — Open Cabinets & Circulate Warm Air
Sometimes, the slow drip isn’t enough. I always make sure warm air can reach the most vulnerable pipes. It’s a no-cost step that makes a big difference.
- Open under-sink cabinets: Expose pipes along exterior walls to indoor warmth.
- Keep doors open: Allow heat to circulate from the rest of your home, especially near bathrooms and kitchens.
- Combine with insulation: Even minimal insulation plus warm air flow can prevent freezing.
This is one of those small habits that pays off every winter. Protecting pipes doesn’t have to be complicated or expensive—just strategic.
Hack 5 — Insulate Pipes
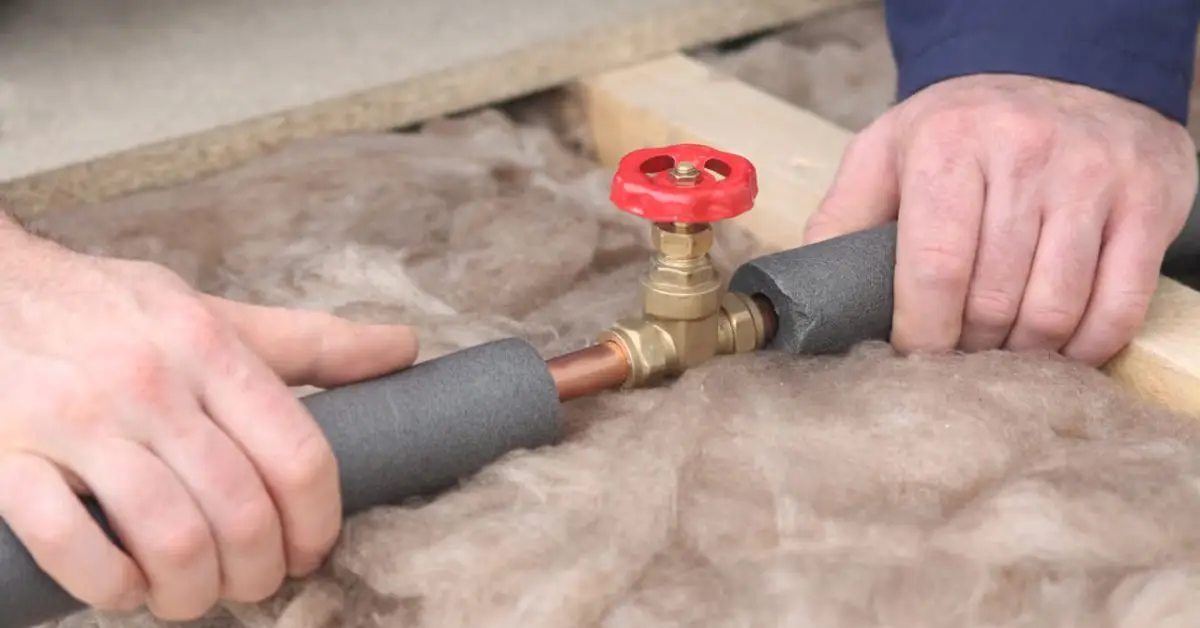
Dripping alone only protects you during short freezes. For longer stretches of sub-zero weather, I always add insulation. It’s worth the small investment.
- Foam sleeves or heat cables: Cover exposed pipes, especially near windows, basements, and crawl spaces.
- Check joints and bends: These are often the coldest points and most likely to freeze first. While insulating pipes, it’s also a good time to check for any mineral buildup, since hard water can silently damage your plumbing over time, making them more vulnerable during freezes.
- Combine with dripping: The two methods together provide the strongest protection.
I personally use a combination of foam sleeves and thermostatically controlled heat tape for pipes I know are high-risk. It gives me peace of mind.
Hack 6 — Disconnect Outdoor Hoses & Drain Exterior Lines
I always make this a priority before freezing temps hit. It’s easy to forget, but leaving hoses attached or outdoor lines full of water can quickly lead to a burst pipe.
- Remove all hoses: Even short hoses can trap water that expands and damages faucets.
- Drain exterior faucets and shut-off valves: Make sure any water left in outdoor pipes can safely exit.
- Inspect hose bibs: Some have built-in vacuum breakers—check yours to ensure proper drainage.
Taking a few minutes to do this can save hundreds in repair bills. For a step-by-step guide on preparing outdoor plumbing, I often check This Old House’s winter plumbing tips—they explain exactly how to drain lines safely.
Hack 7 — Have a Safe Thaw Plan
Even with all the precautions, pipes sometimes freeze. I always have a backup plan so a frozen line doesn’t turn into a disaster.
- Recognize frozen pipes: Look for no water flow, unusual cold spots, or ice bulges along pipes.
- Thaw safely: Use a hair dryer, heat tape, or warm towels. Never use an open flame.
- Know your main shutoff valve: If a pipe bursts, shutting off water immediately is critical.
This plan gives you peace of mind—I never panic in a freeze because I know the steps to protect my home.
Quick Seasonal Checklist
I like to turn all these hacks into a simple checklist. It helps me and anyone in the household follow the steps without missing anything.
- Check the forecast & predicted freeze duration.
- Identify priority faucets that need dripping.
- Set a slow drip schedule.
- Insulate pipes & open cabinets. While you’re running your slow drips and prepping your faucets, it’s also smart to do a quick routine clean-up—small steps like simple home disinfection hacks keep your water lines and fixtures healthier through the winter months.
- Disconnect outdoor hoses & drain lines.
- Locate your main shutoff valve.
I usually print this out or keep a note on my phone—it’s much easier than remembering everything during a cold snap. Following this checklist has saved me from frozen pipes more times than I can count.
Conclusion — Keep Your Pipes Flowing All Winter
Looking back, it’s amazing how a few simple steps—dripping the right faucets, insulating pipes, and checking outdoor hoses—can prevent a disaster that costs hundreds or even thousands of dollars. I’ve seen friends ignore these small precautions and end up with burst pipes and ruined floors. Taking action now saves you both money and stress later.
By combining all the hacks we covered, you’re giving your home the best possible protection against freezing temperatures. And honestly, it’s not complicated—it’s about being smart, prepared, and a little proactive.
I’d love to hear from you: which of these hacks do you already use, and which ones are new to you? Drop a comment below—I read every single one. And if you want more practical home improvement tips like this, make sure to visit Build Like New for guides, checklists, and seasonal prep advice you can actually trust.
Winter can be harsh, but with a few small steps, you can keep your pipes flowing and your home safe. You’ve got this—let’s beat the freeze together.
Disclaimer: This article provides general home plumbing tips for educational purposes. Always consult a licensed plumber for serious issues or if you’re unsure about any steps. Build Like New is not responsible for damage or injury from following these tips.

