
The 8 Tools Professionals Use to Clean the Toughest Kitchen Spots
I’ll be honest — I used to think I was bad at cleaning. No matter how hard I scrubbed, some kitchen messes just wouldn’t budge. Burnt food stuck to pans. Thick grease on cabinets. That sticky layer around the stove that comes back no matter what you do. It felt frustrating, and honestly, a little defeating.
Over time, I realized something important. The issue wasn’t effort. It was using the wrong tools for the job. Most everyday sponges and sprays are made for light messes, not for the kind of grime that builds up from real cooking, real life, and real time.
If you cook often, your kitchen sees it all — oil splatter, sugar spills, dried sauces, and corners that never get proper attention. Some messes need pressure. Others need reach. A few need the kind of tool that does the work for you instead of the other way around.
In this guide, I’m sharing the kitchen cleaning tools I trust when things get genuinely tough. Not trendy gadgets. Not products that look good in photos. Just tools that make hard messes manageable and save you time, energy, and frustration.
As you read, think about your own kitchen. Which mess makes you sigh every time you see it — and why hasn’t anything worked on it yet?
Tool #1: Heavy-Duty Degreasing Brushes (Deep Scrub Tools)
When I’m dealing with thick grease or food that’s been burned onto a pan, I don’t even bother with a sponge first. I go straight for a heavy-duty scrub brush. If you’ve tried scrubbing greasy cabinets or a dirty stovetop with a sponge, you already know why — it flattens, spreads grease, and gives up fast. A big reason this happens is because we’re often following outdated cleaning advice — some widely believed habits actually make grease harder to remove over time, which I’ve explained in 6 popular cleaning myths that are actually hurting your home.
What actually works here is controlled pressure and smart brush design.
From experience, these features matter most:
- Firm, grease-cutting bristles: Soft bristles won’t break through oil buildup. You need stiffness that can agitate grease without damaging surfaces.
- Angled brush heads: These help you get into pan edges, burner rims, backsplash seams, and corners without straining your wrist.
- Narrow or crevice brushes: Ideal for stove knobs, sink edges, appliance gaps, and grout lines where grease quietly builds up.
According to product testing and reviews highlighted by Food & Wine, brush sets with multiple shapes consistently outperform single scrubbers when it comes to baked-on food and oily residue. That matches real-life cleaning — one brush can’t handle every mess.
If grease is the hardest thing you deal with, a proper scrub brush isn’t optional. It’s where effective cleaning starts.
Tool #2: Multifunctional Scrapers That Replace Multiple Tools
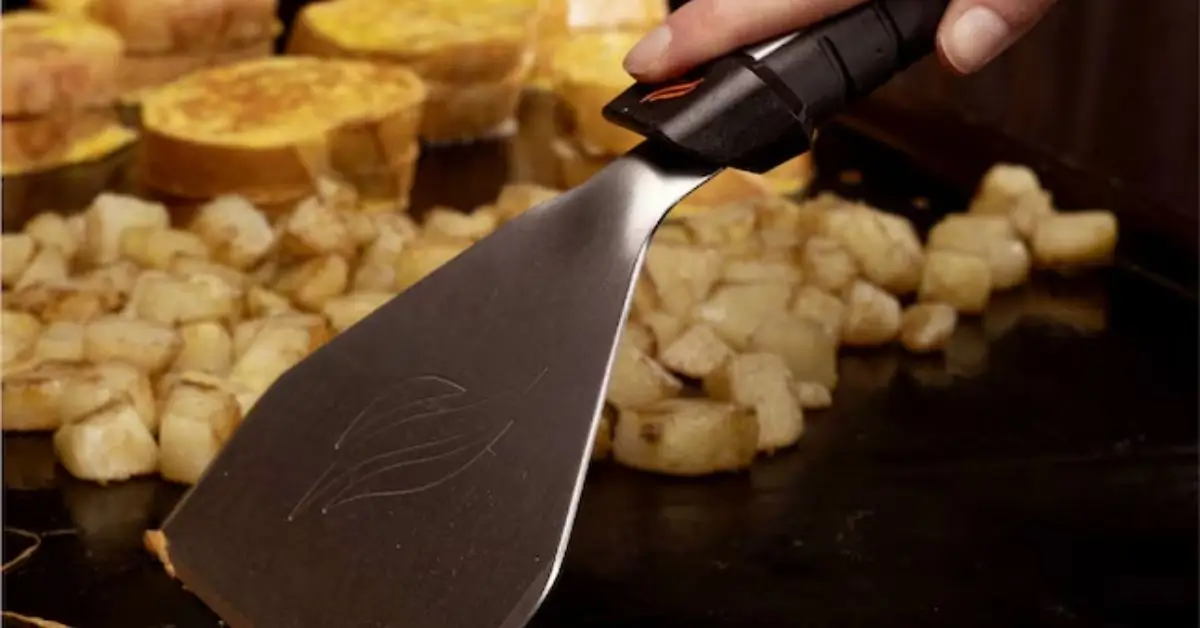
This is one of those tools people overlook until they finally use it. Then it becomes a permanent part of their cleaning routine.
A good multifunctional scraper usually combines:
- A flat edge to lift burnt food from pans or counters
- A curved edge that fits bowls and rounded cookware
- A squeegee side to pull grease and liquid into one spot
- Small corner cutouts for tight seams and edges
Here’s why this matters to you: scraping removes the mess before scrubbing. When you try to scrub baked-on food directly, you’re wasting energy and wearing out your tools.
I use a scraper first to loosen:
- Burnt residue on stovetops
- Sticky sugar spills on counters
- Thick grease around burners
Once that top layer is gone, cleaning becomes faster and easier. Less scrubbing, less frustration, and better results.
Tool #3: Microfiber Cloths & Reusable Towels (Cleaning + Polishing Combo)
Microfiber is the tool that finishes the job properly. After scrubbing and scraping, this is what actually removes what’s left behind.
Unlike paper towels, microfiber:
- Lifts grease instead of smearing it
- Traps fine dust and residue in one pass
- Leaves surfaces dry and streak-free
One habit I strongly recommend is color-coding your cloths:
- One color for countertops
- One for appliances
- One for greasy zones like stove hoods
This simple system helps avoid spreading grease or bacteria from one surface to another — something most people do without realizing it. In fact, reusing the same cloth across multiple surfaces is one of the biggest hygiene mistakes people make — it’s one of many everyday habits that quietly allow bacteria to spread, which I’ve covered in these cleaning mistakes that are actually letting bacteria thrive in your home.
Microfiber may not feel exciting, but it’s what makes your kitchen look truly clean instead of “almost there.”
Tool #4: Heavy-Duty Scrub Pads & Non-Scratch Scourers
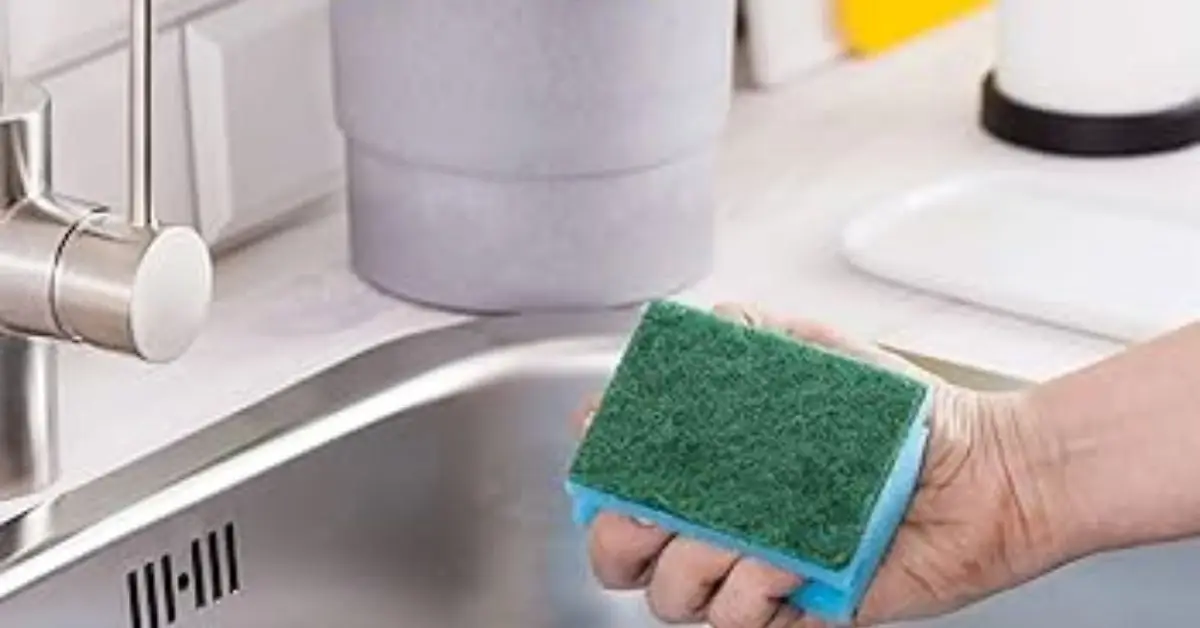
There are moments when a brush isn’t enough. Burnt oven trays, greasy cast-iron pans, cookware that’s seen one too many high-heat dinners — this is where scrub pads come in.
But here’s the mistake I see all the time: people think all scrub pads are the same. They’re not. Some will clean aggressively, yes — but they’ll also leave scratches that you can’t undo.
What actually works is choosing the right level of abrasion for the surface.
When I’m cleaning tough messes, I look for:
- Heavy-duty pads for oven racks, stainless steel, and outdoor cookware
- Non-scratch scourers for nonstick pans, glass cooktops, and enamel surfaces
- Layered pads (scrub side + sponge side) so I can control pressure
The reason this matters is simple. Tough grime needs friction, but damage creates more places for dirt to stick later. Once a surface is scratched, it gets harder to keep clean over time.
If you’ve ever ruined a pan trying to save it, you already know why smart scrub pad selection makes a difference.
Tool #5: Powered Spin Scrubbers for Effortless Deep Cleaning
I’ll say this straight — if you hate scrubbing, this tool is for you.
Powered spin scrubbers take the hard part out of deep cleaning. Instead of you applying all the pressure, the rotating head does the work. You guide it. That’s it.
What makes them effective isn’t just power — it’s the attachments.
Most good models include:
- Flat brushes for stovetops and counters
- Dome brushes for sinks and curved surfaces
- Narrow heads for grout lines and tight corners
These tools exploded in popularity for a reason. According to coverage by People.com, spin scrubbers are one of the most recommended cleaning tools among both professional cleaners and everyday users, especially for grease-heavy kitchens and bathrooms.
If elbow grease is what stops you from cleaning regularly, this is one upgrade that actually changes your routine.
Tool #6: Specialty Tools That Handle the Messes Others Can’t
This is where most cleaning guides fall short — they act like one tool should clean everything. Real kitchens don’t work like that.
Some messes need precision, not power.
Specialty tools earn their place because they reach areas nothing else can:
- Grout brushes for tile lines that trap grease and dirt
- Crevice picks for faucet bases, stove seams, and appliance edges
- Bottle brushes for reusable bottles, blender parts, and narrow containers
- Oven-rack brushes that handle thick, layered grime
I use these tools less often, but when I need them, nothing else will do the job. Ignoring these spots doesn’t make them cleaner — it just lets buildup get worse over time.
If there’s an area in your kitchen you avoid because “nothing fits there,” chances are a specialty tool is exactly what you’re missing.
Tool #7: Heavy-Duty Degreasers and Chemical Sprays (Paired With the Right Tools)
There’s a point where no amount of scrubbing will work on its own. Thick grease, old oil splatter, and baked-on residue need to be broken down, not just scraped at. That’s where heavy-duty degreasers come in.
I treat these sprays as a support system for my tools, not a replacement. When used correctly, they soften grease so brushes and pads can actually remove it instead of spreading it around.
What I look for in a degreaser:
- Fast-acting formulas that loosen grease in minutes
- Low-drip sprays or foams that stay where you apply them
- Surface-safe options for kitchen use when directions are followed
Professional cleaning suppliers like Econo Clean Systems highlight that chemical degreasers are especially effective on baked-on grease because they break the bond between oil and surface — something manual scrubbing can’t always do alone.
If you’ve ever felt like you were scrubbing the same spot forever, this is usually the missing piece. And while modern degreasers are powerful, I still pair them with a few proven techniques that have worked for decades — some of those old-school methods still outperform trends, which I’ve shared in old-school home cleaning hacks you forgot you still needed.
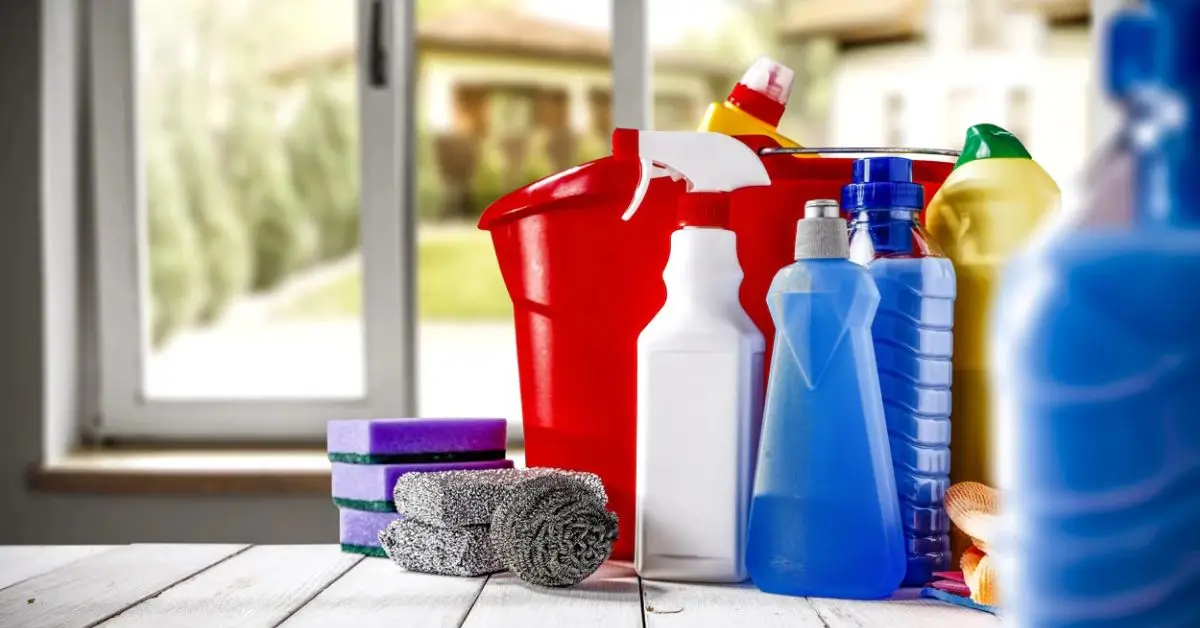
Tool #8: Cleaning Combos & Sets That Solve Multiple Tasks
When you’re building a cleaning setup from scratch, buying tools one by one can get expensive and confusing. That’s why curated cleaning sets make sense — especially if you want coverage without overthinking it.
The best kits usually include:
- A scrub brush for heavy grease
- A scraper for stuck-on food
- One or two scrub pads for cookware
- Microfiber cloths for finishing and polishing
What I like about a well-designed set is balance. You’re not guessing which tools work together — they’re chosen to handle different stages of the same mess.
If you had to reset your kitchen cleaning tools today, would you rather build piece by piece — or start with one kit that actually covers it all?
How I Actually Use These Tools (So Cleaning Takes Less Time)
Buying the right tools helps, but how you use them together is what really changes the result. Over the years, this simple workflow has saved me time and a lot of frustration.
Step 1: Break the mess first
For greasy or baked-on areas, I start with a degreaser and let it sit for a few minutes. This step matters more than people think — it weakens the grime so you’re not fighting it dry.
Step 2: Lift, don’t scrub blindly
I use a scraper to remove thick buildup before touching a brush or pad. This prevents grease from spreading and keeps tools from wearing out fast.
Step 3: Scrub with intention
- Brushes for corners and edges
- Scrub pads for cookware and oven racks
- Spin scrubbers for large or stubborn areas
Matching the tool to the surface avoids damage and gets better results.
Step 4: Wipe and reset
I finish with microfiber cloths to pick up residue and polish surfaces. This is what makes everything look truly clean, not streaky or dull.
A few safety habits I never skip:
- Test new tools on a small area first
- Use gloves when working with strong degreasers
- Avoid abrasive pads on nonstick or glass surfaces
Cleaning works best when it’s controlled, not rushed.
Cleaning Smarter, Not Harder
Hard kitchen messes don’t mean you’re doing something wrong. They usually mean your tools aren’t matched to the problem. When you combine the right brushes, scrapers, pads, and cleaners — and use them in the right order — cleaning stops feeling like a battle.
You don’t need every tool on the market. You just need a setup that makes sense for how you cook and how your kitchen gets messy.
If you want more practical guides like this — focused on real fixes, not hype — you’ll find them on Build Like New. I break things down so you can clean, repair, and maintain your space without wasting time or money.
Now I want to hear from you. Which kitchen mess gives you the hardest time right now? Drop it in the comments, and I’ll help you figure out the smartest way to tackle it.
Disclaimer: The tools and methods shared here are based on real-world use, expert sources, and general cleaning best practices. Always check manufacturer instructions and test products on a small area first, as results can vary depending on surface type and condition.

