
This Simple $15 Fix Makes Cheap Curtains Look Custom & Luxurious
I’ll be honest—when I first bought those clearance curtains from my local big-box store, I thought I was getting a steal. But once I hung them, they looked flat, flimsy, and nowhere near the luxe, Pinterest-ready drapes I’d imagined. That’s when I discovered a simple trick designers use: drapery weights. For just about $15, you can turn even the cheapest panels into something that looks intentional, polished, and expensive.
I’ve tried it myself on lightweight fabrics that always seemed to float awkwardly in the breeze, and the difference is immediate. The folds fall cleanly, the panels hang with weight, and suddenly your windows look like a professional installed them. In this article, I’ll walk you through exactly how drapery weights work, when to use them, and some expert tips to make your curtains look like a designer curated them—all without spending a fortune.
Before we jump in, I want you to picture your own room: how much more inviting and put-together could it feel if your curtains weren’t just “there,” but actually made the space feel thoughtful and complete? That’s the small upgrade we’re going for.
Why Store-Bought Curtains Often Look Flat (Even If the Fabric Is Nice)
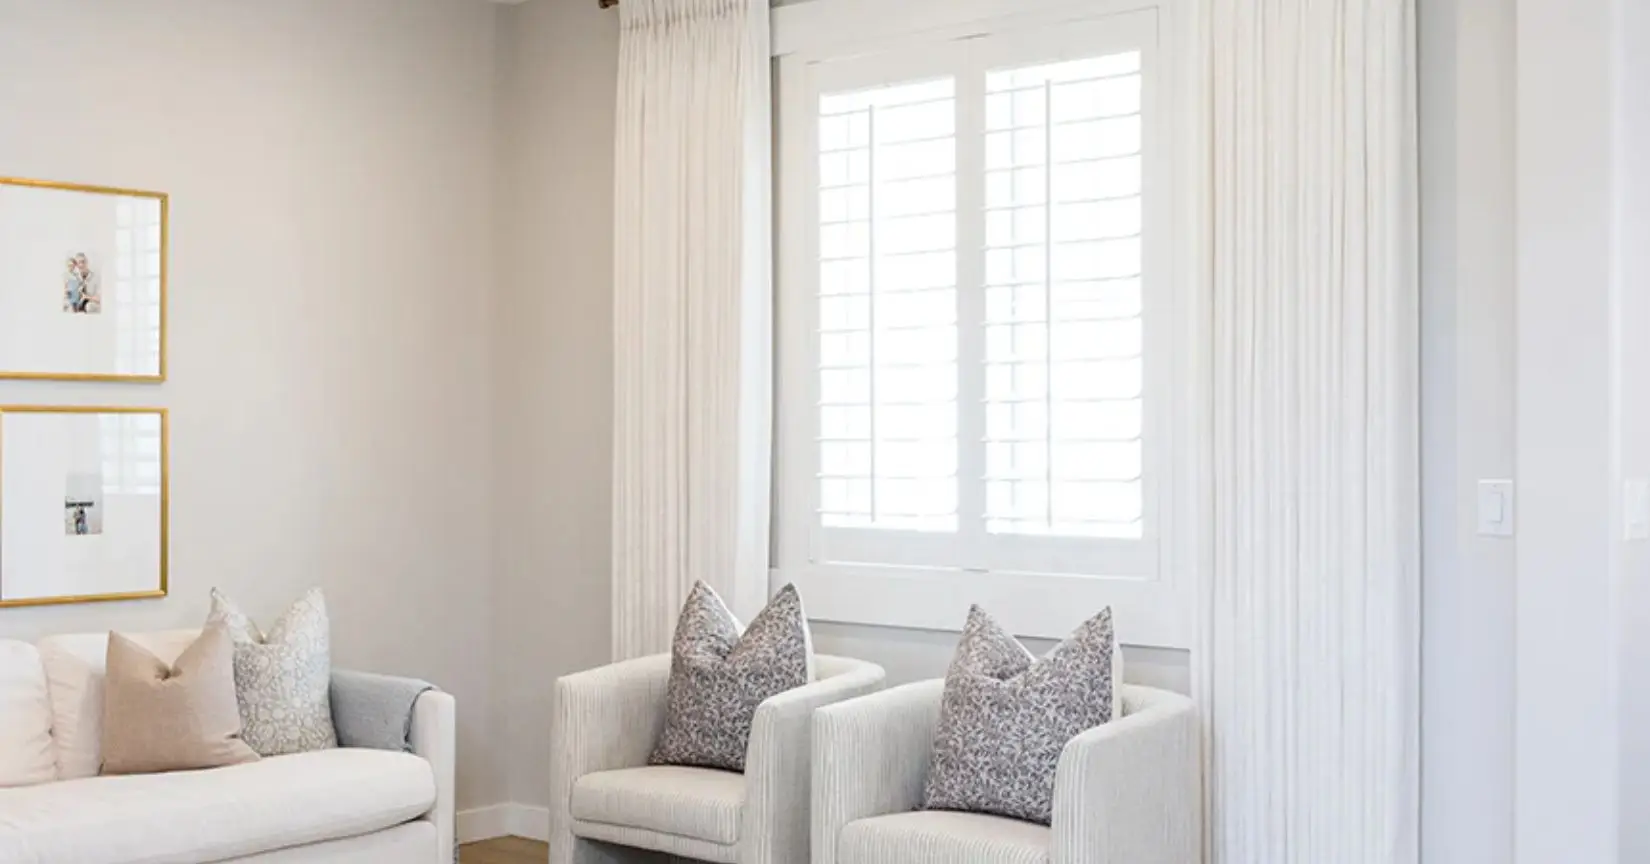
The “Flimsy Fold” Problem
If you’ve ever hung a new curtain only to see it flop awkwardly against the window, you know the frustration. Lightweight panels just don’t have the structure to hold their shape. That limpness makes even beautiful fabrics look cheap or unfinished.
I’ve noticed that without proper weight or fullness:
- The folds don’t fall evenly and look messy.
- Panels cling awkwardly or float with every draft.
- The room feels unfinished, no matter how expensive the fabric looks.
It’s easy to blame the curtains themselves, but the real issue is all about how they hang. That’s exactly why designers rarely settle for “just enough fabric.”
How Designers Create That Structured, Tailored Fall
Designers know the secret isn’t necessarily custom panels—it’s about how the fabric behaves once it’s hanging. They focus on three key factors:
- Gravity and structure: Using subtle weight at the hem or lining ensures panels fall cleanly.
- Fullness: More fabric than the window requires creates those rich, consistent folds.
- Placement: Hanging rods higher and wider than the window frame adds vertical drama and fullness.
I started experimenting with these principles after reading a detailed guide on how drapery weights transform cheap curtains from The Spruce. The advice is simple: even small weights at the bottom make a huge difference in achieving that clean, designer-quality fall.
What Drapery Weights Actually Do (And Why They Work)
The Science of Drape: Gravity, Structure, and Fold Memory
Here’s what I learned quickly: drapery weights aren’t magic—they’re physics. They use gravity to coax the fabric into a natural, crisp fold. Without them, your panels behave like a ribbon tossed on the floor: uneven, floppy, and flat. Adding weight trains the curtain to “remember” its proper fall every time you close it.
- Heavier fabrics still benefit from weighting, especially at corners.
- Lightweight panels respond dramatically—just a small weight changes the look completely.
- Properly weighted curtains resist drafts and keep folds in place, giving your windows a polished appearance all day.
How Small Weights Create Crisp Pleats and Cleaner Lines
The best part? You don’t need expensive custom work. Interior designers like Victoria Holly, Nadia Watts, and Molly Miller all recommend sewing small weights into hems or using weighted tape along the bottom. This creates:
- Clean, even pleats that hold their shape.
- A subtle visual weight that makes fabric read as higher quality.
- Curtains that look professionally installed without paying a professional.
Once I added small weights to my own panels, the transformation was immediate. The fabric hung smoothly, the folds looked intentional, and the entire room felt more refined. Honestly, it was one of the easiest upgrades I’ve done that delivered instant “designer” impact.
Types of Drapery Weights (And Which One You Should Choose)

When I first started experimenting, I realized not all weights are created equal. Choosing the right type depends on your curtain fabric and how polished you want the finish to look.
Individual Sew-In Weights (Best for Corners)
- Small metal or chain weights sewn into corners
- Ideal for heavier or medium-weight fabrics
- Adds precision to folds without bulk
Rope or Chain-Style Weighted Tape (Best for Lightweight Panels)
- Runs along the bottom hem like a subtle cord
- Perfect for sheer or thin fabrics that need a little help falling properly
- Distributes weight evenly for smooth, continuous folds
When Magnetic or Clip Weights Make Sense
- Easy to remove or reposition — great for renters
- Can be clipped to hem without sewing
- Works best on medium-weight fabrics that won’t distort under the clip
Price anchors:
- ~$13 at craft stores for individual sew-in weights
- ~$15 online packs for weighted tapes
When You Should Use Drapery Weights (And When You Shouldn’t)
Knowing when to add weight is just as important as choosing the right kind. I’ve made the mistake of overloading light panels and underweighting heavier fabrics—it changes everything.
Signs Your Curtains Need Weight
- Panels float or shift near vents or doors
- Fabric looks flat when fully closed
- Thin, unlined panels that feel flimsy
Situations Where Weights Aren’t Necessary
- Already lined, heavy, or custom drapes
- Thick blackout fabric that holds its shape naturally
How to Add Drapery Weights in 15 Minutes (No Sewing Experience Required)
Adding weights doesn’t have to be intimidating. I walked through all three methods myself and here’s what worked best depending on your situation:
Option 1: Sew Into Bottom Hem
- Simple stitch at the corners or along the hem
- Works on any fabric, but perfect for heavier panels
Option 2: Insert Into Existing Weight Pockets
- Many panels have built-in pouches for weights
- Just slide in chain or metal weights evenly
Option 3: No-Sew Quick Fix for Renters
- Clip-on or magnetic weights
- Easy to adjust or remove without damage
Pro Tips I Always Follow:
- Steam your curtains before weighting to remove wrinkles
- Hem first if your panels are too long. To keep your panels looking polished without the hassle of taking them down, try these 7 genius ways to clean curtains without taking them down.
- Place weights at corners and evenly across the hem for balanced folds
For more practical step-by-step guidance, I found a very clear visual walkthrough on Makers Mill by Online Fabric Store showing different methods for various fabrics.
The Designer Formula: Weight + Height + Width = Luxury
Once I added drapery weights, I realized that weights alone don’t make curtains look expensive. Designers approach it like a formula: weight + height + width. When you combine these three, even inexpensive panels can read as luxe.
Hang Curtains 12–16 Inches Wider Than the Window
- Gives the illusion of a larger window and more fabric
- Helps folds stack naturally when curtains are closed
- Prevents the “flat curtain” effect I hated on my first panels
Mount Near the Ceiling for Height Illusion
- Raises the perceived ceiling line in the room
- Makes the space feel taller and more open
- Works especially well in rooms with low ceilings
Works especially well in rooms with low ceilings. And if you need to hang curtains in tricky spaces, check out our guide on how to hang curtains on a blind valance without drilling.
Use 1.5x–2x Fabric Fullness
- More fabric creates richer folds and movement
- Helps the curtain maintain crisp pleats even when opened
- Balances weight and width for a designer look
For a practical visual guide and designer tips on how weighted curtain cords elevate panels, I found a very helpful walkthrough on Livingetc. It’s a great reference for pairing weights with correct curtain placement to get that high-end look.
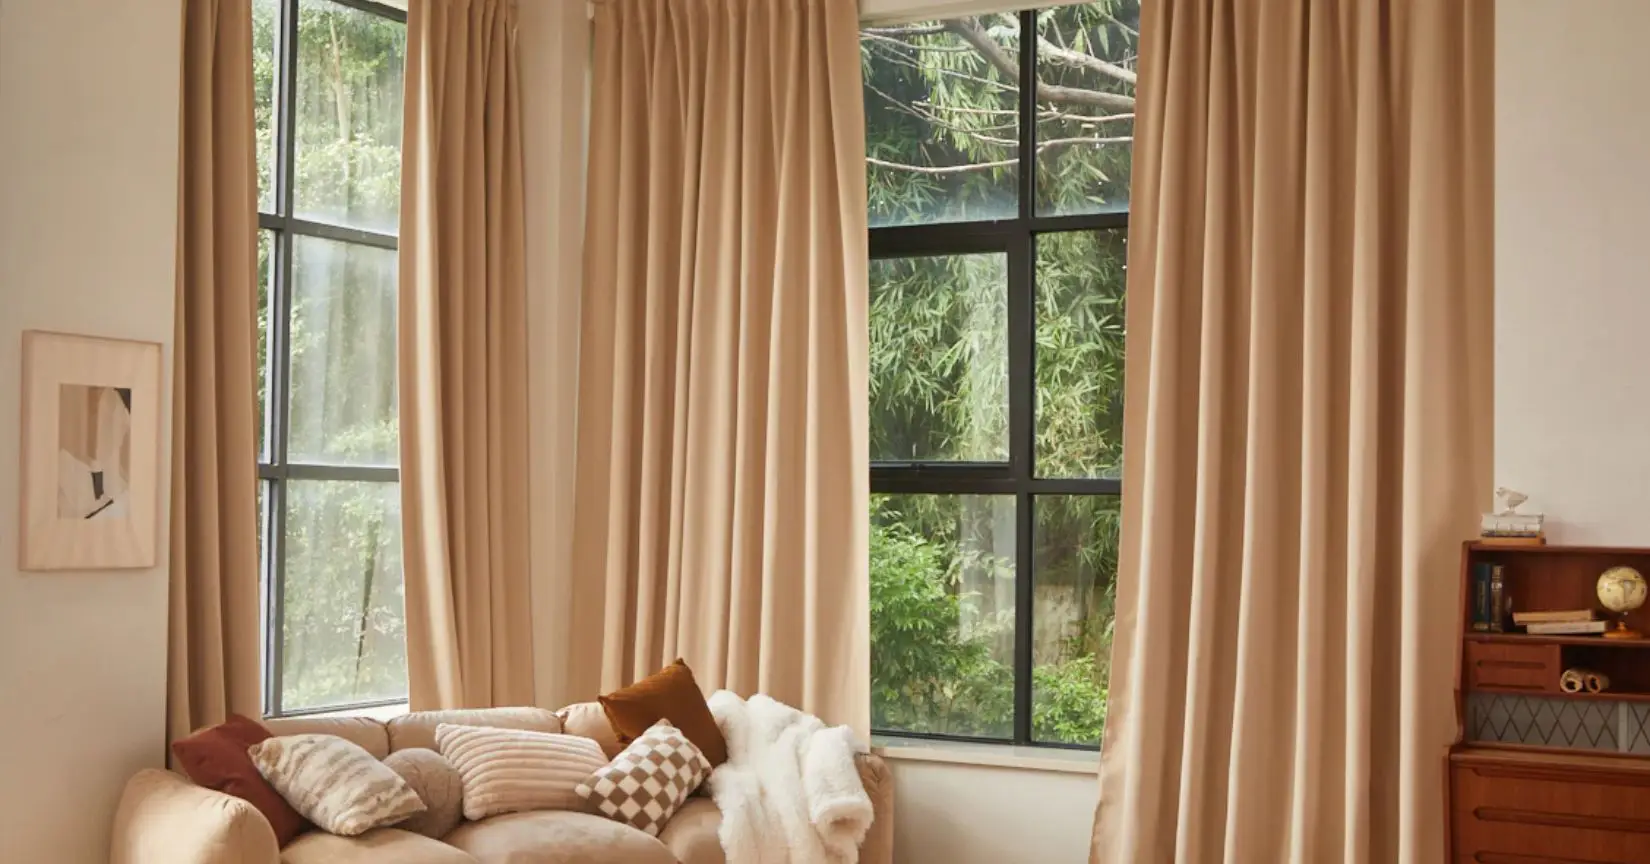
Before and After: What Changes Once You Add Weight
After I added weights and adjusted the height and width, the difference was immediate. It’s one thing to read about it, but seeing it in action really sells the value.
- Cleaner Lines: Folds fall perfectly every time, making the window look tailored
- Better Light Control: Weighted curtains stay in place, reducing gaps and glare. Once your curtains are perfectly weighted, make sure they stay fresh by following our 7 steps to remove dust from curtains for cleaner air.
- More Polished Room Perception: The room feels cohesive and intentional, like a designer touched it
I also noticed many social media before-and-after posts echo this. People share clips on Pinterest and Instagram showing how a simple weight transforms cheap curtains into something that looks custom.
Common Mistakes That Can Make Curtains Look Worse
Even with all this knowledge, I’ve learned that a few simple mistakes can undo the magic of drapery weights. Here’s what to watch for:
- Using Too Much Weight on Sheers: Can flatten delicate fabrics and make them stiff
- Ignoring Fabric Steaming: Wrinkles and creases ruin the clean fold effect
- Skipping Proper Fullness: Without enough fabric, panels still look sparse despite weights
Following these points saved me from wasted effort and frustration when I first tried weighting my panels.
The Real Cost Breakdown — Why This Beats Custom Drapery

When I first looked at custom drapery prices, I nearly laughed—$1,500 for panels that basically do the same thing as my clearance curtains? No thanks. That’s where drapery weights come in: for around $15, you get nearly the same visual impact without emptying your wallet.
$15 Upgrade vs. $1,500 Custom Panels
- Weighted curtain cords or small sew-in weights: ~$15 total
- Custom luxury panels: $1,500+
- Result: Crisp folds, structured drape, designer-quality look at a tiny fraction of the cost
Long-Term Visual ROI
- Weights keep curtains looking polished for years
- Small adjustment avoids constant frustration with limp or floating panels
- Makes inexpensive or older curtains feel like a high-end upgrade
Honestly, the difference in cost versus outcome is huge. It’s one of those upgrades that pays for itself the first time you step back and admire the clean lines in your space.
Quick Upgrade Checklist (Save This Before You Install)
Before you grab your weights, I always like to run through a checklist to make sure the installation goes smoothly:
- Steam panels to remove wrinkles
- Add a hem if needed
- Insert the correct weight type (sew-in, tape, or clip)
- Hang panels high and wide for fullness and height illusion
- Ensure proper fabric fullness so folds fall naturally
Following these steps is what separates a “meh” DIY upgrade from a room that actually looks intentionally designed.
I’d love to hear from you—have you tried weighted curtains yet? Drop a comment below and tell me what worked (or didn’t) in your space.
And if you want more practical home upgrade guides like this, check out my website, Build Like New, where I share tips, tricks, and full tutorials for making every corner of your home feel polished without breaking the bank.
Disclaimer: The tips and product suggestions in this article are based on personal experience and expert guidance. Results may vary depending on your curtain type, fabric, and room conditions. Prices and availability are subject to change.

