Don’t Wait for the Smoke: 5 Critical Steps to Protect Your Home from Wildfires
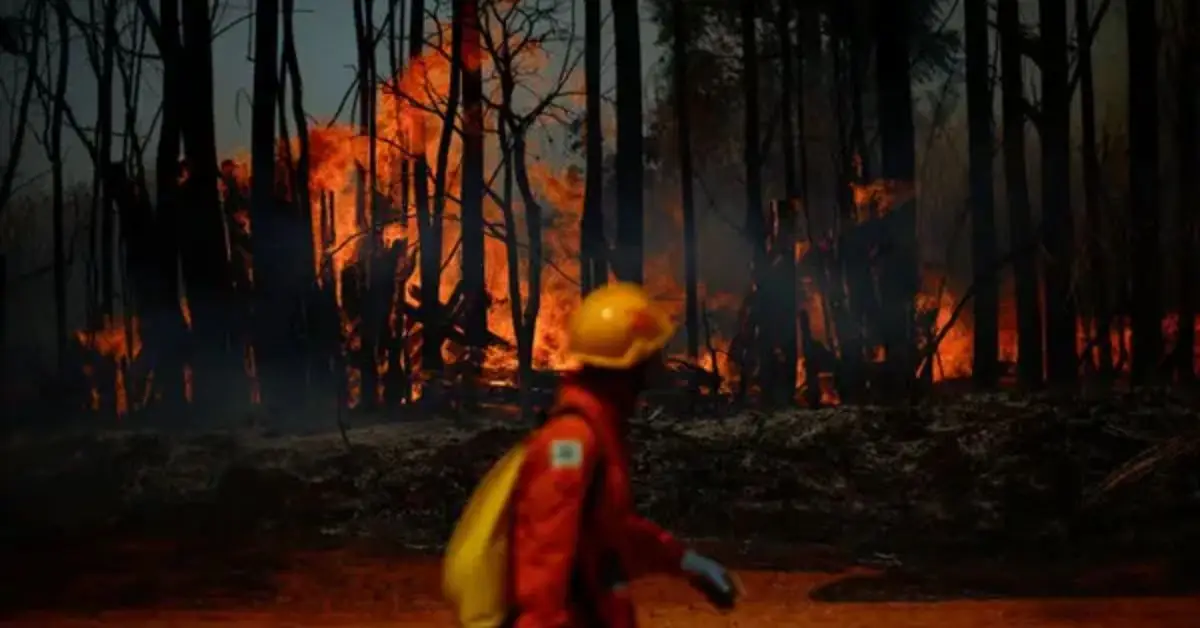
If you live anywhere near wildfire-prone areas, you already know the fear. That smell of smoke in the air, the sudden red flag warnings, the evacuation bags packed “just in case.”
The thing is—wildfires don’t just burn forests anymore. They burn homes. Entire neighborhoods. And often, it’s not the flames themselves that destroy homes. It’s the embers—those tiny, wind-blown sparks that can travel miles and slip into vents, roofs, gutters, and cracks you don’t even think about.
And wildfires are no longer a rare event. Climate change, rising temperatures, and drought have made fire seasons longer and more intense. In 2023 alone, over 4.3 million acres burned across the U.S., with thousands of homes lost.
But here’s the part most people don’t realize: You can protect your home. You don’t need to be a contractor. You don’t need to be rich. You just need to know where the risks are—and take smart, targeted action.
I’m going to walk you through five critical steps I believe every homeowner should take before the next fire season hits. These aren’t generic tips. They’re based on what actually works in the field—what insurance companies, fire scientists, and even homeowners in wildfire zones have learned the hard way.
This isn’t about living in fear. It’s about taking control.
Before we dive into the how, ask yourself this: If a wildfire hit your neighborhood tomorrow—would your home stand a chance?
Understand the Real Threat: It’s Not Just the Flames
When most people think of wildfire damage, they picture huge walls of fire engulfing houses. But the truth is, most homes don’t burn from direct flame. They burn from embers—tiny, wind-driven pieces of burning debris that can fly up to a mile ahead of a fire front.
Sounds dramatic, but it’s backed by science. The National Fire Protection Association (NFPA) and FEMA both report that embers are the number one reason homes ignite during wildfires. They slip into places you never notice—attic vents, loose siding, open eaves, under decks.
Think of them like sparks looking for an invitation. And most homes? They unknowingly leave the door wide open.
Here’s how embers typically enter:
- Through uncovered vents with wide mesh
- Into clogged gutters filled with dry leaves
- Under roof tiles or wood shakes
- Into crawlspaces or decks made from untreated wood
Even homes that look fire-safe on the outside can be vulnerable if the smallest crack or vent is unprotected.
You can do everything right in your yard—clear defensible space, trim trees—and still lose your house because of a 50-cent vent you never upgraded.
And here’s something else no one tells you: even homes hundreds of feet from active flames have burned purely because of ember storms. That’s how random and destructive these fires can be.
So before we get into retrofits or landscaping, you need to understand this: Your biggest risk is invisible—and it’s airborne.
Ask yourself: Are your vents ember-resistant? Do your eaves have exposed gaps? Is your roof built for fire, or just for rain?
We’ll tackle all of this in the next section. But knowing the enemy is the first step.
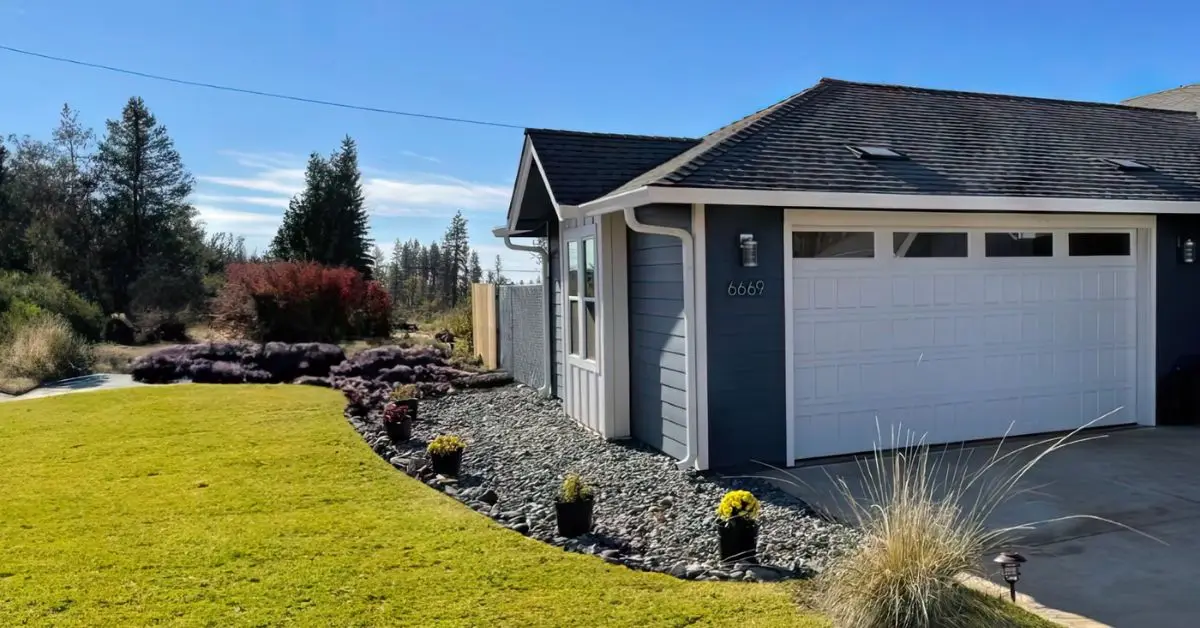
Step 1: Harden Your Home — Stop Fire at the Structure
This is where protection starts: not with hoses or sprinklers, but with your roof, vents, windows, and siding. The bones of your home.
When I say “harden,” I’m not talking about an expensive rebuild. I mean smart upgrades that seal the weak points—especially the ones embers love to exploit.
Here’s where to focus:
Roof: Your #1 Risk Zone
If you have wood shakes or non-Class A roofing, you’re living dangerously. Embers land on roofs constantly, especially near valleys and edges.
Do this:
- Upgrade to a Class A fire-rated roof like asphalt composition shingles, metal, clay tile, or concrete. Class A materials offer the highest level of fire resistance.
- Add bird stops under curved tiles to block ember intrusion.
- Install drip edge flashing to seal the roofline against ember entry. While fire is a major concern in hot, dry seasons, winter brings its own roofing risks—like ice dams and leaks—so it’s worth reviewing these expert roof protection tips for winter to keep your home safe year-round.
Vents: Ember Superhighways
Most people ignore them. But vents are the easiest entry point for embers—and one of the cheapest to fix.
Do this:
- Install ember-resistant vent covers (1/8″ metal mesh minimum; 1/16″ offers even better protection).
- Replace or retrofit gable, soffit, and foundation vents with wildfire-rated designs.
- Seal up attic and crawlspace openings with non-combustible screens or closures.
Windows: Weak Under Heat
Glass can shatter from heat long before flames reach the house. Once it breaks, embers pour in and ignite curtains or furniture.
Do this:
- Upgrade to dual-pane tempered glass—they resist radiant heat far better than single-pane.
- Choose metal or fiberglass window frames over vinyl.
- Install non-flammable shutters or exterior screens to add an extra buffer.
Siding & Soffits: Fire Can Creep Up Walls
Fire doesn’t always roar in. Sometimes it creeps. Flammable siding or exposed soffits act like ladders for flames to climb.
Do this:
- Replace vulnerable siding (like wood or vinyl) with fiber cement, stucco, or brick.
- Enclose open eaves with soffit boards or fire-resistant materials.
- Use non-combustible fencing, especially where it connects directly to your home.
You don’t need to do everything at once. Start with your most vulnerable points: vents and roof edges. These are high-risk and low-cost.
- Ember-resistant vent covers: $50–$150 each
- Class A roof: Cost varies, but long-term insurance savings may apply
- Dual-pane tempered windows: ~$700–$1,200 per window installed
Some states even offer rebates or insurance discounts for wildfire retrofits. California’s Wildfire Prepared Home designation is one example.
This is the foundation. Before we move to landscaping or gadgets, your home’s structure needs to be solid—because once embers get in, it’s already too late.
Quick check: How old are your roof and vents? Have you ever looked at your soffits or window specs?
Step 2: Create Defensible Space — Your First Line of Defense
You can fireproof your roof and vents all day long, but if flames reach your front door through dry shrubs or wood piles, none of it will matter.
That’s where defensible space comes in. It’s not just about cutting back brush. It’s about designing smart, layered zones around your home that slow fire down—before it gets close enough to do damage.
Zone 0: Ember-Resistant Buffer (0 to 5 feet)
This is the most important and most overlooked zone. According to FEMA, the space closest to your walls is where embers are most likely to land and ignite something flammable—like a welcome mat, mulch, or dry leaves near your foundation.
Here’s what to do:
- Remove anything that can burn—wood chips, planters, dead leaves, firewood.
- Replace mulch with gravel or hard surfaces.
- Keep gutters, roofs, and corners clean—this is where debris piles up unnoticed.
If there’s fuel right against your siding, embers will find it. It only takes one.
Zone 1: Clean and Green (5 to 30 feet)
This is where you balance beauty with safety. You don’t need a barren yard—you need one that slows fire down.
The key here is reducing what’s called “ladder fuels”—the vertical fuel connections that allow fire to climb from the ground into trees or buildings.
What to do:
- Choose low-growing, fire-resistant plants (like lavender or sedum).
- Keep grass short, green, and well-irrigated.
- Don’t stack wood or place plastic furniture in this zone.
- Prune shrubs so they don’t touch other plants or structures.
Think of it as giving firefighters a fighting chance—by giving fire fewer places to go.
Zone 2: Reduce Fuel (30 to 100 feet)
If your property allows, this is where you widen the buffer. Thinning trees, clearing brush, and maintaining distance are key.
Key actions:
- Trim tree branches at least 6–10 feet from the ground.
- Space trees and shrubs apart, especially near structures.
- Remove buildup of pine needles, dead leaves, and dry vegetation.
Even if you live in a suburban area, shared responsibility with neighbors can make or break defensibility. Fire doesn’t stop at property lines—and neither should your planning.
Use Hardscaping as a Firebreak
Features like stone walkways, gravel paths, and concrete patios serve double duty. They look good, and they break up the spread of fire. Hardscaping is an underrated tool that slows down flame movement—and makes your landscape more fire-resilient by design.
You can find smart landscaping tips with real examples from homeowners in fire zones at Homes & Gardens.
Ask Yourself This
If an ember landed in your yard right now, where would it land—and what would it touch?
It’s not about stripping your property bare. It’s about removing the fuel paths that lead straight to your home. Most homeowners don’t realize the danger until it’s too late.
Ready to keep going? In the next step, I’ll show you how simple maintenance and a few tools can make a massive difference when a fire is already on the way.
Step 3: Maintain and Prepare — Because Defenses Only Work if You Keep Them Ready
You’ve hardened your home. You’ve cleared defensible space. But here’s the thing: if you don’t maintain it, it won’t matter.
A clean roof last month means nothing if your gutters are full of dry leaves today. And the tools you bought won’t help in a fire if you don’t know where they are—or if the power goes out when you need them.
This step is all about ongoing care and real-world readiness.
Keep It Clean, Keep It Clear
One of the fastest ways homes ignite is from dry debris in places you don’t see every day. According to Chubb Insurance, maintenance is just as important as materials.
Make this part of your routine:
- Clean gutters, roofs, and deck edges regularly—especially in dry or windy months.
- Use non-combustible gutter guards to block leaves and embers.
- Remove pine needles, branches, and dead plants from around the home.
Even a handful of dry debris in the wrong spot can act like kindling. Emergencies don’t stop at fire—many of the same preparedness principles apply after disasters like water damage, too. If you ever face flooding, here are 9 essential things to do right after your basement floods to avoid costly long-term damage.
Know Your Tools — and Keep Them Accessible
If a fire is coming, there won’t be time to search the garage or untangle hoses.
Here’s what to have ready:
- A long garden hose (at least 100 ft) that can reach all sides of your house
- Rake, shovel, axe, and metal bucket
- Fire extinguisher and gloves
- Flashlights with backup batteries
Keep these items in a designated outdoor bin or near an exit—not buried in storage.
This is also a good time to walk your property and make sure all tools are working. Don’t assume. Check.
Store Smart — Keep Fuel and Flammables Away
A lot of homes burn because fuel—literally—is stored too close.
Move these away from your home (at least 30 feet, minimum):
- Firewood piles
- Propane tanks
- Gasoline cans
- Plastic outdoor furniture or toys
Use non-combustible sheds or storage boxes if you can’t move them further out.
If you live in a dense neighborhood, coordinate with neighbors. One pile of junk on the wrong side of the fence could undo everything you’ve prepared for.
Don’t Wait Until Red Flag Season
The mistake I see people make again and again? Waiting for fire season to “start” before they take action.
Wildfire risk doesn’t run on a schedule anymore. It’s year-round—and maintenance has to be, too.
Walk your home like an ember would. Look for the dry spots, the hidden piles, the blind corners. Fix them before heat and wind make them dangerous.
And while you’re at it, check that you know exactly where your tools are—and that your hose actually reaches.
Ask yourself: If you had ten minutes to act, could you get everything ready?
Step 4: Use Exterior Sprinklers and Backup Power — Prepare for the Fire You Can’t Stop
Let’s be honest—sometimes, despite all your prep, the fire still comes too close. The wind shifts. Embers fall. You’ve cleared the yard and sealed the vents, but you need one more layer between your home and the flames.
That’s where exterior sprinkler systems and backup power come in. These aren’t luxury add-ons. They’re a line of last defense.
Exterior Sprinklers: Strategic, Not Soaking
Forget what you’ve seen in movies. Sprinklers aren’t about spraying water wildly. They’re about cooling key surfaces, keeping embers from igniting, and creating a humid zone right around your home.
You don’t need to drench your entire yard. According to CeDUR, the most effective systems are:
- Roof-mounted sprinklers that wet down shingles, valleys, and vents
- Eave and gutter nozzles that cool common ember entry points
- Perimeter sprinklers that protect fences, decks, and siding
Some homeowners even install remote-activated sprinkler systems they can turn on via smartphone if they’re forced to evacuate.
It’s not about fighting fire with pressure—it’s about slowing the fire’s ability to take hold.
The Backup Power Problem
Here’s the catch: when wildfires come, power often goes out first.
That means even if you have the perfect sprinkler system, it won’t run unless you’ve planned for that.
Solutions:
- Backup generators (portable or whole-house) can power pumps and critical systems
- Dedicated water tanks ensure supply if municipal lines fail
- Solar-battery systems are a cleaner option, but may need pairing with inverters or manual controls
I recommend you test your generator every season and knowing exactly what it powers. Sprinklers? Lights? Refrigerator? Be specific.
Even if you can’t afford a full install, starting with one strategically placed sprinkler line and a backup pump can make a huge difference.
You Don’t Need a Luxury Budget
A full roof-perimeter sprinkler system with timers might cost a few thousand dollars. But even $300–$600 in basic hose-mounted gear can give you a protective edge.
Focus on the most vulnerable zones first: the roof, eaves, vents, and wood fences attached to the house.
A good sprinkler won’t stop a wildfire. But it might cool your home just enough that the flames never catch—and the ember dies before it finds a place to land.
Ask yourself: If you lose power and water during a fire, do you have a plan to keep defending your home?
Step 5: Plan, Alert & Evacuation Readiness — Protecting More Than Just Property
Hardening your home is smart. Creating defensible space is essential. But when a wildfire is approaching fast, what matters most is how ready you are to leave—and how quickly you can do it.
You can’t predict exactly when a fire will threaten your area. But you can absolutely prepare for it. And that preparation can save your life. Just like with floods, disaster readiness starts long before the emergency hits—check out these 7 urgent steps to take if your house ever gets flooded to see how early planning can make all the difference.
Make a Wildfire Action Plan
If you had to evacuate tonight, would everyone in your home know what to do?
According to FEMA, every household should have a clear, written plan that includes:
- Multiple evacuation routes (in case roads are blocked)
- A meet-up location outside the evacuation area
- Contact numbers for family, friends, neighbors, and local emergency services
- A checklist of what to grab in 5 minutes, 15 minutes, and 30 minutes
Keep this plan somewhere visible—in your kitchen or entryway. Review it at the start of each fire season.
Set Up Emergency Alerts
Most people wait until they see smoke. That’s often too late.
Instead, set up multiple layers of real-time alerts:
- Sign up for local emergency notifications through your city or county
- Install the FEMA app and enable push alerts
- Use NOAA Weather Radio or backup SMS services for power outages
If you live in California or other high-risk states, also sign up for Wireless Emergency Alerts (WEA). They’re triggered regionally and sent directly to your phone.
Get Your Go-Bag Ready
Every household should have at least one go-bag per person, ready to grab and leave. Pack it now—not later.
Each go-bag should include:
- N95 masks (for smoke)
- Medications and backup eyeglasses
- Important documents (or digital copies stored offsite)
- Flashlight, power bank, cash
- Copies of ID and insurance cards
Make Your Home Easy to Defend
If you do need to evacuate, leave your home in a condition that makes it easier for firefighters to defend:
- Shut all windows and doors (but don’t lock them)
- Move flammable furniture away from windows
- Leave hoses out and connected
- Turn on exterior lights so your home is visible in smoky conditions
- Make sure your address is clearly visible from the street
Firefighters often have seconds to decide which homes they can protect. If they can’t find your address, they might have to move on.
This Step Isn’t Optional
You can’t stop the wind. You can’t predict the spark. But you can know what you’ll do when it happens.
Evacuation readiness isn’t panic—it’s power. You’re not just protecting your home. You’re giving yourself the clarity and control to act fast when it matters most.
Ask yourself: If the alert came through right now, would you know exactly what to do?
The Lesser-Known Enhancements Most Homeowners Miss
Most guides stop after defensible space and fire-resistant materials. But wildfire doesn’t follow rules—and your defense shouldn’t either.
These lesser-known upgrades can give you a surprising edge, especially in extreme fire conditions.
1. Replace Plastic Vents with Metal, Ember-Blocking Designs
Plastic attic or crawl space vents will melt in high heat, giving embers a direct entry point into your walls or insulation.
Upgrade to 1/8-inch metal mesh vents. For even stronger protection, use ember- and flame-resistant vents.
Where to install:
- Attic and gable vents
- Foundation and crawl space vents
- Soffits and under-eave areas
These small upgrades often cost under $50 per vent—but could be the difference between keeping fire out or letting it in.
2. Replacing Fences and Gates that Connect to the House
One of the biggest blind spots? Wooden fences attached directly to your house. They act like a wick, drawing fire straight to your siding.
FEMA recommends using metal or ignition-resistant fencing for the first 5 feet that connects to any structure.
Quick fix if you’re not ready for a full replacement:
- Replace just the section connected to your home with a non-combustible barrier
- Add a metal gate as a break between fence and siding
Even a small separation can interrupt flame spread.
3. Skylight Covers and Double-Pane Windows
Skylights made of plastic or single-pane glass can shatter under radiant heat, allowing embers to drop into your living space.
Instead, install tempered glass skylights or use protective external covers during fire season.
Likewise, upgrade to double-pane windows with one tempered layer—especially on sides of your home that face hillsides, canyons, or open wildlands. According to University of California’s Fire Research Center, these upgrades significantly delay breakage from heat exposure.
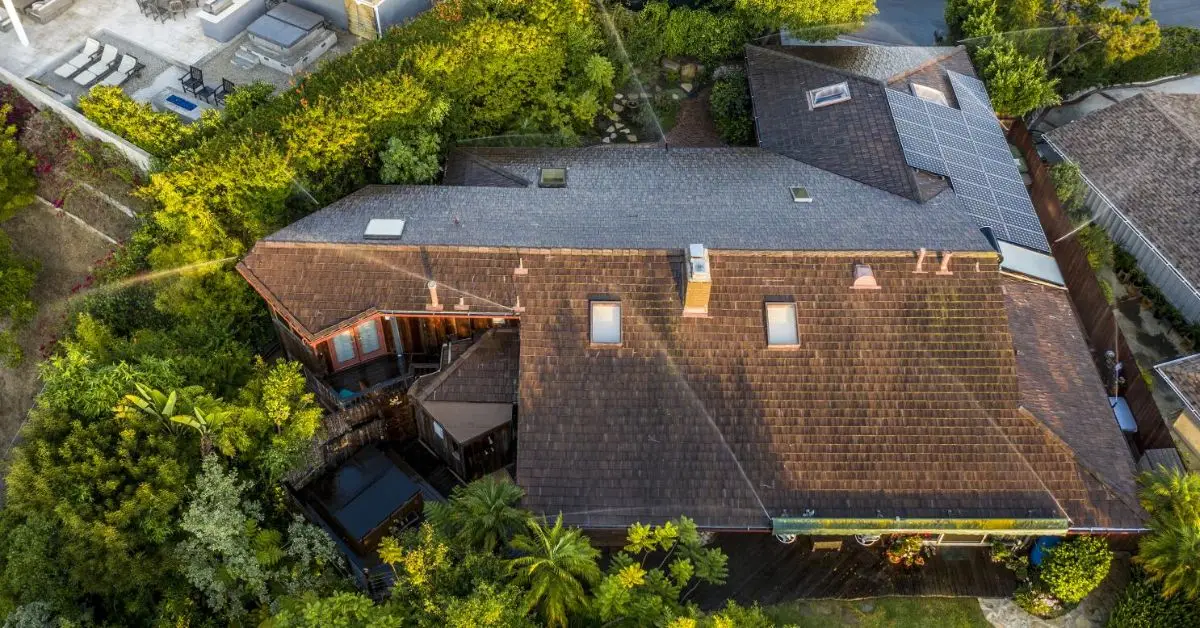
4. Underdeck Protection — Block the Flame Trap
Open decks are like flame funnels—especially if they’re elevated.
Install metal mesh skirting or non-combustible board panels to enclose the underdeck area and block debris from accumulating. This also makes it harder for embers to swirl and ignite the underside of your structure.
You’ll also want to clear out any stored items beneath your deck—especially anything plastic, flammable, or foam-based.
These are the details that separate basic preparation from true wildfire resilience.
They’re not just “extra credit”—they’re the kind of smart, protective choices most guides don’t mention, and most homeowners don’t know about until it’s too late.
You don’t have to do them all right now. But even tackling one or two can give your home a better chance.
Ask yourself: What’s the one weak spot on your property that you’ve been ignoring?
You Don’t Need to Live in Fear — Just Be Ready
Wildfires aren’t just a “maybe” anymore. They’re part of the reality millions of us now live with—whether we chose it or not.
And I get it. The headlines feel overwhelming. The footage, terrifying. But here’s what you need to remember:
You have more control than you think.
Every cleared branch, every sealed vent, every tool you set aside in advance—it all matters. These aren’t just checkboxes. They’re acts of defense. Of care. Of protecting what you’ve built and the people you love.
Your home doesn’t have to be perfect. But it does have to be ready.
So start with one step. Then another. Print your plan. Test your hose. Replace that old vent. Talk to your family.
Because the day the sky turns orange isn’t the time to wonder if you did enough.
What’s your next step?
Are you going to check your gutters today? Build your go-bag this weekend? Walk your fence line after reading this?
I’d love to know—what’s the one thing you’re going to wildfire-proof this week?
Drop it in the comments, or share this guide with someone who lives near trees, brush, or open land. They may not know how vulnerable their home actually is.
Because once you see it—you can start protecting it.
Want more home protection guides like this? Visit Build Like New for step-by-step tips, checklists, and expert insights that actually make your home safer.
Disclaimer: This article is for informational purposes only and does not constitute professional fire safety or building code advice. Always consult local fire authorities, building professionals, or your insurance provider for guidance specific to your location and property.