
Best 4 Fixes for White Buildup on Faucet Heads at Home
I’ve seen this happen in a lot of homes. The faucet looks clean, there’s no visible dirt, yet the water comes out weak, uneven, or splashes in odd directions. It feels like a bigger plumbing issue, but in many cases, it isn’t. What’s really happening is slow buildup inside the faucet head.
Hard water leaves behind tiny traces of calcium and lime every time the faucet dries. Over weeks and months, those minerals harden and begin to block the small openings that control water flow. A quick wipe with a rag doesn’t reach any of that. That’s why the faucet may shine on the outside while the pressure keeps getting worse.
I’ve watched people scrub harder, switch cleaners, or even think about replacing the faucet, when the real fix was much simpler. The key is knowing what kind of buildup you’re dealing with and choosing a cleaning method that matches it. Soap, steam, vinegar, and aerator cleaning all work—but not in the same situations, and not on every faucet finish.
In this guide, I’ll show you how to clean a faucet head in ways that actually restore water flow, not just make it look better. These are practical steps you can do at home, using common household items, without damaging the faucet or wasting time.
Before you start cleaning, take a moment to notice this: is your faucet just spotted on the outside, or does the water itself tell you something is blocked inside?
Why Faucet Heads Get Clogged With Hard Water and Mineral Buildup
If you live in an area with hard water, this problem builds up quietly. I’ve seen it happen again and again—faucet heads don’t clog because they’re dirty in the usual sense, they clog because minerals never fully leave. Every time you turn off the tap, a small amount of water stays behind. When that water dries, it leaves calcium and lime on the surface and inside the faucet head.
Over time, those minerals harden.
What starts as a few dull spots slowly turns into buildup inside the tiny spray holes and the aerator. You may not notice it right away, but you’ll feel it when the water pressure drops or the spray becomes uneven.
Here’s what’s usually happening inside your faucet head:
- Calcium and lime deposits form naturally in homes with hard water
- Mineral residue is left behind after daily use
- Spray holes and aerators slowly narrow as deposits build layer by layer
Data published by the U.S. Geological Survey shows that a large portion of U.S. households deal with hard water, which explains why mineral buildup is such a common issue in kitchens and bathrooms. Faucet head buildup is often just the first visible warning sign—hard water can quietly damage pipes, appliances, and fixtures across the home, as explained in this detailed look at how hard water causes long-term home damage. Home maintenance guidance from Better Homes & Gardens also notes that this buildup doesn’t rinse away on its own—it has to be cleaned intentionally.
Once you understand this, cleaning stops feeling random. You’re not just removing stains. You’re clearing blockages that affect how water flows. Hard water buildup on faucet heads is just one example of how grime hides in plain sight—there are many other overlooked areas at home that collect residue without you realizing it, like the ones covered in these commonly forgotten things you’re probably not cleaning.
Fix #1 — Clean the Faucet Head With Soap for Light Buildup
This is where I always suggest starting. If your faucet still has decent pressure and the buildup looks light, soap is often all you need. There’s no reason to jump straight to stronger methods.
Soap works best before minerals harden.
Soap cleaning is enough when:
- The faucet has light white spots, not thick crust
- Water flow is still mostly normal
- You’re doing routine or weekly maintenance
I usually clean the faucet when it’s already damp, like after washing dishes. Warm water helps loosen residue, and soap helps stop new minerals from sticking.
Use the right tools to avoid scratches:
- A soft-bristle brush for small spray holes
- A non-scratch sponge for smooth finishes
Scrubbing too hard can damage the finish, and damaged surfaces collect buildup faster. Gentle, regular cleaning keeps the faucet working longer and looking better.
Fix #2 — Use Steam to Remove Heavy Lime Scale and Rust
When soap no longer works, steam is often the safest next step. I like steam because it loosens mineral buildup without relying on chemicals that can damage modern finishes.
Steam softens hardened deposits so they release instead of being scraped off.
Steam works better than soap when:
- Buildup looks thick or chalky
- Lime scale or light rust is visible
- You have a touchless or coated faucet
If you don’t have a handheld steamer, you still have options:
- Run very warm water over the faucet head
- Let the heat sit for a few minutes
- Gently brush with a soft-bristle brush
The goal isn’t force. It’s patience. Once minerals soften, they come off more easily and with far less risk to the faucet.
Before moving on to stronger methods, take a second to look at your faucet. Does it need something harsher, or does it just need the right approach for the kind of buildup you’re dealing with?
Fix #3 — Vinegar Soak (Only If Your Faucet Finish Allows It)
I’ll be honest with you—vinegar can be a very effective way to dissolve mineral buildup, but it isn’t safe for every faucet. I’ve seen faucets with beautiful finishes get permanently dulled or damaged because someone applied vinegar without thinking about what the faucet was made of.
Vinegar softens and breaks down calcium and lime quickly, which is great—when the finish can handle it.
Vinegar Is Powerful, But Not Safe for Every Faucet
Before you grab a bottle, check your faucet finish. Some materials simply don’t react well with acidic solutions:
- Gold or brushed gold finishes
- Bronze and oil-rubbed bronze
- Specialty coatings on designer faucets
If your faucet is one of these, vinegar can strip or dull the surface. That’s the opposite of what you’re trying to fix.
Safe Vinegar Bag-Soak Method
If your finish can handle it, here’s a dependable way to use vinegar without risking damage:
- Mix equal parts distilled white vinegar and water
- Place the solution in a small plastic bag
- Secure the bag around the faucet head
- Let it soak for 30–60 minutes, no more
- Remove the bag, run water through the faucet, then wipe dry
The aim is to dissolve the mineral buildup—not to sit vinegar on a surface for hours. Too much time doesn’t mean better results; it just increases finish risk.
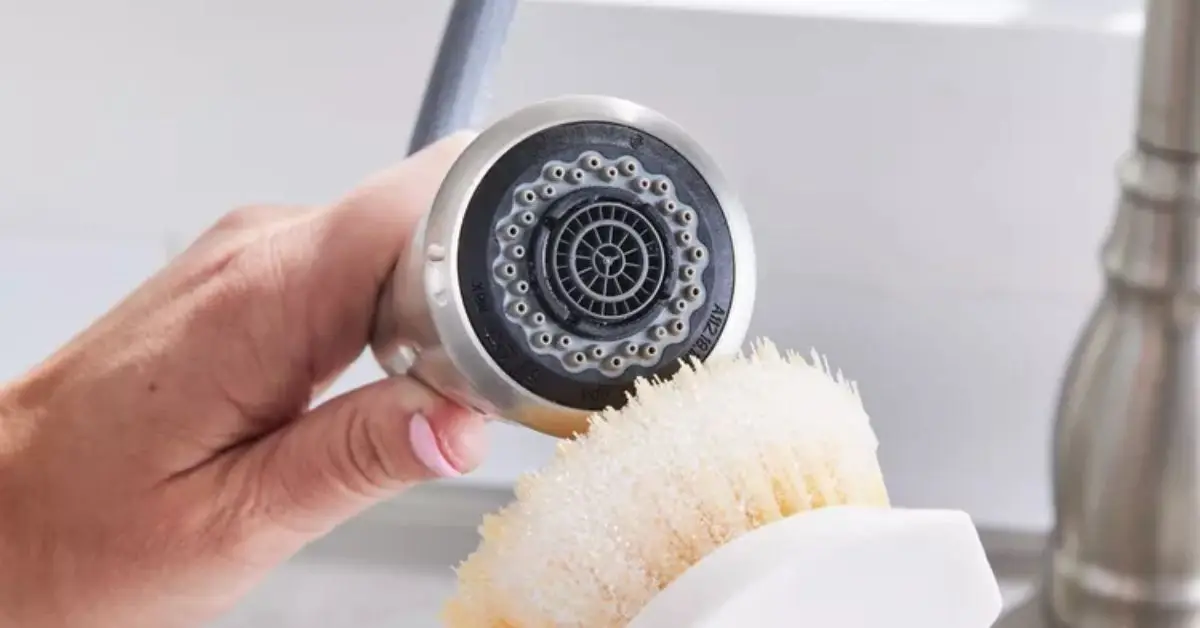
Fix #4 — Clean the Faucet Aerator to Restore Water Flow
If, after cleaning the faucet head, the water still trickles out weakly or unevenly, the aerator deserves your attention. It’s one of the biggest blind spots I see in DIY faucet cleaning.
The aerator is a tiny screen at the tip of most faucets. Its job is to shape the water stream and reduce splashing—but that same mesh also traps mineral flakes.
The Most Common Cause of Low Water Pressure
Mineral buildup can clog the aerator so thoroughly that even a clean faucet head won’t fix the flow. According to a practical guide from Aerator.com on cleaning sink faucet heads, buildup inside the aerator is often the real culprit behind weak flow.
Here’s how mineral deposits affect it:
- Particles lodge in the mesh
- Water flows only through the gaps that remain
- Pressure drops and spray becomes uneven
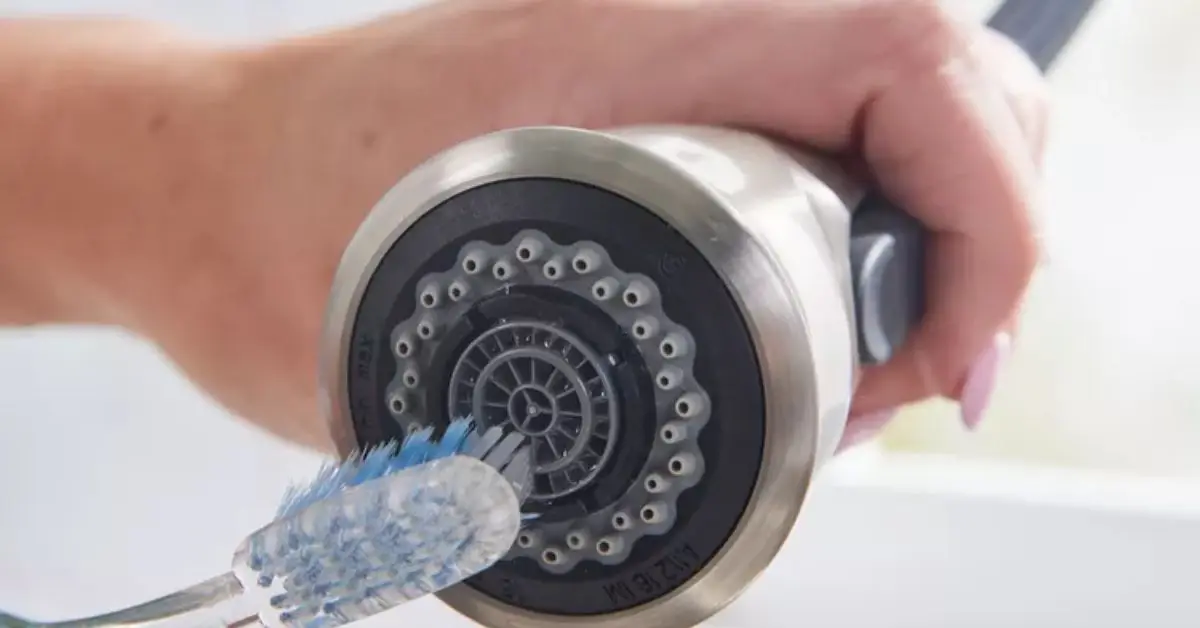
Quick Cleaning With a Toothbrush
If the aerator is easy to reach:
- Rinse it under warm water
- Gently scrub the screen with a toothbrush
- Remove any trapped flakes
This simple step often restores normal water flow without much fuss.
When You Should Remove the Aerator
If scrubbing isn’t enough:
- Cover the drain so parts don’t fall in
- Unscrew the aerator gently
- Keep track of the order of internal pieces
- Clean, rinse, and reassemble carefully
Take your time here. Misplacing or forcing parts back together can cause leaks later.
The Step Many People Skip After Cleaning Their Faucet
You can use the best methods in the world…but if you ignore the next step, buildup returns fast.
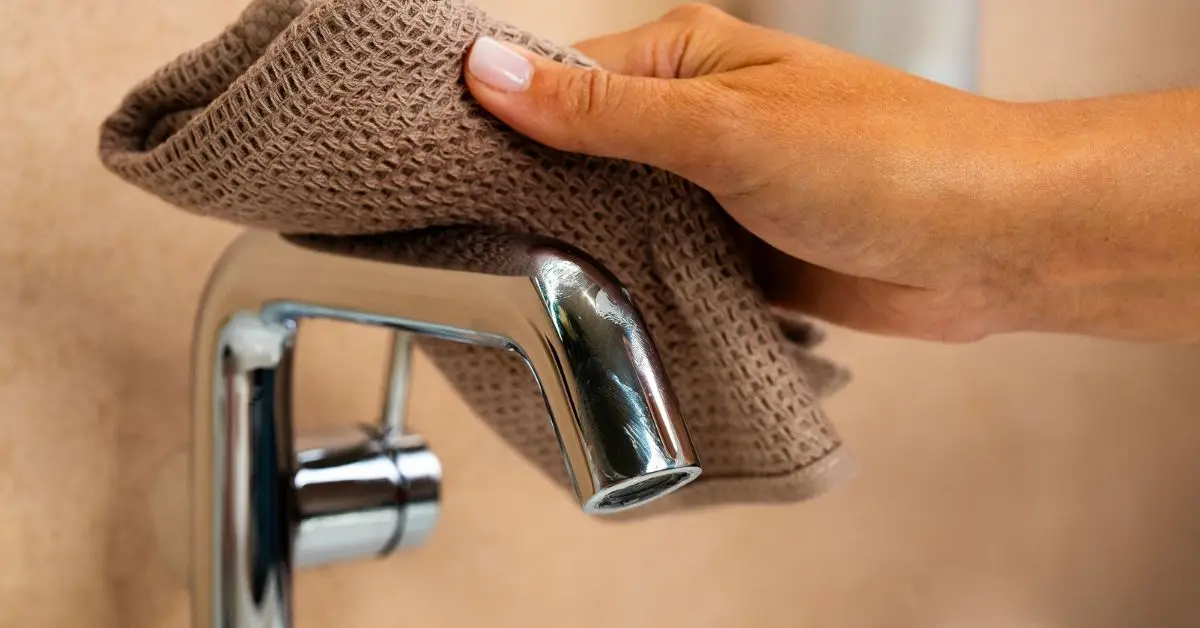
Drying the Faucet Prevents Future Buildup
Minerals are left behind every time water evaporates. If you let the faucet air-dry, you’re basically inviting buildup back in.
Here’s a habit that pays off:
- Wipe the faucet head dry after each use
- Pay attention to spray holes and joins
- Do this especially after long showers or big dishwashing sessions
Just a few seconds of drying slows down buildup more than anything else you do.
Quick Decision Guide — Choose the Right Cleaning Method
If you’re unsure where to start, this simple rule helps:
- Light residue → Soap
- Chalky, heavy deposits → Steam
- Tough mineral buildup → Vinegar (only if finish safe)
- Weak or uneven flow → Aerator cleaning
Matching the cleaning method with the actual problem saves you time—and spares your faucet from unnecessary damage.
So take a look at your faucet and tell me—are you seeing mostly surface residue, or does water flow feel weak no matter what you do?
Long-Term Maintenance Tips to Keep Faucet Heads Clean
Once you’ve cleaned a faucet properly, the real win is keeping it that way. I always tell people this: deep cleaning fixes the problem, but small habits are what stop it from coming back. Hard water doesn’t take breaks, so maintenance matters more than most realize.
How to Reduce Hard Water Buildup Over Time
You don’t need complicated routines or expensive products. What works is consistency.
Simple daily habits that make a difference:
- Wipe the faucet head dry after use, especially after dishwashing
- Pay attention to spray holes where water tends to sit
- Use a soft cloth instead of letting water air-dry
These small steps prevent mineral traces from hardening in the first place.
Weekly and monthly maintenance routines:
- Once a week, clean the faucet head with mild soap and warm water
- Once a month, check the aerator for early mineral buildup
- In hard water areas, rotate in steam or a gentle soak before buildup gets thick
When you stay ahead of residue, you avoid heavy cleaning altogether. That’s how faucet heads stay clear and water flow stays strong long-term. Once these small habits become routine, maintaining overall home hygiene feels much easier—especially when paired with simple home disinfection habits that actually work.
If you’ve found a routine that works well in your home, share it in the comments. Real-world habits help others dealing with the same hard water issues.
Safety and Finish Protection Notes
Before you clean any faucet, take a moment to think about what you’re cleaning and how you’re cleaning it. I’ve seen more damage caused by aggressive cleaning than by mineral buildup itself.
Important Precautions Before You Start Cleaning
Keep these basics in mind every time:
- Avoid harsh chemicals or abrasive pads—they scratch finishes and invite faster buildup
- Always follow the manufacturer’s care instructions for your faucet
- Be extra cautious with gold, bronze, or specialty finishes that can corrode or dull easily
Cleaning should improve how your faucet works, not shorten its lifespan. When in doubt, gentler methods are almost always the safer choice.
If you want more practical home-care guides like this—written for real use, not quick fixes—you can find them on Build like New. I share straightforward advice that helps you maintain your home without wasting time or money.
Have a question, a tip, or a stubborn faucet problem you’re still dealing with? Drop it in the comments. I read them all, and your experience might help someone else too.
Disclaimer: The methods shared in this guide are for general home maintenance and informational purposes only. Faucet designs and finishes vary, so always check the manufacturer’s care instructions before cleaning. Use any cleaning method at your own discretion, and stop immediately if you notice damage or unusual wear.

