
How to Insulate a Basement for Maximum Comfort and Efficiency?
I’ve always found basements fascinating—quiet, tucked away, and often underused. Yet, they’re also some of the coldest, damper parts of a home. One thing I learned quickly is that even though the earth naturally buffers temperature swings, basements can still feel like refrigerators in winter or muggy zones in summer.
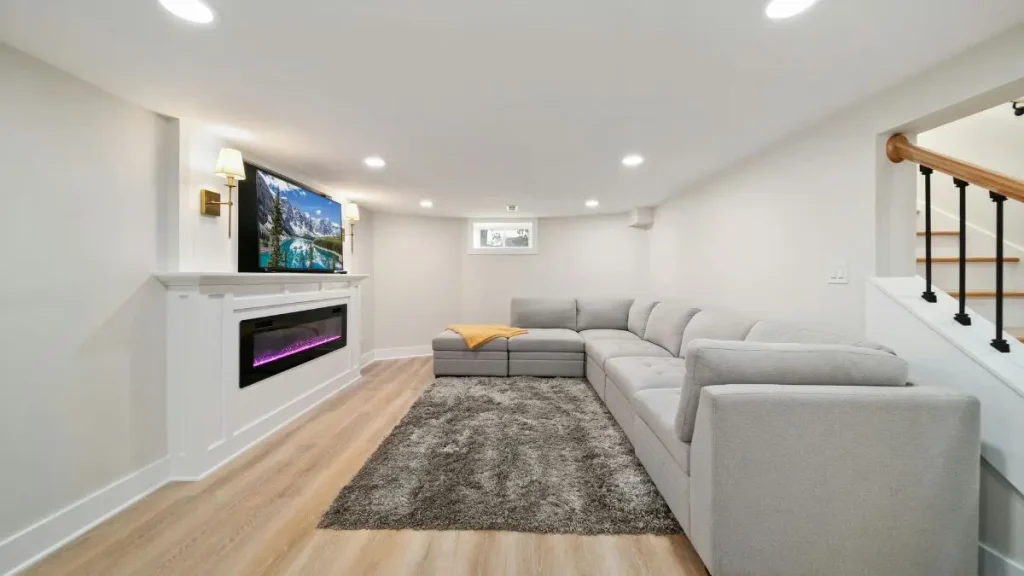
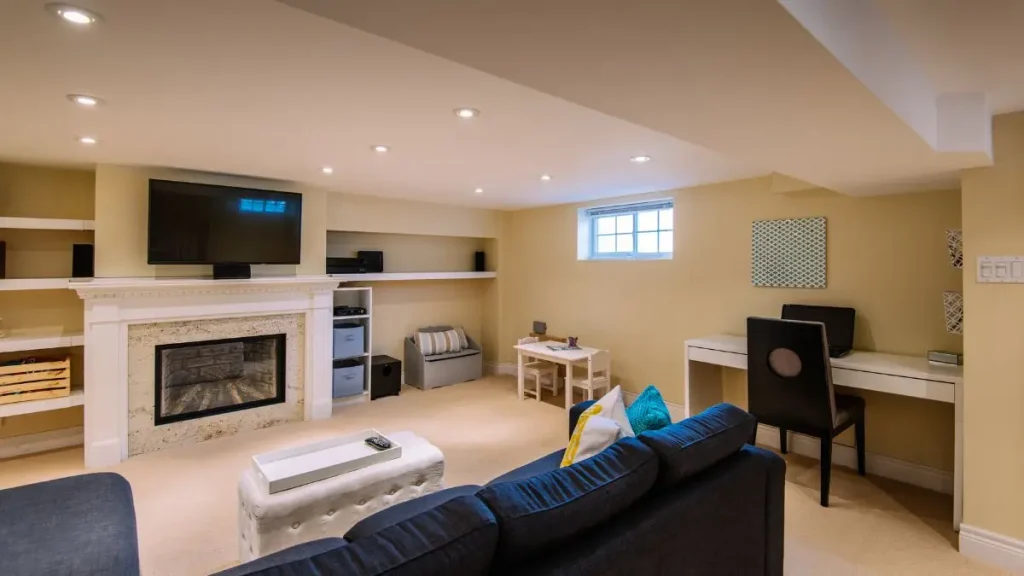
That’s where proper basement insulation comes in. Insulating your basement doesn’t just make it warmer or cooler—it transforms the space. You suddenly have a comfortable area for a playroom, home office, or extra living space. On top of that, it can seriously cut down your energy bills and prevent pesky issues like moisture buildup and mold.
I know it might feel intimidating at first—rigid foam, furring strips, stud walls—but don’t worry. By understanding the right approach and materials, you can turn that unused corner of your home into one of the coziest, most practical spaces.
How Basement Insulation Differs from Above-Grade Walls?
When I first started thinking about insulating my basement, I made the mistake of assuming it was no different from the rest of the house. I thought, “Fiberglass batts in wood studs—easy, done.” But basements play by a completely different set of rules.
Above-grade walls are surrounded by air, framed with wood studs, and insulated with soft fiberglass batts, usually with paper facing. The edges are stapled neatly to the studs. This setup works fine upstairs, but in a basement? It’s a disaster waiting to happen. Fiberglass facing foundation walls absorbs moisture like a sponge.
Even small amounts of dampness can reduce the insulation’s R-value, and if the material stays wet for long enough, mold and allergens start to grow. You don’t want that in a space where you might want to spend time with your family or even just store your stuff safely.
This is why basements need insulation designed to resist moisture and provide a reliable thermal barrier. I quickly realized that rigid foam boards are the best choice. They create a solid layer between the cold concrete and your living space, keeping the basement warmer in winter and cooler in summer. Plus, they won’t grow mold like fiberglass does when they get damp. Understanding this difference upfront saves you from frustration—and money—down the road.
Choosing the Right Basement Insulation Method
Once I accepted that rigid foam was the way to go, I had to figure out how to install it effectively. According to The Spruce, there are two main methods:
1. Rigid Foam with Furring Strips
This method is simple and space-efficient. Large sheets of rigid foam (1 to 1.5 inches thick) are attached directly to the foundation wall using concrete screws. Furring strips (usually 1×3 wood) are then screwed on top of the foam to create a mounting surface for drywall.
- R-Value: R-5 to R-10 depending on thickness
- Pros: Conserves space, less expensive, relatively straightforward for DIYers
- Cons: Offers about half the insulation value of a stud wall system, multiple screws can be labor-intensive
I like this method when the basement is tight on space or when you want a faster, lower-cost solution. For smaller basements or storage-only areas, it’s perfect.
2. Rigid Foam with Stud Wall System
Here, rigid foam boards are attached to the wall with adhesive. A stud wall (wood or metal) is built in front, creating cavities that can hold optional fiberglass insulation for extra R-value.
- R-Value: R-18 to R-23 when combining foam and fiberglass
- Pros: Maximum insulation, fully watertight wall cavities, structurally independent
- Cons: Uses more space, higher cost, requires more materials and planning
I recommend this method for larger basements or if you’re turning the basement into a living space. Yes, it’s thicker and takes up more room, but the payoff in comfort and energy savings is huge.
At this stage, I usually ask myself: “Do I want to maximize insulation or save space and money?” Your answer will guide the method you choose.
If you want your basement insulation to work effectively for years, combining it with other home weatherproofing upgrades can save you thousands on energy bills long-term.
Safety Precautions Before You Start
Basement insulation might seem straightforward, but you’ll want to respect safety from the start. I can’t stress this enough: even though rigid foam is generally safe to handle, it’s still a chemical product. I always wear safety glasses, long sleeves, gloves, and a dust mask.
When I use fiberglass, full PPE is non-negotiable—NIOSH-approved respirator, gloves, and long sleeves. Without it, you’ll end up with itchy skin, irritated eyes, and breathing issues.
Another critical point many beginners miss: any interior rigid foam must be covered with at least ½-inch drywall or another code-approved material. Leaving it exposed is both a fire hazard and a code violation. Trust me—taking the extra step here ensures safety for you and your family, and prevents trouble with home inspections later.
Tools and Materials You’ll Need
Before I even touch a foam board, I lay everything out. Preparing your tools and materials upfront makes a huge difference.
Tools I Always Keep Handy:
- Electric miter saw or circular saw (for cutting foam and studs)
- Serrated knife and utility knife (for small, precise cuts)
- Caulking gun and hammer
- Staple gun and powder-actuated nailer (for stud walls)
- Safety glasses, hearing protection, dust mask
Materials:
Furring Strip Method
- Rigid foam boards (1–1.5 inches)
- 1×3 furring strips
- Drywall and screws
- Foam adhesive
- Spray foam sealant
Stud Wall Method
- Rigid foam boards
- 2×4 studs
- Optional fiberglass insulation (R-13 or R-15)
- Drywall and screws
- Foam adhesive
- Spray foam sealant
Having all these ready before you start saves frustrating trips to the store and keeps your project flowing.
Just like you can prevent moisture issues in your basement, small design tweaks in your bathroom can keep it fresh and musty-free year-round.
Preparing Your Basement for Insulation
Preparation is everything. I’ve seen too many DIYers rush to install insulation, only to realize the walls were damp or uneven. Here’s my process:
- Test for Moisture: Tape a 24″x24″ piece of clear plastic to the foundation wall. Leave it for two weeks. If condensation forms, you need to address moisture first.
- Mitigate Water Issues: I often redirect downspouts, grade soil away from the house, or install French drains. These steps prevent water from entering the basement in the first place.
- Seal and Repair Walls: Fill cracks with hydraulic cement and, if necessary, apply a basement waterproofing sealer. This step ensures insulation isn’t working against leaks.
- Clean and Flatten Walls: I remove any dirt, debris, and mold. Sometimes, a mold-killing primer helps ensure the walls are safe before installation.
- Insulate the Band Joist: The band joist (the perimeter of the floor above) is often overlooked. I cut small pieces of rigid foam to fit these areas and seal gaps with low-expansion spray foam. This step stops cold air from sneaking in around floor joists.
Spending extra time here might feel tedious, but it makes a huge difference in long-term comfort and energy efficiency.
Need a quick tip while you’re mid-project? You can find bite-sized home improvement hacks and short tutorials delivered instantly on WhatsApp for when you’re hands-on with insulation.
Cutting Rigid Foam Insulation
Cutting foam may seem simple, but precision here saves time and frustration. I always try to use full-size boards as much as possible. When I need to cut them lengthwise, I check for pre-scored lines first. If there’s a score line, you can snap it cleanly. If not, I score it with a utility knife, just deep enough to break it along the line. No need to hack through the whole board.
For widthwise cuts—especially when adjusting to basement height—I use a straight edge and score-and-snap technique. This gives a clean, professional-looking edge without wasting foam.
For penetrations like pipes or electrical boxes, I grab a 4–6 inch serrated knife or a drywall jab knife. I’ve learned that rushing this step often leads to gaps or ill-fitting pieces, so take your time. The goal is tight-fitting boards with minimal air gaps.
Installing Insulation – Step-by-Step
Installation is where your prep work pays off. I break it down by method:
1. Furring Strip Method
- Place Foam Boards Vertically: Start in a corner, cut the first board to the basement height, apply a ribbon of foam adhesive, and press it in place. I lean a scrap two-by-four to hold it temporarily.
- Cut and Attach Furring Strips: Each strip should fit slight ceiling variations. Attach horizontally over the foam using concrete screws, making sure they penetrate about an inch into the concrete.
- Install Drywall: Screw drywall into furring strips, tape seams, mud, sand, then prime and paint.
Tip: Some foam boards have side laps. If yours do, fit the furring strips vertically in these laps for a cleaner look and extra stability.
2. Stud Wall Method
- Attach Foam Boards with Adhesive: Apply a continuous bead to the back and press the boards tightly together from floor to sill plate.
- Frame the Wall: Build a stud frame with top and bottom plates and vertical studs every 16–24 inches. The frame should touch the foam lightly but not compress it. I use a powder-actuated nail gun for the bottom plate to secure it to the concrete floor safely.
- Add Fiberglass Insulation (Optional): Staple R-13 or R-15 insulation between studs to double the R-value.
- Install Drywall: Screw in drywall, tape, mud, sand, prime, and paint.
Doing this correctly transforms your basement into a space that’s comfortable year-round. It’s worth taking your time to get each board tight and level.
When to Call a Professional?
Even though I love DIY, some things are better left to the experts.
- Water Mitigation: If your basement has persistent leaks or groundwater issues, a professional water mitigation company can track the source and fix it safely.
- Mold Remediation: Small spots are manageable, but widespread mold needs a certified company to kill and encapsulate it properly.
- Complex Framing: If you’re uncomfortable using a powder-actuated nailer or building stud walls, a pro can prevent costly mistakes.
Knowing when to call help isn’t failure—it’s smart project management.
Additional Tips for Longevity and Performance
Once insulation is installed, the work isn’t entirely done. Here’s what I do to ensure it lasts:
- Inspect walls periodically for moisture or damage.
- Run a dehumidifier in the basement to maintain optimal humidity.
- Seal any cracks or gaps that appear over time with spray foam.
- Consider combining foam and fiberglass in future renovations to boost R-value.
These small habits keep your basement comfortable and energy-efficient for years.
Optional Enhancements
If you’re a bit of a perfectionist like me, there are ways to get extra performance from your insulation:
- Double Insulation: Using foam plus fiberglass in stud cavities gives you maximum R-value and energy savings.
- Air-Sealing: Don’t ignore small gaps around pipes, windows, and vents. Spray foam or caulk can prevent drafts and improve overall comfort.
- Finishing Touches: A quality primer and paint on drywall adds durability and makes the basement feel like a real living space.
These aren’t strictly necessary, but they make a noticeable difference in comfort and efficiency.
Once your basement walls are insulated and dry, you can even give them a modern makeover—accent walls are a stylish way to add personality without losing comfort.
Key Takeaways
Looking back, insulating a basement isn’t just about sticking foam to a wall—it’s about preparation, method selection, and attention to detail.
- Choose a method that fits your goals: furring strips for space-saving, stud walls for maximum insulation.
- Prep walls thoroughly to prevent moisture and mold.
- Follow safety protocols—PPE and fire-code requirements matter.
- Install carefully, with tight seams and optional enhancements for long-term performance.
- Know when to call a professional to avoid big problems.
If you follow these steps, your basement can become a warm, dry, and functional space you’ll actually want to use.
What’s the first project you’d do in your newly insulated basement—a playroom, home office, or cozy lounge?
Curious about more home improvement tips that can boost comfort and efficiency? Check out our guides on website Build Like New.
Disclaimer: This guide is for informational purposes only and reflects personal experience and general best practices. Always follow local building codes and manufacturer instructions when insulating your basement. For complex issues like water leaks or mold, consult a licensed professional.

