
Never See Water Stains Again: Easy Painting Tricks for Homeowners
I’ve seen it countless times: you fix a leak, patch up the ceiling, paint over that ugly water stain—and a few weeks later, it’s back. Frustrating, right? I know the feeling because I’ve been there myself. The truth is, painting over water stains isn’t just about covering a mark; it’s about stopping it from coming back.
In this guide, I’ll walk you through the exact steps I’ve used over the years—what works, what doesn’t, and the small tricks that make the difference between a temporary fix and a permanent solution. By the end, you’ll know how to tackle water stains like a pro and finally leave them behind for good.
What Causes Water Stains and Why They Return
Before you grab a brush, I want you to understand something I’ve learned the hard way: painting over a water stain without fixing the cause is like putting a band-aid on a leak. The stain will almost always come back. Let’s break down why this happens.
Common Causes of Water Stains
Water stains don’t just appear out of nowhere. Most of the time, they’re a sign of underlying issues like:
- Leaks – Roof leaks, pipe bursts, or AC condensation can let moisture seep in and linger behind walls or ceilings.
- Condensation and humidity – Even without leaks, high humidity or poor ventilation can cause water marks over time.
- Old untreated stains vs active leaks – Sometimes the stain is a leftover from a past problem. Other times, the leak is still active. Spotting the difference is key before you start painting.
If you want a detailed breakdown of how leaks create these stubborn stains, DIY Doctor has a really practical guide on the subject that I’ve found useful in my own projects.
Why Water Stains Bleed Through Paint
Even when you think the wall is dry, stains can still push through your paint. That’s because:
- Tannins and minerals in the stain can seep through regular paint.
- Moisture trapped under the paint will eventually rise to the surface.
- Latex primers often aren’t enough; a proper stain-blocking primer is what really stops the mark from returning.
Understanding this now will save you a lot of frustration later. When you paint without the right prep and primer, you’re basically inviting that stain to come back and haunt you.
Step 1 — Confirm the Problem is Resolved Before Painting
Before you grab a brush or roller, this is the one step you cannot skip. I’ve painted plenty of water‑stained walls, and the biggest mistake homeowners make is covering the stain before they’re 100 % sure the moisture issue is gone. If you paint too soon, the stain almost always comes back.
How I Know the Leak Is Fully Fixed
Here’s how I check things before moving forward:
- Visual checks after moisture events – After rain or using water in that area, I watch the spot for fresh dampness or streaks.
- Confirm dryness with tools – A simple moisture meter tells me whether the wall or ceiling truly feels dry to the core. For clear tips on detecting lingering moisture and why you must fix the cause first, I refer to AOL’s expert water stain prevention advice which stresses identifying the source before painting.
Signs There’s Still Moisture
Even if it looks dry, pay attention to these red flags:
- Bubbling or cracking paint around the stain
- Soft or sagging drywall when you press lightly
- Stains reappearing after a short dry period
If any of these show up, don’t rush to paint. I can’t tell you how many times a quick extra day or two of checking has saved me from redoing work later. Trust me, fixing the source issue first makes everything that follows much easier and more permanent.
Step 2 — Proper Prep: Clean, Dry, and Repair
I can’t stress this enough: most DIYers fail at this stage. Even if the leak is fixed, skipping proper prep almost guarantees the stain will return. Over the years, I’ve learned that cleaning, drying, and repairing the surface properly is what separates a temporary fix from a permanent one.
Cleaning the Surface
Before you paint, I always make sure the wall or ceiling is spotless:
- Remove dust, efflorescence, and debris – I use a soft brush or cloth to wipe the area clean so the primer and paint adhere properly. If you’re also thinking about tackling tiles or grout after fixing water damage, these insider tips before you paint tile grout can save you from common mistakes most DIYers make.
- Treat mold or mildew – If you notice any dark spots, I clean them with a fungicidal wash to prevent further growth.
For practical guidance on cleaning and preparing water-stained surfaces, I often refer to Dulux Decorator Centre’s prep tips for painting over stains.
Drying & Ventilation Best Practices
While prepping your walls, I often notice scuff marks that need attention—if you want to remove them without harming the paint, check out these genius ways to remove scuff marks from your walls. Even after cleaning, moisture can linger:
- Use dehumidifiers or fans to speed up drying.
- Open windows to improve airflow, especially in high-humidity rooms.
- I always wait until the surface feels completely dry before moving to the next step.
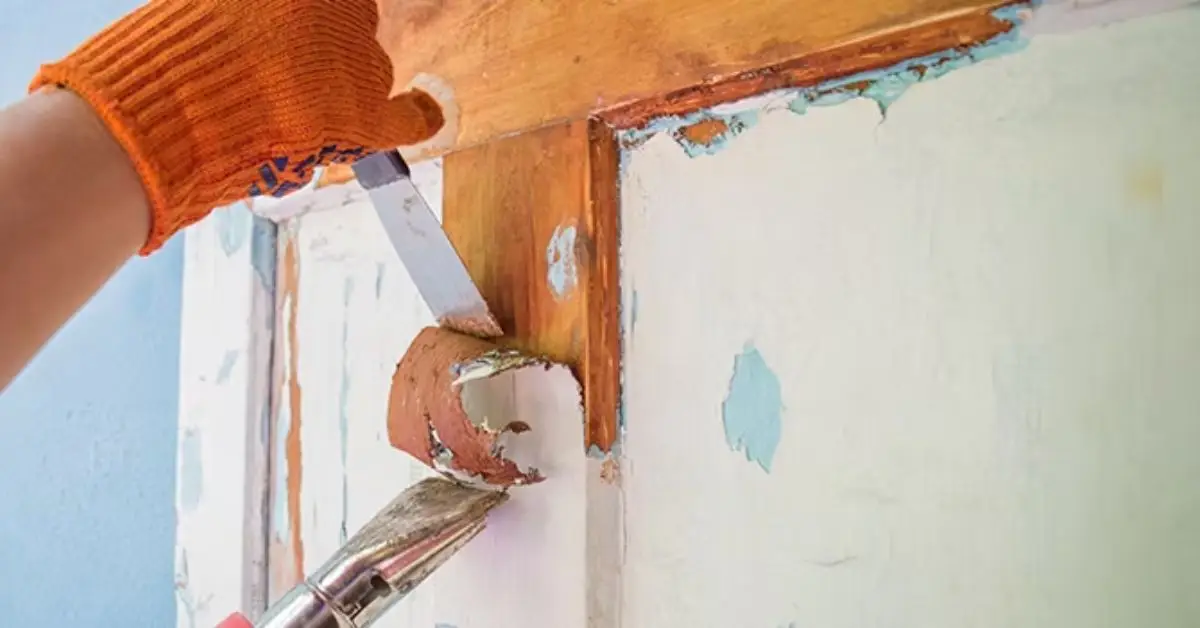
Repair Structural and Surface Damage
Before painting, I make sure the wall is structurally sound:
- Patch cracks, holes, and plaster/drywall irregularities so the surface is smooth.
- Replace drywall if it’s too soft, sagging, or water-damaged beyond repair.
- Smooth sanding ensures the primer and paint adhere evenly.
Skipping any of these steps is like inviting the stain to come back. I’ve found that taking this extra prep time saves a lot of frustration later—and makes the paint job look professional.
Step 3 — Choose the Right Primer and Paint to Prevent Return
Now comes the most crucial part: the primer and paint you choose can make or break your project. I’ve seen stains reappear simply because the wrong primer was used or coverage wasn’t thorough.
Stain‑Blocking Primers Explained
Not all primers are created equal:
- Oil-based and shellac primers are my go-to for stubborn water stains—they block tannins and moisture far better than latex primers.
- Latex primers are fine for mild stains, but I usually avoid them for anything that’s deeply discolored.
For a clear explanation of why shellac and oil-based primers outperform water-based options, I refer to Splat Decorating Supplies’ expert guide.
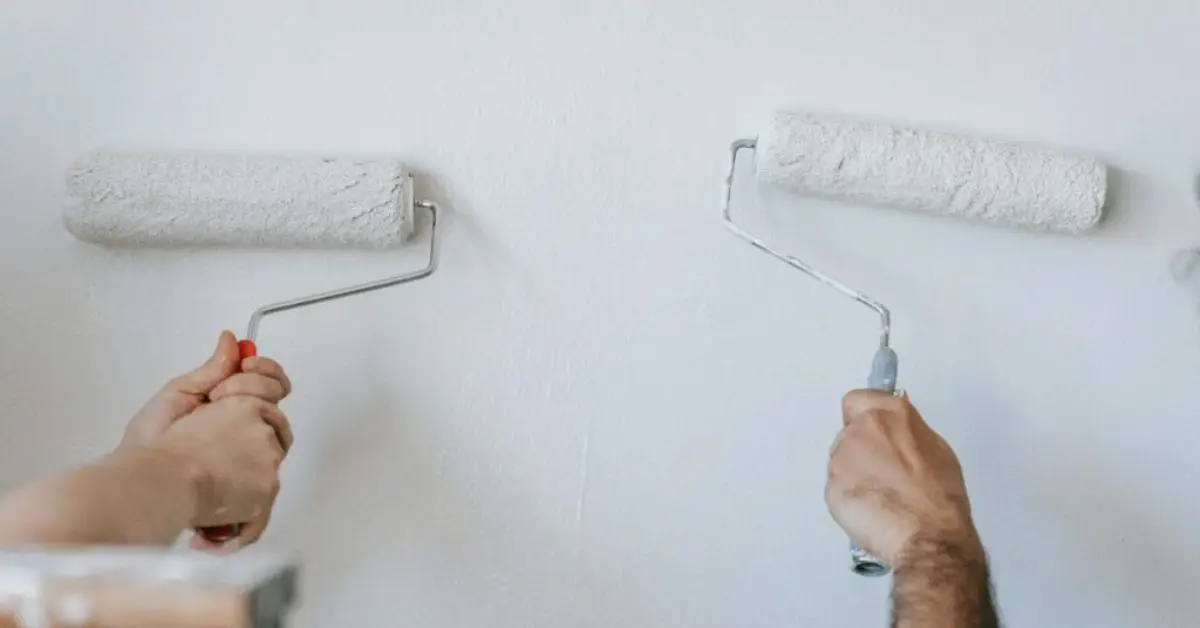
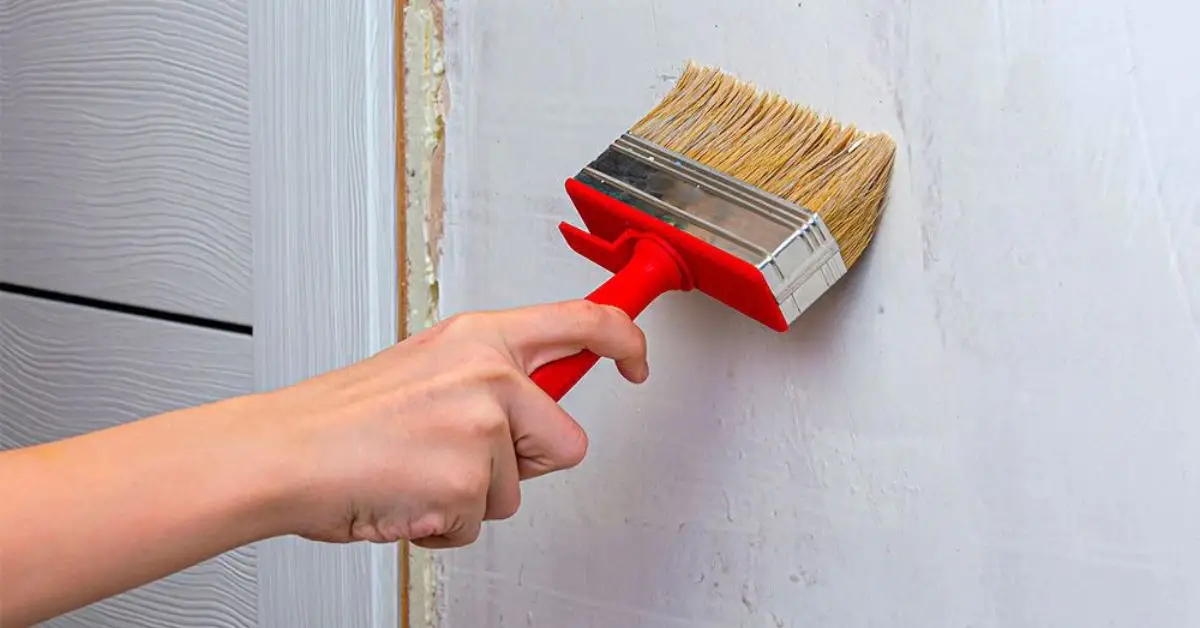
How to Apply Primers for Maximum Protection
- Cover beyond the stained area to prevent the mark from creeping through.
- Apply two coats if needed, following dry time instructions on the can.
- Use brush or roller for edges and flat areas, or spray if you want even coverage on ceilings.
Selecting Topcoats That Help Resist Moisture
- Use moisture-resistant acrylic or water-based paints for long-term protection.
- Professional-grade paints can be worth it in high-humidity rooms like bathrooms or kitchens.
- I always make sure the final coat is smooth and fully dry before calling the job done.
By carefully choosing the right primer and topcoat, you’re not just covering the stain—you’re stopping it from ever coming back.
Pro DIY Tips Don’t Include
Sometimes, even after following all the standard steps, small details make the difference between a stain that comes back and one that’s gone for good. Here are a few tips I’ve picked up over the years:
Using Dehumidification and Ventilation While Painting
- Humidity can slow paint drying and reduce adhesion.
- I always use fans, open windows, or a dehumidifier to make sure the primer and paint cure properly.
Reducing the Risk of Mold After Painting
- Never paint over untreated mold—it will grow through the new coat.
- Treat any mold first with a safe fungicidal wash.
When Painting Isn’t Enough
- In some tricky areas, I’ve used boards, tiles, or beadboard as a finish instead of relying on paint alone.
- These options give extra protection and a fresh look.
Seasonal Considerations
- Temperature and humidity affect drying time and adhesion.
- I usually avoid painting in very humid or very cold conditions.
Tools and Materials Checklist (Action‑Ready)
Before you start, having everything ready makes the process smoother. Here’s what I keep on hand:
Essential Tools
- Moisture meter
- Scraper and sandpaper
- Fans or dehumidifier
Recommended Primers & Paints
- Oil or shellac-based primers
- Moisture-resistant topcoat paints
Safety Gear Essentials
- Gloves and masks if using chemical primers
- Protective eyewear
Long‑Term Prevention and Home Maintenance
Painting over stains is one thing, but keeping them from returning is another. I always focus on these long-term steps:
Regular Roof and Pipe Inspections
- Check for leaks or condensation sources regularly.
Improving Indoor Airflow and Insulation
- Proper ventilation and insulation reduce humidity and moisture buildup.
Seasonal Checks for High-Humidity Rooms
- Bathrooms, kitchens, and basements need extra attention, especially in summer and winter.
Wrapping Up
I hope this guide gives you everything you need to finally paint over water stains so they never come back. By fixing the source, prepping correctly, choosing the right primer and paint, and following these pro tips, you can avoid the frustration I’ve seen so many homeowners experience. Once your water stains are gone, you might notice other neglected areas—these hidden spots in your home that desperately need a paint refresh are easy to overlook but can make a huge difference.
If you’ve tried some of these methods or have your own tips, I’d love to hear from you—drop a comment below and share your experience. And if you want more practical DIY guides that actually work, check out Build Like New for step-by-step instructions and expert advice.
Disclaimer: This guide is for general DIY purposes only. Always follow product instructions and safety guidelines. For persistent leaks or structural damage, consider consulting a professional.

