
Wallpaper Be Gone: 6 Easy Steps to Steam It Off Like a Pro
Wallpaper peeling in places and glued tight in others? You’re not imagining it — removing wallpaper can feel like a two-step lesson in patience and regret. Steam usually turns that chaos into a clean, manageable job — if you follow the right order and watch for the usual traps.
In this guide I’ll walk you through six straight-forward steps: diagnose whether steaming will work for your paper and wall, prep the room, set up and use a steamer safely, peel and scrape with the least damage, clean glue and residue, and prime so the wall’s ready for paint or new paper. No fluff — just the practical moves that actually save time and stop mistakes.
You won’t need a pro’s van of tools. A wallpaper steamer (or a clothes-steamer backup), a scoring tool for stubborn paper, a stiff putty knife, sponges, drop cloths and heat-proof gloves will do most rooms. Got those? Good — let’s start with Step 1: how to tell if your wallpaper will come off with steam.
1. Wall & Wallpaper Type Diagnosis
1.1 Identify if wallpaper is strippable or needs steaming
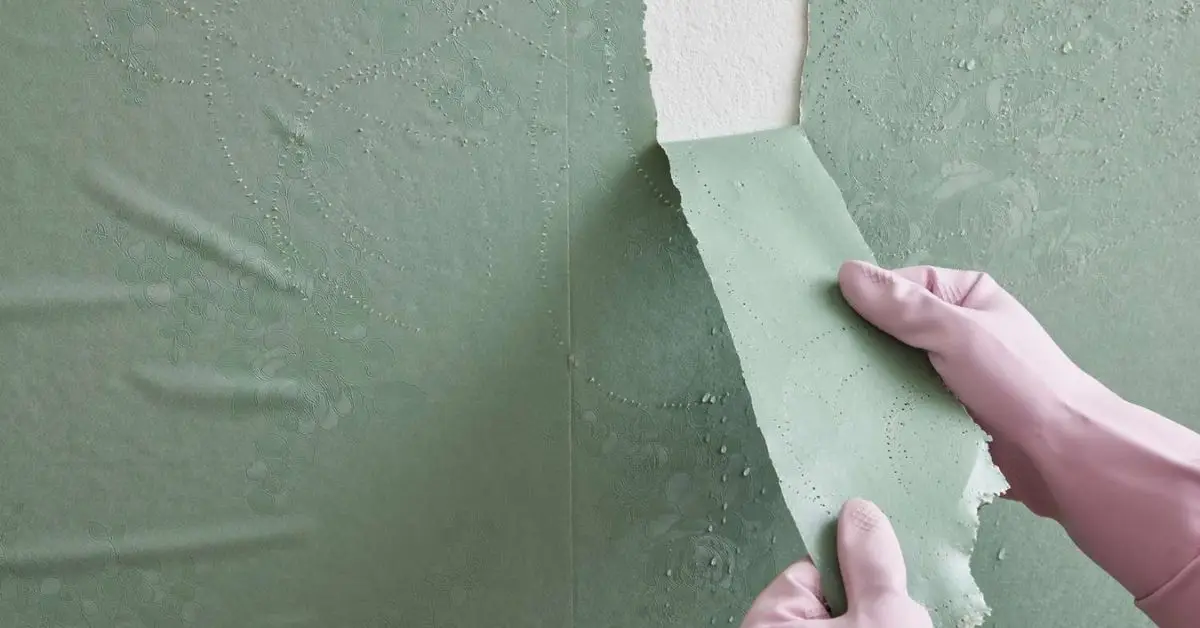
Before you even plug in the steamer, do a quick test. Find a loose corner or seam and try peeling it back with your fingers. If it lifts cleanly without tearing, you’ve got strippable wallpaper — lucky you. If it resists or rips into small pieces, that’s when steam becomes your best friend. If you’re curious about other time-saving removal techniques beyond steaming, check out 4 proven ways to remove wallpaper in under an hour — perfect if you want options before committing to steam. As The Spruce explains in their wallpaper removal guide, this simple check can save you hours of unnecessary work and protect your walls from damage.
1.2 Check wall material: drywall vs plaster
What’s under your wallpaper matters more than most people think. Drywall can be fragile — pull too hard or over-steam, and you risk peeling away its paper backing. Plaster, on the other hand, is tougher and can handle more moisture. A quick knock test (hollow sound for drywall, solid for plaster) will tell you what you’re working with. Many seasoned DIYers warn that unprimed drywall can peel badly during steaming, so knowing your wall type upfront is key.
2. Prep Like a Pro
2.1 Furniture, floor protection, power-off
Steam is messy business — it drips, splatters, and can even scald if you’re not paying attention. Before you start, clear the room of furniture or push it to the center and cover it completely. Lay down drop cloths and tape the edges so water can’t sneak under. And yes, switch off power to outlets and lights on the wall you’re working on. As Architectural Digest points out in their home improvement safety guide, a few minutes of prep now can save you from costly repairs later.
2.2 Positioning a trash bin & drop cloths
Once the wallpaper starts coming off, you’ll be surprised how quickly scraps pile up. Keep a garbage bin within arm’s reach — ideally in the center of the room — so you’re not walking drippy paper across clean floors. A layer of drop cloth under your workspace will also catch the tiny wet bits you miss, making cleanup much faster.
3. Smart Use of the Steamer
3.1 Fill with warm water to reduce heat-up time
A cold-water start can make you stand around for what feels like forever. Most steamers heat faster if you give them a head start, so fill the tank with warm tap water instead of cold. You’ll notice the steam building in a few minutes rather than ten or more. That small change keeps your workflow smooth and stops you from losing energy before you even begin.
3.2 Heat-up & hold steam plate only 10–30 seconds per section
When the steamer is ready, resist the temptation to cover a huge area at once. The trick is to work in small, manageable patches — about the size of a notebook page. Press the steam plate flat against the wallpaper for 10–30 seconds. That’s long enough to melt the glue without soaking the wall beneath. If you steam too briefly, the paper will tear into stubborn little strips; too long, and you risk warping drywall or leaving moisture trapped in plaster. You’ll quickly get a feel for the sweet spot as you work.
4. Peel & Scrape Technique
4.1 Start at a bottom seam or lifted corner
Gravity can be your ally here. Starting at a bottom seam or any corner that’s already loose gives you better leverage and often a cleaner peel. Slip a putty knife gently under the edge and lift — don’t jab or you’ll gouge the wall. As Driven by Decor notes in their wallpaper removal tips, this approach can make the first strip come off far easier.
4.2 Alternate steaming top and under layers

Sometimes the outer layer comes free but the backing paper stays welded to the wall. In that case, steam the top side first, peel what you can, then slide the steam plate underneath the loosened section to soften the glue from behind. Switching between top and under layers keeps you moving without getting stuck on stubborn spots.
4.3 Use putty knife & sponge for stubborn backing
If the paper backing refuses to budge, soak it with a damp sponge and give the steam a second try. The moisture helps loosen dried glue and makes scraping smoother. Work slowly with the putty knife at a low angle so you’re lifting the paper — not shaving the wall beneath it.
5. Glue & Residue Cleanup
5.1 Scrub warm soapy water, or steam then scrape
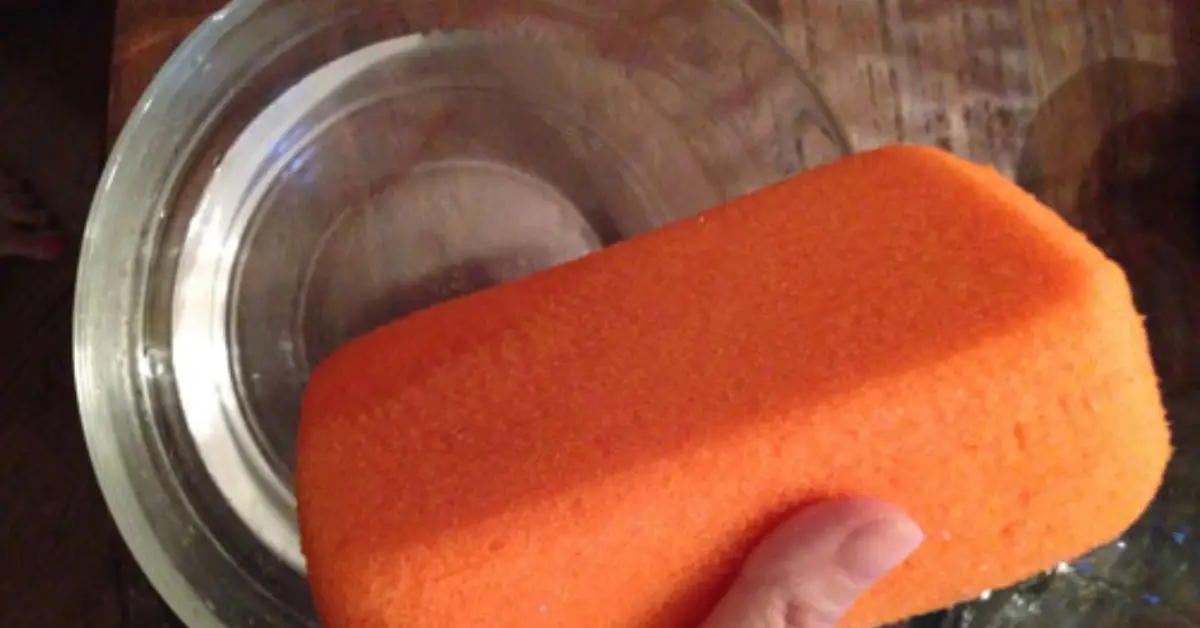
Once the wallpaper is gone, you’ll often find a thin, sticky film clinging to the wall. That’s leftover glue, and if you leave it, it can bleed through paint or cause new wallpaper to bubble. Fill a bucket with warm, soapy water and use a sponge to scrub the surface in small sections. For stubborn patches, run the steamer briefly over the spot, then scrape gently with a putty knife. Work until the wall feels smooth to the touch, not tacky.
5.2 Seal or prime wall before painting
Even after scrubbing, microscopic glue residue can linger. A sealing primer creates a barrier so moisture in paint won’t reactivate the glue. It also evens out the wall’s porosity, giving you a consistent finish whether you’re painting or hanging new wallpaper. Products designed for problem surfaces, like a high-bond primer, are worth the small extra step to avoid rework later.
6. Expert Tips & Avoidable Mistakes
6.1 Use a perforator or scoring tool when wallpaper resists steam
Some wallpapers are practically armor-plated. Lightly rolling a perforator or scoring tool over the surface creates tiny holes that let steam penetrate the glue layer faster. Don’t press too hard — you want to break the paper, not scar the wall beneath it.
6.2 Wear heat-proof gloves, manage steam-burn risk
Steam can cause instant burns if you’re careless. Wear gloves designed to handle heat so you can hold the plate steady without flinching. Keep your free hand away from the steam path and work in a way that directs moisture downward, not toward your skin.
6.3 Use clothes steamer or DIY mixture when traditional steamer unavailable
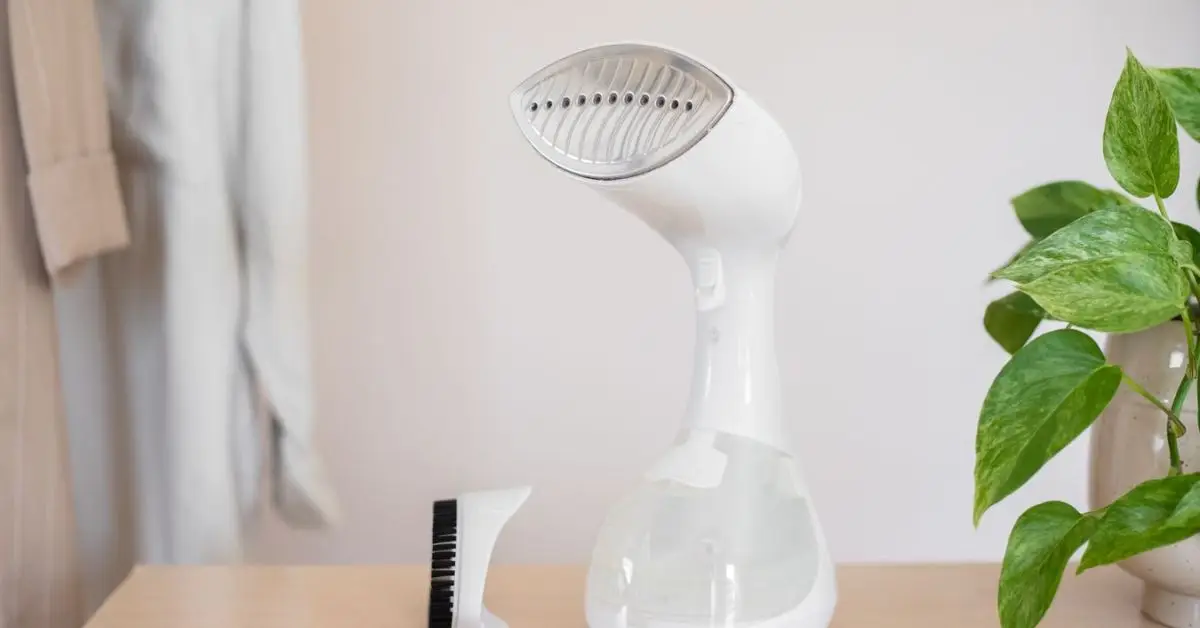
If you don’t own a wallpaper steamer, a clothes steamer can handle small areas. For a chemical-free option, spray a warm water and fabric softener mix directly onto the wallpaper, let it soak for a few minutes, and then scrape. It’s not as fast as a steamer, but it works in a pinch.
6.4 Avoid damage via patient, slow technique
Rushing is how walls get gouged. Steam loosens the glue, but it doesn’t eliminate the need for steady hands. Let the heat do the work, peel slowly, and use the scraper at a shallow angle. You’ll finish cleaner and with less repair work afterward.
Post-Removal Wall Repairs
Once the last scrap of wallpaper is gone, you might notice your walls look… tired. Tiny dents, pulled drywall paper, or nail holes are all common. Don’t skip this step — fixing these now means your paint or new wallpaper will actually look as good as you imagined.
Start by running your hand lightly over the surface to feel for rough spots. For shallow gouges or small holes, use lightweight spackle and a putty knife to fill them in, feathering the edges so they blend with the wall. If you’ve got peeled drywall paper, cut away any loose bits and seal the area with a wall primer before patching — this prevents bubbling under paint. Once your walls are smooth, you can give the whole room a glow-up without overspending — these budget-friendly home upgrades under $200 are perfect next steps.
Once repairs are dry, sand lightly with fine-grit sandpaper, wipe off the dust, and your wall will be smooth and ready for whatever comes next. A little extra effort here turns “freshly stripped” into “fresh start.”
Now It’s Your Turn at the Steamer
The funny thing about steaming off wallpaper is that it feels impossible right up until it suddenly gives way — and then you’re hooked. That first satisfying peel makes you forget the swearing, the prep, and the steam fogging up your glasses. One strip leads to another, and before you know it, you’re surrounded by crumpled paper, the walls breathing again, and the room looking like it’s ready for a fresh start.
You’ve now got the exact six-step process I rely on: diagnosing whether steam will even help, protecting your space, running the steamer efficiently, peeling without damage, cleaning every last bit of glue, and sealing the wall so it’s ready for whatever you dream up next. And if your walls are now a blank canvas, take inspiration from these easy summer home updates that transform your space on a budget — fresh ideas to make the most of your hard work. It’s safe, it’s efficient, and it keeps your walls (and your patience) intact.
Now it’s your turn — what’s the most stubborn wallpaper you’ve ever battled? Did steam feel like a miracle tool, or did it test your patience to the limit? Share your story or your go-to trick in the comments below. Someone else’s nightmare might just become another reader’s “aha” moment.
Want more smart, budget-friendly home upgrades? Visit Build Like New for ideas you can start today.
Disclaimer: This guide is for informational purposes only. Follow all safety instructions and manufacturer guidelines when using tools or steamers.

