
10 Brilliant Tricks to Make Your Pebble Shower Floor Sparkle
Walking into a shower with a pebble floor is like stepping into a mini spa. It feels luxurious, grounding, and oddly satisfying under your feet. But let’s be honest—keeping those little stones clean? That’s a different story. I’ve spent years figuring out what actually works, and I’ve seen every mistake you can make: scrubbing too hard, using the wrong cleaner, or just letting soap scum take over.
In this guide, I’m going to show you 10 methods that truly make cleaning a pebble shower floor manageable, safe for the stones, and even kind of satisfying. By the end, you’ll feel confident that your floor can stay fresh without endless scrubbing or risky chemicals.
Quick Daily Maintenance Rituals That Make Deep Cleaning Easier
I’ve learned that keeping your pebble shower floor looking fresh doesn’t have to feel like a full workout every week. A few simple daily habits go a long way. If you do these consistently, those dreaded deep-cleaning sessions become way less stressful.
Just like maintaining a pebble shower floor, I’ve seen similar daily habits make a huge difference for other surfaces—you can check out these 10 genius ways to keep unsealed wood floors spotless for tips that save time and effort.
Try adding these to your routine:
- Warm rinse + squeegee or towel dry after every shower. Even a quick rinse removes leftover soap and shampoo that can build up between the stones. Over time, this small step saves you hours of scrubbing.
- Shake or sweep away hair and debris before it gets wet. It seems minor, but those little particles cling to grout and make stains worse if ignored.
I like to follow these tips I found from the experts at Pebble Tile Shop, who explain why routine care is the key to keeping your stones looking clean and shiny.
Genius Method #1 – pH‑Neutral, Stone‑Safe Cleaners
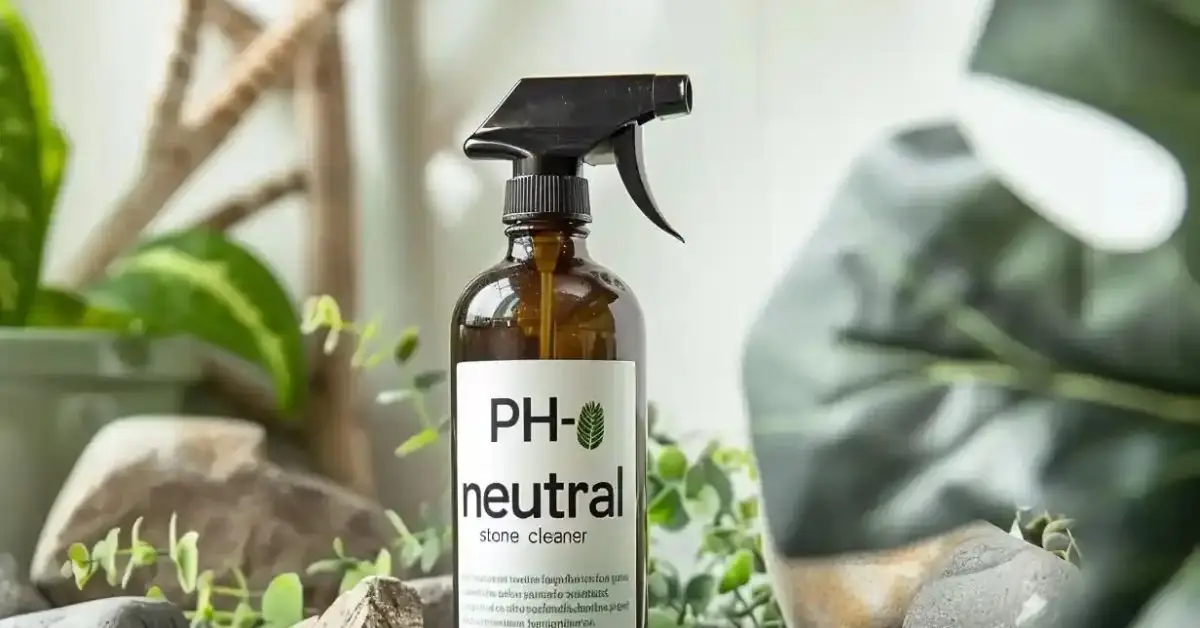
Here’s something I can’t stress enough: harsh cleaners are your pebble floor’s worst enemy. I’ve ruined a few stones in the past by thinking “stronger is better.” You don’t need that.
I can’t stress enough how using the wrong products can harm your surfaces; just like with wood floors, avoiding certain cleaners is key—you can see what to skip in these 6 things to stop using on your wood floors immediately.
Instead, use pH-neutral, stone-safe cleaners. They clean effectively without eroding the natural stone or grout.
- Tip: Look for labels that say “stone-safe” or “pH-balanced.”
- Pro habit: Always test a small corner first to make sure your cleaner doesn’t leave any residue or dull the stones.
Genius Method #2 – Baking Soda Paste for Grimy Spots
Sometimes daily maintenance isn’t enough. For stubborn soap scum or mildew, I turn to one of my favorite hacks: a baking soda paste. It’s cheap, safe for your stones, and surprisingly effective.
Here’s how I do it:
- Mix baking soda with a little mild dish soap to make a paste.
- Apply to the grimy spots and let it sit for 10–15 minutes.
- Gently scrub with a soft brush, then rinse thoroughly.
I first learned this trick from Martha Stewart’s cleaning guide, and it works beautifully on pebble showers without damaging the grout or stones.
Genius Method #3 – Bar Keepers Friend for Grout & Tough Stains
Sometimes soap scum or discoloration hides deep in the grout lines, and regular cleaners just won’t touch it.
- Apply a small amount to the grout or stained pebble area.
- Let it sit for a couple of minutes.
- Gently scrub with a soft brush and rinse thoroughly.
Genius Method #4 – “Shower Hack” Squeegee + Dawn Dish Soap Routine
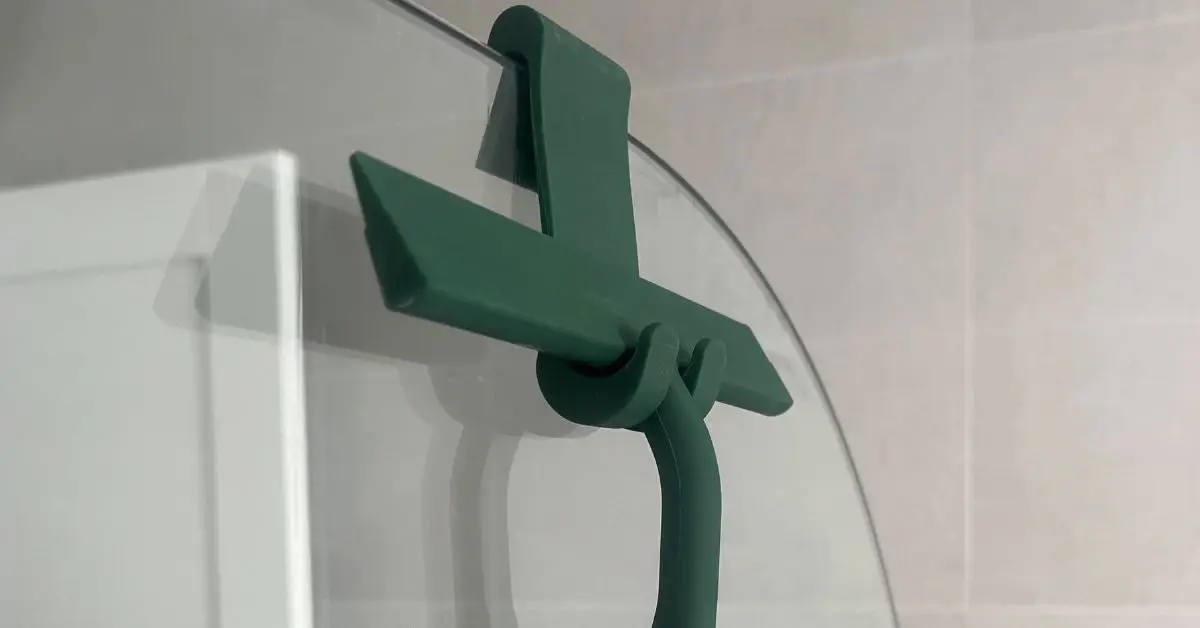
Here’s one of my favorite daily hacks that keeps buildup at bay: mix a few drops of Dawn dish soap in warm water and use a squeegee after each shower.
- It’s simple, quick, and you can do it while still in the shower.
- The soap helps break down oils and residue before they harden.
- Squeegeeing keeps the floor dry and prevents water spots or mildew from forming.
This routine is gaining buzz not just online but in cleaning circles. Experts from Good Housekeeping’s squeegee hack guide tested it and confirmed it works for daily maintenance, making your deep cleans much less frequent.
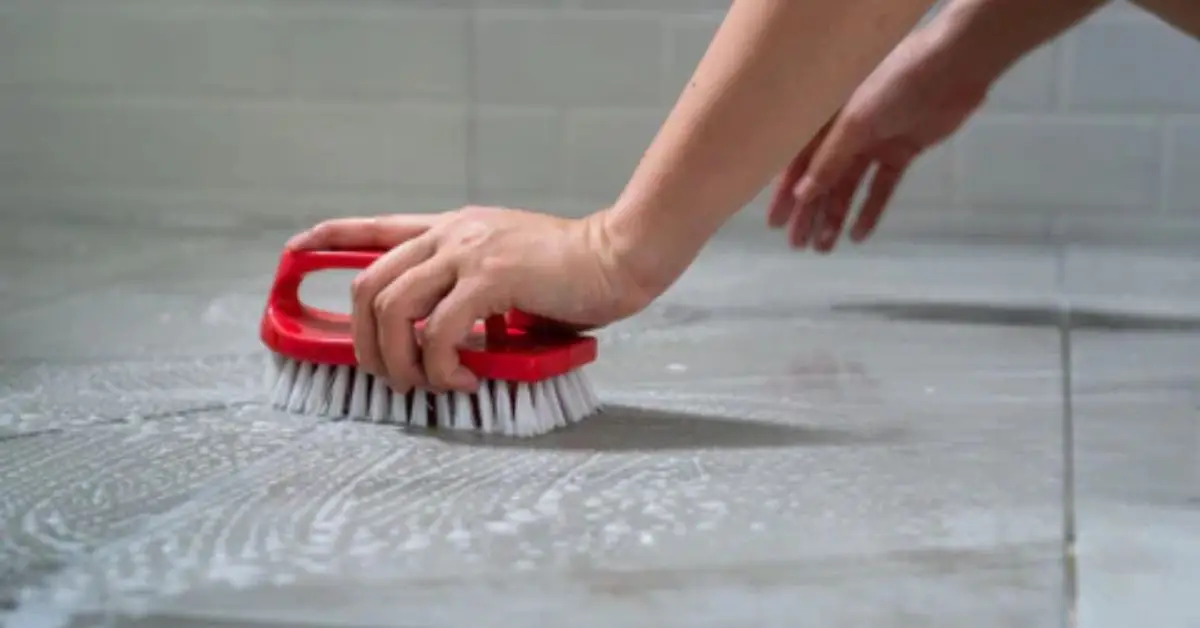
Genius Method #5 – Focused Grout Scrub with a Toothbrush or Soft Brush
Pebble floors look gorgeous, but the deep grout lines can trap grime. I always keep a soft toothbrush or a small grout brush on hand for targeted cleaning.
- Focus on grout lines or tight corners that a mop or sponge can’t reach.
- Use gentle circular motions to lift dirt without scratching the stones.
- Combine with your favorite stone-safe cleaner for best results.
I noticed many guides skip over this, but it’s the small details like this that make a huge difference over time.
Genius Method #6 – Steam Cleaning for Deep Mildew Removal
For the really stubborn, hard-to-reach spots, I sometimes turn to steam cleaning. It’s chemical-free and powerful for lifting deep grime or mildew from the grout and between pebbles.
- Move the steam head slowly over the grout lines and pebble surface.
- The concentrated heat loosens buildup that scrubbing alone might miss.
- Wipe down afterward to remove loosened debris.
Reddit users have shared this trick repeatedly, noting how effective it is for reducing chemical use while still keeping floors spotless. I love it when I can combine eco-friendly cleaning with real results.
Genius Method #7 – Vinegar (Careful Use) for Hard Water Haze

Sometimes, hard water leaves a cloudy haze over your pebble floor. I’ve learned that vinegar can help—but you have to be careful. Too strong or too frequent, and it can damage stone.
- Dilute vinegar with water (about 1:10) before applying.
- Test a small hidden area first to ensure your pebbles aren’t affected.
- Use a soft cloth or sponge to gently rub the haze away, then rinse thoroughly.
This method is great for occasional mineral buildup, and I rely on it when spots resist my usual cleaners. Experts at The Spruce note that careful, occasional use can safely tackle hard water marks without harming stone.
Genius Method #8 – Regular Sealing Schedules for Easier Cleanups
One of the best tricks I’ve picked up is keeping your pebble floor properly sealed. Sealing reduces porosity so dirt, soap scum, and mildew don’t sink in as easily.
- Check your floor every 6–12 months and reapply a high-quality stone sealer if needed.
- Focus on grout lines and high-traffic areas first.
- After sealing, cleaning becomes much faster and less intense.
I can’t stress enough how much this small preventive step saves you from endless scrubbing later.
Genius Method #9 – Tools That Make Cleaning 10x Easier
Having the right tools changes everything. I keep a few favorites on hand for efficiency and safety:
- Soft-bristled brushes for grout lines and tight spaces.
- Microfiber cloths for wiping away residue without scratching.
- A handheld squeegee for drying between showers.
Using the correct tools means you’re not working harder than you need to—and your pebbles stay intact.
Genius Method #10 – When to Call a Professional vs. DIY
Even with all these tips, there are times when calling in a pro makes more sense. I usually consider professional help when:
- Grout is heavily discolored or mildewed.
- The floor is slippery despite regular cleaning.
- Deep stains or water damage appear.
Knowing your limits saves frustration and prevents accidental damage. It’s worth investing in expertise when things get serious.
Quick Routine Chart: Daily to Yearly Care Plan
I’ve found that having a simple schedule keeps cleaning manageable and prevents your pebble floor from becoming a nightmare. Here’s what I follow:
- Daily: Rinse the floor with warm water, squeegee or towel dry, and remove hair or debris.
- Weekly: Light scrub with pH-neutral cleaner or baking soda paste on stubborn spots.
- Monthly: Target grout lines with a soft brush and inspect for mildew.
- Yearly: Check for sealing needs and reapply stone-safe sealer if required.
This routine is based on expert maintenance tips from Martha Stewart’s guide, and it keeps your floors looking fresh without overworking yourself. If you want to make your cleaning routine even more enjoyable, there are simple ways to freshen up your mop water—check out for ideas.
Safety & Best Practices
A clean pebble floor is great, but your safety matters too. Here’s what I always keep in mind:
- Ventilation: Make sure your bathroom is well-aired to prevent mold buildup and reduce inhalation of cleaning fumes.
- Protective gear: Gloves and eye protection when using any cleaner, even stone-safe ones.
- Spot testing: Always test a cleaner in a hidden corner before full application.
Following these steps keeps both you and your floor safe—small precautions save big headaches later.
Suggested Products & How to Choose Them
Choosing the right products makes a huge difference. I stick to cleaners and tools that are stone-safe, pH-balanced, and designed for textured surfaces.
- Cleaners: Look for labels like “stone-safe” or “for natural stone” and avoid bleach or harsh acids.
- Tools: Soft brushes, microfiber cloths, and small grout brushes work best for pebble surfaces.
- Community-tested picks: Reddit users often share products that actually deliver results without damaging stone.
Using the right products reduces scrubbing time and keeps your pebble floor looking fresh longer.
Next Steps for Fresh, Long-Lasting Pebble Floors
Keeping your pebble shower floor beautiful doesn’t have to be a chore. By combining daily maintenance, the right tools, and occasional deep-cleaning methods, you can enjoy a clean, safe, and long-lasting surface.
I’d love to hear from you: what’s your favorite pebble floor cleaning hack? Drop a comment below or visit Build Like New to see more tips and guides that make home maintenance easier and smarter.
Disclaimer: The tips and products mentioned in this article are for general informational purposes. Always follow manufacturer instructions and test cleaners on a small, hidden area before full use. Results may vary depending on your pebble floor type and condition.

