
7 Essential Steps to Take Before Putting a Humidifier Into Storage
I’ve learned that a humidifier doesn’t go bad while it’s running—it goes bad while it’s sitting in storage. That’s the part most people don’t think about until it’s too late.
You clean it, empty the tank, and put it away feeling done. Months later, you take it out, and something’s off. A smell you can’t ignore. Residue where there shouldn’t be any. Suddenly you’re questioning whether turning it on is a good idea.
Storing a humidifier isn’t about making it look clean for the day you pack it up. It’s about preventing mold, bacteria, and mineral buildup from forming while it’s not in use. Small details—like leftover moisture in the base or a damp filter—can undo everything if they’re ignored.
If you want your humidifier to be safe and ready the next time you need it, a few steps matter more than people realize. I’ll walk you through them so you don’t have to clean twice—or replace the unit sooner than you should.
Before we start, ask yourself this: when you pull your humidifier out next season, do you want peace of mind—or another cleaning job waiting for you?
1. Turn Off, Unplug, and Disassemble Safely
I always start here, before thinking about cleaning. It’s simple, but if you skip this step, you risk hurting the unit or yourself.
Before you do anything else, turn your humidifier off and unplug it. Water and electricity don’t mix, and leftover moisture can still be a hazard if the unit is plugged in.
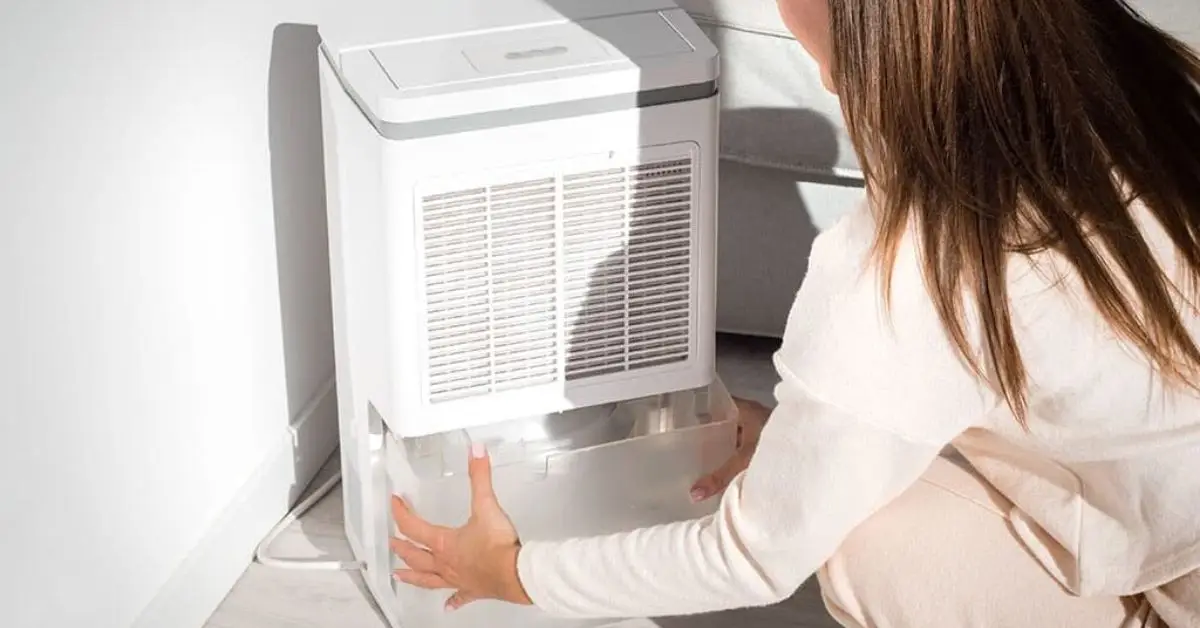
Once it’s unplugged, take the humidifier apart completely. If a piece comes off, remove it now. This is the only way to reach all the areas where water has been sitting.
Here’s what I make sure to disassemble:
- The water tank and its cap
- Any removable filters or cartridges
- Drip trays, diffusers, and mist outlets
- Detachable trays or base components
Doing this gives you full access to every water-exposed component. If you leave parts assembled, moisture gets trapped in tiny crevices—and that’s exactly where mold starts.
2. Completely Empty All Water and Moisture
This step makes or breaks your storage success.
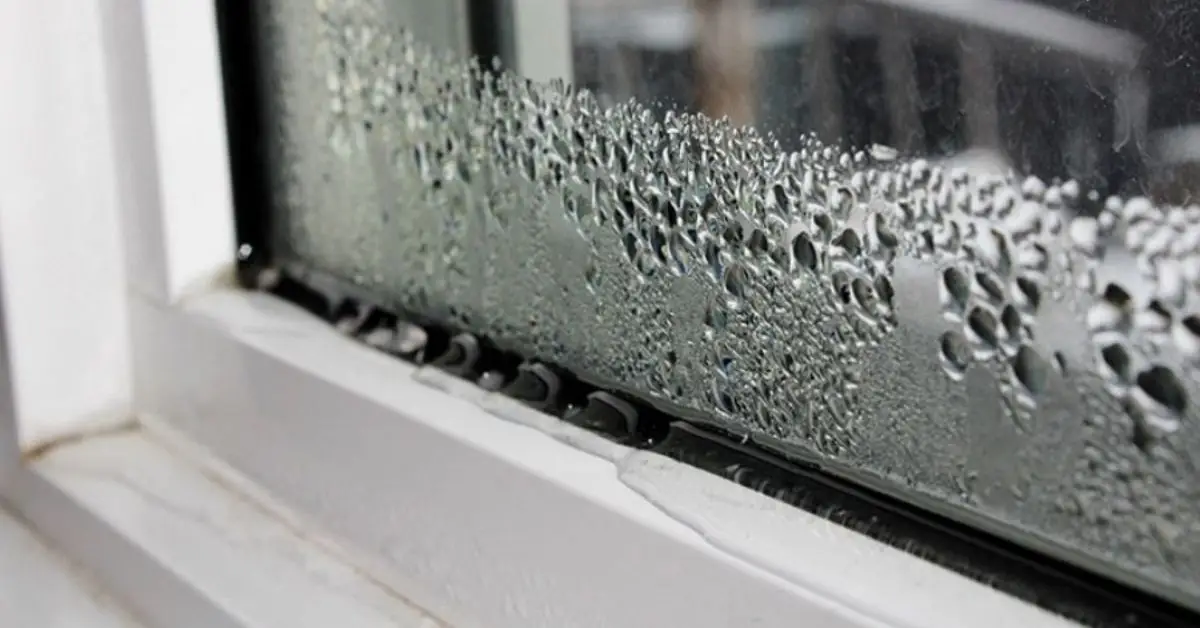
If even a little water stays inside, mold and bacteria will grow while your humidifier sits unused. That’s exactly what you want to avoid.
What I do every time:
- Drain the tank completely
- Empty the base—even if it seems dry
- Tilt and gently tap the unit so hidden drops come out
According to guidance from the U.S. Environmental Protection Agency, you shouldn’t store humidifiers with standing water because it creates ideal conditions for microbial growth.
Getting all moisture out before cleaning or packing is your first defense against problems later.
3. Deep Clean All Components (Not Just a Quick Rinse)
A quick rinse feels good, but it doesn’t remove what really matters.
Minerals, residue, and unseen microbes cling to every nook and cranny. If you don’t clean them now, they’ll stay there while the unit sits, and come back to cause mold and odors later.
Here’s how I deep clean every part:
- Fill the tank with a 1:1 mixture of white vinegar and water to dissolve mineral buildup
- Let it soak for 20–30 minutes
- Use a soft brush to scrub seams, grooves, and hard-to-reach spots
When things are extra grimy or the unit hasn’t been cleaned in a while, I disinfect with a mild solution of bleach or hydrogen peroxide, then rinse thoroughly.
Indoor air quality pros stress that regular, thorough cleaning stops bacterial growth before it becomes a problem—so don’t skip this part.
For a clear guide on why deep cleaning matters, check out this EatingWell humidifier cleaning overview.
This step isn’t about making the humidifier look clean. It’s about making sure nothing survives in there while it sits in storage.
4. Remove or Replace Filters and Check Consumables
This is one step I see people overlook all the time, and it causes more problems than they expect. Filters don’t just trap minerals—they trap moisture. And moisture plus storage is a perfect setup for mold.
If your humidifier uses a disposable filter, don’t overthink it. I replace it before storage and keep a fresh one ready for the next season. Storing an old, damp filter only shortens the life of the unit and creates smells that are hard to get rid of later.
If your model has a reusable filter or wick, you need to treat it like the rest of the humidifier—not like an afterthought.
Here’s what I recommend:
- Remove the filter completely; never store it inside the unit
- Rinse it thoroughly to remove residue and buildup
- Let it dry fully before deciding whether to store or replace it
Real users consistently point out that filter buildup is the main reason humidifiers smell musty after storage. If the filter isn’t handled properly, even a clean unit won’t stay clean.
5. Dry Every Part Completely — Don’t Rush This Step
This is where people mess things up without realizing it. Everything can look dry and still not be dry.
I don’t rush this step, ever. Any leftover moisture—especially in tight spaces—can turn into mold weeks later while the humidifier is sitting unused.
What works for me:
- Lay all parts out on clean, dry towels
- Let them air-dry for at least 24 hours, longer if the room is humid
- Use a cloth or paper towel to dry seams, grooves, and corners
Pay extra attention to:
- Rubber seals and gaskets
- Recessed areas in the base
- Any spot where water could pool without being obvious
If you remember one thing from this guide, make it this: storage only works when everything is completely dry. Cutting corners here means undoing all the work you just did.
If you want, I can continue with the storage setup steps next.
6. Prepare for Storage: Packaging, Labeling, and Environment
Once everything is clean and fully dry, storage isn’t just about where you put the humidifier—it’s about how you put it away. This step decides whether all your effort actually pays off.
I’ve found that damage and mold don’t come from storage time alone. They come from dust, humidity, and poor airflow while the unit is sitting unused. If humidity is a constant issue where you live, even simple steps like using DIY moisture absorbers can help protect stored appliances—these DIY dehumidifier ideas for home storage spaces are a practical place to start.
Here’s how I prep it for storage:
- Place parts in the original box if you have it, or use a breathable container
- Keep small pieces together so nothing gets lost
- Label the box or bag so setup next season is quick and stress-free
Where you store it matters just as much:
- Choose a cool, dry place with low humidity
- Avoid bathrooms, damp basements, or laundry rooms
- Keep the humidifier off the floor on a shelf or raised surface
The goal here is simple: protect the unit from moisture, dust, and accidental damage while it’s not in use. If the environment is wrong, even a perfectly cleaned humidifier won’t stay that way.
7. Quick Startup Checklist for Next Season
I store my humidifier with the next season in mind. That way, when I pull it out again, there’s no panic, no second guessing, and no extra cleaning marathon.
Before turning it on, I always do a quick check:
- Look for dust, residue, or any signs of moisture
- Reassemble the unit carefully
- Install a fresh filter if your model uses one
Even after proper storage, I recommend one last step:
- Run a quick rinse or light disinfect cycle
- Rinse thoroughly and let it dry briefly
For everyday use going forward, using distilled water can make a big difference. Health experts explain that it helps reduce mineral buildup and white dust over time, which means less cleaning and fewer issues later.
If you follow this checklist, your humidifier should be ready to go without hesitation.
One last question for you: where do you usually store your humidifier—and has it ever caused problems when you took it out again?
Safety and Common Mistakes to Avoid
This part matters more than most people think. I’ve seen perfectly good humidifiers ruined—not because they weren’t cleaned, but because of small mistakes made right before storage.
If you avoid these, you’re already ahead.
- Never store a humidifier with water inside. Even a small amount left in the base can lead to mold growth and bad odors.
- Don’t mix cleaning chemicals. Vinegar and bleach together create toxic fumes. Use one method at a time and rinse thoroughly.
- Keep electronic parts away from humidity. Moist environments can damage internal components that you can’t fix or replace.
- Avoid storage areas with condensation or leaks. A slow drip or damp air can undo all your prep work over time.
Mold doesn’t stay limited to appliances—spaces like basements and home gyms are especially vulnerable when moisture is ignored, which is why inspecting these common mold risks in home gym spaces matters.
When it comes to storage, caution isn’t overkill. It’s what keeps your humidifier safe, usable, and worth owning next season.
Troubleshooting: When You Pull It Out and Something Smells or Looks Off
Even if you follow every step, things can still go wrong. When that happens, I don’t panic—I troubleshoot.
If you notice a musty or moldy smell, it usually means moisture was trapped somewhere. Left unchecked, these kinds of moisture problems can spread beyond appliances and even affect a home’s value, which is why knowing your options for selling a home with mold issues is important. Take the unit apart, repeat a deep clean, and let every part dry longer than you think it needs.
If you see hard mineral deposits that won’t rinse away, a proper descaling session can help. Many experienced users recommend citric acid solutions for stubborn buildup, especially when vinegar isn’t enough.
The key is this: don’t ignore warning signs. If something smells off or looks questionable, fix it before you turn the humidifier on.
If you’ve had a humidifier storage fail—or figured out a trick that worked better than expected—drop it in the comments. Real experiences help everyone.
For more practical home-care guides like this, visit Build Like New and keep your everyday appliances working the way they should.
Disclaimer: This guide is for general informational purposes only. Always follow your humidifier manufacturer’s instructions and safety guidelines, as models and materials can vary. When using cleaning solutions, handle them carefully and ensure proper ventilation.

