
10 Brilliant Hacks to Clean Unsealed Wood Floors Effortlessly
I’ve always loved the warm, natural feel of unsealed wood floors, but keeping them spotless? That’s a whole different challenge. Unlike sealed floors, these bare woods absorb spills, show every speck of dust, and can get scratched just by normal foot traffic. Over the years, I’ve tried almost every cleaning trick out there—some worked, some were disasters.
In this guide, I want to share 10 practical, proven ways to keep your unsealed wood floors looking flawless. I’m not talking about fancy products or harsh chemicals that might ruin your floor—I’m talking about methods you can actually do at home, without worrying about stains, warping, or permanent damage. By the end, you’ll have a clear routine that’s realistic, safe, and keeps your floors shining day after day.
Understand Your Unsealed Wood Floors First
Before we dive into cleaning hacks, let’s get one thing straight: unsealed wood floors are not just “unfinished floors.” They behave completely differently from sealed hardwood, and treating them the same way can cost you.
I’ve learned this the hard way. Here’s why you need to handle them carefully:
- They soak up moisture quickly – even a little water can cause warping.
- Scratches and dents are instantly visible – that’s why foot traffic and furniture can leave marks fast.
- Harsh cleaners or standard mopping can do more harm than good – what works on sealed floors can actually ruin your unsealed wood.
Knowing these differences upfront changes everything. Once you respect the wood, every cleaning step becomes safer, more effective, and your floors stay gorgeous for longer.
Sweep and Vacuum Smartly Every Day
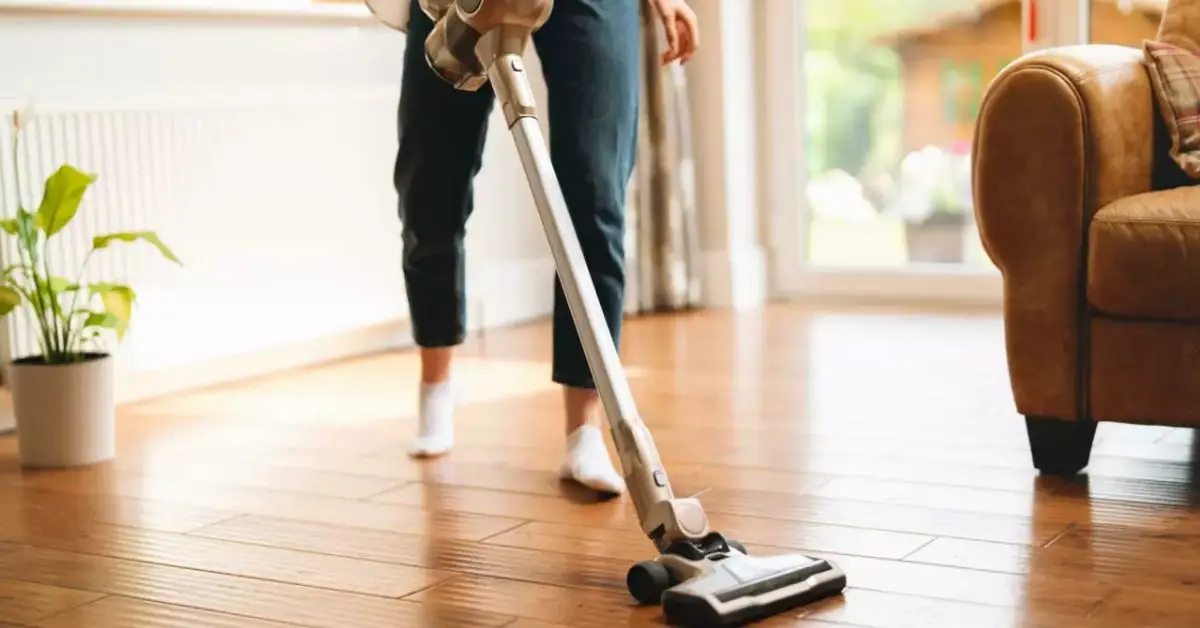
Now that you understand your floor’s sensitivities, the first real step is simple: get the dust, grit, and dirt off daily. It might sound basic, but skipping this step is how scratches sneak in. I do this every morning, and it saves me from deep cleaning headaches later.
Here’s how I approach it:
1. Soft‑Bristled Brooms vs. Regular Brooms: I always reach for a soft-bristled broom. Regular ones might sweep faster, but the bristles can actually scratch the wood over time. A gentle broom lets you lift dirt without dragging it across the floor.
2. Vacuuming Without Scratches: If you’re using a vacuum, make sure it has a soft brush attachment. I follow the grain of the wood and vacuum once or twice a week, depending on traffic. It’s enough to keep dust and sand from embedding into the pores.
A tip I picked up from cleaning communities, like the discussions on Wood Floors Cleaner, is to focus on high‑traffic areas first. Entryways, hallways, and living spaces get dirtier faster, so sweeping them daily prevents most scratches before they start.
Once you make this a habit, you’ll notice less buildup, fewer scratches, and a floor that feels smoother underfoot almost immediately.
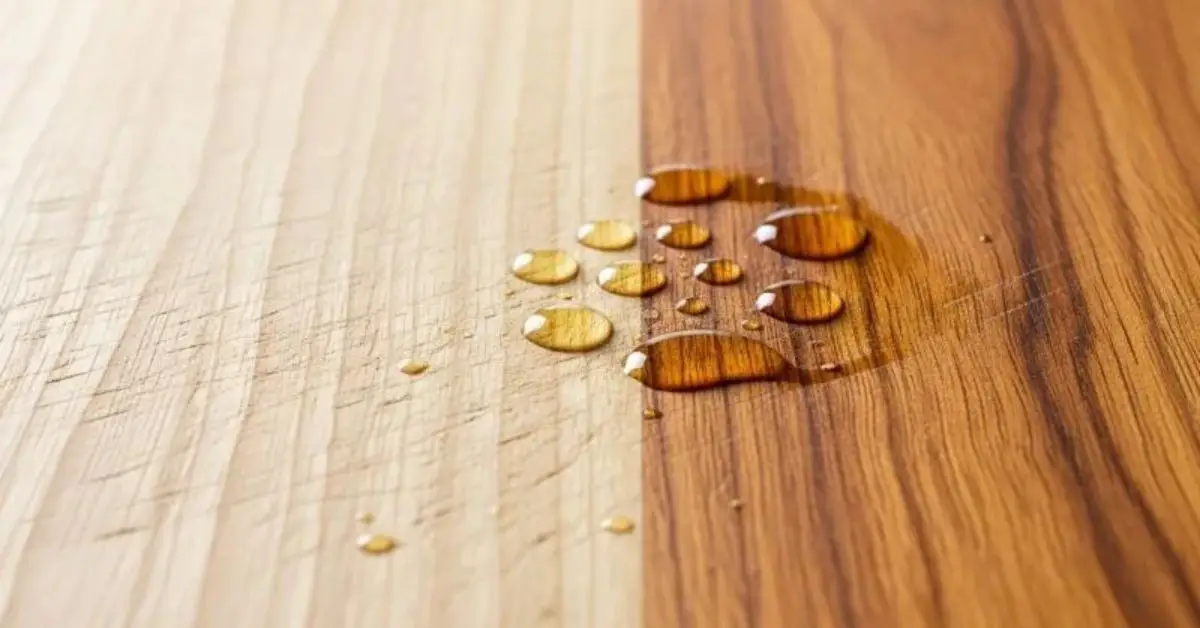
Damp Mop Carefully, Not Excessively
If there’s one mistake I see people make over and over, it’s thinking more water = cleaner floors. With unsealed wood, that’s a shortcut to warping and stains. You need to mop, but only lightly.
3. Correct Mop Wetness and Motion
- Microfiber wringing technique – I always wring my mop until it’s just damp, not dripping. Too much moisture will soak right into the wood.
- Mop with the wood grain – Moving along the grain prevents scratches and ensures you lift dust instead of spreading it around.
4. Safe Homemade Solutions
- Mild dish soap + water – a tiny drop of dish soap in a bucket of warm water is enough.
- Vinegar in minimal concentration – a tablespoon in a liter of water works, but never use undiluted vinegar.
- Avoid harsh chemicals – anything strong or abrasive can eat away at the wood’s surface. There are a few products and tools you might be using on your wood floors right now that can cause damage—here’s what I recommend you stop using immediately.
A tip I’ve found useful comes from the Flooring Supplies Centre, where experts explain safe, gentle cleaning solutions for bare wood. Following these ratios really makes a difference without risking damage.
Immediate Spill and Stain Management
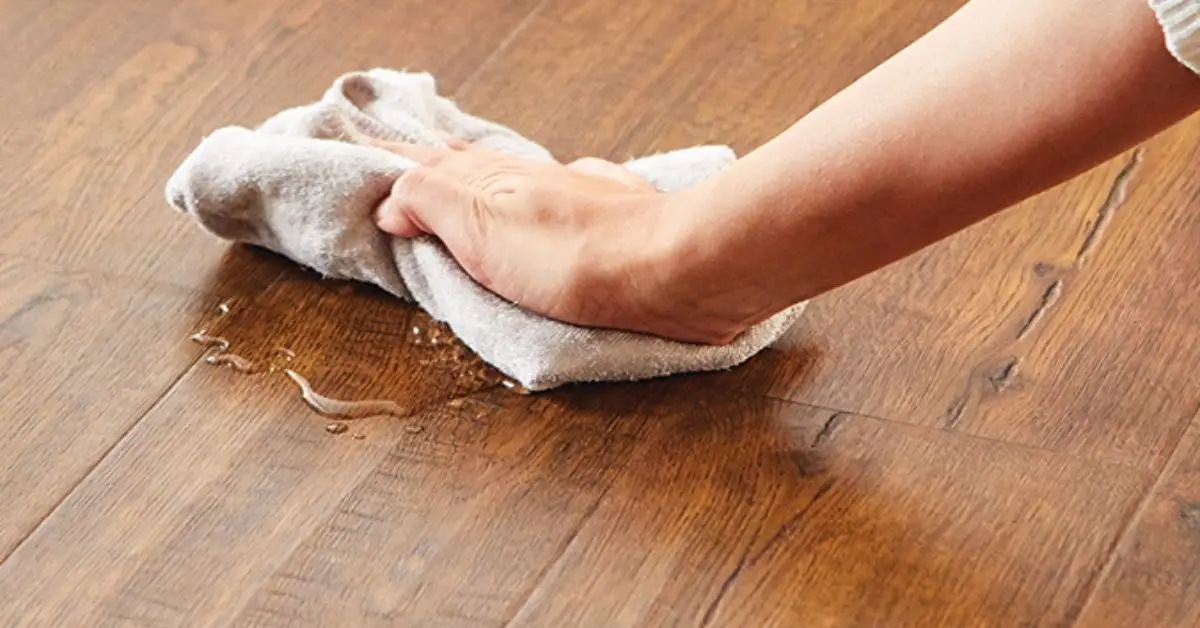
Spills happen fast. I’ve learned that if you wait even a few minutes, a simple drop of juice can leave a permanent mark. Here’s how I handle it:
5. Wipe or Blot Properly
- Avoid rubbing – rubbing pushes the liquid deeper into the wood pores.
- Use soft cloths – microfiber or cotton towels work best to gently lift the spill.
6. Stain‑Specific Treatments
- Oil, food, or drink stains – lightly blot and, if necessary, use a tiny bit of diluted soap solution.
- When light sanding is needed – only if the stain has set in. Start gently and gradually, so you don’t overdo it.
Act fast and your unsealed floors will thank you. A little urgency now prevents hours of scrubbing later.
Prevent Dirt with Protective Habits
Cleaning is important, but preventing dirt in the first place is even better. I always try to reduce what hits the floor before it can scratch or stain.
7. Doormats and Entryway Barriers
- Place mats at all entrances to trap grit, sand, and dust.
- Swap or shake them out regularly—dirty mats just move dirt inside.
8. Furniture Pads & Traffic Control
- Add felt pads to chair and table legs. I’ve seen how a single chair can ruin a corner of floor in just a few weeks.
- Manage foot traffic—especially from pets or heavy shoes—to minimize scratches and dents.
These small, daily habits save a ton of cleaning time and keep your wood looking smooth and polished longer.
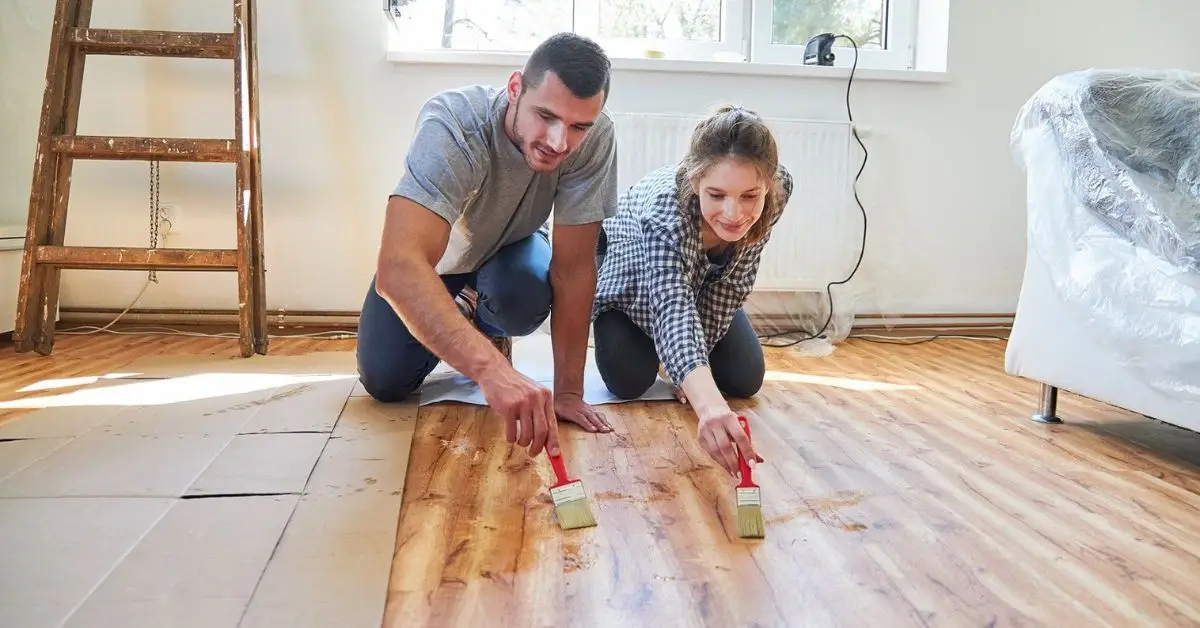
Natural Protection Without Sealing
Not everyone wants to seal their floors—and that’s fine. But leaving wood completely bare doesn’t mean you have to leave it vulnerable. Over time, natural oils and careful waxing can help protect your floors without changing their look.
9. Applying Natural Oils
- Choose the right oil – I usually go with tung or mineral oil; they penetrate the wood and nourish it.
- Apply sparingly – a thin coat is enough. Too much leaves a sticky residue.
- Frequency matters – once every few months is enough to maintain protection and shine.
10. Using Wax Carefully
- Light application – I use a soft cloth and a small amount of wax, buffing gently.
- Avoid heavy coats – too much wax can build up and make the floor slippery or uneven.
These methods fill a gap most articles miss: protection for unsealed wood without turning it into a glossy, sealed surface. For expert tips and detailed guidance, I often refer to Anita’s Housekeeping—their approach to natural oils and wax is practical and safe.
Seasonal Deep-Cleaning Strategies
Even if you stick to daily sweeps and careful mopping, your floors need a seasonal check-up. For a quick and effective solution, there’s a single trick I swear by that keeps floors spotless all year.
I treat it like giving my floors a mini reset.
Spring Cleaning Checklist
- Deep vacuum along the grain to remove trapped dust.
- Lightly mop with a safe soap solution.
- Apply a thin layer of natural oil if the floor feels dry.
Winter Prep for Salt & Grit
- Use mats at all entrances to catch winter grit and salt.
- Wipe shoes before stepping in, and check high-traffic areas for trapped debris.
- Consider a short weekly sweep during heavy snow periods.
These routines aren’t just about cleanliness—they extend the life of your wood and keep it looking its best year-round.
Avoid Common Cleaning Mistakes
Some mistakes are easy to make, and they can undo all your effort. I’ve learned to spot them before they become disasters.
- Dirty mop water – I always change it often; otherwise, you’re just smearing dirt around.
- Excess cleaner usage – more isn’t better. Too much liquid or soap can soak in and damage the wood.
- Walking on wet floors – it seems harmless, but even a few steps can leave marks or streaks.
Being mindful of these small errors saves you time, money, and frustration—and keeps your floors looking flawless. Even after following all these steps, sometimes your floors aren’t as clean as they look—you can check out my guide on the 10 signs your floors aren’t truly clean.
When Professional Help or Sealing Might Be Needed
Sometimes, no matter how careful you are, your unsealed wood floors need a bit more than home care. I’ve been there, and knowing when to call in help can save you a lot of stress.
- Signs your floors need professional attention
- Persistent stains that won’t lift with safe cleaning solutions
- Deep scratches or dents in high-traffic areas
- Warping or cupping that shows moisture damage
- Budget-friendly sealing alternatives
- Light natural oil finishes or hard wax coatings
- Professional touch-ups only on damaged sections rather than the whole floor
- DIY-friendly sealing kits with clear instructions
Taking these steps ensures your floors stay beautiful and prevents small problems from turning into expensive repairs.
Final Thoughts
Keeping unsealed wood floors spotless doesn’t have to feel impossible. With daily care, careful damp mopping, quick spill management, and a few protective habits, your floors can look amazing without sealing them.
I’d love to hear from you—what’s your biggest challenge with unsealed wood floors? Share your tips, questions, or experiences in the comments below. And if you want more in-depth guidance on maintaining floors like new, check out Build Like New for practical tips and expert advice.
Disclaimer: The information provided in this article is for general guidance only. Always test cleaning methods on a small, inconspicuous area first, and consult a professional if you are unsure about the condition of your unsealed wood floors. Build Like New is not responsible for any damage resulting from the use of these tips.

